If you want to know how to reference track your mix without fooling yourself, the answer is short: load a professionally mixed and mastered song on its own track in your DAW, level-match its perceived loudness to your own mix, then switch between the two quickly and compare one attribute at a time. Set aside 20 minutes to set it up properly, and every comparison after that takes seconds.
Most people get this wrong at the very first step. They play a loud commercial master, turn their own pre-mastered mix down, and conclude their mix is thin and lifeless. The mix is not thin. They are just hearing loudness bias, which is the brain’s persistent habit of treating louder as better, fuller and more finished.
This guide covers the setup, the level matching, the comparison order and the notes you should write down. Last checked for 2026, and it still holds regardless of which DAW you use.
Table of Contents
- What You Need
- How to Reference Track Your Mix Without Losing Focus
- Step-by-Step
- Common Mistakes
- Frequently Asked Questions
- Should I compare my mix to a reference track at the same loudness?
- Which reference track should I use when mixing a song?
- Can I reference-track a mix using headphones instead of studio monitors?
- Should I check my mix in mono when comparing it with a reference?
- How often should I compare my mix with a reference while working?
- Does reference tracking mean I should make my mix sound exactly like the reference?
- Conclusion
What You Need
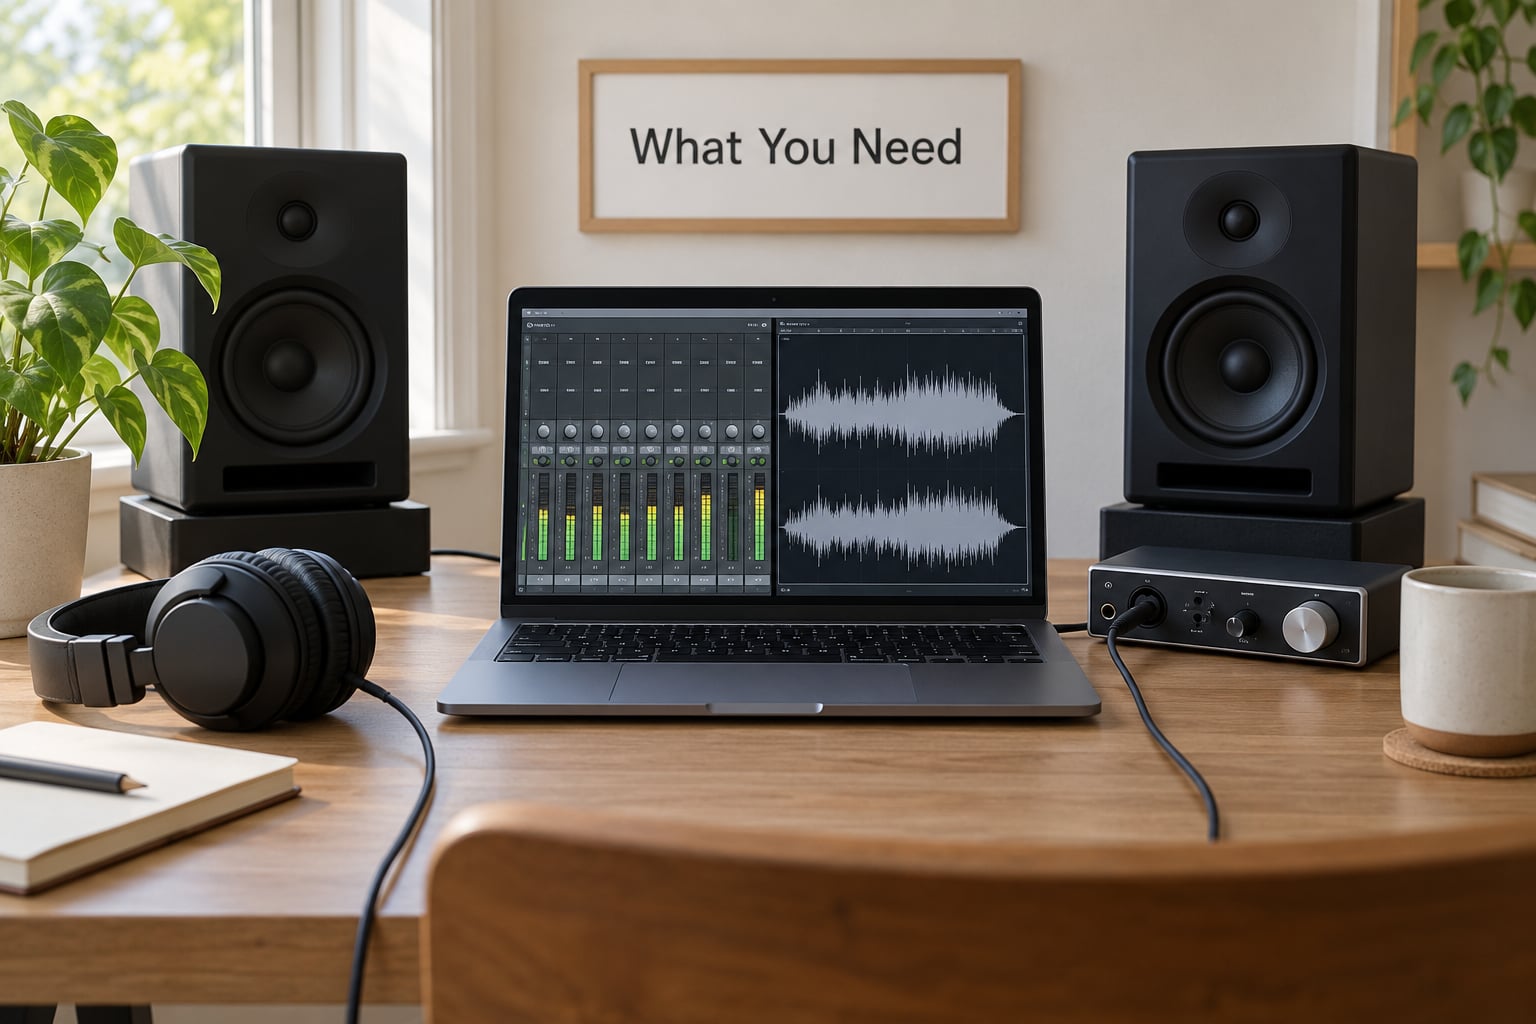
You need less than most people expect. Six items, and two of them are free plugins you may already have.
- A reference track. One professionally mixed and mastered song in your genre, chosen for balance and clarity rather than for how loud it hits.
- Your own mix, rough or finished. A rough mix is fine. Reference comparisons are most useful earlier than most producers think.
- A DAW. Any of them. Ableton Live, Logic Pro, FL Studio, Pro Tools and Reaper all handle the setup described below, only the key binding differs.
- A loudness meter. Usually a free plugin. It reads integrated loudness in LUFS, which is how you match the two tracks.
- Playback you can keep at one fixed level. Studio monitors if you have them, decent headphones if you do not. Phones and laptop speakers are not a monitoring setup for this.
- A quiet, repeatable block of time. Fifteen focused minutes beats an hour of half-listening.
A spectrum analyzer is optional but useful. It shows the reference and your mix on the same curve, which turns a vague sense that something sounds brighter into a specific band you can go and fix. On the flip side, an untreated room will lie to you about the low end, and a reference track is one of the better ways to notice that lie.
How to Reference Track Your Mix Without Losing Focus
Reference tracking falls apart when you treat it as a listening session. Listen to both songs for twenty minutes, form a feeling, and you will end up making decisions based on mood. The method that holds up is five moves, repeated.
First, choose one reference that genuinely sounds like what you want your mix to become. Second, level-match the two so your ears are not lying to you. Third, set up A/B switching that takes one keypress, so you are comparing instead of hunting. Fourth, compare one named attribute at a time, in a fixed order, so each switch answers a specific question. Fifth, write down the change in plain language, make it, and compare again.
That last step is the one that separates engineers from listeners. A session where you make one deliberate change per comparison, then re-listen, finishes in an hour with a mix that moved somewhere real. A session where you tweak four things at once and press play teaches you nothing about which one worked.
Step-by-Step
How to reference track your mix in your DAW
Put the reference on a dedicated audio track at the top of your session, named clearly, and route it straight to the monitor output with no bus processing at all. No compression, no EQ, no limiter, no mastering chain. Once the reference passes through anything, it is no longer a reference, it is your guess at what a reference should sound like.
Drag the file to start at a point roughly 30 to 45 seconds in, somewhere with a full arrangement rather than an intro. Loop a 16 or 32 bar section so both songs can sit at the same musical position. Now set up instant switching: a key that mutes your mix and unmutes the reference, and another that does the reverse. Most DAWs can bind this to a single key on the number row.
How that works depends on the software. In Ableton Live you can map the Session Launch button to a key. In Logic Pro, Control-click a track’s Solo button and pick Solo in Place, then set the click behavior to a modifier or map the solo to your controller. In FL Studio, a mixer track can be muted and unmuted by clicking the numbered pad, so pad-mute works well. In Pro Tools, you can map a click to mute or solo on a selected track. In Reaper, a track toggle action is a two-click setup.
You will know the setup worked when you can press one key and change songs without your hand leaving the mouse and without the level jumping. That instant switch is what makes real A/B comparison possible.
Match the loudness before you compare
Level matching is the step everyone skips and the reason most first attempts fail. Here is the procedure, with numbers.
- Put a loudness meter on your mix bus and read the integrated value. Most pre-mastered mixes land somewhere between -18 and -22 LUFS. Commercial masters usually sit much higher, commonly between -8 and -12 LUFS. The gap is exactly what makes a naive comparison misleading.
- Put the same meter on the reference track and read its integrated value. Let the whole loud section play, not just the chorus. A meter reading a two-second window will give you a number that changes every bar.
- Adjust the reference with a gain plugin until the two numbers match. This is the version that ranks at the top of elektronauts.com, and it is the right one. Matching integrated loudness means the two tracks arrive at your ears with roughly equal perceived weight.
- Set your monitor or headphone level once and leave it. The point is to stop touching volume. Every adjustment you make resets your calibration.
- Re-check the level after any bus processing. If you add compression or a limiter on the mix bus, the loudness changes and your match drifts. Read the meter again and correct the reference.
No loudness meter? Match by ear instead. Put the reference on, note the volume, then alternate with your mix and nudge the reference until the jump between the two feels even. It is cruder, but far better than leaving it alone. The worst option, by a wide margin, is playing a mastered reference at its own level and turning your own mix down to meet it.
Compare one mix attribute at a time
Work through this list in order. The order matters because volumes and panning affect everything above them, and frequency balance affects everything above that.
- Static balance and panning. Is anything hiding behind something else? Does the reference put a lead vocal clearly in front?
- Dynamics and compression. Is the reference’s vocal sitting in front through level rather than through EQ? How fast does its kick attack?
- Low end. Where does the weight sit, and does the kick and bass relationship work or fight?
- Frequency allocation. Which bands carry the energy, and where does the reference leave space?
- Stereo width and depth. Is the reference wide without being phasey, and does it place things front to back?
- Time-based effects. How much reverb and delay, and on which elements?
That order comes straight from the way experienced mixers work, and it saves a lot of wasted moves. Cutting a muddy low-mid band before the kick and bass are sitting at sensible levels is guesswork; do it after, and you can hear what you did.
| What to compare | What wrong sounds like | Typical fix |
|---|---|---|
| Kick and bass relationship | Low end feels lumpy, or the bass disappears | Cut a narrow band where they build up, or tuck the bass below roughly 120 Hz |
| Lead vocal presence | Vocal feels buried or, in reverse, glued to the front | Trim competing instruments in the vocal’s range, then bring the vocal up |
| Top end | Dull, or harsh and fatiguing after a minute | A small high-shelf lift, or a de-esser pass if the harshness sits around 5 to 8 kHz |
| Dynamic range | Everything is squashed and lifeless | Slow the attack on the main compressor, or pull the ratio and threshold back |
| Stereo width | Narrow, or hollow and phasey when summed | Check a mono fold-down first, then widen only the elements that survive it |
| Depth and space | Flat, with every element at the same distance | Shorten or pre-delay the vocal reverb, and move supporting parts back |
Give yourself permission to ignore parts of the reference. A denser arrangement with more layers will always feel fuller than yours, and chasing that density leads you to bury your mix in parts you do not need. Compare the character, not the element count.
Write down actionable changes
Turn every impression into a sentence an engineer could act on. Not “the reference sounds cleaner” but “the vocal sits about 1.5 dB more forward and the guitars behind it are wider”. Not “more punch” but “the kick transient is faster, so the attack is too slow on my compressor”.
Keep a running list and work down it, one item at a time, re-comparing after each change. Bounce the mix every few passes so you are not judging a version you cannot hear anymore. If a change does not clearly improve the comparison, take it out. Three solid fixes beat ten speculative ones.
Common Mistakes
Comparing at mismatched loudness. This is the big one, and it accounts for most failed reference sessions. Your mix has not changed; your ears have been fooled. Fix: match integrated LUFS with a loudness meter and never touch the monitor volume after that.
Leaving bus processing on the reference. One leftover limiter changes what you are actually hearing. Fix: route the reference to the monitors directly, or put a hard bypass on the insert and check it visually each time you start a session.
Using your mix’s fader as the level control. Grabbing the master fader to duck the mix means you lose the reading next time and start the fight over. Fix: control playback level with the interface knob and leave the fader where the mix needs it.
Copying fader positions. A commercial master is balanced for its own instrumentation and its own mastering chain. Copying numbers gives you a worse mix, not a better one. Fix: match relationships, not values. Ask why the kick sits there relative to the bass, then set your own.
Working past ear fatigue. Two hours of soloing and nudging, then ten minutes of reference listening, and you are grading a mix your ears cannot judge. Fix: reference at set checkpoints, then rest. A short break is cheaper than a bad revision you have to live with.
Trusting a bad room or cheap monitors. A reference corrects some of this but not all of it. If your low end is wrong, every comparison of low end will be wrong too. Fix: check with pink noise at a moderate level, and consider cross-checking on headphones, a phone speaker or a car stereo. Translation is the whole point of the reference.
Chasing a reference from the wrong genre, era or density. A loud, modern, heavily limited master is a poor target for an acoustic record. This comes up constantly on idmforums, where the recurring question is what to reference when your music does not fit a genre. Fix: match on era, instrumentation and arrangement density rather than genre label. If nothing in your genre fits, borrow the mix of something structurally similar.
Over-referencing until the track sounds borrowed. Keep two or three references and use them at decision points, not as a constant companion. If your mix starts sounding like a different song, you have gone past the point of useful comparison.
Frequently Asked Questions
Should I compare my mix to a reference track at the same loudness?
Yes, always. Match them on integrated loudness in LUFS with a loudness meter, or match by ear if you have no meter. A mastered commercial track is far louder than a pre-mastered mix, and that gap makes your mix sound thin for reasons that have nothing to do with the mix. Set your monitoring level once, then leave it alone.
Which reference track should I use when mixing a song?
Pick one that sounds like the record you want yours to become, in the same or a neighbouring genre, from a similar era, and with comparable arrangement density. Two or three references beat a library of twenty. Judge the candidate on clarity and balance rather than on how loud it hits, and skip anything that sounds distorted or badly limited on your system.
Can I reference-track a mix using headphones instead of studio monitors?
Yes, and plenty of working engineers do. Headphones remove room and speaker colouration, which makes tonal comparison honest, but they also hide low end and make it easier to over-apply effects. Keep your headphone level modest, and check low-end decisions somewhere else. If you own monitors, do a final pass on both.
Should I check my mix in mono when comparing it with a reference?
Worth doing, though it is a translation check rather than a mixing one. Fold both tracks to mono and listen for elements that disappear or a hollow, phasey centre image. A reference that sounds full in mono is a good target, because plenty of people will hear your track that way. Fix any collapse before you finalise, not after.
How often should I compare my mix with a reference while working?
At checkpoints rather than constantly. Good moments are after your static balance is set, after a major EQ or compression move, after bus processing, and before you export. Each comparison should answer one question and produce one note. Comparing every few minutes tends to produce aimless tweaking instead of progress.
Does reference tracking mean I should make my mix sound exactly like the reference?
No. The reference is a calibration tool, not a blueprint. It shows you how a released record handles balance, dynamics and space, and how your mix will behave outside your room. If your genre calls for raw, dense or deliberately lo-fi sounds, match the level and check the decisions, but keep your own identity.
Conclusion
Start with the boring part. Drop one reference on its own track, run both through a loudness meter, match them in LUFS and set your monitor level once. Then compare static balance, dynamics, low end, tone, width and depth in that order, writing one specific change each time.
That is how to reference track your mix: a level-matched A/B switch, one attribute at a time, and a short revision list instead of a long guessing game. Most sessions that go wrong were not short of ears, just short of a fair comparison.