A producer tag is a short spoken audio clip, usually one to three seconds, that you place in a beat so listeners hear your name or catchphrase and know who made it. Learning how to make a producer tag for your hip-hop music takes one focused afternoon: write a hook, record it, process it, drop it in, and reuse the same version forever.
Quick note before we start, since the word collides constantly in search: this guide is about the audible vocal stamp, not file metadata like BPM or key tags.
Here is the whole process in five lines before the detail:
- Decide what the tag says and who the voice is.
- Record the raw vocal clean and dry, a few takes with different deliveries.
- Process it into a signature: high-pass filter, compression, saturation, reverb, delay.
- Place it once or twice in the arrangement at a moment that leaves space.
- Export a 24-bit WAV, test it at low volume on a phone speaker, then reuse that exact version.
Table of Contents
- What You Need
- Step-by-Step: How to Make a Producer Tag
- Step 1: Define the Sound and Message
- Step 2: Write a Short Vocal Hook
- Step 3: Choose the Right Voice and Delivery
- Step 4: Record and Arrange the Performance
- Step 5: Mix for Clarity and Impact
- Step 6: Test, Export, and Use It Consistently
- How to Make a Producer Tag in FL Studio, Logic Pro, Ableton, Pro Tools, GarageBand and BandLab
- Export settings and final tests
- Common Mistakes
- Frequently Asked Questions
- Conclusion
What You Need
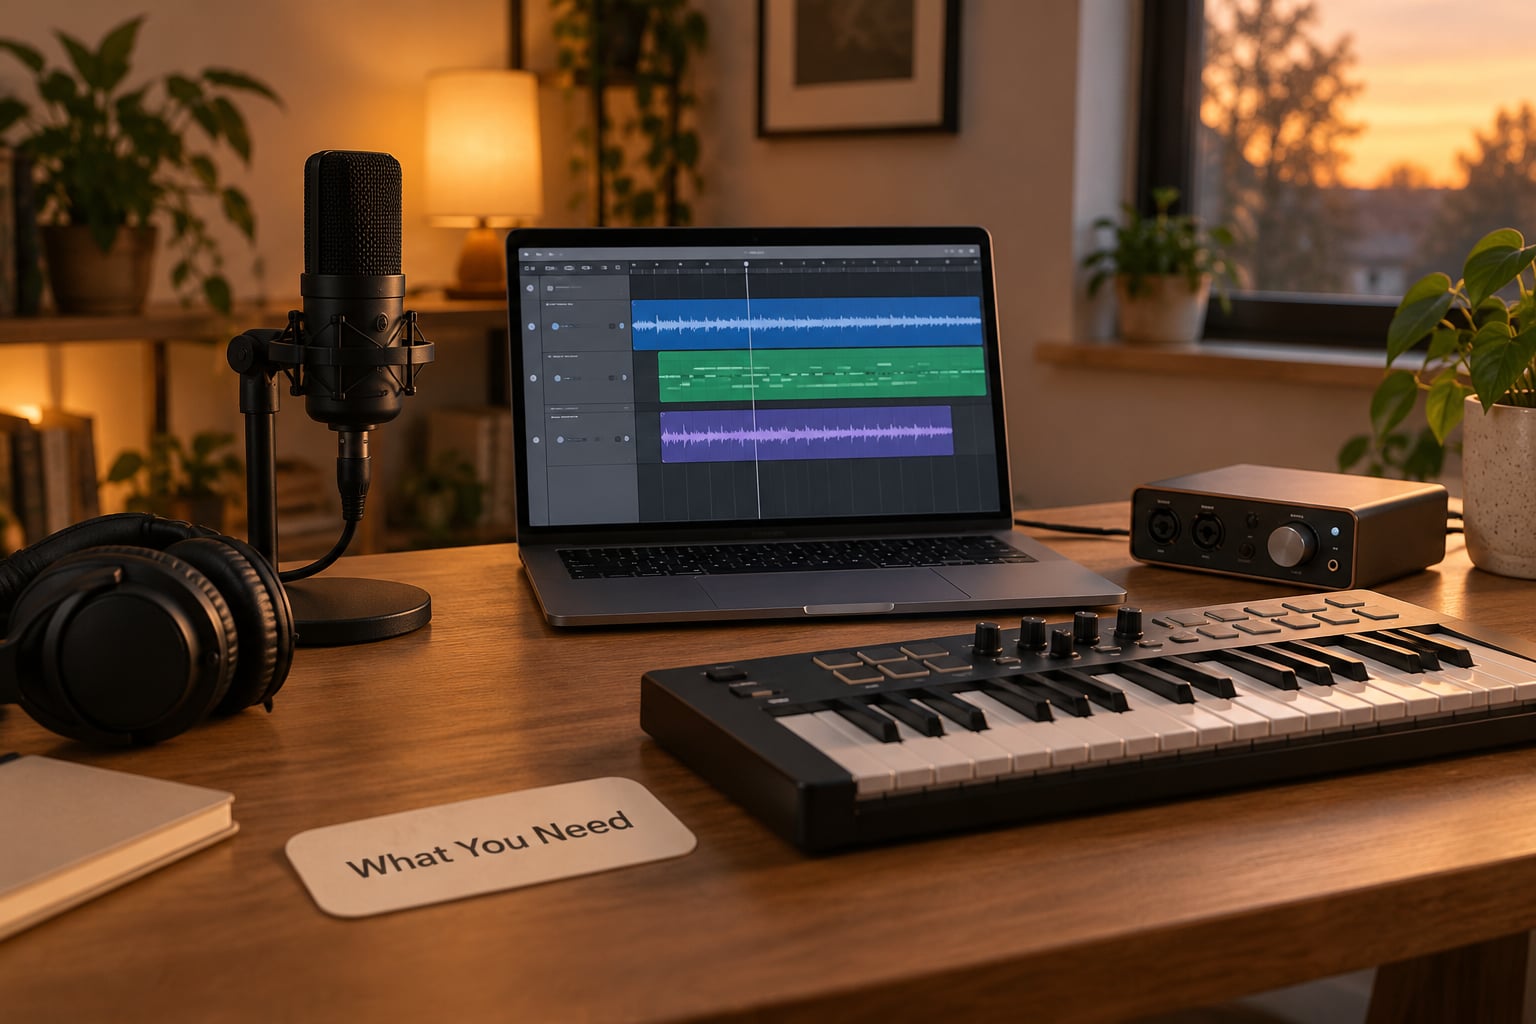
None of this needs a studio. Here is the honest minimum list before you record anything.
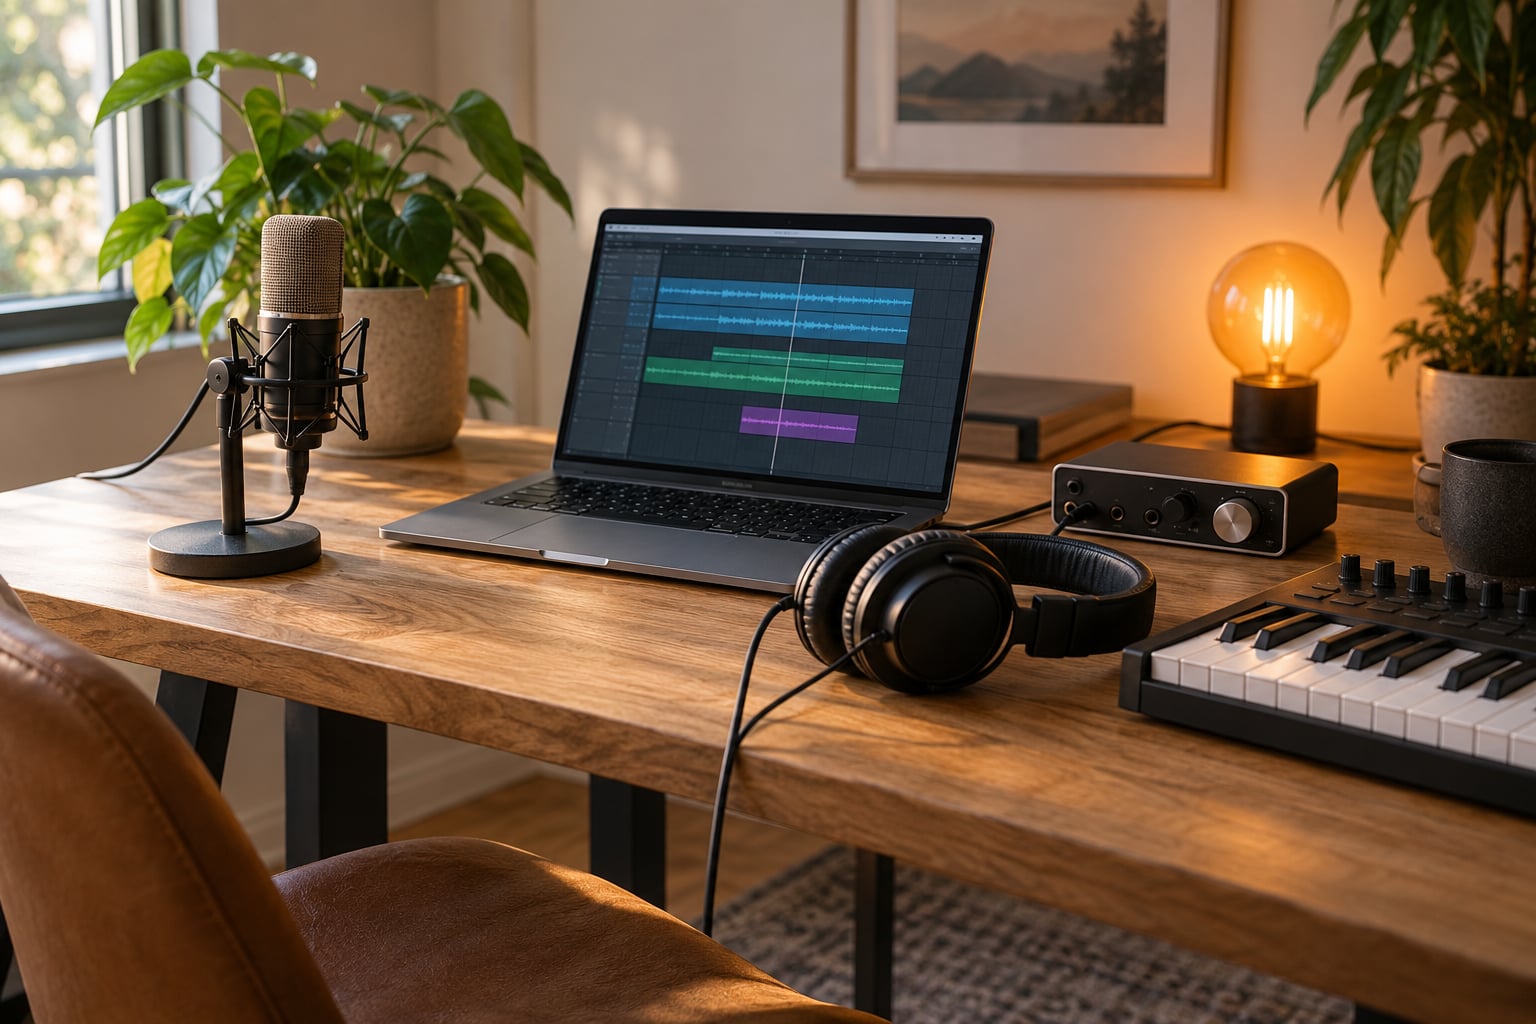
- A DAW. FL Studio, Logic Pro, Ableton Live, Pro Tools, GarageBand or BandLab all handle the job. The buttons are named differently, the chain is the same.
- A microphone, or nothing. A USB condenser mic is plenty. A phone mic in a quiet room will do if you are just starting.
- An audio interface if your mic is XLR, or a USB mic that plugs straight into the computer.
- Headphones. Closed-back, so you can catch sibilance and mouth noise before it lands in the beat.
- Processing. Every DAW already ships an EQ, a compressor, a saturator and a reverb. You do not need plugins.
- A written tag concept. One line on paper. Producers who improvise the phrase every session end up with three different tags and no identity.
One more practical item that most guides skip: a quieter second version of your beat for checking. Loud speakers hide problems that a phone in your pocket will expose immediately.
Step-by-Step: How to Make a Producer Tag
Step 1: Define the Sound and Message
Start with the identity, not the sound. Write down your producer name and three words you would be fine hearing on every release for the next five years.
Then pick one direction. A name or a short phrase is the most direct route, and producers shopping your beats on marketplaces expect to hear something that identifies you. It does not have to match your name exactly. Plenty of working producers use a nickname or a single invented word, and the phrase only needs to be unmistakably yours.
Here is how the common tag types compare, so you can choose before you record:
| Tag type | How it is made | Best for | Difficulty |
|---|---|---|---|
| Vocal tag | You record a phrase in any DAW and process it | Beat sellers who want instant name recognition | Low |
| Sample tag | A licensed clip, a public-domain recording or a sound pack hit | Producers who already rely on sample chops | Low |
| Signature sound | A short invented sound or a personal noise, no words | Boom bap, lo-fi and jazzier styles | Medium |
| Melodic tag | Two or three notes played in a fixed rhythm | Producers who cannot sing or hate hearing their own voice | Low |
| AI voice tag | Text-to-speech rendered into a short clip | Getting a first version out fast | Low |
A vocal tag is the safest starting point because it survives loud mixes and bad speakers, which is exactly where a listener will hear it.
Different styles want different shapes of phrase. These are starting points, not rules:
- Trap. A nickname or short name spoken flat and low, often with reverb tail. Energy comes from the mix, not the voice.
- Drill. One clipped word or a two-note melodic stab. Very little spoken content, because the beat already carries the aggression.
- Boom bap. A full phrase or a short sentence, delivered in a spoken cadence that sits between speaking and rapping.
- EDM and electronic. Almost always a sound or a text-to-speech vocal treated as an instrument, rather than a spoken name.
- R&B. Sung on two or three notes, with the melodic treatment sitting underneath the lead vocal.
Read each candidate phrase out loud and time it before you record. Anything that takes more than a second to say after the first listen is too long.
Step 2: Write a Short Vocal Hook
Keep it to one or two spoken phrases, roughly one to three seconds of finished audio. Anything longer starts competing with the beat for attention and gets skipped.
Test your phrase out loud in three situations: alone in a quiet room, over a beat you have never heard, and on a phone speaker while you walk. If you cannot hear it, or it disappears under a kick drum, the phrase is too long or too quiet-sounding to keep.
One recurring idea from producers in the forums is to start with a full sentence, then cut it down to a single word. A two-syllable word pitched up with reverb is one of the most common real patterns out there, and it works because it is almost impossible to mishear.
Step 3: Choose the Right Voice and Delivery
Delivery changes the impression more than any plugin. Four options cover most producers.
- Controlled. Spoken at normal volume with clear consonants. Reads as professional, works in busy mixes, is the safest first attempt.
- Shouted. Pushed energy, slightly clipped. Reads as aggressive and trap-leaning. Peaks need headroom behind the mic or the recording will distort before your compressor does.
- Close and intimate. Recorded closer to the mic, lower volume, more air. Reads as moody. This is the one that falls apart on phone speakers, so check it there.
- Melodic. Sung on one or two notes instead of spoken. Reads as melodic and hides pitch weaknesses that plain speech exposes.
Two details people miss. Consonants at the start and end of the phrase are what make it stick, so avoid stacking plosives right on the downbeat. And if English is not your first language, record slower and cleaner rather than faster, because the instinct is usually to over-accelerate.
On that last point specifically: a slightly flattened, slightly deliberate delivery from a non-native speaker usually reads as confident, while a fast delivery reads as rushed. Slow it down by about a third from your natural speaking pace and let the consonants finish before the phrase ends. Producers who worry about credibility in their tag almost always find the problem was speed, not accent.
Decide the pitch here too. Recording flat and then raising the tag two or three semitones often sounds tighter than reaching for it during the take, and it keeps your raw vocal usable later for a different version.
Step 4: Record and Arrange the Performance
Record dry. No reverb, no compression, no pitch correction while tracking. Effects belong after the performance is right, not on top of a take you are still judging.
Get about six inches from a condenser mic, pop filter in front, and record three to five takes: one controlled, one shouted, one melodic or intimate. Keep them all. Choosing later is faster than re-recording.
Now arrange. Pick the strongest take, then duplicate it and pan the copy slightly wide for a bit of width, leaving the lead centered. Cut the phrase to the tightest length that stays intelligible, usually one to three seconds.
Choose the tempo feel before you place it. Most tags land on a half-time or whole-note placement before the first hook, where the arrangement is quiet enough to carry it.
Step 5: Mix for Clarity and Impact
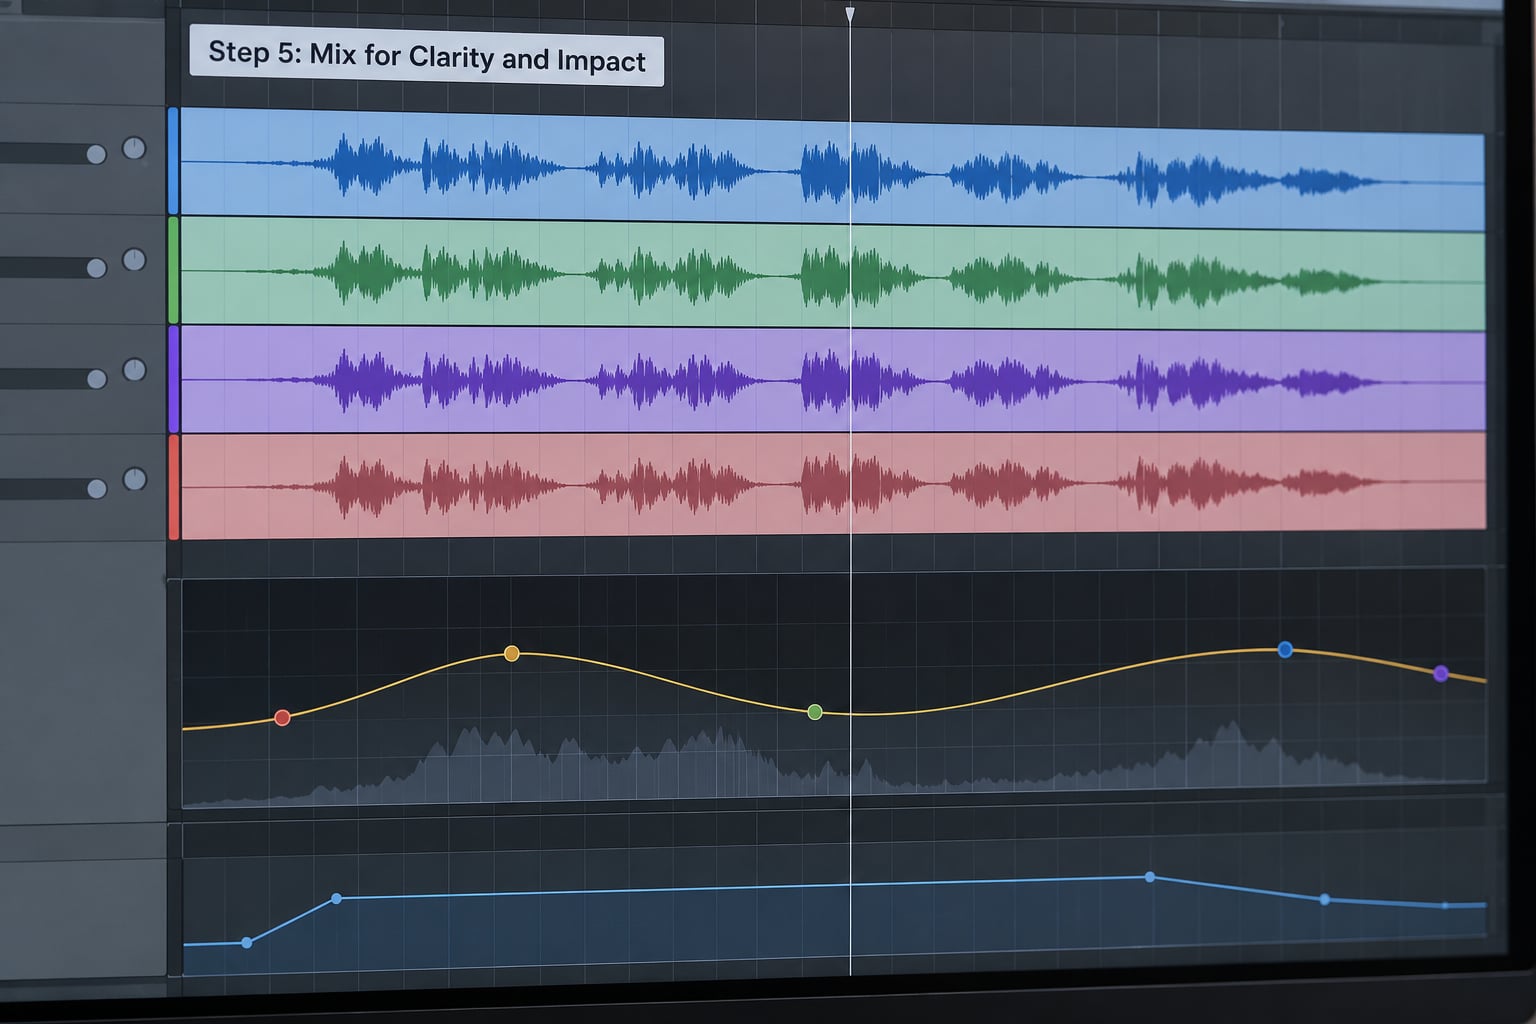
Run a fixed signal chain and stop tweaking. A chain that works on nearly every vocal tag looks like this.
- High-pass filter at 100 to 200 Hz. This removes rumble and mic-handle noise without touching the voice.
- Subtractive EQ. Cut boxy frequencies around 200 to 400 Hz and any harsh resonance you hear. A narrow dip on nasal tones around 2 to 4 kHz is usually enough.
- Compression. Roughly 3 to 4 dB of gain reduction, moderate ratio around 4:1, with the attack fast enough to catch the plosives.
- Saturation. A subtle harmonic or tape-style saturator adds weight. Two or three layers of light compression and saturation is a common recipe.
- Reverb. A short hall or venue preset, mixed low enough that the words stay in front.
- Delay. A single repeat, quarter-note or eighth-note, low in the mix, on the tail only.
- Reverse reverb. Optional. Render the tag, reverse it, and place it before the forward version as a short cinematic swell. This is the effect behind most over-the-top tag intros.
- Automation. Draw volume and filter movement across the one or two seconds the tag lives.
Then test it three ways before moving on: on headphones, on a laptop speaker, and on a phone speaker at low volume. If the consonants disappear at low volume, push the high-mid range and pull some of the reverb back. If the tag jumps out of the beat, automate its level down a few dB.
Step 6: Test, Export, and Use It Consistently
Once the chain is set, stop rebuilding it. Export the tag, check it in three listening situations, and then lock the file so every release from here uses the identical version.
How to Make a Producer Tag in FL Studio, Logic Pro, Ableton, Pro Tools, GarageBand and BandLab
Each DAW reaches the same controls by a different name, so nothing here is FL Studio specific. In Logic Pro the EQ is Channel EQ, the compressor sits in the channel strip or as a plug-in, and the pitch tool is under Audio Pitch. In Ableton Live the EQ Eight, Compressor and Reverb are Audio Effects on the device chain. In Pro Tools, open the EQ III or Dyn III plug-in from the channel inserts. In FL Studio, the mixer slot insert menus carry Fruity Parametric EQ 2, Fruity Compressor and Fruity Reeverb 2. GarageBand uses the same channel strip layout, and BandLab exposes EQ, Compressor and Reverb in the built-in vocal effect rack.
In Logic Pro, Audio Pitch also gives you the stretch-to-tempo option that FL Studio’s pitch tool and Ableton’s warp mode cover in their own way.
Export settings and final tests
Two bits of housekeeping before you export. Export a 24-bit WAV at your session’s native sample rate, 44.1 kHz or 48 kHz. Bounce the effect tail so the tail is baked in rather than truncated at the end of the clip. Keep the file in one folder you never reorganize.
Tag tempo metadata on when you export. If your DAW supports it, that lets the tag stretch to match the BPM of a different beat instead of sliding out of time.
Save three files: the clean tag, the processed tag, and a processed version pitched one or two semitones for variety on later releases. Then commit to the processed one as your main tag and stop rebuilding it every few months.
Build a fourth file for demos. When you send a beat out for a quote or a free download, the tag can sit two or three dB louder and appear one extra time, because its job there is discouraging beat theft rather than serving the track. Keep the clean, correctly leveled version for anything you deliver as a paid license.
The last habit matters more than the engineering. A tag that changes voice, phrase or processing from one month to the next is not branding, it is noise.
Common Mistakes
These come up again and again, and each one has a straightforward fix.
- The tag runs long. Four seconds of vocal where one and a half would land. Fix: cut to one to three seconds, then test over the beat before you export.
- Too many effects on a short clip. Heavy reverb plus delay plus distortion plus pitching flattens the words. Fix: pick two effects. Reverb and compression usually cover it.
- An indistinct vocal. A soft voice buried at low volume reads as no tag at all. Fix: record it closer and with more forward energy, and check it on a phone speaker.
- Too many sounds in the tag. A spoken line over a chord over a noise hit. Fix: one idea per tag. If you want two, make two separate tags.
- The tag is louder than the beat. Listeners hear branding instead of music. Fix: automate it down so it sits under the hook in level while still cutting through on small speakers.
- Swapping versions constantly. A new tag every release resets recognition. Fix: keep the main tag stable for at least a year and treat variants as alternates.
- Using audio you do not own. A few seconds lifted from a film or a record you did not clear can cause real problems. Fix: use public-domain material, a licensed clip, or an original imitation recorded by you.
One debate worth acknowledging honestly: in some genres and some circles, tags are considered clutter. If you produce ambient, jazz or cinematic work, a signature sound or a short melodic motif usually fits better than a spoken name. The rule I use is simple: if listeners in your genre never use tags, do not force one in.
Frequently Asked Questions
How long should a producer tag be?
Aim for one to three seconds of finished audio. That is long enough for the listener to catch the words and short enough that it does not fight the beat. If your phrase runs longer, trim it or cut the first take down to the single clearest word.
Do I have to say my producer name in the tag?
No. Plenty of producers use a nickname, an invented word, or a sound with no words at all. What matters is that the tag is unmistakably associated with you and that you keep the same version across releases. Listeners learn the sound, not the spelling.
Can I make a producer tag without a microphone?
Yes. Options include a melodic tag built from two or three notes, a signature sound from a sample pack or a synthesizer preset, an AI text-to-speech voice, or a licensed clip. These work well for boom bap, lo-fi and cinematic styles where a spoken name would feel out of place.
Where should I place a producer tag in a beat?
Two reliable spots: just before the first hook or drop, and once near the intro before the first kick if the arrangement is thin. Use it one or two times maximum per track, and automate its level so it sits slightly under the beat rather than above it.
Can I get in legal trouble for a movie or TV clip tag?
A short section of a film or show is copyrighted, and a recognizable clip can trigger a claim or a takedown even when it is only a few seconds. Use public-domain recordings, a clip you licensed, or record your own imitation instead. This is general information, not legal advice.
Are producer tags necessary?
Not in every genre. Tags help most when you sell or license beats, because artists expect them and they discourage beat theft. In ambient, jazz or cinematic production, a signature sound or short motif does the same job without announcing a name. Match the tag to your genre.
Conclusion
Write one memorable hook today, record four or five takes with clearly different deliveries, and keep the strongest. That is how to make a producer tag that survives your catalog: one clean vocal, one fixed processing chain, one version used everywhere from your next release onward.