To quantize without losing feel, stop working at 100 percent strength by default. Choose the smallest grid that fits the part, pull quantize strength down to somewhere around 50 to 70 percent, then put the feel back with swing on the offbeat subdivisions, untouched velocities and original note lengths. Correct flammed hits and late downbeats fully. Everything else can stay where you played it.
That is the entire method, and it is the opposite of how most people learn timing. The instinct is to snap hard, hear the track go stiff, and then complain that quantization has no swing control worth using. Swing does work, but only when something human is still there for it to move.
In practice, the process is six decisions, and you can see all of them in a short version below.
- Find the pocket first, and decide whether it is the tight performance or the loose one.
- Pick one element to be completely in time, and triage everything else by how much correction it actually needs.
- Set the grid per part, not per project.
- Apply partial strength, audition, then raise it only where you can name the error.
- Restore velocity, note length and a few milliseconds of push, then re-tighten the hits that carry the structure.
- Level-match the A and B and listen at full speed before you commit.
What You Need
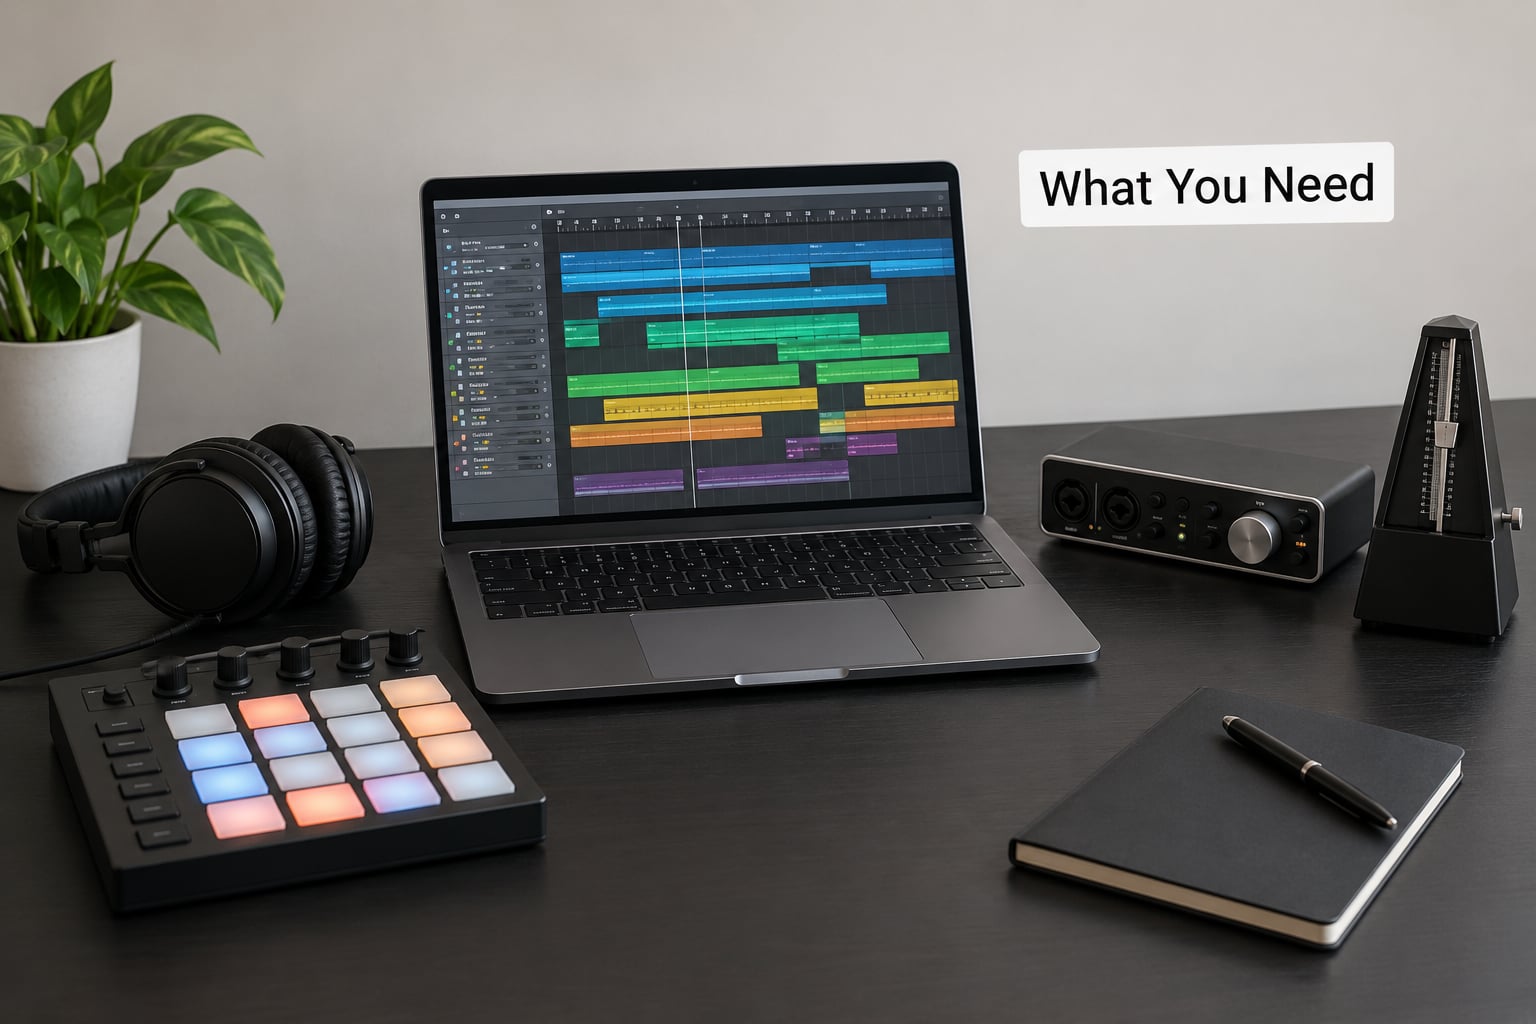
Not much, and none of it expensive. What matters is having a safe copy of the original, because every timing edit on this list is easier to judge when you can flip back instantly.
- Your DAW. Ableton Live 12, Logic Pro 11, Cubase 14, FL Studio and Pro Tools all do this. The names of the controls differ, the idea does not.
- The source. Either the MIDI clip or the audio file. Know which one you have, because the workflow and the failure modes are completely different.
- A duplicate of the original take. Commit your arrangement first, then duplicate the part before you touch timing.
- A reference. Something in the pocket you trust: a loop, a record, or another track from the same project.
- Headphones and monitors. You will catch different timing problems in each.
Step-by-Step: How to Quantize Without Losing Feel in Six Steps
1. Establish the groove before you quantize
Put on the original and play along with it before touching a single control. Tap the tempo. Hum the melody. If the performance sits slightly behind the kick and that behind-the-beat quality is the whole reason the track works, then the grid you are about to apply is the wrong target.
Set the project tempo first, then decide what “in time” means on this track. Plenty of records that feel tight are not quantize-tight at all. They are loose in a consistent direction, and that consistency is the pocket.
If the track was recorded without a click, build a tempo map before you do anything else. Set the project tempo from the most stable section, then place warp markers or beat markers on a handful of obvious transients spread across the track, re-measuring after each one. Treat the tempo map as a measuring tool rather than a timing correction. A single full-track stretch is what makes people decide warp ruins feel, and in that case they are right.
2. Choose which elements need timing correction
Here is the practical triage, and the single most useful idea I have taken from a long Elektronauts thread on this exact question: if the track feels like it is falling apart, add one element that is in time. Do not correct everything. One solid reference point gives your ear something to measure the rest against, and most of the other parts turn out to be fine.
From there, sort your tracks by how much correction they can take. Kick, snare and claps need the least. Ghost notes, hats, fills and snare rolls need the least of all, because their looseness is the groove. Bass sits in between. Vocals and melodic instruments usually need a light touch or none at all.
| Part | Grid value | Starting strength | Swing |
|---|---|---|---|
| Kick pattern | 1/4, or 1/16 if it moves | 70 to 90% | 50% |
| Snare and claps | 1/16 | 60 to 80% | 54 to 58% |
| Ghost notes and closed hats | 1/16 | 20 to 40% | 54 to 58% |
| Bass | 1/8 | 40 to 60% | 50% |
| Keys, guitar, pads | 1/8 or 1/16 | 40 to 70% | 50 to 54% |
| Lead vocal comp | 1/16, phrase by phrase | 30 to 50% | 0% |
| Fills and snare rolls | 1/16T or 1/32 | 20 to 40% | 50% |
| Crash and one-off accents | 1/4 | 100% on that hit | 50% |
These are starting values, not rules. The 20 to 40% band for ghost notes is deliberately low, because a ghost note pulled to the grid stops being a ghost note and becomes a hi-hat hit.
3. Use swing, groove, and timing tools
Swing percentage is the one setting producers misunderstand most. At 50 percent you get straight eighths, which is the default everywhere. Above 50 percent, every second subdivision in the grid moves later, so the offbeat sits behind the downbeat. Below 50 percent it moves earlier, and the offbeat crowds the beat. In hip-hop, 54 to 58 percent on eighths is the usual neighborhood, and the effect is subtle enough that most listeners hear “relaxed” rather than “shuffled”. Some DAWs also expose triplet-flavoured presets around 66 percent at an 1/8 grid, which is a shuffle rather than a swing.
Groove templates go a step further. Instead of moving notes to a mathematical grid, you move them to the timing of an actual humanized groove, often a hand percussion part. Load it from the groove pool in Ableton Live or Logic Pro, or extract one from a performance you like. Craig Anderton has explained this idea more cleanly than anyone: quantize to a real performance, not to a ruler.
| DAW | Where quantize lives | Strength control | Swing and groove source |
|---|---|---|---|
| Ableton Live 12 | Edit menu or right-click the clip in Session View; double-click into the clip for Detail View | Strength field in the quantize dialog, with a Timing dropdown for all notes or only quantized notes | Swing field plus the Groove Pool, Auto Load Groove button and Groove Agent |
| Logic Pro 11 | Press Q in the editor, or use the Q button in the region inspector | Strength percentage with a Range selector for project, loop, markers or selection | Swing field, the Groove Pool, and the Groove Velocitizer in the Utilities for shaping timing and velocity |
| Cubase 14 | Quantize Q, or the Quantize entry in the Edit menu | Strength percentage, plus Over Quantize threshold, Catch Range and Position Based mode | Groove Playback tool and Open Groove Agent for extracting or generating a groove |
| FL Studio | Select notes in the Piano Roll or channel rack, then right-click and choose Quantize | Strength percentage, with Random, Chance to Fail and Finest controls for partial passes | Swing percentage per clip, no full groove pool in the same sense as Live or Logic |
| Pro Tools | Select then Quantize, or the Edit window Grid and Swing menus | Attributes per operation, but the native feel is closer to on or off, so partial strength usually comes from a strength plugin or stepped swing presets | Swing presets in the Quantize window and real-time swing in MIDI Real-Time Properties |
Menu paths shift between versions, so if a name does not match your screen, search your DAW documentation for quantize and for groove. Craig Anderton’s advice still holds and has held for years.
4. Quantize strongly, then pull it back
Now do the actual edit, offline, on the duplicate. Start at the strength number from the table, hit the button, and listen to the full bar rather than the first beat. The first hit always sounds better than the sixteenth.
If it sounds dead, drop strength by 10 percent and listen again. If it sounds wrong in one specific place, raise strength and narrow the selection to that spot instead. High strength is a scalpel, not a setting you leave on for a whole track.
A common question at this stage is whether quantize should be on or off while recording. Turn record quantize off when you play, so the performance is captured with its natural timing, then correct the take offline where you can undo it. Leaving input quantize on locks in any rushing while you were focused on the part, and that is much harder to loosen later. The distinction is live capture versus editing, not on versus off.
One more thing before you judge anything: level-match your A and B. If the edited version is louder, it will sound better whether or not it is. Pull the faders to the same level and mute back and forth.
5. Humanize without making the performance sloppy
Quantize moves note positions. It does not need to flatten velocity, note length or accents, and if your DAW flattens them, that is a setting to change rather than a law of nature.
Work through three things in order. First, swing: set it on the clip or the groove so the offbeat subdivisions move together rather than randomly. Second, velocity: if a humanized part came out with identical velocities, pull 5 to 10 percent of variation back into ghost notes and offbeat hits. Third, microtiming: nudge a small number of events a few milliseconds ahead of or behind the grid. A snare a hair behind the beat and hats a hair in front of it does more for a hip-hop track than any amount of strength reduction.
Then re-tighten only what carries the structure. The technique Splice published, and it is the one I would keep if I could only keep one, is to humanize note position first and then go back and re-quantize just the kicks and crashes at full strength. Those hits anchor the groove. Everything around them can stay loose.
Keep the re-tightening pass narrow. In Cubase that is what Catch Range is for, limiting the edit to a tight window around the grid. Elsewhere, select the hits by hand.
6. Check the result in context
Run these checks before you call the edit finished, because timing problems hide in places you are not listening from.
- Check the first beat of every section, not just the busiest part of the track. Section starts are where drift is most audible.
- Listen for fills that cross a bar line. Quantize often drags a fill onto the downbeat and flattens the transition.
- Check the low end. Bass and kick locking or drifting changes more than any high-hat edit will.
- Play the hook at full speed, then at half. Sloppy timing hides at speed and is obvious slowed down, but overcorrected timing can look fine slowed down and feel dead at tempo.
- Compare on headphones and on speakers. Placement and phase issues between close and overhead mics show up on one and not the other.
- Mute the click and the grid. If it still grooves with your eyes closed, the edit worked.
Common Mistakes
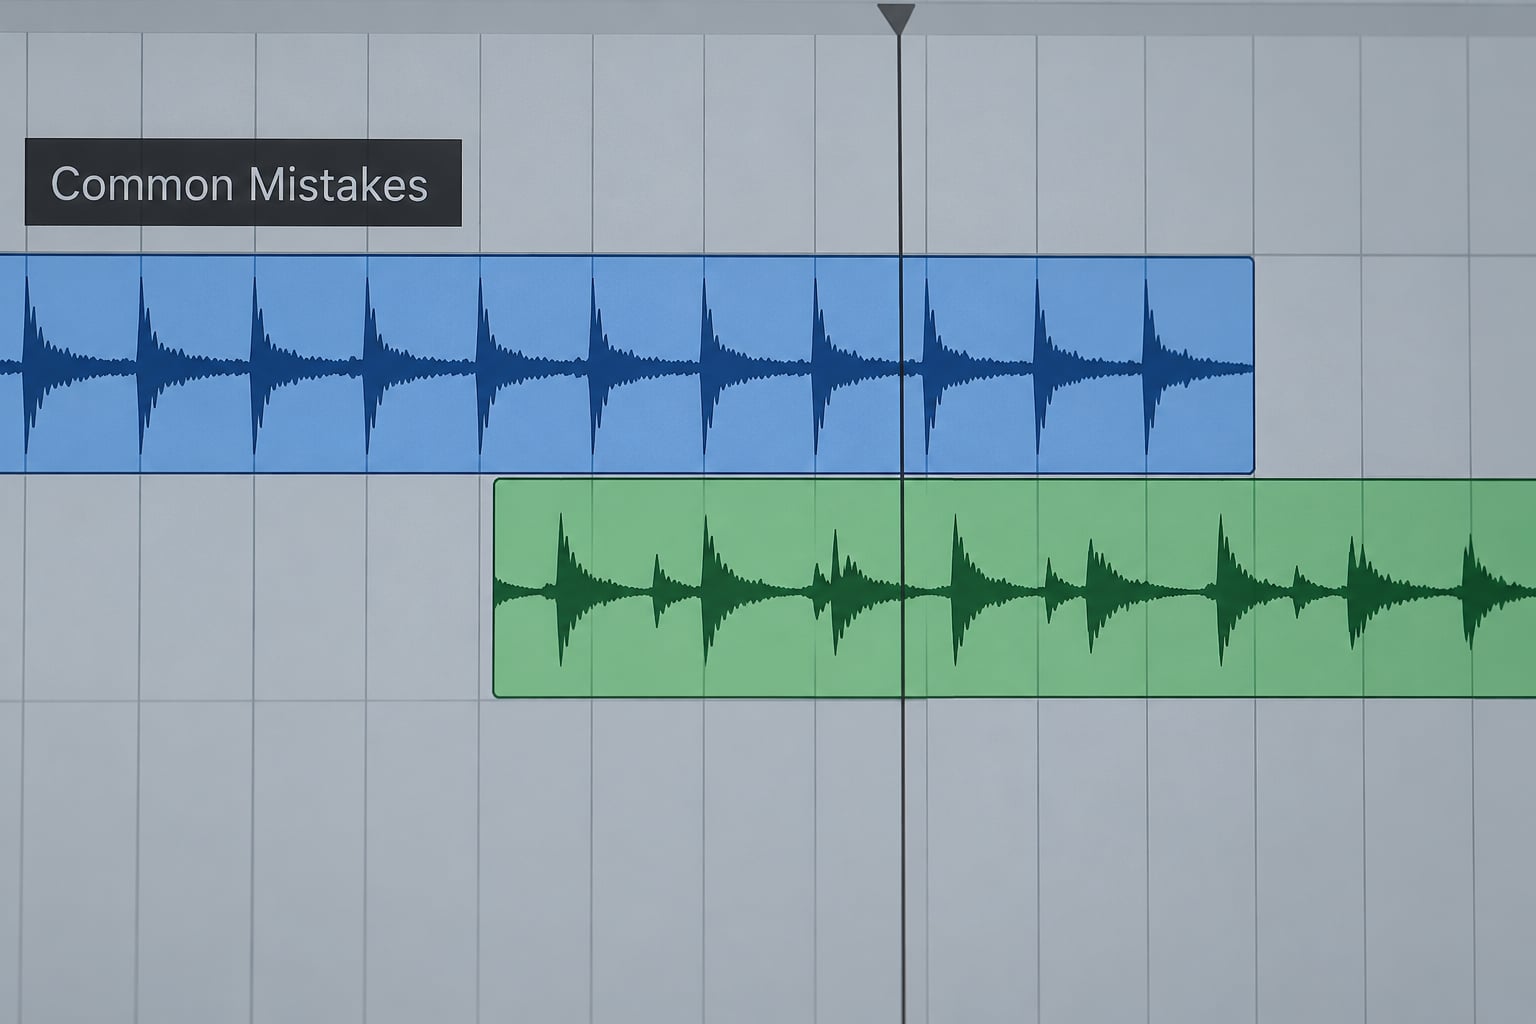
Every one of these is fixable, and most are recoverable once you hear them. The order matters: the first three are the ones that flatten a track beyond repair without a bounce-down.
Quantizing everything to 1/16 at 100 percent. This is the advice that makes people think the tool has no feel settings. Fix: pick one element, give it full strength, and take everything else back to 40 to 60 percent or leave it alone.
Applying the project swing setting to every track. If the bass and the hats swing in the same direction, the low end arrives early and the track sags. Fix: swing the offbeat rhythm, keep 50 percent on bass and on anything with a sustained low note.
Chopping audio on transients and nudging by hand. Slicing leaves gaps where there is no audio, and short edits truncate the tail of each hit. This is the top complaint in the producer forums, and it is a real artifact, not a skill issue. Fix: quantize MIDI instead where you can, and when you must move audio, move it with a real crossfade rather than a cut.
Warping an entire track to fix timing. A full-track stretch evens out the groove by definition, since it removes every timing difference in the performance. Fix: build a tempo map with markers on a few transients and use it for measurement only.
Quantizing a stereo bus or the wrong signal. Editing the master or a stereo drum bus gives you no control over individual hits, and it drags reverbs and cymbals out of time with the room. Fix: work on individual tracks before any bus processing.
Judging timing without level-matching. Fix: pull both versions to the same level and flip back and forth at matched loudness.
Chasing the perfect take instead of comping. This is the failure that shows up before quantization, not after, and it is the reason some of the best records were made without fixing anything. Fix: record in comping mode where your DAW supports it, so a few good passes stack up and the errors fade out on their own. The dominant view in the Elektronauts thread on this topic is the opposite one, that producers should quantize almost everything and add feel deliberately with swing and microtiming, since virtuoso chops are not something everybody has. Both are defensible. What is not defensible is re-recording a part forty times because a flam is in the way.
One more worth naming: hardware grooves. Musicians on this forum consistently report that patterns written on an MPC or an OP-1 feel looser than the same pattern quantizing in a DAW, and that the swing does not survive the move. That is not a settings problem. It is the sequencer writing even spacing where a drummer wrote by ear.
Frequently Asked Questions
What note should I quantize to?
Use the smallest grid that explains the part: 1/8 for bass and most chord changes, 1/16 for hats, funk guitar and fast melodic lines, 1/4 for a simple kick, and 1/16 or 1/8 triplets only when the music is actually swinging in that subdivision. Set the grid per track rather than once for the project, so a single project default is never forcing a busy hat part onto a lazy bass line.
Is higher or lower quantization better?
Neither, by default. Start around 50 to 70 percent strength and raise it only where you can name the timing error, such as a flammed kick or a downbeat landing late. Full strength is right for a handful of hits per track, not for a whole pattern. If a part already sits in the pocket, high strength is the fastest way to make the track sound dead.
Should you have quantize on or off?
Turn record quantize off while you are playing, so the performance is captured with its natural timing, then correct the take offline where you can undo it. Leaving input quantize on is fine for tight electronic material, but on a hip-hop drum or bass pass it locks in any rushing and makes the groove much harder to move later. The real distinction is live capture versus editing.
Why does quantizing kill my groove?
Because feel lives in small, consistent differences in timing that your ear reads as pocket. Snapping every hit removes those differences, and 100 percent strength on a dense pattern also stacks repeated notes into identical positions, which reads as a machine. Lower strength keeps each note partly where you played it, and swing on the offbeat subdivisions gives the part a shared push instead of scattered noise.
How do I add feel back after quantizing?
Three moves, in order. Set swing on the clip or groove at roughly 54 to 58 percent so the offbeat subdivisions move together. Restore the small offsets you removed by nudging a handful of events a few milliseconds ahead of or behind the grid. Then re-tighten only the hits that carry the structure, usually kick, snare and crash, at full strength with a narrow catch range or a manual selection.
Can you quantize a track recorded without a metronome?
Yes, with a tempo map. Set the project tempo from the most stable section, then place warp or beat markers on a handful of obvious transients spread across the track and re-measure after each one. Avoid stretching the whole recording, since that removes every timing difference in the performance. Keep the audio uncommitted so nothing is destructive, and judge the map on the drums rather than on a long sustained pad.
Conclusion
Quantization is a musical edit, not a cleanup chore. The rule that holds up across every session I have watched or done is simple: correct the structure completely, correct the groove barely, and let the rest stay as played.
So start with one part. Pick a single drum or a single melodic line, choose the grid that fits it, drop the strength to around 50 percent, and make the edit. Then put the original back on at the same level and decide which version actually grooves better. That comparison is the whole skill, and it takes about five minutes to learn and keeps improving for years.
Published for 2026. Settings and menu names are current as of 2026; check your DAW documentation if a control has moved.