A/B testing your mixes means switching between two versions of a mix at matched loudness so you can hear which one is actually better, instead of just noticing which one is louder. This is audio A/B testing, not the marketing kind that splits website traffic between two pages. If you have ever flipped between two mixes and immediately preferred one, only to change your mind a week later, the problem was never your ears. It was the method.
Here is how to a B test your mixes properly, in eight steps that take about 25 minutes once the session is set up. The whole thing rests on one rule: if the two versions are not level matched, you are not A/B testing, you are just switching between two different volumes. That rule comes up again and again on GearSpace and r/audioengineering, and it is the single biggest reason beginners end up with confident, wrong decisions.
Key takeaways
- Level match first. About 1 dB of difference is the practical tolerance.
- Hide which version is which. Labels and fixed order both bias you.
- Test one question per session, not the whole mix at once.
- Write one objective observation per switch, immediately, before the story forms.
- Pre-master mixing can be compared for balance, depth and arrangement. Loudness and final dynamics belong to mastering.
A word on whether this even works. Plenty of engineers on r/audioengineering argue they talk themselves into paralysis with references, and they are not wrong. Comparing your mix to a commercial track is a tool for answering a specific question, and it is a poor substitute for knowing what you are trying to do. Use it when you have a question. Ignore it when you do not.
What You Need
None of this needs new gear, and a lot of it you already own. What it does need is discipline about keeping the test conditions fixed, because the whole exercise falls apart the moment your monitor volume, player or file format changes halfway through.
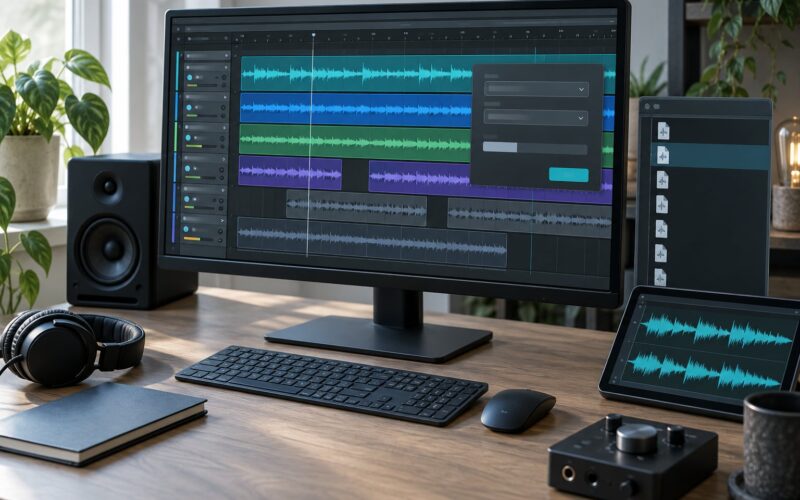
Your open session, exported. Bounce the mix down before you start switching, and keep the session itself closed if you can. Working live, it is too easy to nudge a fader between listens and forget that you did.
Two clearly labeled exports. Names like Mix_A_v3 and Mix_B_v3, in the same format, at the same sample rate and bit depth. Lossless where you can, so the comparison is not also a bitrate test.
A fixed playback chain. One pair of monitors or headphones, one player, one output level. Write down the monitor knob position if your session does not restore it, because that is a detail people discover on listen seven.
A loudness meter. Youlean Loudness Meter is free and reports integrated LUFS, which is the number that matters here. TBPro Audio makes a free VU meter if you would rather set levels by eye. Paid utilities like Metric A/B, REFERENCE 2 or A/B Assist do the matching and the switching in one place.
A note template. Four lines, one per switch, with a timestamp. Version, what you heard, which way it went, why. Writing during the test is what turns a vibe into a decision you can check later.
Step-by-Step: How to A/B Test Your Mixes Fairly
Eight steps, in order. The first three take five minutes and decide whether the rest is worth doing, so do not skip past them because they are boring.
1. Define What You Are Testing
Write down one question before you hear anything. Not improve the mix, which is not a question. Something like: does the vocal sit better in version A, does the low end feel cleaner in B, does B have more dynamic impact in the chorus.
One question per test is the discipline that keeps this useful. A broad comparison gives you a broad opinion, and broad opinions do not survive contact with a finished track. You worked out how it worked in step 1 if you can state the question in a single sentence and name which version you expect to win.
2. Export Two Clearly Labeled Mixes
Bounce both versions without normalization, without a limiter on the master output that you would not normally have there, and without any loudness matching baked in yet. If a reference plugin is normalizing files for you, turn that off for this export and let step 3 handle the level honestly.
Keep the sample rate and bit depth identical between the two files, and name them so that the letter is the only thing that differs. Mix_A_final and Mix_B_final will do it. It works because when the filenames are the only variable, you stop looking for reasons to prefer the one you exported second.
3. Loudness-Match the Versions
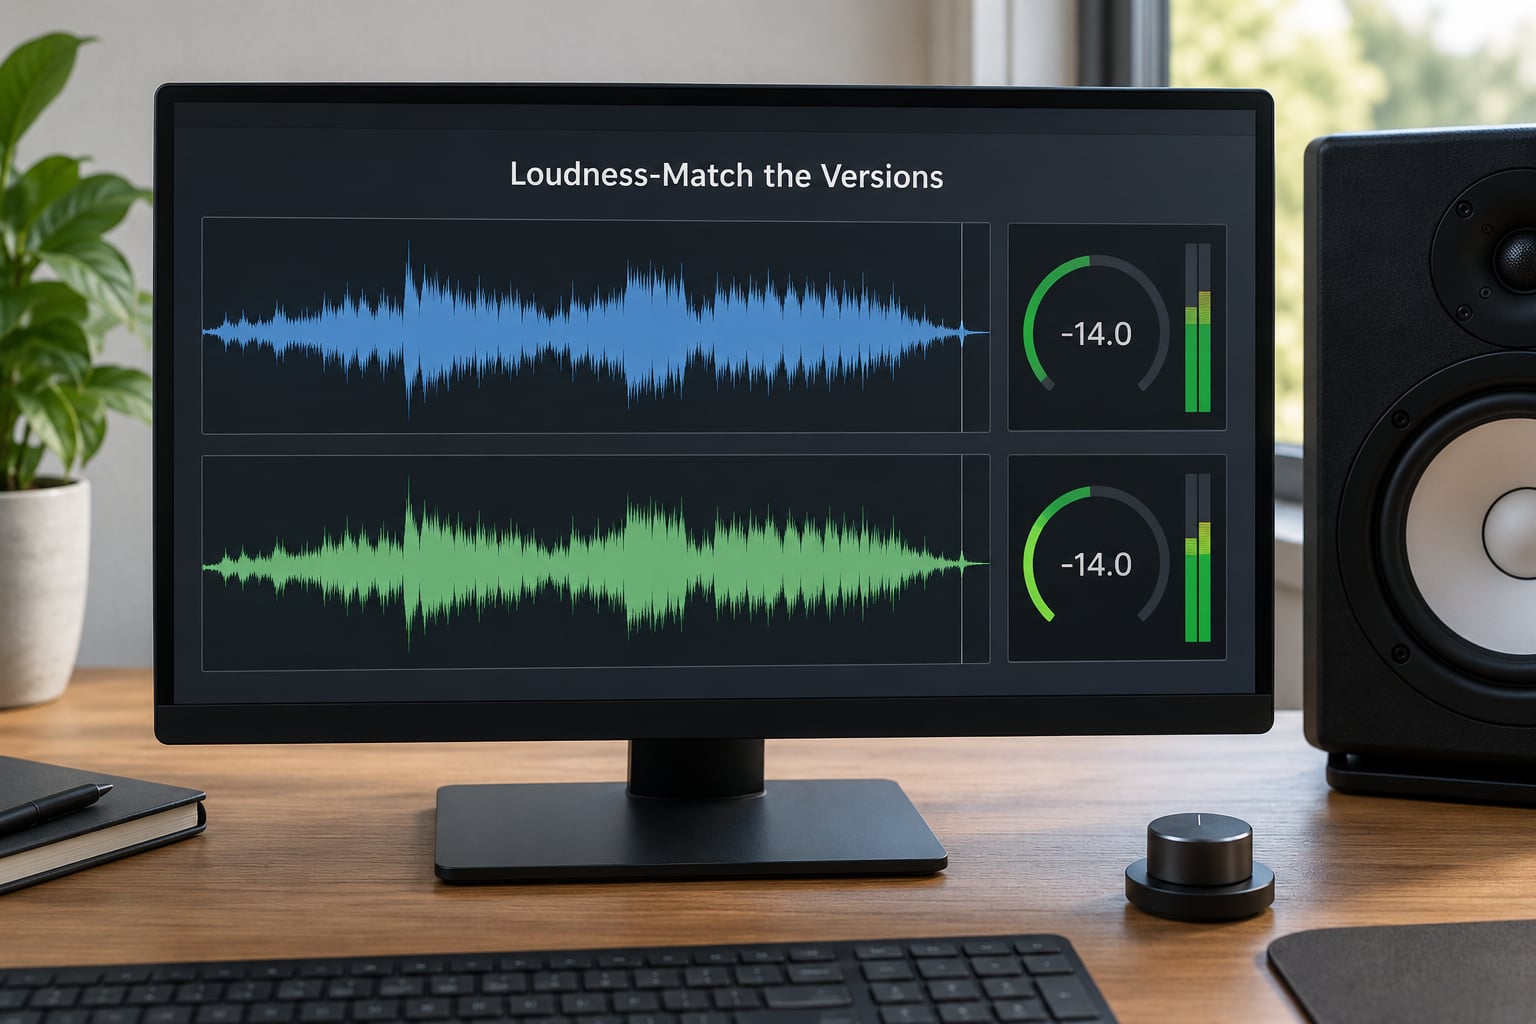
Measure the integrated loudness of both files in LUFS, then trim the louder one until the two sit within about 1 dB of each other. Some engineers land on 0.5 dB for fine work on tonal balance. Anything wider than that and you are grading the volume control, not the mix.
The threshold is worth knowing: an average listener hears roughly a 3 dB amplitude change as an obvious difference, while trained ears pick up changes under 0.5 dB. That gap is the reason the louder file wins every blind test you have not level matched, and it is also why loudness matching never fully removes a mastering advantage. Your pre-master mix will be quieter than a commercial record, and no amount of trimming changes the fact that the commercial record has been compressed and limited.
You worked out that it worked if you can play both files back to back and the switch feels like a change of song rather than a change of volume.
4. Set Up a Neutral Playback Environment
Same speakers, same player, same output level, same sample rate, same time of day if you can manage it. Set the level to where you would actually mix, which is usually lower than where you would enjoy listening, and do not touch the knob after that.
Reference at a low, even level, because at high volume your ear shifts toward the upper midrange and everything sounds like it needs more presence and less low end. Room position matters too, so stay in the same spot. If you move two feet to the right of the sweet spot, the bass will change enough to invalidate the whole test.
5. Switch Between Versions Without Bias
Use whatever gives you an instant, gapless toggle: a playlist in your DAW, a level matched bypass on your master chain, a dedicated A/B utility, or a hardware switcher. Load both files into one player so switching is a single keypress and neither version has a head start.
Then take the labels away. A Cubase user on r/cubase described the reliable version of this as a set of two tracks with X-OR solo so only one can sound at a time, and the same idea works in Logic, Ableton, Studio One, REAPER, FL Studio and Pro Tools. In Ableton, X-OR is set under the Solo Mode options. In Logic, use two tracks with a shared monitor source, or the A/B button built into the environment.
Where you can, randomize the order or switch in blocks long enough that the first impression has faded. Short switches, a few seconds apart, mostly measure your expectation rather than your hearing. You worked out that it worked when you genuinely cannot tell which file is playing until you look.
6. How to A/B Test Your Mixes With Focused Notes
On each switch, write one objective observation before you form an opinion. Describe what is in the file, not whether you like it. The vocal sits further back in B. The kick and bass fight between 100 and 200 Hz in A. B is wider without being smeared.
Work down a short list so the comparison covers the ground your original question was about. Vocals first, for presence and intelligibility. Drums and bass next, for weight and whether the low end is crowded. Then frequency balance across the whole frequency range, depth and reverb, dynamics, and finally the emotional impact, which is the one you write down last because it is the most easily swayed.
Keep going past the point where the difference seems obvious. On GearSpace threads people describe the third and fourth switch as where the real information shows up, since the first two are mostly surprise and the fifth is where you can articulate why. It works when your notes contain things you could hand to someone else, rather than a preference you cannot defend.
7. Test Across Real Listening Conditions
Your monitors are not the only place the track will be judged. Repeat the comparison on headphones, on a phone speaker, in a car, and at two or three different volume levels. A mix that only works at 75 dB on calibrated monitors is not finished.
This is where a lot of revisions get made or unmade. A mix that sounds great on headphones and falls apart on a phone is usually carrying too much low end and too little vocal presence in the top octaves. A mix that only survives at high volume has been made loud to hide something.
Two systems is a reasonable pass. Five is a day, and a day is exactly when ear fatigue starts making your notes worse instead of better.
8. Decide, Apply, and Retest
Pick the version with the clearest overall advantage, not the one that won the most switches. If the votes split, then the difference is not clear enough to bank, and the honest answer is that the change you made was too small or too large to hear.
Apply the winning changes, keep a rough mix that predates them, and render the next revision. Then run a fresh blind test with new file names, because you now know what you expect to hear, and that expectation is exactly the bias you were trying to remove.
One clean cycle is a decision. Three or four cycles of the same question means the question is wrong, or the session needs rest, or you are chasing something. The GearSpace consensus and the r/audioengineering advice agree that brief checks after a break beat constant checking, and the same pattern shows up on r/cubase threads about A/B routing.
Common Mistakes
Six things go wrong most often, and every one of them has a straight fix. None of them are about your monitors being good enough.
Switching without matching loudness. The number one error, and the reason people come away from A/B testing convinced their new mix is better when it is simply bigger. Measure in LUFS, trim to within about 1 dB, and re-measure after any bounce.
Switching too fast. A two second flip gives you almost nothing to analyse. Spend at least 20 to 30 seconds per version, and never evaluate a difference you only caught halfway through a switch.
Judging from the intro. The first eight seconds often tell you nothing about balance, because the mix has not introduced its full arrangement yet. Compare the chorus, the second verse, and the last 30 seconds, where fatigue and arrangement changes show up.
Relying on memory. Trying to remember what version A sounded like three switches ago is hopeless. That is what the note template is for, and it is the difference between a test and a vibe.
Changing more than one thing at a time. If you move an EQ band, add compression, and change the reverb at the same time, you will hear that something improved without knowing what. One variable per version, always.
Using vague opinions. I like B more is not a finding. B has more vocal presence at 3 kHz and tighter low end under 100 Hz is a finding. If you cannot write the second kind, you have not listened hard enough to act on it.
Testing past the point of useful listening. Take 10 to 15 minutes away after roughly 45 minutes of comparing. Decision fatigue shows up as an urge to keep switching even though nothing new is coming, and it is the reason people end up second-guessing decisions that were already right.
Two habits help more than any plugin. Level match everything, and put a time limit on the test. The best A/B session I have had ended after twenty minutes with one clear change, which is a better outcome than two hours and nine small revisions that moved the mix nowhere.
Frequently Asked Questions
Should I loudness-match mixes before A/B testing?
Yes, always. If two versions sit at different loudness, your ear will pick the louder one before it evaluates anything else, and you will read that as a quality difference. Measure both in integrated LUFS and trim the louder file until the two are within about 1 dB of each other. Once they are matched, you are comparing tone, balance, depth and dynamics instead of volume.
What is the best way to switch between two mixes?
Use a single player or a switchable solo bus so one keypress or one button moves between them, with no gap and no level jump. In a DAW, two tracks with X-OR solo or a shared monitor source is the common approach. For file-based comparison, a level-matched bypass plugin or a dedicated A/B utility does the same job. Hide the version labels where you can so order and identity stop biasing you.
How long should I listen to each mix version?
Give each version 20 to 30 seconds of real attention, and check the same three or four sections every time, such as the first chorus, the second verse and the outro. Very short switches mostly measure expectation, not hearing. Spend a full pass on the sections you care about, write your notes, and move on. Ten to fifteen minutes of total comparison is usually enough to make a decision.
Should I A/B test on headphones and studio monitors?
Both, and a couple more besides. Headphones expose masking, sibilance and stereo balance issues that monitors hide, while monitors show you how the low end behaves in a room. A mix also has to survive a phone speaker, a car and a low volume, so testing in a few real conditions catches problems that no single setup will show you. Two systems is a useful pass, five is a full day.
How do I know whether a mix difference is actually better?
You cannot tell from preference alone, which is why the test needs notes. Write one objective observation per switch, describe what is in the file rather than whether you like it, and cover a fixed list: vocal presence, low end, overall balance, depth, dynamics. If you can state the difference in words and repeat it across two or three different sections, it is real. If you can only say one sounds better, it is not.
Conclusion
Start with the boring half of the method, because that is where most of the accuracy lives. Export two versions, label them A and B, measure them in LUFS and trim until they sit within about 1 dB. Load both into one player, hide which is which, and switch in blocks of 20 seconds or more.
Then work a fixed list instead of a general impression: vocal presence, low end, balance, depth, dynamics, and how the track feels at the end. Write each observation down as you go, because the notes are the result, and the switch is just the tool that produces them.
Keep one variable per version, test on a second system before you commit, and take a break every 45 minutes. A mix that is still pre-master can be honestly compared with a commercial record for balance, arrangement and depth, while loudness and final dynamics stay with the mastering engineer. Expect the honest answer to be sometimes, and that is a result too.