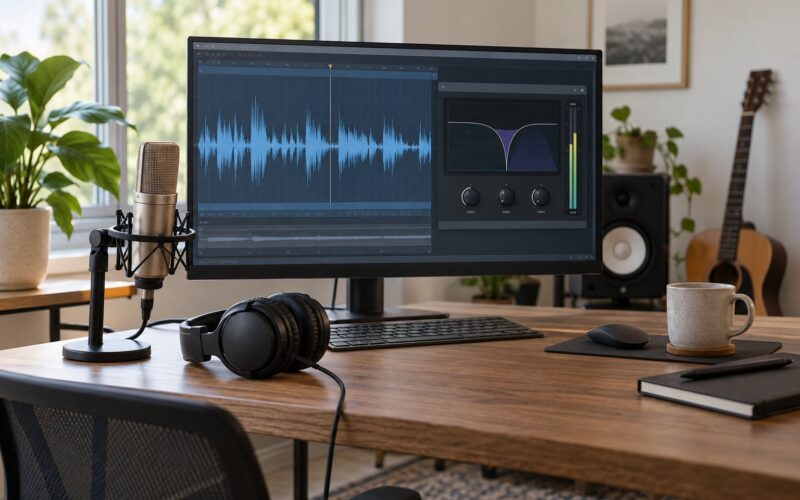
Harsh, piercing S sounds are the most common complaint in a home vocal mix, and they are almost never fixed by one plugin. Sibilance is concentrated energy between roughly 5 and 9 kHz, so to fix sibilance in vocals you find that band, work backwards from it, and correct the source before you touch the mix. On a finished comp, the whole process takes about twenty minutes.
Sibilance comes from the tongue-and-air turbulence that S, Z, SH and CH consonants need. When that energy is disproportionately loud against the rest of the vocal, it reads as piercing, tires listeners after about a minute, and buries the consonants it should be making clear.
I spent years blaming my de-esser. The real culprit was a condenser mic sitting six inches from a singer’s mouth in a room with a mirror on the wall behind them. Once I moved on to placement, most of the S sounds never needed touching at all.
Table of Contents
- What You Need
- How to Fix Sibilance in Vocals Step by Step
- Common Mistakes
- Frequently Asked Questions
- What frequency should I set my de-esser to for vocals?
- Can I fix sibilance with EQ alone, without a de-esser?
- What is the sibilance pencil trick and does it work?
- Does a pop filter reduce sibilance?
- How do you fix sibilance in a vocal that is already recorded?
- When should I re-record instead of processing the sibilance away?
- Conclusion
What You Need
You do not need an expensive signal chain to deal with sibilance. You need to be able to see it, hear it in context and change it precisely.
- A DAW with a waveform editor and a spectrogram. The waveform finds the sibilants instantly, because an S sound shows up as a narrow spike that sits well above the surrounding vocal. The spectrogram confirms the frequency.
- A parametric EQ. You will use a narrow band with a modest cut, not a broad high-shelf.
- A compressor with an audible gain-reduction meter. You want to watch what compression does to those spikes.
- A de-esser or a multiband compressor. Logic has a De-Esser on the channel strip, Ableton Live users usually reach for Auto Filter or a Max for Live de-esser, Reaper runs JSFX de-essers, and Pro Tools engineers generally use clip gain plus a tight band on an EQ.
- Closed-back headphones. They make the S spikes obvious while you work.
- A reference track that already sits well in your genre. This is how you calibrate your ears twice a session instead of guessing.
- A pencil. Genuinely. More on that below.
One hidden item matters more than most people expect: correct gain staging. If the interface input is set to the wrong level for your source, the preamp behaves differently than you assume, and the result sounds like a tonal problem rather than a routing problem.
How to Fix Sibilance in Vocals Step by Step
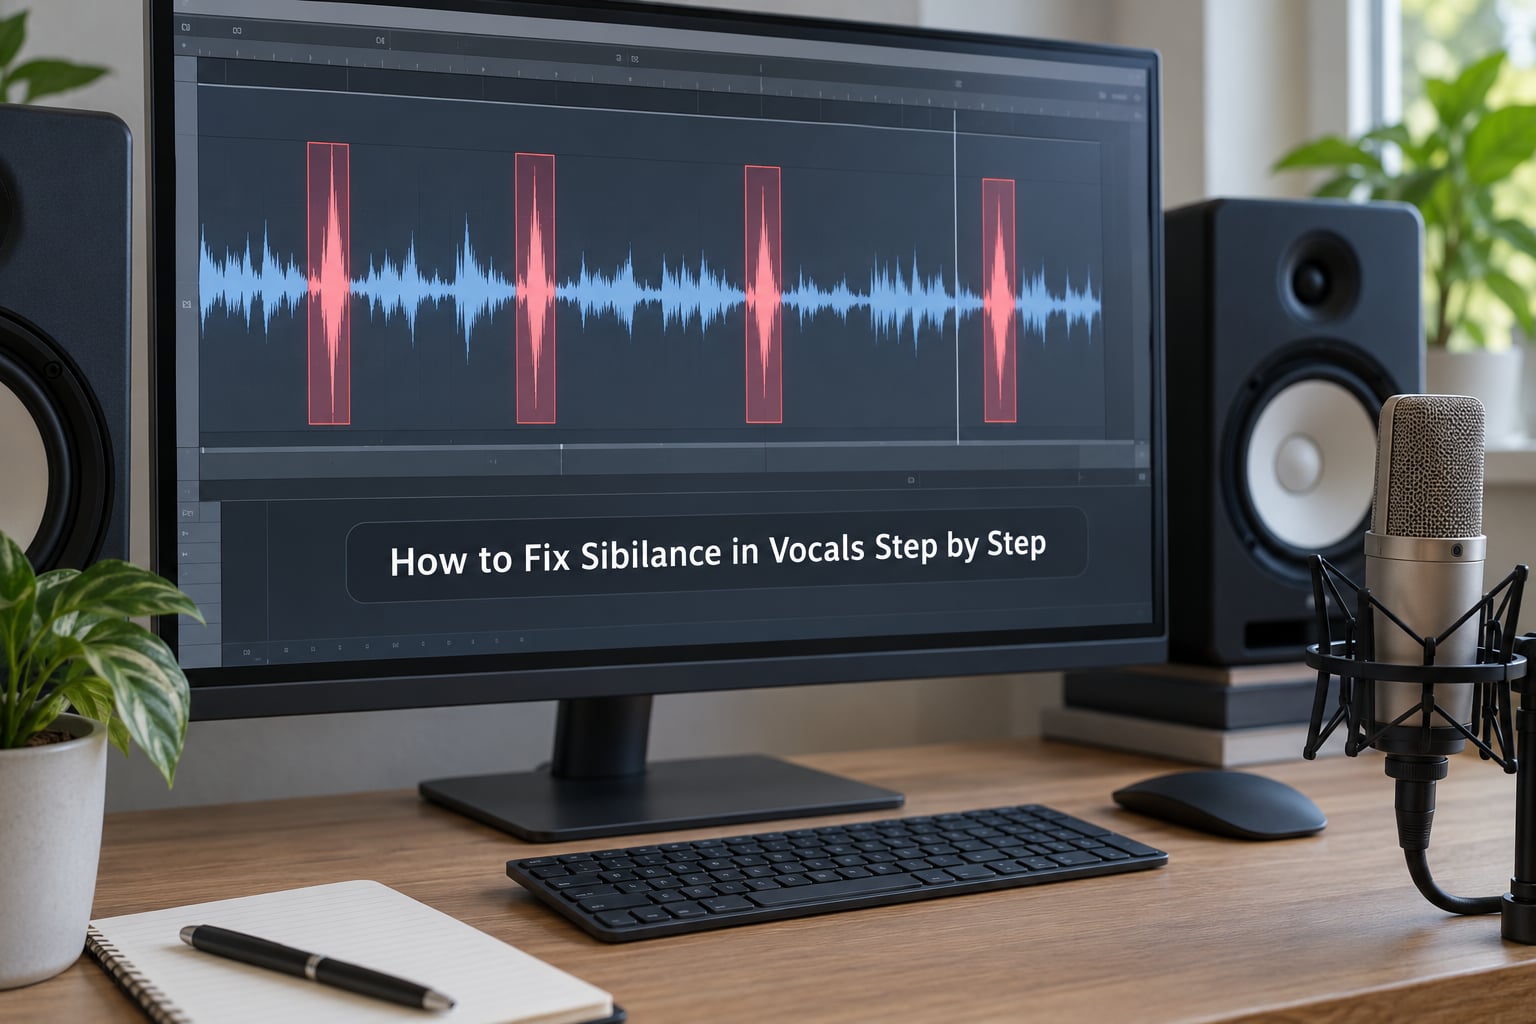
Step 1: Identify the Sibilance
Listen for the specific sounds first, because sibilance is narrower than most people assume. S and Z are the usual offenders, and SH, CH and T are close behind. A bright vocal is not automatically sibilant: brightness is a general character across the whole voice, while sibilance is isolated, piercing spikes that jump out of the level of everything around them.
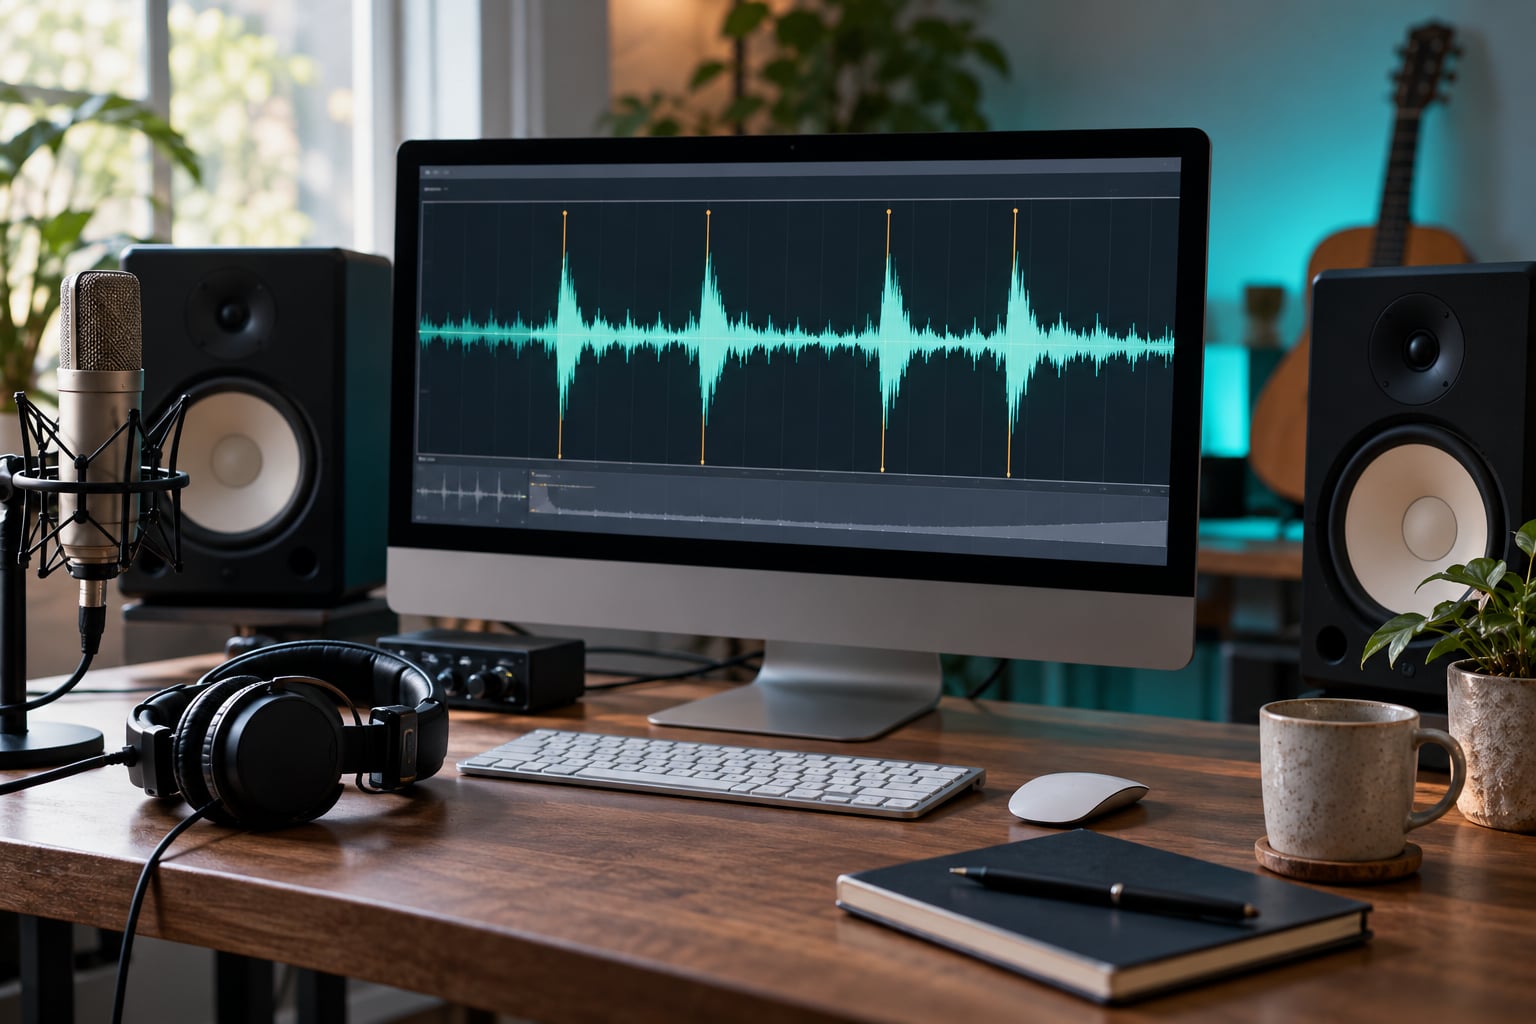
Play the comp and watch the waveform. Sibilant consonants appear as thin transient peaks that stand several decibels above neighbouring syllables. If you have a spectrogram, look at the region between 5 and 9 kHz while those words pass: the energy will flare and drop out again within a fraction of a second.
Test phrases make the job faster. Sing a line with plenty of S, Z, SH and CH sounds, such as “she sells seashells by the seashore”, and a word built around the letter, such as “sizzle”. If the sibilant word is the one you can pick out of the mix on the first listen, you have found the problem.
Step 2: Fix It at the Source
How to fix sibilance in vocals properly means treating the recording as the first repair, not the last one. A mic adjustment costs nothing and permanently removes energy that no plugin can fully replace.
- Turn the mic off-axis. Singing straight into a presence-lift capsule maximises the sibilant energy. Angle the mic 20 to 30 degrees away, or have the singer sing across it rather than into it, and the high-frequency content drops because the capsule no longer sees the airstream head-on. This is the adjustment singers on forums mention most often.
- Add distance. Moving from a fist-width to a hand’s width away softens the top end noticeably. A six to eight inch change is usually enough. ASMR and close-whisper voice work is the exception, since those styles need proximity, so treat the technique as genre-dependent.
- Check your interface input. Look at whether the channel is set to mic level or line level, and make sure it matches the source. One long Gearspace thread about near-unfixable sibilance on a large-diaphragm condenser ended with the interface input switched from mic to line mode and the problem gone, which shows how a routing or gain error can masquerade as a permanently sibilant mic.
- Compare takes before editing. Same lyric, same distance, one good comp pass and one lazy pass. The difference is often technique, and it gives you an alternative to processing.
A pop filter is worth mentioning here because it is regularly credited with fixing sibilance when it does not. It handles plosives from P, B and T. A foam windscreen does roll off some ultra-high energy, but neither one replaces correct placement.
Step 3: Use Automation and EQ
Once the source is as good as it is going to get, start with the gentlest tool. Volume rides and narrow EQ cuts keep the consonant’s character, which is what makes the result sound natural rather than lispy.
Put the cursor on each sibilant peak and lower the level by 2 to 4 dB with clip gain or volume automation. Most DAWs do this as a downward ramp: place a breakpoint at the base of the word, one at the peak, and one just after the word ends. A short ramp avoids the pumping artefact you get from abrupt changes.
For a static fix, open a parametric EQ and cut a narrow band centred somewhere between 6 and 8 kHz, with a bandwidth wide enough to catch the consonant and narrow enough to leave the neighbouring vowel alone. Two to three decibels is usually plenty. A broad high-shelf cut is the classic mistake here: it dulls the entire vocal to solve a problem that only exists for a fifth of a second.
Step 4: Control It With Compression or De-Essing
How to fix sibilance in vocals at speed comes down to one plugin, but set it up carefully because this is where most mixes go wrong.
Reach for the de-esser only where automation and EQ have left spikes you still cannot control. Set the detection range to the band that is actually misbehaving, often 5 to 8 kHz, and lower the frequency knob if the plugin has one. Set the threshold so the meter shows a few decibels of reduction, roughly 3 to 6 dB, on the sibilants and nothing at all on the vowels. Set the attack fast so the transient is caught and the release so it releases before the next word, usually in the 30 to 100 ms range depending on tempo and delivery.
A multiband compressor set to the same narrow band is the alternative when your DAW lacks a dedicated de-esser, and it is more work to dial in. Both tools need the same discipline: less reduction than you think, and a check afterward that the vocal still says every word clearly.
Compression often gets blamed for creating sibilance when it only reveals it. A compressor lifts the quieter syllables toward the level of the loud ones, so S sounds that were already in the mix now sit alongside the rest of the line at full level. If the spikes appear right after you add compression, the fix is threshold and ratio on the compressor, not more de-essing.
Step 5: Check the Vocal in Context
Solo listening is how mixes end up with dull, over-processed vocals, because a solo voice with no instrumental sounds thin and naked compared to how it sits in a track.
Here is the routine I use before I call a vocal done:
- Mute the vocal, note how the instrumental feels alone, then bring it back and confirm the voice sits at a comfortable level without jumping forward.
- Check mono. Play the track through a mono-summed output and listen for any loss of intelligibility.
- Test at two playback levels: loud on good headphones, and quiet on a phone speaker. The quiet test is where sibilance betrays itself.
- Read the lyrics aloud against the mix. If you can hear every S and Z without strain, the de-essing is doing its job.
- A/B against your reference track at matched loudness, focusing only on whether the consonants sound relaxed.
Common Mistakes
Almost every sibilance problem I get sent comes from one of these, and each has a specific correction.
- Cutting a wide high shelf. The whole vocal goes dull to fix a quarter-second spike. Correct it with a narrow band between 6 and 8 kHz, or with clip gain.
- De-essing too hard. A reduction of 10 dB or more produces a lispy vocal that lacks consonants entirely. Back the threshold off until reduction sits around 3 to 6 dB.
- Setting a wide detection range. The plugin then reacts to the whole vocal and the voice sounds like it is being pumped. Narrow the detection band to the frequency that is actually spiking.
- Stacking two de-essers. The second unit chases what the first removed, the attack times fight each other, and the result is inconsistent. One well-set de-esser is enough.
- Leaving the mic pointed straight at the mouth. No plugin chain undoes a mic six inches from a singer’s lips. Angle it 20 to 30 degrees and move back before you mix.
- Crediting the pop filter. It tackles plosives, not sustained sibilant energy, so the problem returns as soon as the filter is removed.
- Boosting a dull vocal to make it clearer. Clarity comes from removing muddiness in the low-mids, usually 200 to 400 Hz, not from adding treble that makes the sibilance worse.
- Trusting solo playback. Every correction gets re-judged against the instrumental, at two volume levels, before it is finished.
Frequently Asked Questions
What frequency should I set my de-esser to for vocals?
Start between 5 and 8 kHz, then move the band to wherever your spectrogram shows the sibilant energy. Most condenser vocals sit in that range, while darker ribbons and low-sibilance voices may need a higher or narrower band. Set the threshold so the meter shows roughly 3 to 6 dB of reduction on S sounds and no reduction at all on vowels.
Can I fix sibilance with EQ alone, without a de-esser?
For isolated spikes, yes: clip gain plus a narrow parametric cut handles most of it. A static EQ is weaker when many sibilants appear at different levels across a song, because one fixed cut cannot be right for all of them. In that case a de-esser follows the peaks automatically and keeps the level consistent between takes.
What is the sibilance pencil trick and does it work?
It means holding a standard pencil in front of the mic capsule with the flat face toward the singer, a few inches out, without touching the grille. The pencil breaks up the turbulent airflow before it reaches the capsule, which measurably softens sibilance on large-diaphragm condensers. Users on recording forums confirm the effect, but it reduces tone slightly too, so judge it against a take without it.
Does a pop filter reduce sibilance?
Not directly. A pop filter is designed for plosives, the bursts of air from P, B and T, and it barely touches the sustained high-frequency energy of S and SH. A foam windscreen above the filter can shave some of the very top end. For sibilance, mic angle, distance and gain staging do far more than any filter.
How do you fix sibilance in a vocal that is already recorded?
Work in order: select the cleanest take where possible, then apply clip gain or volume automation to the spiking consonants, add a narrow 6 to 8 kHz cut, and finish with a de-esser at gentle settings. If the source is hot, clipped and recorded too close with a very bright mic, processing can only go so far, and re-recording with a different mic position is usually faster.
When should I re-record instead of processing the sibilance away?
Re-record when the S sounds sit on top of the noise floor, when the vocal peaks are already clipped, or when the same take has unfixable problems like plosives and rumble. A bright mic, an untreated room and a singer who moves around are all source problems. If fixing them needs more than a few decibels of processing, the recording session is the faster route.
Conclusion
Start by finding the offending sounds: mark every S, Z, SH and CH spike in the waveform and listen to where they sit between 5 and 9 kHz. Then make the smallest correction that works, in this order: mic angle and distance, then the cleanest take, then clip gain, then a narrow EQ cut, and only then a de-esser at 3 to 6 dB of reduction.
How to fix sibilance in vocals is mostly a discipline of restraint. The vocal should still say every word, at every volume, on a phone speaker as well as on studio monitors. If it does, the problem is solved.