Learning how to use a high pass filter correctly comes down to one habit: find the lowest frequency a source actually needs, cut everything below it, and then check the result by ear against the unfiltered original. Do that on vocals, guitars, snare and overheads and the filter stops sounding like a filter and starts sounding like a cleaner mix. This guide was last checked against 2026 sessions and plugin behaviour, and it works in any DAW.
There is no magic number. A 100 Hz setting that rescues a thin vocal can wreck a snare that already sits at 90 Hz, which is exactly why copy-pasted “clean up the mix” presets thin out so many beginner mixes. What you need instead is a repeatable process you can run in about five minutes per track.
Table of Contents
- What You Need to Use a High Pass Filter Correctly
- Step-by-Step
- Common Mistakes
- Frequently Asked Questions
- What frequency should I set a high pass filter at?
- Should I use a 12 dB, 18 dB, or 24 dB high pass filter?
- Do high pass filters make vocals sound better?
- Should I high pass every instrument in my mix?
- What is the difference between a high pass filter and a low shelf?
- Should I filter audio before or after compression?
- Conclusion
What You Need to Use a High Pass Filter Correctly
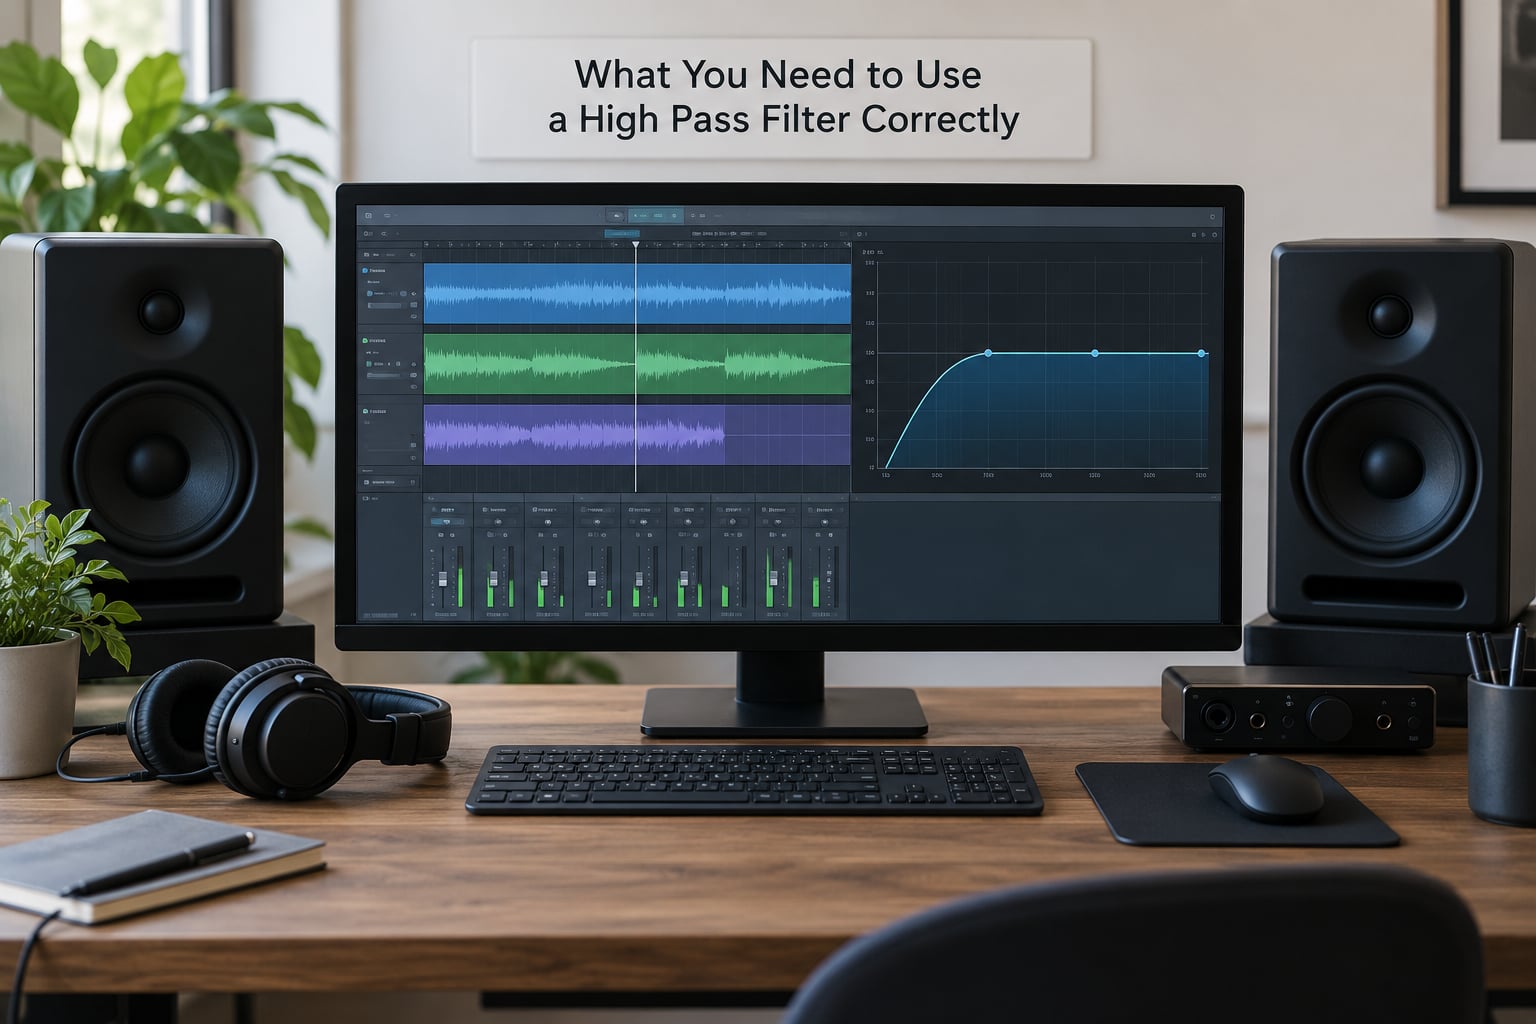
Four things, and almost every DAW already has all of them.
- A DAW with any equalizer. Every DAW ships a parametric EQ with a high-pass mode, and most channel strips have a filter built into the preamp section. If your host has one of those, that is the plugin to use.
- An EQ with a slope selector. Channel strip filters are usually fixed at 12 dB per octave. A parametric EQ gives you 12, 18, 24 and sometimes 36, which matters once you hit rumble or subsonic noise.
- Clean headroom. Get gain staging roughly right before you filter. If the track is clipping into the EQ, you cannot hear whether the filter helped.
- A monitoring reference. Headphones for detail, monitors for context, and one track you trust for level-matched comparison.
A spectrum analyzer is useful for seeing what is there, but it should never decide the setting. The ear tells you whether the source still sounds like itself, and no amount of visible low-end energy changes that.
Step-by-Step
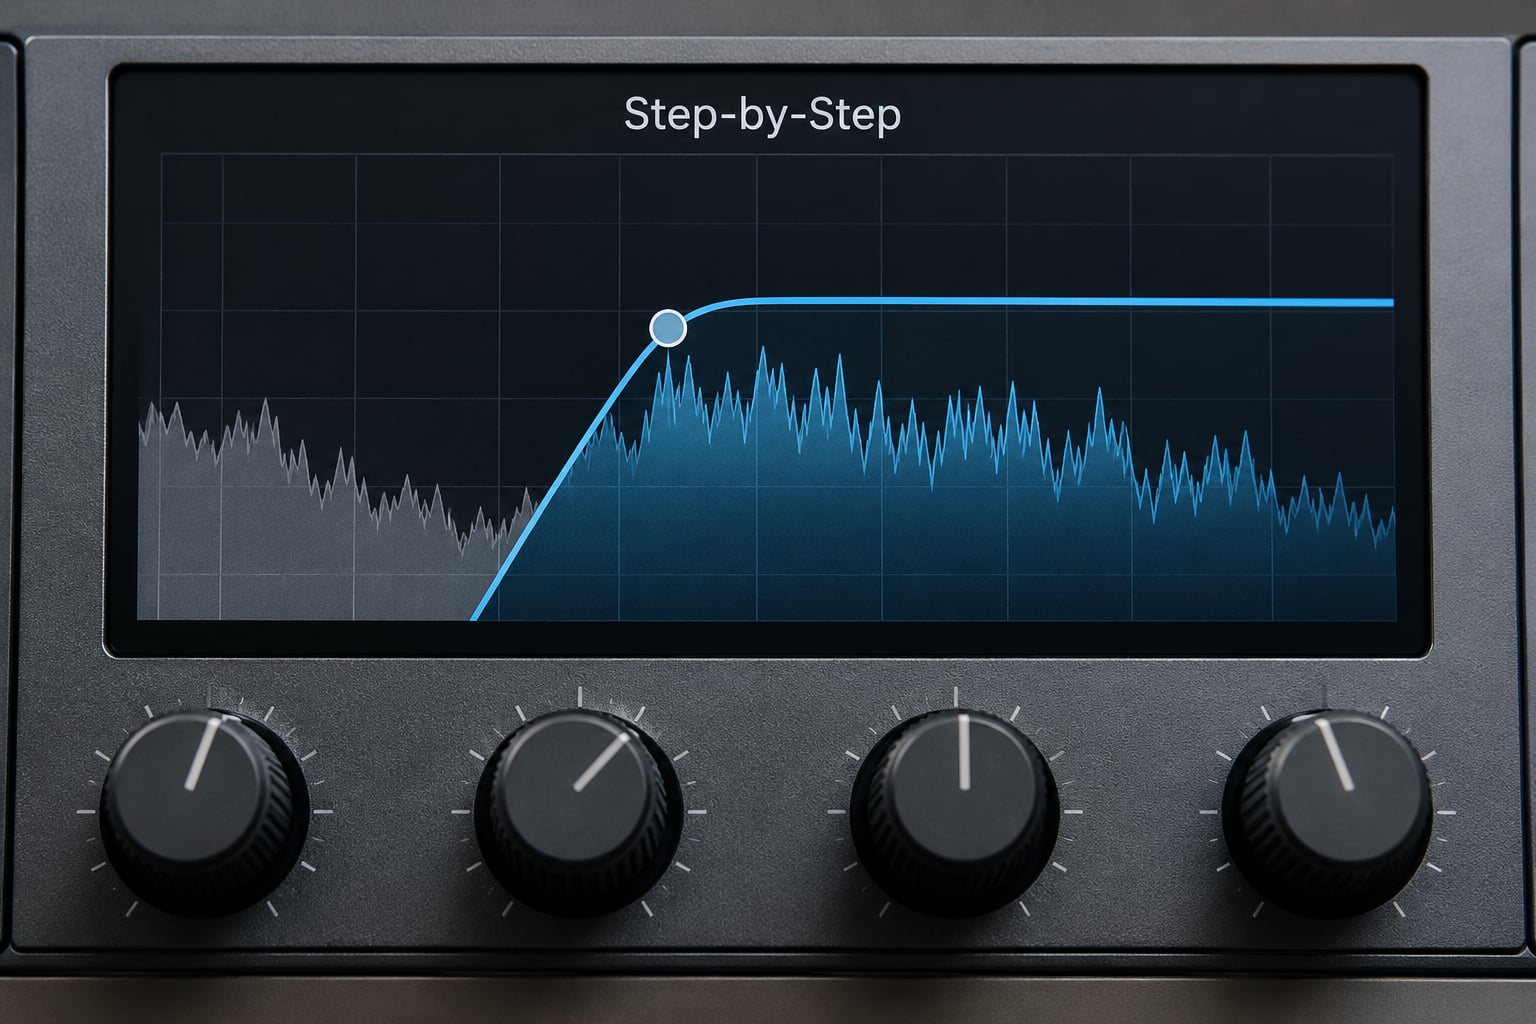
Run this order every time. It works on a vocal, a DI guitar, an overhead pair and a noisy room mic.
- Listen for the problem, not for a frequency. Name what is wrong first: rumble under the vocal, plosive thumps, a muddy low end in the full mix, handling knocks on a snare, or bass bleeding into a mic that should not have it. If you cannot describe the problem, filtering will not fix it.
- Loop four to eight seconds and set up a bypass loop. Most EQs have an on/off button. Build a loop where one pass is filtered and the next pass is untouched, level-matched so the loudest peak is the same in both.
- Solo the track. Filters in context hide themselves. Soloing also makes the phase problems in step 7 audible, because there is nothing to hide them.
- Sweep the cutoff from the bottom upward in mono. Start at 20 Hz with a 12 dB per octave slope and drag it up slowly until you hear the source start to lose body. That point is your ceiling.
- Back off about a third of the way. The sound at the ceiling is thin, not clean. The useful setting lives below it. If the sweep only got to 90 Hz before sounding wrong, set the cutoff near 60 Hz.
- Switch to a steeper slope only if 12 dB is not enough. Rumble and subsonic noise fall at 24 dB per octave. Tonal mud usually does not, and paying for it with phase shift is a bad trade.
- Check the mono button and look for smearing. A steep filter rotates the waveform, so a snare attack or a vocal transient can turn into a soft, delayed version of itself. If the filtered version loses attack in mono, drop back to 12 dB per octave or move the filter to an auxiliary send.
- Bypass and compare, out of context first, then in context. The filtered version should sound the same in character and cleaner in level of low-end clutter. Then play it against your reference track and then in the full mix, where the real test lives.
- Automate if the source changes, then re-check the section where it changes. A filter set for the quiet verse does not need to be identical in the loud chorus. Draw the cutoff, not the volume, and listen for the move.
How to Use a High Pass Filter Correctly on Different Sources
The right cutoff is set by where the source’s lowest useful frequency sits, not by habit. Find that frequency, then go below it.
| Source | Start here | Slope | Watch out for |
|---|---|---|---|
| Lead vocal, male | 80 to 100 Hz | 12 dB/oct | A deeper male fundamental sits around 80 Hz, so start above it or the voice thins |
| Lead vocal, female | 100 to 120 Hz | 12 dB/oct | Proximity effect adds bass on close-miked takes; back the mic off instead of cutting harder |
| Backing vocals | 120 Hz | 12 to 18 dB/oct | Safe to push higher than the lead, since the double should sit behind it anyway |
| Podcast and voiceover | 70 to 90 Hz | 12 dB/oct | Heavier filtering here than in music, because no instrument will miss the low end |
| Acoustic guitar | 60 to 80 Hz | 12 dB/oct | Cutoff above roughly 150 Hz removes the body and the sound goes thin fast |
| Electric guitar, DI or amp | 100 to 120 Hz | 12 dB/oct | A tight low end here is the reason guitars hide behind the kick |
| Snare drum | 80 to 100 Hz | 12 dB/oct | The fundamental is in the same neighborhood as a vocal, so check for masking |
| Overhead mics | 200 to 300 Hz only if the room is boomy | 12 dB/oct | Overheads often carry your lowest cymbals; be conservative or leave them alone |
| Stereo room or ambience mic | 80 to 120 Hz | 6 to 12 dB/oct | Aggressive filtering here collapses stereo width. Filter in M/S or leave the pair untouched |
| Piano and keys | 30 to 50 Hz | 12 dB/oct | Keep the pedal note if it is audible and musical in context |
| Kick drum | Usually nothing | n/a | If the track is in a very high key or you need headroom, a subsonic filter at 20 to 30 Hz is safe |
| Bass guitar | Usually nothing | n/a | A 20 to 30 Hz subsonic cut for rumble is fine. Anything more and the track loses its weight |
That last pair is the answer to the question most people actually have. Kick and bass are the elements that need low end, so filtering them is a net loss. Everything else in a typical session usually carries low frequencies it does not need, and that is where a high pass filter earns its place.
Choosing the Right Filter Settings
Slope is the second decision, and it is smaller than most people think. A steeper filter removes more energy per octave, but it also moves the waveform out of phase, which softens transients.
| Slope | Attenuation per octave | Phase cost | Use it for |
|---|---|---|---|
| 12 dB/oct | Gentle | Minimal | The default for tonal work: clearing mud, opening space, cleaning vocals |
| 18 dB/oct | Middle | Noticeable on transients | A louder rumble problem where 12 dB left audible noise behind |
| 24 dB/oct | Steep | High, transient smearing | Subsonic rumble, HVAC noise, traffic, and safety filtering on a master bus |
The math is simple and worth doing once. With a 400 Hz cutoff at 12 dB per octave, a signal at 200 Hz sits about 12 dB down, 100 Hz is about 24 dB down, and 50 Hz is about 36 dB down. At the cutoff itself the signal is roughly 70.7% of its original amplitude, which is the -3 dB point your EQ display is drawing.
Phase shift is the hidden cost. Every high pass filter rotates the phase of the frequencies below its cutoff, and the steeper the slope, the wider the rotation. In practice that reads as a snare attack that loses its click or a vocal that feels slightly behind the beat. If you hear that, you have three ways out: drop to 12 dB per octave, move the high-pass onto a parallel send and blend it in, or use a minimum-phase filter. Linear-phase filters reduce rotation but add latency and can ring slightly around the cutoff, which is why they are usually reserved for mastering and for sources where transient detail is the whole point.
Sometimes a high pass filter is not the tool you need. Low frequency buildup caused by proximity effect or a room often responds better to a low shelf cut around 200 to 400 Hz, because that reduces the buildup without tilting the entire low end. A narrow resonance at exactly one frequency wants a notch. A frequency that swells unpredictably between takes wants a dynamic EQ band in auto-gain mode. And a proper low-pass filter is the mirror image: it removes highs to darken and warm a source, which is what you want on a dull vocal or an over-bright guitar, not what you want when the complaint is that the track sounds muffled.
You can also filter the sidechain. Feed a high-pass into a compressor keyed from the kick, and the ducking only responds to the low frequencies worth reacting to. It is a sound-design trick as much as a mixing one, and it is how pads and synths get pumped without pumping on every input.
One last clarification, because this topic attracts a lot of car audio and PA traffic. An amplifier’s high-pass setting is a crossover: you set it around 80 Hz so the subwoofer and door speakers stay in their own lanes and your tweeters are not asked to move air it was never built for. A subwoofer’s low-pass then sits near 80 Hz too, slightly overlapping the high-pass of your door speakers. It is a completely different job from mixing, where you set the cutoff by ear per track.
For the electronics side of the same idea, a passive high-pass is just a capacitor in series with a resistor, with the corner frequency set by the ratio of the two. The formula is fc = 1 divided by 2 pi times R times C, so a 1 kOhm resistor with a 0.1 microfarad capacitor puts the corner at roughly 1.6 kHz. An active version adds an op-amp after that network so the filter can be much steeper without loading the source.
Common Mistakes
Every one of these is easy to spot once you know the shape of the failure.
- Cutting above the source’s fundamental. A vocal high-passed at 250 Hz sounds thin and nasal no matter how clean the noise got. Fix: find the lowest useful frequency, then set the cutoff below it.
- Reaching for 24 dB per octave by reflex. Steep slopes buy phase rotation you did not ask for. Fix: 12 dB per octave for anything tonal, steeper only for rumble and subsonic noise.
- High-passing the kick and the bass. These two own the low end of your mix. Cutting them leaves the track sounding like it is missing weight. Fix: leave them alone, or use a 20 to 30 Hz subsonic filter.
- Filtering every channel. This is reflex, not mixing. Fix: only filter a source where you have a specific complaint about its low end.
- Copy-pasting one setting onto everything. A 100 Hz setting pasted onto vocals, snare and guitars removes the fundamental on two of the three. Fix: sweep per track.
- Setting the cutoff and never bypassing. After an hour of nudging a filter, you lose the memory of the original. Fix: build a bypass loop before you start.
- Filtering before you gain stage. Changes you cannot hear are changes you cannot judge. Fix: set rough level first, then filter.
- High-passing a stereo room mic hard. The same cutoff on both channels of a decorrelated pair narrows the stereo image. Fix: use a gentle 6 to 12 dB slope, filter in M/S, or leave the pair alone.
- Using a steep filter on the master bus. This adds latency and can trigger sample-rate conversion problems on export, and a steep filter at the top of the chain re-introduces phase issues you already fixed. Fix: if you use one there at all, keep it low, around 20 to 30 Hz, and think of it as a safety net rather than a sound.
- Setting it once and forgetting it. A vocal that wanders on a quiet verse needs a touch of help there. Fix: automate the cutoff, and listen back to the section where the move happens.
Five quick checks tell you whether a setting is right. Bypass it on a loop at matched level and confirm the filtered version is better, not just different. Play the whole track quietly, because frequency problems hide at low volume. Check the mono button for width and phase problems. Listen on a phone speaker or a small system, where a muddy low mix gives up immediately. And play it next to a reference track you like, which is the fastest way to hear a mix that has lost its weight.
Frequently Asked Questions
What frequency should I set a high pass filter at?
Start below the lowest frequency your source needs, then sweep upward until it sounds thin and back off. In practice that lands around 80 to 120 Hz for most lead vocals, 100 to 120 Hz for electric guitar, 80 to 100 Hz for snare, and 60 to 80 Hz for acoustic guitar. Leave kick and bass unfiltered. The number matters far less than sweeping by ear and verifying with a bypass loop.
Should I use a 12 dB, 18 dB, or 24 dB high pass filter?
Use 12 dB per octave for almost all tonal cleanup, because it moves the waveform very little and keeps transients intact. Go to 18 dB per octave when a 12 dB filter leaves audible low-frequency noise behind. Save 24 dB per octave for subsonic rumble, HVAC and traffic noise, and for safety filtering, since steeper slopes cost you phase shift and can soften attacks.
Do high pass filters make vocals sound better?
They make vocals cleaner, which is not always the same as better. A high pass filter on a vocal removes rumble, plosives, desk bumps and proximity effect that eat up low-frequency space the kick and bass need. If the fundamental stays intact, the vocal reads clearer and sits better in the mix. If you cut into the fundamental, the same filter leaves a thin, nasal vocal that sounds worse than the unfiltered take.
Should I high pass every instrument in my mix?
No. Filtering every channel is the fastest route to a thin, lifeless mix, because it removes low frequencies that were never a problem. Filter a source only when you can name the complaint: rumble, plosives, handling noise, mud, or masking in the low end. Kick drum and bass guitar usually need nothing at all, and stereo room mics need a much gentler touch than most people give them.
What is the difference between a high pass filter and a low shelf?
A high pass filter is a steep, slope-controlled cut that attenuates everything below the cutoff, so it thins a source as you raise it. A low shelf is a gentler, wide adjustment that moves a whole band up or down without a hard corner. That means a shelf fixes broad buildup or mud around 200 to 400 Hz, while a high pass filter removes subsonic junk and rumble you simply do not want.
Should I filter audio before or after compression?
Filter before compression, so the compressor reacts to the clean version of the signal and the noise never gets pumped along with the words. If you already compress first, most DAWs still let you insert the EQ before the compressor in the channel strip. The exception is sidechain work, where a high-pass filter on the sidechain routing shapes how a compressor ducks.
Conclusion
Start with one track this session. Solo it, loop four seconds, put the filter in bypass, then sweep a 12 dB per octave high pass from 20 Hz upward until the voice or drum starts to lose its body, and drop the cutoff back by a third. If you can name what went wrong when you hit bypass, you set it correctly. Repeat on the next track, and leave the kick and bass alone the whole time.