Parallel compression works by blending an untouched dry signal with a heavily compressed copy of the same audio, so you add punch and energy without losing natural dynamics. The whole technique takes about ten minutes of routing in your DAW, and every DAW ships the tools you need already installed.
The reason it works is simpler than most tutorials make it sound. Our ears are far more sensitive to a drop in level than to an increase, so a quieter layer disappearing from the mix is obvious while a louder layer sliding in is nearly free. Stack that behaviour over a full drum bus and the track gets louder and more consistent without the kick transient getting crushed.
Engineers in r/mixingmastering complain constantly that nobody teaches the reasoning, only a fixed recipe. That is fair, so here is the logic first and the numbers second. Once you understand why the dry path never changes, the settings stop being a guessing game.
Table of Contents
- What You Need
- How to Use Parallel Compression: Step-by-Step
- Frequently Asked Questions
- Is parallel compression the same as sidechain compression?
- Do vocals need parallel compression?
- Should I mute the dry signal when setting up parallel compression?
- How much parallel compression is too much?
- Do I need to EQ the parallel signal before compressing it?
- Can I use parallel compression on the master bus?
- Conclusion
What You Need
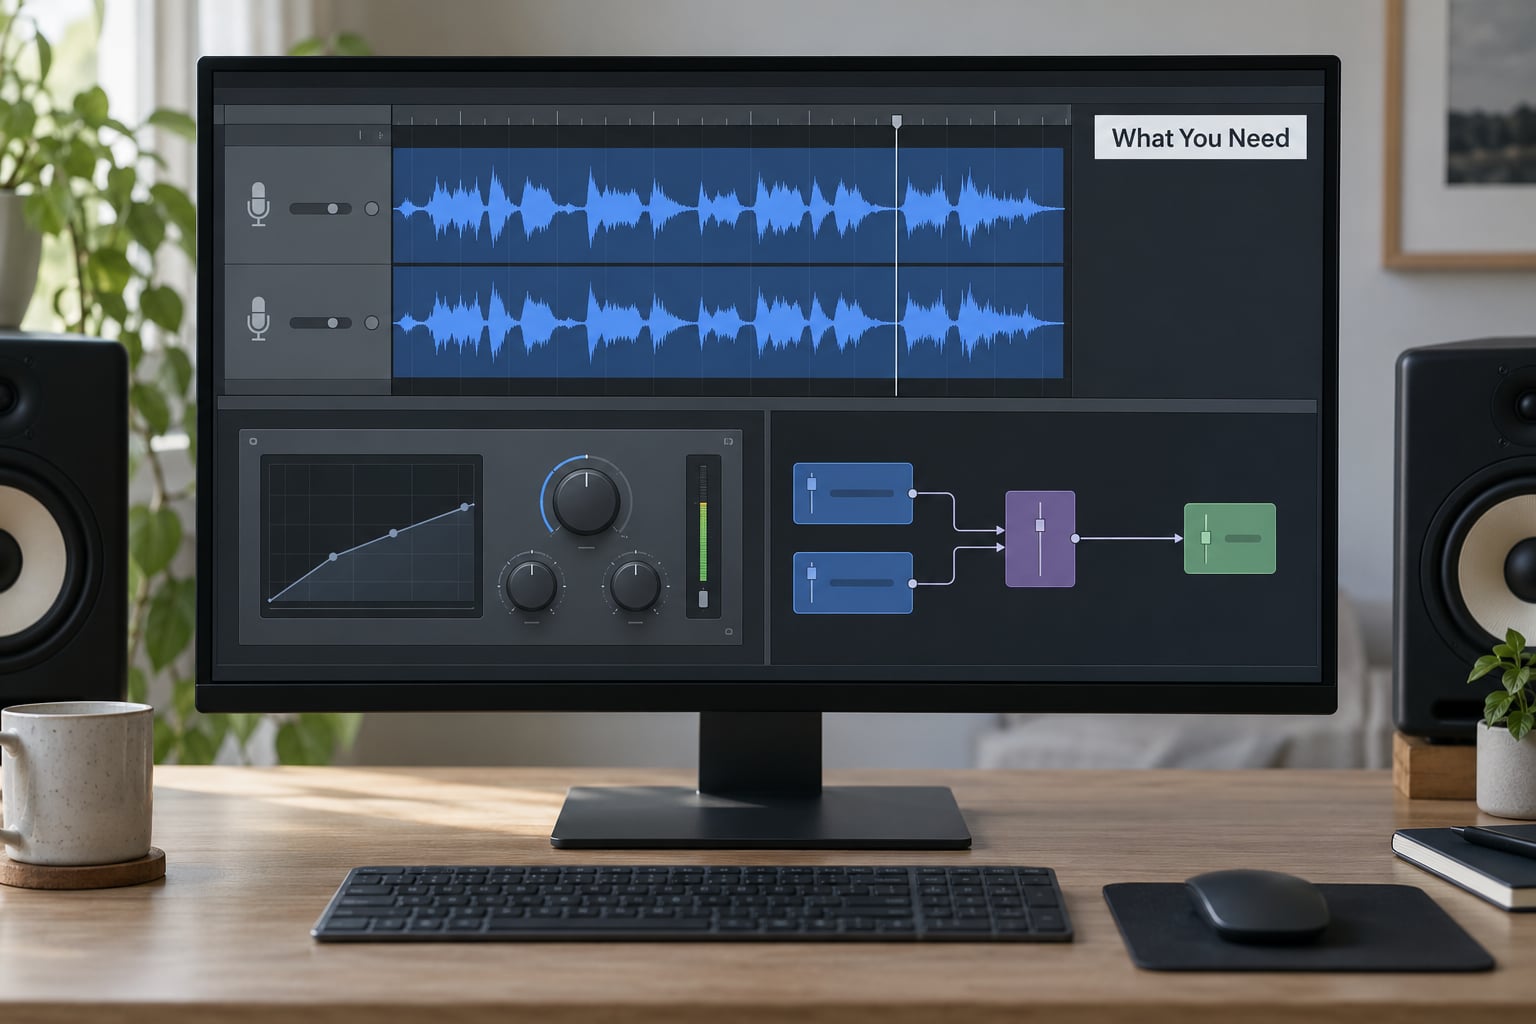
Five things, and four of them already exist in the DAW you are sitting in right now.
The first is a compressor. Any stock one will do for learning the technique, because the technique is about the routing, not the plugin. The second is a copy of the source track, which you can make by duplicating the track or by using a send. Both routes end up in the same place.
The third is a bus, also called an aux buss, that collects the parallel signal and sends it back to the mix. The fourth is a high-pass filter, which is optional but almost always worth having on the parallel channel so the send is not doubling your low end. The fifth thing is your meters, because the single most common error in this technique is judging by ear without matching loudness first.
That is the whole shopping list. If your DAW has a stock compressor, an aux bus and a filter, you have everything you need to get through the rest of this guide.
How to Use Parallel Compression: Step-by-Step
Step 1: Choose the Right Source Track
Reach for a track that is already good but inconsistent: one that has moments of weight and moments of thinness. A drum bus, a lead vocal, a bass line and an electric guitar bed are the classic four, and the mix bus itself is a valid fifth if your headroom allows it.
Drums benefit the most because the problem there is uneven energy between hits rather than a single bad peak. A dense rock or funk kit with ghost notes and fills is nearly ideal, since the quiet passages need lifting without flattening the loud ones.
Lead vocals work when the performance has good tone but inconsistent level between lines, provided the track is already clean enough to survive extra gain. A vocal with heavy room noise, mouth clicks or obvious sibilance needs that fixed first, or the parallel layer will just make the problems louder.
Some sources should stay out of it. An instrument that is already dense and compressed, or a sound that relies on silence around it for impact, usually gets worse. Sparse piano and ambient passages are good examples. If the source is quiet by design, adding a compressed copy underneath steals the space the silence was creating.
One forum distinction is worth stealing: in r/ableton, producers describe parallel compression as the right tool for the kick and snare and serial compression as the better choice for toms and hats, because toms and hats live in the mix on their own dynamics. That is a reasonable rule of thumb rather than a law, and it points at the real question: is the problem consistency across the whole bus, or the shape of one hit.
Step 2: Duplicate the Track or Create a Send
You have two options and they behave almost identically. Duplicating gives you a separate track where you can place anything. A send is lighter on CPU and keeps the routing visible on the original track. Beginners often find the duplicate easier to see, and it avoids the confusion of a send sitting at zero with no explanation on screen.
Whichever you pick, the rule is the same: the original track stays exactly as it was. Do not insert anything on the dry path, do not change its gain, and do not mute it permanently. If the original track ends up altered, you are no longer doing parallel compression, you are doing serial compression with extra steps.
Here are the exact menu paths in the most common DAWs, using the current naming rather than older Fruity or Logic Pro X labels.
| DAW | Create the parallel return | Set the send | Control wet output |
|---|---|---|---|
| Logic Pro | New track with Audio, set Output to Stereo Out, then Channel Strip > Send > New Bus > Stereo | On the source Channel Strip, drop a send to the new bus and ignore the Pre-Fader default | Add a Compressor to the bus and set the Wet Mix output to 100 percent |
| Ableton Live | New Audio Track, then View > Mix View or drag from the source track’s Sends section | Increase the send knob on the source track until the meter moves in the right amount | Add an Audio Effect Rack with a Compressor, keep Dry or Mix at 0 percent and the return fader sets the wet level |
| Studio One | Insert > Add Bus, name it, and set the send to the source | Use the source track’s Send knob or Studio One’s Console Send | Add a Compressor to the bus and set its internal dry and wet split |
| FL Studio | Add a Mixer track, right-click it and route the source to it | Use the mixer track’s send knob on the source channel | Add Fruity Compressor or any plugin to the mixer insert slots |
| Cubase | Add a Group Channel from the Arrange window, then add the effect to the group | Open the source’s Audio Sends and enable a send to that group | Because a group only receives, the whole channel is the wet path with no dry to trim |
| Pro Tools | Shift and Command N for a new Bus, or use an existing bus such as A 1 to 2 | In the Edit window or Mix window, raise the bus fader send above the track fader | Insert an compressor on the bus, or a compressor with a wet-dry mix control |
| Reaper | Insert > Add new receive on the source track, or add a folder or track with receive | Adjust the send or receive fader to taste | Insert a JS compressor or any VST on the receive track |
Whichever DAW you are in, the dry path and the wet path should run through the same number of processing stages. If one path runs through extra plugins the other does not, the two copies arrive at slightly different times and you get comb filtering on transients that sounds like a dull kick rather than a routing fault. The fix is to put matching insert slots on both paths, or to record the parallel and dry together through the same amount of gear.
Step 3: Set the Compressor Controls
Start with a moderate ratio, a fast attack and a release slower than feels natural. That combination is the opposite of what you would reach for in serial compression, and the difference is worth understanding rather than memorising.
Why the fast attack? Because the layer that gets crushed is the one you want to sound like a solid body underneath, and letting the transient through means the layer is nothing but an even slab that fights the dry signal for the same slot. Why the slow release? Because a fast release lets level bounce back up between hits, and that bouncing level is what you hear as pumping. Why moderate ratio? Because a very high ratio flattens the layer until the only thing it contributes is loudness, and loudness is a trick the ear discounts anyway.
| Source | Threshold | Ratio | Attack | Release | Starting blend |
|---|---|---|---|---|---|
| Drum bus | -18 to -24 dB | 4:1 to 8:1 | 10 to 30 ms | 80 to 150 ms | 25 to 40 percent of the dry level |
| Kick | -15 to -20 dB | 4:1 | 20 to 40 ms | 100 ms or auto | 20 to 30 percent |
| Snare | -18 to -22 dB | 4:1 to 6:1 | 5 to 20 ms | 60 to 120 ms | 20 to 35 percent |
| Lead vocals | -20 to -26 dB | 3:1 to 4:1 | 5 to 15 ms | 80 to 200 ms | 10 to 25 percent |
| Bass or 808 | -18 to -24 dB | 4:1 to 6:1 | 15 to 40 ms | 100 to 200 ms | 15 to 30 percent |
| Electric guitar | -20 to -26 dB | 3:1 to 5:1 | 15 to 40 ms | 100 to 200 ms | 15 to 30 percent |
| Full mix bus | -12 to -18 dB | 2:1 to 3:1 | 30 to 60 ms | 150 to 300 ms | 10 to 20 percent |
Two of these numbers matter more than the rest. The first is gain reduction: aim for somewhere around 6 to 10 dB on the parallel channel, which is a lot more reduction than you would allow on a track you were trying to keep dynamic. The second is makeup gain, which exists on analog-style compressors specifically because the gain you remove has to come back before the level is useful.
For vocals, keep the ratio gentler than you expect. In r/FL_Studio, producers describe a fast attack and release plus plenty of noise reduction beforehand, and the reduction detail is the real point: parallel compression multiplies every defect in the recording, including hiss and sibilance, so clean the source before you build the send.
Plugin character matters less than people argue, but it is not nothing. An analog emulation such as an SSL-style compressor, a 1176 emulation, a Distressor or a dbx 160A model adds harmonics that a perfectly clean digital compressor does not, and those harmonics survive the blend as texture. The one recurring piece of advice is to push the makeup gain harder than feels tasteful and then blend the layer low, since the character arrives with the gain and the level arrives with the fader.
Step 4: Blend the Compressed Signal
This is the step where most people go wrong, and the error is almost always the same one: they raise the return until the mix is obviously better, which is exactly when it stops being better.
Gain match first. Bring the return up so it is a few decibels below the dry track, then solo the dry and the return in turn and compare. They should be roughly the same loudness. If the parallel layer is several decibels louder, you are not hearing compression, you are hearing volume, and you will over-blend every time because the fader is the wrong control.
With levels matched, bring the return in until you can just hear it. Slightly more. Then pull it back a little. Somewhere around a fifth to a third of the dry level is typical, and a small reduction here is easy to live with while a large one sounds like a louder, flatter version of the same track.
Watch the meters rather than the loudness impression. If the output is riding close to the top of the scale, the parallel layer is doing most of the work and you have probably gone too far. If the meter barely moves when the dry track plays, the layer is there but doing nothing, which is the opposite problem and just as common.
Automation deserves a mention because it is where this technique usually falls apart. If you ride the dry fader for arrangement reasons and leave the return alone, the dry-to-parallel ratio changes constantly and the balance collapses in the quiet sections. Write the return in touch with the dry fader, or group them so they move together.
Step 5: Check for Noise, Pumping, and Distortion
Parallel compression is a noise floor problem before it is a level problem. Every decibel of quiet room tone, amp hiss or preamp noise that sits under the vocal now gets pushed up by the send, which is why tracks that were clean alone can reveal hiss the moment you add the layer.
Fixes, in order of how often they solve it:
- High-pass the send at roughly 80 to 120 Hz for a vocal, higher for bass. It removes rumble and keeps the layer from doubling your low end, and it is the standard answer to the question r/mixingmastering keeps asking about cutting lows on the parallel channel.
- High-pass the noise itself before the send if it is rumble rather than a steady hiss.
- Run noise reduction first on vocals, at a light setting, before duplicating the track.
- Shorten the release if the pumping is between notes, or lengthen it if the pumping is on sustained phrases.
- Lower the send level if the problem is sibilance, since sibilance rides the send hard and usually needs a de-esser after the compressor rather than before it.
- Check your output ceiling if the layer distorts. A heavily compressed parallel channel can peak without ever showing gain reduction, and clipping there is the fastest way to make a mix sound worse.
If the mix sounds worse after you add the layer and the meters look fine, the answer is almost always routing. Both paths need the same number of processing stages, and latency compensation needs to be on so the DAW aligns what it can.
Common Mistakes
1. Muting the dry signal and forgetting to unmute it. Mute the dry track while you dial in the layer so you hear only what you are building, then bring it back. Leaving it muted is how people conclude parallel compression sounds bad, when what they actually heard was one over-compressed layer with no dry context.
2. Judging by louder instead of better. The return always makes the track sound bigger, which is the whole trick and also the whole trap. Gain match before you decide anything.
3. Serial compression on top of it by accident. Insert the compressor on the source track and you have thrown the original dynamics away, which is the one thing parallel compression exists to protect. A light serial stage to control peaks before the send is fine; heavy serial work is not the same technique and the forum confusion between the two comes from doing this.
4. Pushing makeup gain without blending in level. Large makeup gain is how analog-style compressors generate character, but character has to arrive at a low level. Maximum makeup gain with a high return fader is just distortion.
5. Applying it to every track. Producers in r/audioengineering describe pairing the technique with an SSL-style channel and calling it a lifesaver on drum busses, which is accurate. Nobody sane runs every instrument through it. Pick the two or three sources where the inconsistency actually bothers you.
6. Over-compressing the parallel channel. Six to ten decibels of gain reduction is plenty. Past roughly 15 dB on a drum bus you are usually just adding a loud even layer, and the transient detail that made the dry signal worth keeping is no longer doing any work.
Two further terms come up constantly in beginner threads. Parallel compression is not the same as sidechain compression, which ducks one track in response to another, and it is not the same as multiband compression, which treats separate frequency ranges independently. Parallel is about routing two copies of the same signal together. If you are reaching for a filter sweep, you want sidechain. If you want a vocal to sit forward without pumping, you want parallel.
Frequently Asked Questions
Is parallel compression the same as sidechain compression?
No. Sidechain compression ducks one track in response to another, usually a kick triggering a pump on the bass or a pad. Parallel compression sends a copy of the same track through a compressor and blends it back with the untouched original. Sidechain changes level in time with a different source; parallel changes the density of a signal with itself.
Do vocals need parallel compression?
Often, yes, provided the recording is clean. A lead vocal with inconsistent level between lines gains a lot from a parallel layer, because quiet phrases get weight without loud ones getting squashed. Clean up noise, clicks and sibilance first, since the send multiplies every defect. Start with a 3:1 to 4:1 ratio and blend the return at around a fifth of the dry level.
Should I mute the dry signal when setting up parallel compression?
Mute it while you dial in the layer, then unmute before you judge the result. Soloing the compressed channel makes it easy to hear what the send is doing without the dry masking it. But the finished mix is the dry and the wet together, so judging the layer alone leads people to blend far too much. Always A and B the two paths against each other at matched levels.
How much parallel compression is too much?
You have gone too far when the mix sounds louder but not fuller, or when the compressed layer is doing more work than the original track. Watch the gain reduction on the parallel channel: around 6 to 10 dB on a drum bus is normal, and past 15 dB you are usually just adding an even slab. Keep the return a few decibels under the dry track and trust your eyes on the meters over your ears on loudness.
Do I need to EQ the parallel signal before compressing it?
Often yes, and the most common move is a high-pass filter at roughly 80 to 120 Hz on a vocal, or higher for bass and guitar. It stops the parallel layer from doubling your low end and removes rumble that the send would otherwise amplify. You can also EQ after the compressor to carve the layer so it fills a specific range without adding weight everywhere. Keep the dry path unfiltered so the two stay phase-aligned.
Can I use parallel compression on the master bus?
You can, though it is closer to mastering than mixing and leaves you no headroom. Use a gentle ratio around 2:1 to 3:1 and a low blend, and watch your true peak carefully because a heavily compressed parallel layer can clip without showing much gain reduction. If you do not have a limiter in the chain, add one on the master bus, as r/mixingmastering advises, rather than relying on the compressor to catch peaks.
Conclusion
Start with one source, and the drum bus is the most forgiving place to learn. Duplicate the track or create a send, put a compressor on it, set roughly 4:1 at a threshold around -20 dB with a 20 ms attack and a 100 ms release, and listen for 6 to 10 dB of gain reduction. High-pass the send at 100 Hz, then bring the return up until it sits a few decibels under the dry track.
Leave the original alone. If the mix sounds fuller without sounding louder, you have it. If it sounds worse, check routing and gain matching before you touch the settings again, because that is where the problem almost always is. Updated for 2026, and still the first thing to try when a track is fine but not exciting.