To export stems for a mixing engineer, bounce every track of your session to its own audio file at 24-bit, in your session’s sample rate, consolidated to start at bar one, with faders at unity and nothing clipping. Package those files with a reference mix, a tempo and key note, and a sensible folder structure, then send a single archive you have already opened and checked yourself. The whole job takes about 30 minutes once you have done it a couple of times, and it is the difference between a mix engineer opening your song and hitting play, or spending their first hour of billable setup asking you questions.
One vocabulary fix before we start, because it causes more confusion than anything else in this topic. On r/mixingmastering the consensus is blunt: what people casually call “stems” for a mixing job is really a multitrack export, and stems (grouped buses) are the format a mastering engineer wants. Engineers use the two words loosely in conversation anyway, so when you ask for stems, everybody knows what you mean. But when you are naming folders and typing the delivery note, use the right word.
I have watched this go wrong in both directions. A producer sends a folder of twelve named multitracks plus three group busses that duplicate the same audio, and the engineer bills by the stem, so those duplicates cost money. Another sends a single stereo instrumental, which is not an export at all. Both of those are avoidable with a checklist.
What You Need
You need five things, and four of them already exist inside your project.
- The finished session, with every track you want the engineer to have and nothing you don’t.
- A rough mix, bounced as a stereo file. Not a polished master. It exists to show the direction you are hearing.
- An empty export folder on a drive with room. Name it something like
SongName - Multitracksbefore you start, not after. - The DAW project file, plus a collect and save of the samples. Engineers can open project files, but audio is faster and simpler, so treat the project as a backup.
- Delivery information: tempo in BPM, key signature, intended length, whether the structure is final, and the one or two references you actually care about.
Before any of that, the single most useful thing you can do is ask the engineer what they want. Different engineers have genuinely different requirements on bit depth, whether they want a tempo map, and whether they bill per file. Sending a question costs you one email and saves a round of revisions.
| What you are sending | What it contains | Who actually wants it |
|---|---|---|
| Multitrack export | One audio file per track, dry of processing | Mix engineers. This is the default answer for a mixing job. |
| Stems / group busses | Grouped sets of tracks, for example all drums or all backing vocals | Mastering engineers working on stem mastering, or an engineer working with a collaborator who already arranged the song. |
| Stereo mix / rough mix | One file, your mixdown | Everyone, as a reference for artistic intent. |
| Pre-master | A near-finished mix, close to release loudness | Sometimes a mastering engineer, if you only want a tonal pass rather than a full mix. |
One warning on the last row. A pre-master leaves very little room for the person who receives it, and sending one by mistake as your “mix” is a fast way to end up in a revision cycle.
Step-by-Step: How to Export Stems for a Mixing Engineer
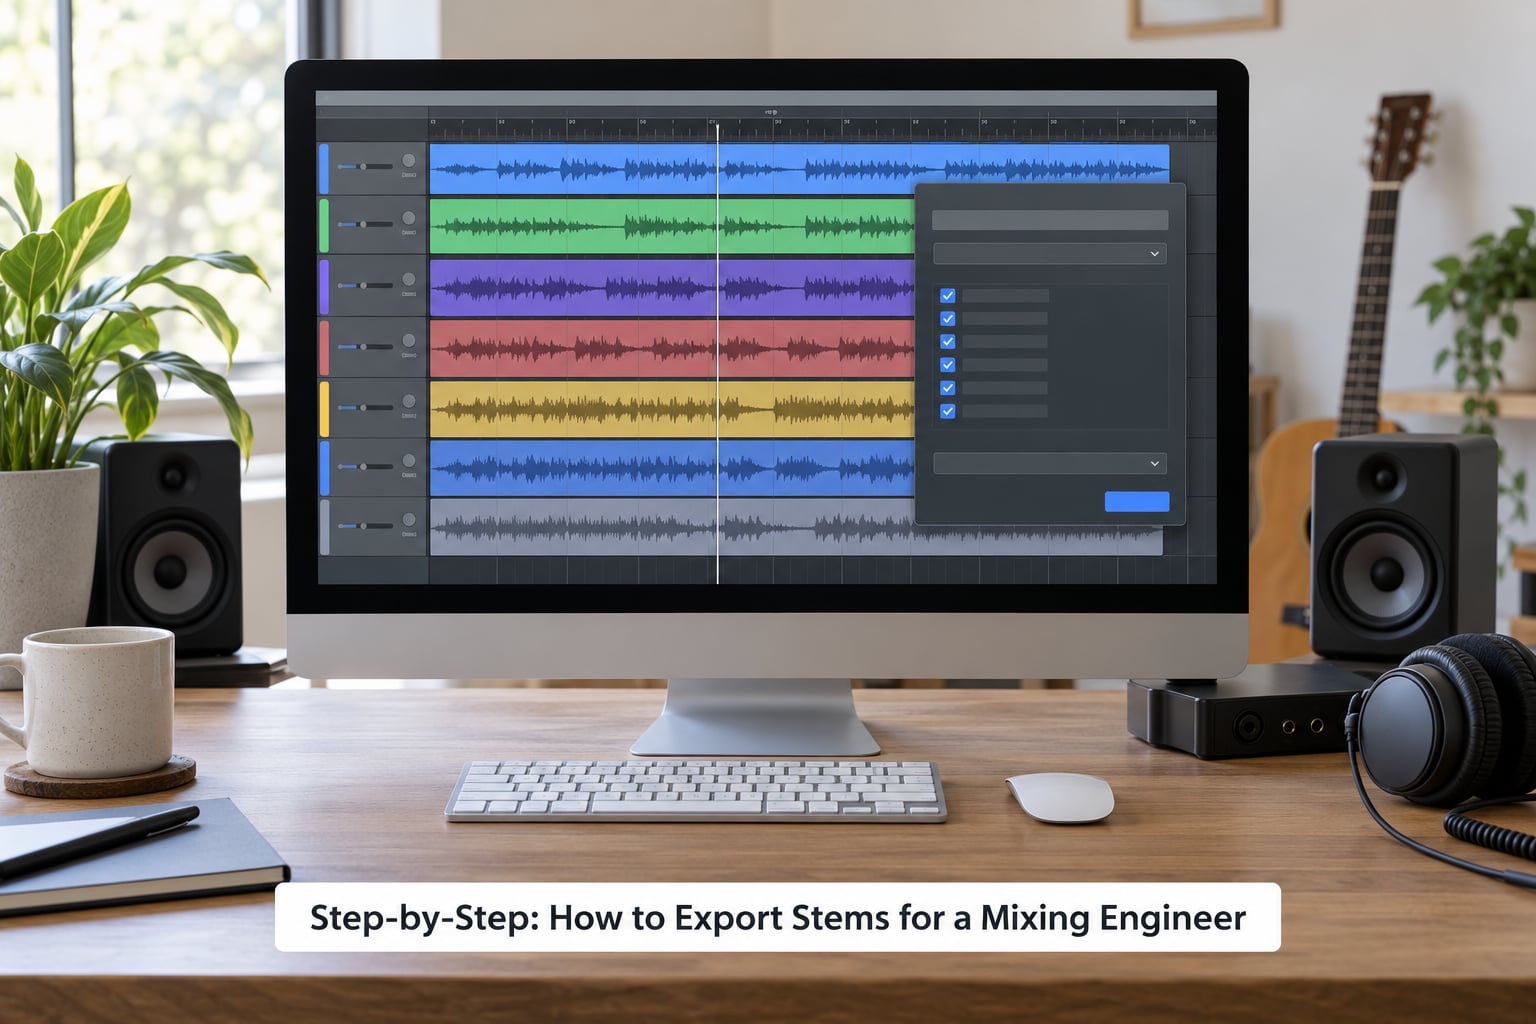
1. Bounce the full mix first
Before you export anything track by track, bounce your mix to a single stereo file. This is your reference, and it is the file the engineer will audition first to understand where you want the track to sit.
It tells them your intended balance, your idea of tone, how loud you think the record should feel, and which arrangement decisions are deliberate. Without it, an engineer who dislikes your vocal level has no way to know that you meant it. Most engineers treat a reference mix as standard, not as a favor.
Write it out as 24-bit at your session sample rate, same as the stems. Normalization is fine here, since this file is for reference only and is never processed further.
2. Select and name the stems
Clear the session first. Delete or disable the two alternate guitar takes you abandoned, the empty MIDI track, the duplicated drum bus. Every file you send is a file the engineer has to load.
Then select the tracks to export, and name them so the folder reads like a session outline. A numbering prefix keeps the order stable when the engineer drops them into a timeline:
01_Kick,02_Snare,03_Hats04_Bass05_GTR_L,06_GTR_R07_Keys08_VoxLead_Main,09_VoxLead_Doubles,10_BGV_Harm11_Synth_Pad,12_SFX_Riser
Two things to decide here. Auxiliary and effect returns: send them only if the effect is genuinely part of the instrument, not as an accident of how your session is routed. A separate reverb throw that already contains a lead vocal duplicated against your dry vocal file will confuse anyone reading the folder. And do not send a group buss that contains tracks you are also sending individually. People on r/audioengineering point this out constantly, and some engineers bill per file, so duplicates are literal money.
Two naming habits worth avoiding: version words like “final”, “latest” or “favorite” with no number, and names only you understand. “Vox 2z Blah” and “bgs” cost an engineer real time.
3. Choose the right file format and quality
Use 24-bit WAV at your session’s sample rate. That is the safe default and the answer to the most-searched version of this question.
WAV and AIFF are both uncompressed PCM, so they sound identical. The practical difference is convention: Windows and most engineers’ tooling lean WAV, and AIFF is Mac-native. If your engineer does not care, use WAV.
Sample rate is not a quality ladder. Export at whatever rate your project runs at, usually 44.1 kHz or 48 kHz. Sending 48 kHz stems for a 44.1 kHz project means the engineer either resamples or asks you to redo it.
24-bit over 16-bit because 16-bit gives you roughly 96 dB of dynamic range, which is close to the noise floor of most analog gear. The extra headroom at 24-bit means you can push a track up later without the quiet parts turning noisy. MP3 and any other lossy format is not a delivery format here: lossy encoding smears transients and can ring on cymbals and snares, and you cannot undo it.
| Setting | Use this | Why |
|---|---|---|
| File format | WAV (AIFF is fine too) | Uncompressed PCM, no generational loss |
| Bit depth | 24-bit | Plenty of headroom without an 8x bigger folder |
| Sample rate | Your session rate (44.1 or 48 kHz) | Matching avoids resampling on the engineer’s end |
| Dither | Off, or Type 1 if the format forces it | Dither matters when reducing to 16-bit or 8-bit; here it only adds noise |
| Normalization | Off | It boosts every file to hit 0 dBFS and destroys your gain staging |
| Start point | Bar 1, beat 1 | Every file begins at the same absolute time, so the engineer drops them in and they line up |
| Length | Full song plus a 2 to 3 second tail | Covers reverb and delay decay at the end |
| Channel format | Match the track: mono sources stay mono, stereo keys stay stereo | Do not force a mono drum hit into a stereo file just for consistency |
On 32-bit float, which a few guides recommend: it will not clip, because the format has a ceiling far above 0 dBFS. It is a reasonable archival choice, but it is not what most engineers ask for, and it doubles your file size versus 24-bit. Treat it as a backup, not the default.
4. Export stems with headroom
Here is the step that causes the most revision requests, and the reason is technical rather than carelessness. While you are working, your DAW plays and displays audio in floating-point internally, where values above 0 dBFS exist perfectly happily and simply get clipped on playback. When you render to 24-bit fixed-point, there is a hard ceiling at 0 dBFS, and anything above it slams flat against that ceiling. A track peaking at -4 dB on your meters is fine. A track peaking at +3 dB sounds fine in the session because you never hear the clipped part, and arrives at the engineer as a wall of squares.
What to do, in order:
- Set every track fader to unity (0 dB) and put the master bus at 0 dB too.
- Take the master bus limiter off, or at least confirm it is not doing anything.
- Watch the peak meters through the whole song during export, not just the first ten seconds. Most offenders are a snare transient or a vocal peak in the last chorus.
- If a track clips, pull the gain on the source plugin, not the fader, so automation still behaves. Fix it and re-export that one file.
Some engineers prefer peaks around -6 dBFS as a healthy target, others are happy with anything safely under 0. Ask, or just stay well clear of the ceiling.
Then there is the processing question, which matters just as much. What you print into the stems cannot be undone.
| Processing | Bypass or print | Reason |
|---|---|---|
| Corrective EQ notches and high-pass filters | Bypass | The engineer will place their own. Left on, it fights their move. |
| Heavy compression for glue or vocal control | Bypass | Over-compression is not reversible. This is the single most damaging thing to print. |
| Master bus limiter | Bypass | It needs headroom the engineer intends to create. |
| Saturation, distortion, amp sim, character EQ | These are part of the instrument’s sound, not a fix for a level. | |
| Chorus, flanger, phaser, tight room feel | Bypassing them changes what the instrument sounds like. | |
| Long delay and reverb throws | Usually bypass | Send them separately as their own files, or the engineer will mix them twice. |
| Pitch correction | Re-recording and re-editing a comp is far more expensive than printing it. | |
| Panning | Keep as-is, all center unless it is deliberate | Panning is mix decisions, but hard creative positions should survive. |
| Volume automation | Bypass | It fights the engineer’s balance. |
| Panning and effect automation | Keep | Usually harmless and sometimes essential to the part. |
The rule engineers give, more or less word for word: if bypassing the effect makes the instrument sound meaningfully different, it is part of the signature and it stays.
5. Package the project and notes
Build the delivery folder so it can be opened without thinking:
SongName - Multitracks
  01 Multitracks
    01_Kick.wav
    02_Snare.wav
    ...
  02 Rough Mix
    SongName_RoughMix_120BPM_Cmin.wav
  03 Project
    SongName.als
  04 Notes
    Notes.txt
In the notes file, write the tempo, the key, the intended length, whether the arrangement is locked, anything unusual about a take (a doubled chorus, a deliberately detuned synth), and the two references that actually shaped the record. Then add one paragraph about what you want. Engineers read that paragraph more carefully than the rest of the file.
If the song changes tempo, send a MIDI tempo map. In Logic that is File and New Tempo Map, set the first marker to the starting BPM, and place a marker at every tempo change. Engineers import it into their own session so their grid follows yours, which saves them doing it by ear.
Comp and tune your vocals before you export, and say so in the notes. Nobody wants to open a session to discover a vocal comp that moves on beat three of the second chorus. If you have printed tuning, the engineer is working from your take rather than an unedited performance.
Use “collect all and save” on the project so the samples travel with it. A project file that points at audio on a drive the engineer does not have is just a broken file.
6. Test and send the package
Play every exported file end to end, not just a spot check. Listen for clicks at the start, a truncated reverb tail at the end, and anything that suddenly distorts in the second chorus. Then check the numbers: every file the same length, every file starting at the same time, no file hitting 0 dBFS.
Open the finished archive yourself before you send it. Download it fresh, extract it somewhere else, and confirm the files are intact. An archive that failed to upload is the most embarrassing way to lose a day.
Send a link rather than an attachment where you can. A shared folder or a transfer service is faster for both of you than a large email, and it survives a bounced message. A folder named with the song, BPM and key reads well in a subject line.
What do engineers actually want in that first message? On the r/WeAreTheMusicMakers etiquette thread, the recurring asks are a rough mix, clear track names, a link instead of an attachment, and someone who has listened back to the files. The people who get a fast, well-organised delivery tend to get a more careful mix.
Export shortcuts by DAW
Menu names move between versions, so check yours against your own layout, but the destinations are stable.
| DAW | Where to export | Shortcut |
|---|---|---|
| Ableton Live | File and Export Audio | Shift and Ctrl and R (Cmd and Shift and R on Mac) |
| Logic Pro | File and Export and Share and Export Song to Audio, then choose the range and tick Selected Tracks only | Shift and Command and K |
| Pro Tools | File and Bounce To and Disk, with Normalization off | Alt and Shift and B (Windows: Ctrl and Alt and Shift and B) |
| FL Studio | File and Export and Render, pick stems mode, tick Selected tracks and Full song length | Ctrl and Alt and T |
| Reaper | File and Render, choose Source and Selected media items | Ctrl and Alt and R |
| GarageBand | No native stem export. See below. | Not applicable |
GarageBand is the awkward one, and it turns up constantly as a question. There is no stem export in GarageBand on Mac or iOS. Your realistic options are to solo each track and bounce a one-file mixdown of that solo, which works but takes a pass for every track; to open the project in Logic or another DAW that can read it, which Apple has historically not supported for all projects; or to use a third-party stem separation app that works from your finished mix, which will not give you true multitracks, only an estimate. If you have a serious project, move it to a DAW that can do the export properly before the handoff.
Common Mistakes
Exporting MP3s
Lossy compression smears transients and leaves ringing artifacts, and it cannot be reversed. If the only copy of your song is an MP3, that is a salvage job, not a mix job. Deliver WAV.
Letting individual stems clip
A fixed-point 24-bit file has a hard ceiling, so a track that peaks above 0 dBFS in your session arrives flat-topped. Watch the meters through the full export and re-render anything that touches the ceiling.
Not consolidating from bar one
Every file must start at the same absolute time. If some tracks begin at bar 5 or at their first note, the engineer has to slide every file by hand to align them, which is slow, error-prone, and billable. This is the reason that piece of advice appears in every competent guide and forum answer about the topic.
Cryptic or version-ambiguous names
“Track 1”, “bgs”, and “final_final_v2” cost time and cause mix errors. Use instrument names, a numbering prefix, and a version number in the folder rather than the filename.
Sending duplicates of the same audio
A group buss plus the individual tracks inside it is the same audio twice, and engineers who bill per file will charge for it. Pick one level of grouping, not both.
Printing the master bus
A limiter or heavy compression on the master bus leaves no headroom and no ability to raise the whole record later. Take the master bus off before you export.
Forgetting the tempo, key, or tail
A session with a tempo change and no tempo map forces the engineer to map it by ear, and files cut exactly at the last sample chop off the reverb decay. Two seconds solves both.
Frequently Asked Questions
Should I export stems as WAV or AIFF?
Both are uncompressed PCM, so the audio is identical. WAV is the safer default because it is the most common format across Windows tooling and most engineers’ file handling, while AIFF is Mac-native. If your engineer states a preference, follow it. Either way, pair the format with 24-bit depth and your session’s sample rate, and never send MP3.
How do I export stems for a mixing engineer in GarageBand?
GarageBand has no native stem export on Mac or iOS, so there is no menu to find. You can solo each track and bounce a single-file mixdown of that solo, though it takes a pass per track, or move the project to a DAW that can render selected tracks. A third-party stem separation app will only estimate multitracks from a finished mix, which is not the same thing.
Do mix engineers want stems or multitracks?
For a mixing job they want multitracks, which is one audio file per track exported dry of processing. Stems, meaning grouped buses such as all drums or all backing vocals, are the format for mastering and stem mastering. Engineers use the words interchangeably in conversation, so use the right one in your folder names and delivery note to avoid confusion.
How loud should I export my stems?
Set faders to unity at 0 dB and keep peaks well clear of 0 dBFS; many engineers like to see peaks around -6 dBFS. Turn off normalization, because it pushes every file to hit 0 dBFS and destroys your gain staging. Monitor peak meters across the entire export, since a snare transient or a late vocal peak is where clipping usually hides.
Should I include a rough mix with my stems?
Yes. A rough mix, bounced at the same format and bit depth as the stems, is standard and expected. It tells the engineer your intended balance, tone and structure, and it stops them guessing at decisions you already made. Put it in its own folder labelled as a reference so it is never mistaken for a track to be mixed.
Should I commit my effects before exporting?
Bypass corrective EQ, heavy compression and any master bus limiter, since none of that is reversible. Print the effects that are part of the instrument itself, like saturation, amp simulation, chorus or tuning. Send long reverb and delay throws as separate files rather than printing them into a track, so the engineer is not mixing the same effect twice.
Conclusion
Bounce the reference mix first, then export one clearly named file per track as 24-bit WAV at your session’s sample rate, consolidated to bar one, with faders at unity, the master bus off, and a couple of seconds of tail on the end. Package it with the project, a tempo and key note, and a short paragraph about what you are after, then download your own archive and listen to every file before you hit send.