If you want to know how to make your drums hit harder, the answer is not more volume. It is a sharper transient on the front of every hit, a body that stays controlled behind it, and enough low-end space that the kick is not fighting your bass for the same corner of the spectrum.
That combination is what listeners read as impact. A track can be quiet and still hit; it can also be pushed right up against the ceiling and sound like nothing at all. Producers in r/musicproduction describe the same frustration constantly: the kit sits at a sensible level and still feels lackluster, so they reach for the fader and lose headroom instead of gaining anything.
The eight steps below are the order I work in. It takes about an hour on a finished session, and the first four carry most of the result.
Table of Contents
- What You Need
- How to Make Your Drums Hit Harder Step by Step
- 1. Start With Better Drum Sounds
- 2. Set the Kick and Snare Levels Properly
- 3. Tighten and Shape the Kick
- 4. Add Controlled Compression to the Snare
- 5. Use EQ to Make Drums Hit Harder and Cut Through
- 6. Layer Drums for More Impact
- 7. Add Saturation So Drums Hit Harder Without Turning to Mud
- 8. Arrange, Automate, and Check the Result
- The Drum Bus Chain, In Order
- Common Mistakes
- Frequently Asked Questions
- Conclusion
What You Need
You need very little. Most of the tools below are stock plugins that ship with your DAW, and the technique matters far more than the brand.
- A DAW and a routed drum bus, which is the summed channel every drum track feeds into.
- Drum samples or recordings, ideally with varied velocity across repeated hits.
- A parametric EQ and a compressor with a controllable attack time.
- A transient shaper. This is the one tool worth hunting for if your DAW lacks one; it separates attack from sustain in a way a normal compressor cannot.
- A saturation or distortion plugin, and a limiter.
- A reference track you trust, plus a way to level-match it.
Monitor at a level where the kick and snare sit around 6 dB below your fader’s peak, not 0 dB. Compression, saturation and clipping all need somewhere to go, and that headroom is what separates a mix that hits from one that just sounds big.
How to Make Your Drums Hit Harder Step by Step
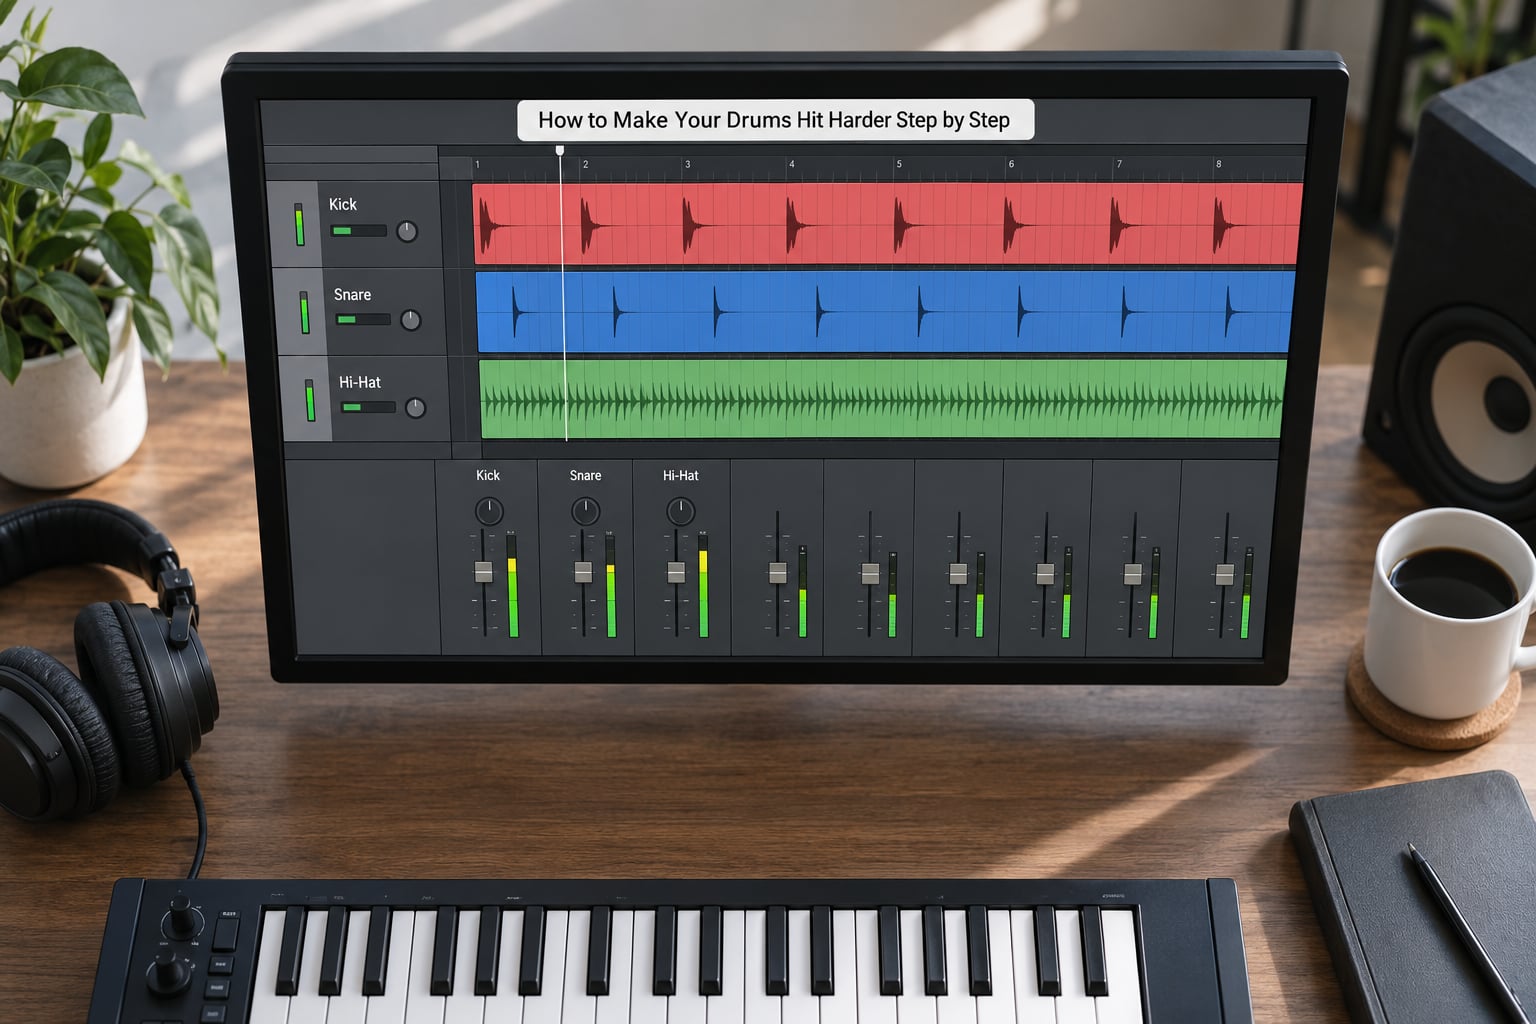
The goal through all eight steps is more impact with no more harshness. If a step makes the kit louder on the meter and nothing else, it is the wrong step. Every technique below should be judged by whether the hit reads better at a modest volume, not by how big the numbers are.
1. Start With Better Drum Sounds
Processing cannot invent a fundamental that was never recorded. A kick sample with a defined low body and a clean, short transient gives you something worth shaping, while a soft or smeared source only turns up whatever was missing.
Pick sounds that suit the genre, and in a 140 BPM trap beat that means a kick with weight rather than a thin click. If your kit is the weak link, consider drum replacement: trigger a sampled kick or snare on the existing transient, and keep the original underneath for the room and the feel of the recording.
Vary your velocities too. A snare played at exactly the same level on every hit has no dynamics for a compressor to control, which is a point made repeatedly in r/WeAreTheMusicMakers. Shaping the transient still helps there, but compression has nothing meaningful to even out.
2. Set the Kick and Snare Levels Properly
Get the balance before any processing. Play the drums alone, then bring the bass in, and cut the kick’s low-mid weight wherever the two overlap until the bass line reads clearly underneath it.
High-passing your melodic elements at 80 to 120Hz, a fix that gets a lot of support in r/FLStudioBeginners, buys the kick room without touching the kick itself. It is often the fastest visible change you can make to a busy mix.
Then pull the drum bus down to leave 6 dB or more of headroom. Most beginners push the kick and snare right up, which is why the mix clips before they get to the fun parts.
3. Tighten and Shape the Kick
Start with a high-pass filter around 20 to 30Hz to clear inaudible rumble that eats headroom. It does not change how the kick sounds, it just gives the rest of the chain room to work.
Compress next, and set the attack between 20ms and 50ms. A slow attack lets the initial click of the beater pass through untouched before the compressor starts clamping the body, which is the mechanism behind the single most-cited drum mixing tip in AI answers. Start with a 4:1 ratio and pull the threshold until you see 5 to 7dB of gain reduction on the loudest hits.
For EQ, treat the kick like a range you have to clear for the bass rather than a sound to boost. A few bands cover almost every kick:
| Frequency | What you hear | What to do |
|---|---|---|
| 25 to 50Hz | Sub weight and rumble | Trim gently if the bass guitar has a fundamental in the same place |
| 50 to 80Hz | Body and punch | A small boost, or a dynamic boost that only fires on the loudest hits |
| 80 to 200Hz | Boxiness and mud | Cut the band your bass part occupies rather than cutting broadly |
| 200 to 500Hz | Thick low-mid | Narrow cuts work better than wide ones here |
| 600Hz to 1.2kHz | Beater attack and definition | Small additive boost for articulation |
| 1.2 to 6kHz | Click and snap | Boost sparingly; this is where harshness comes from |
4. Add Controlled Compression to the Snare
The snare gives you a real choice, and the choice is attack time. A fast attack compressor clamps the peak almost immediately, so the body swells and the snare gets fatter and thicker. A slow attack compressor lets the crack escape first, so the snare gets punchier but thinner through the middle.
Run both and listen. For most pop, rock and hip-hop work you want the slow version on the bus, and you can add a fast-attack compressor on a parallel layer when the snare feels too thin.
Start at 2:1 to 4:1 with the threshold just under the level of your loudest backbeat. Set the release to 100ms and let the decay between hits fall naturally rather than being pumped flat.
5. Use EQ to Make Drums Hit Harder and Cut Through
Presence is where drums cut through a dense mix. A small boost around 3.5kHz gives the kick and snare their snap, and 5kHz adds a little more bite. Stay narrow and stay small; broad boosts in this range are the fastest route to a fatiguing mix.
High-pass the room mics, typically somewhere between 80 and 120Hz. Low end in a room mic is all overlap and no size, and high-passing them keeps the shells carrying the weight.
Some problems only appear when the mix is playing loud. A 4kHz peak on the snare that sounds fine at low volume turns into a crack at full tilt, and that is where dynamic EQ earns its place. Put a band on the offending frequency, sidechain it to the drum bus, and let it only pull down when the level gets high.
6. Layer Drums for More Impact
One sample can only do so much. A reinforced kick stack is the common move: drop a kick with a long sub tail underneath, keep the punchy one on top, and let the two cover different registers. On sp-forums, a producer describes the same logic in reverse, pulling the main sample down so the added layer carries the hit instead of competing with it.
Other layers worth trying are a transient-only click under the snare, a clap printed a few milliseconds late for width, and a short room layer for depth. Producers in r/trapproduction use aux sends and returns with aggressive settings to add a processed version on top of the dry drums, which gives the punch of heavy processing without losing the original.
High-pass every added layer, and if two layers share the same frequency range, pull the quieter one down until the main source is the one you hear first.
7. Add Saturation So Drums Hit Harder Without Turning to Mud
Saturation adds harmonic content the recording never had, and those harmonics read as perceived loudness because the ear picks them up even at lower fader positions. A little tape, tube or analog-modelled colour makes the kit sound heavier without raising the level.
Use a low drive setting and start your mix at 20 to 35 percent wet. Bypass regularly, because saturation builds up fast in the low end and the mud arrives before the weight does. If everything below 120Hz is turning to sludge, that is the cue to pull the drive back rather than EQ around the problem.
Some engineers put a sidechain high-pass filter on the saturated return so it only colours the top of the drum bus and leaves the sub clean. It takes an extra plugin and it reliably avoids the swamp.
8. Arrange, Automate, and Check the Result
A drum pattern played at one flat level cannot hit hard, because nothing stands out. Vary velocity on the backbeat, leave space in the lower octave, and use fills as events rather than as texture. Short volume moves into a chorus hit or a dropped section give the kick a moment to be the loudest thing in the track without you touching the kit’s tone at all.
Then check your work properly. Solo the bus, make sure it is still centred, and listen on headphones, on a phone speaker, and at the volume you would actually play the track at. Play a reference at a matched level, not by memory, because loudness memory is the most reliable way to over-compress a drum bus.
The Drum Bus Chain, In Order
Here is the whole signal path in the order I would build it, so nothing later undoes the work earlier.
| Stage | Tool | Starting settings | Why it adds punch |
|---|---|---|---|
| 1 | High-pass filter | 20 to 30Hz on the bus, 80 to 120Hz on room mics | Reclaims headroom by removing rumble |
| 2 | Transient shaper | Attack up, sustain down, small amounts | Separates the attack from the decay, which plain compression cannot |
| 3 | Parametric EQ | Narrow cuts at 300 to 500Hz, small boosts at 3.5k and 5k | Clears mud and adds snap and presence |
| 4 | Saturation | Low drive, 20 to 35 percent mix | Harmonic content reads as loudness |
| 5 | Glue compressor | 20 to 50ms attack, 2:1 to 4:1, 3 to 5dB gain reduction, 100ms release | Slow attack lets the transient through first |
| 6 | Parallel compression | Crushed send, wet/dry at 10 to 20 percent | Adds density and weight without flattening the front of each hit |
| 7 | Limiter or clipper | Ceiling just under clipping, 1 to 2dB gain reduction | Even out the peaks so the whole kit sits closer to the front |
Reverb belongs on a send after the EQ, never on the whole bus, and never where it puts energy below 100Hz. Keep reverb below 100Hz in mind and the kit stays focused.
Common Mistakes
Nearly every “my drums don’t hit” thread traces back to one of these.
Turning the volume up instead of adding impact
Loudness and punch are different measurements. If the hit only reads when you push the fader, the transient is too soft or the low end is being masked. Fix: step back to a reasonable level and check whether the kick still reads. If it does, you have hit hard enough. If it does not, return to the transient shaper.
Compressing the entire drum bus hard
An aggressive bus compressor smears the difference between a ghost note and a downbeat, and the kit stops moving. Fix: aim for 2:1 to 4:1 with 3 to 5dB of gain reduction on the bus, and save the heavy settings for a parallel send.
Running one compressor across a static repeated sample
If every snare hit is identical, there is no dynamic variation to control and the compressor is doing nothing useful. Fix: add velocity variation, or spend the effort on transient shaping and layering instead.
Reaching for saturation too early
Drive added before the EQ is clean just generates low-end mud. Fix: clean up first, then saturate, then keep the drive low enough that you are still willing to bypass it.
Sidechaining everything to the kick
Ducking is useful for making room in a dense mix, but it is not a punch tool. Heavy sidechain on the full drum bus removes the very sustain that makes a hit feel substantial. Fix: duck the pads, bass and melodic layers instead, and leave the kit out of it.
Mixing decisions at one extreme volume
Compression that sounds right at an unreasonable level will fall apart on a phone. Fix: check the mix at three levels, and trust the middle one.
Frequently Asked Questions
Do I need compression on my drum bus?
Not on every drum bus, but almost always somewhere in the kit. A gentle bus compressor with a slow attack between 20ms and 50ms evens the kit out and lets the transient through before the body is clamped. If every hit is the same sample at the same velocity, compression has nothing to even out, so work on velocity variation and transient shaping first.
What are the best settings for a drum bus compressor?
Start with a slow attack of 20 to 50ms, a ratio of 2:1 to 4:1, and a release around 100ms. Pull the threshold until the loudest hit shows 3 to 5dB of gain reduction for glue, or 5 to 7dB for a bus that needs to sit more firmly. Watch the gain reduction meter and back off if the kit stops moving between hits.
Should you EQ your drum bus?
Yes, but subtractively first. High-pass the bus around 20 to 30Hz and the room mics around 80 to 120Hz, then make narrow cuts in the 300 to 500Hz region where mud builds. Add small boosts around 3.5kHz and 5kHz for the snap that makes drums cut through. Equalising the whole kit at once is a blunt tool, so treat the kick and snare individually as well.
How do I make drums hit harder without overpowering the bass?
Give the two parts different jobs. High-pass melodic elements at 80 to 120Hz, then cut the exact frequency band your bass occupies, usually somewhere in the 80 to 200Hz range, rather than cutting broadly. Keep a small boost near 50 to 80Hz for kick body, and check the balance with the drums alone before the bass comes back in.
When should I use parallel compression on drums?
Use it when you want weight and density without flattening the front of every hit. Send the drum bus to a second track with an aggressive compressor, roughly 6:1 or higher with a fast attack, then bring the wet return in at 10 to 20 percent underneath the dry signal. It adds thickness that serial compression would flatten out.
Conclusion
Start with the source: pick drum sounds with a real fundamental and a clean transient, and vary your velocities. Then balance the kick against the bass, leave 6 dB of headroom, and process each hit with restraint before anything reaches the bus.
From there the order is high-pass, transient shaping, EQ, light saturation, a slow-attack compressor, a parallel send, and a limiter. Finish with arrangement and a level-matched reference check, and you will hear the difference long before the meter moves. This workflow holds in 2026, and it is the same on any DAW, which is why it survives every plugin subscription that comes and goes.