A de-esser is a compressor that only listens to the harsh, hissy band of a vocal, roughly 5 to 10 kHz, and tames the S, Sh, Ch and T sounds that spike past a set level. Learning how to use a de esser takes about twenty minutes on your first track and an hour to get comfortable, and every DAW ships with one, so nothing needs buying.
The reason it exists is simple: our ears are most sensitive right where sibilance lives, so untreated hiss spiky consonants grab attention, get pushed further by compression, and get pushed again by reverb. A de-esser fixes the spikes rather than turning the whole voice down.
What You Need
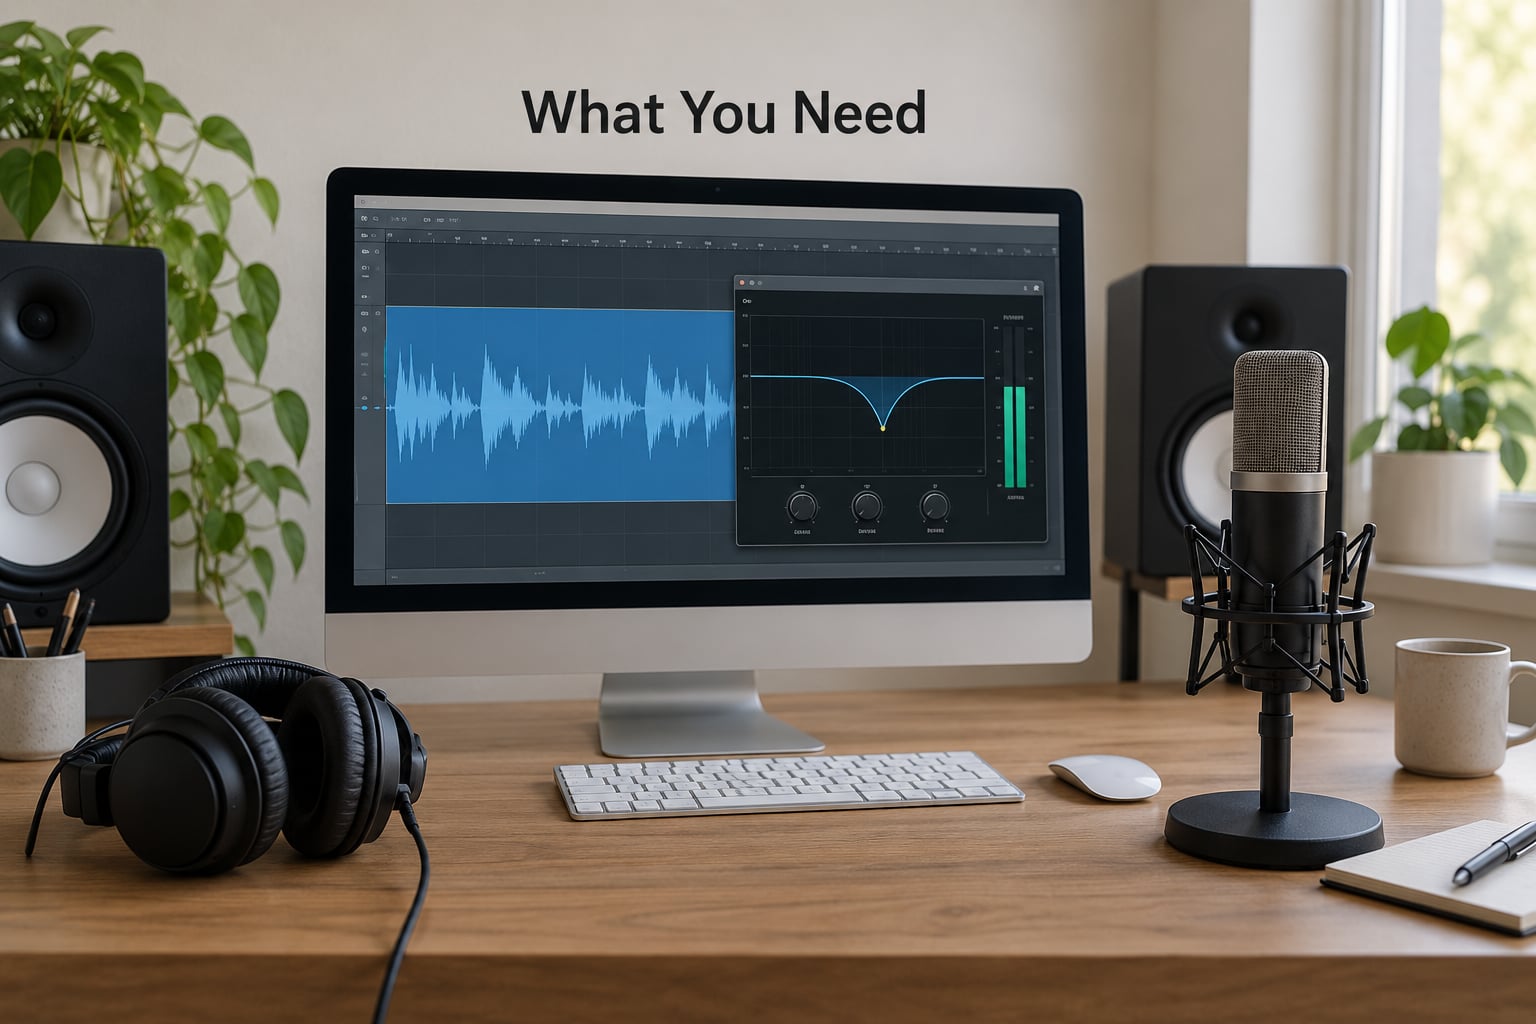
You need very little. Anything that lets you see a vocal waveform, hear it alone, and turn a plugin on and off will do the job.
- A DAW — Logic Pro, Pro Tools, Ableton Live, FL Studio, Reaper or Cubase all have a de-esser built in. Open your session and find the vocal channel insert slot.
- The vocal itself — ideally a take that is already level-matched and roughly compressed, or at least consistent from line to line. If levels jump wildly between verses, fix gain first.
- A de-esser — Logic’s De-Esser, Pro Tools’ Dyn III Compressor/Limiter in de-esser mode or the stock compressor set to trigger on a high band, Ableton’s Compressor with a sidechain filter, Reaper’s ReaXcomp, or a freeware option if you want something outside your DAW.
- Headphones or monitors — sibilance shows up on both, but it is far more obvious on small speakers and earbuds, so check there too.
- A reference track — a commercial song with a vocal that sits comfortably. Matching levels and matching loudness is what tells you whether the sibilance is under control.
One practical note before you start: turn off any reverb and delay on the vocal bus while you set the de-esser. Those effects exaggerate high mids and will make you chase a problem that is half send signal. Bring them back afterward.
Step-by-Step
1. Listen for the Problem
Solo the vocal and play it back. You are looking for the specific moment a hiss, spit or edge appears on a consonant, not for a general brightness. Most people describe it as “chipmunk”, “spitting” or “a wet sound” on every third word.
Two different things get confused here. If only certain consonants are hot, that is a de-essing job. If the entire vocal is bright and thin on every vowel, that is a mic placement, gain or brightness problem, and a de-esser will only nibble at it. A sibilant-heavy consonant with a clean vowel behind it can be fixed in a minute; a dull, thin-sounding vocal usually needs a re-record, or at least a big EQ move before anything else.
Turn the channel up until it is loud enough that sibilance is uncomfortable but not painful, and play the whole take. Spikes you cannot hear at low volume are usually spikes you cannot fix by ear later.
2. Choose the Right De-Esser Type
Use a dedicated de-esser or a dynamic EQ whenever your DAW offers one. The older alternative, a broadband compressor with a fast attack, pulls down the entire vocal every time a hiss hits, which is why it makes voices sound thin.
Three modes you will run into:
- Split-band — only the narrow band around your chosen frequency is compressed, everything else passes untouched. Most transparent, most common, my default.
- Wide-band — when the band is compressed, the whole signal dips slightly. Faster sounding, sometimes more natural on very bright pop vocals, but easier to overdo.
- Broadband — every frequency is compressed together. If you are reaching for this, use a gate or expander instead.
Users on GearSpace often note that a multiband compressor on the top band is the better answer when a de-esser starts sounding lispy, because a band compressor can go further before the lisp effect sets in.
3. Set the Detection Range
Set the center frequency somewhere between 5 and 9 kHz to start. Deeper male voices tend to sit closer to 4 to 6 kHz, higher and brighter voices closer to 6 to 9 kHz. That is a starting point, not a rule.
To find your actual number, use the solo or listen button on the band. Solo the vocal, solo the band, and sweep the center frequency slowly from about 4 kHz up to 10 kHz. Stop where the isolated hiss is loudest. That is your sibilant frequency. Widen or narrow the band with the Q control so it covers the whole spike but stops short of the air band above it, where the vocal starts sounding open and exposed.
If your plugin has no listen button, put a narrow bell boost with a high Q on the EQ, sweep it, and then delete the boost once you know where the problem is. Some of the most-quoted advice in mixing forums is exactly this twelve-decibel boost-and-sweep, because random preset frequencies are how beginners end up ducking the wrong band.
4. Adjust Threshold and Amount
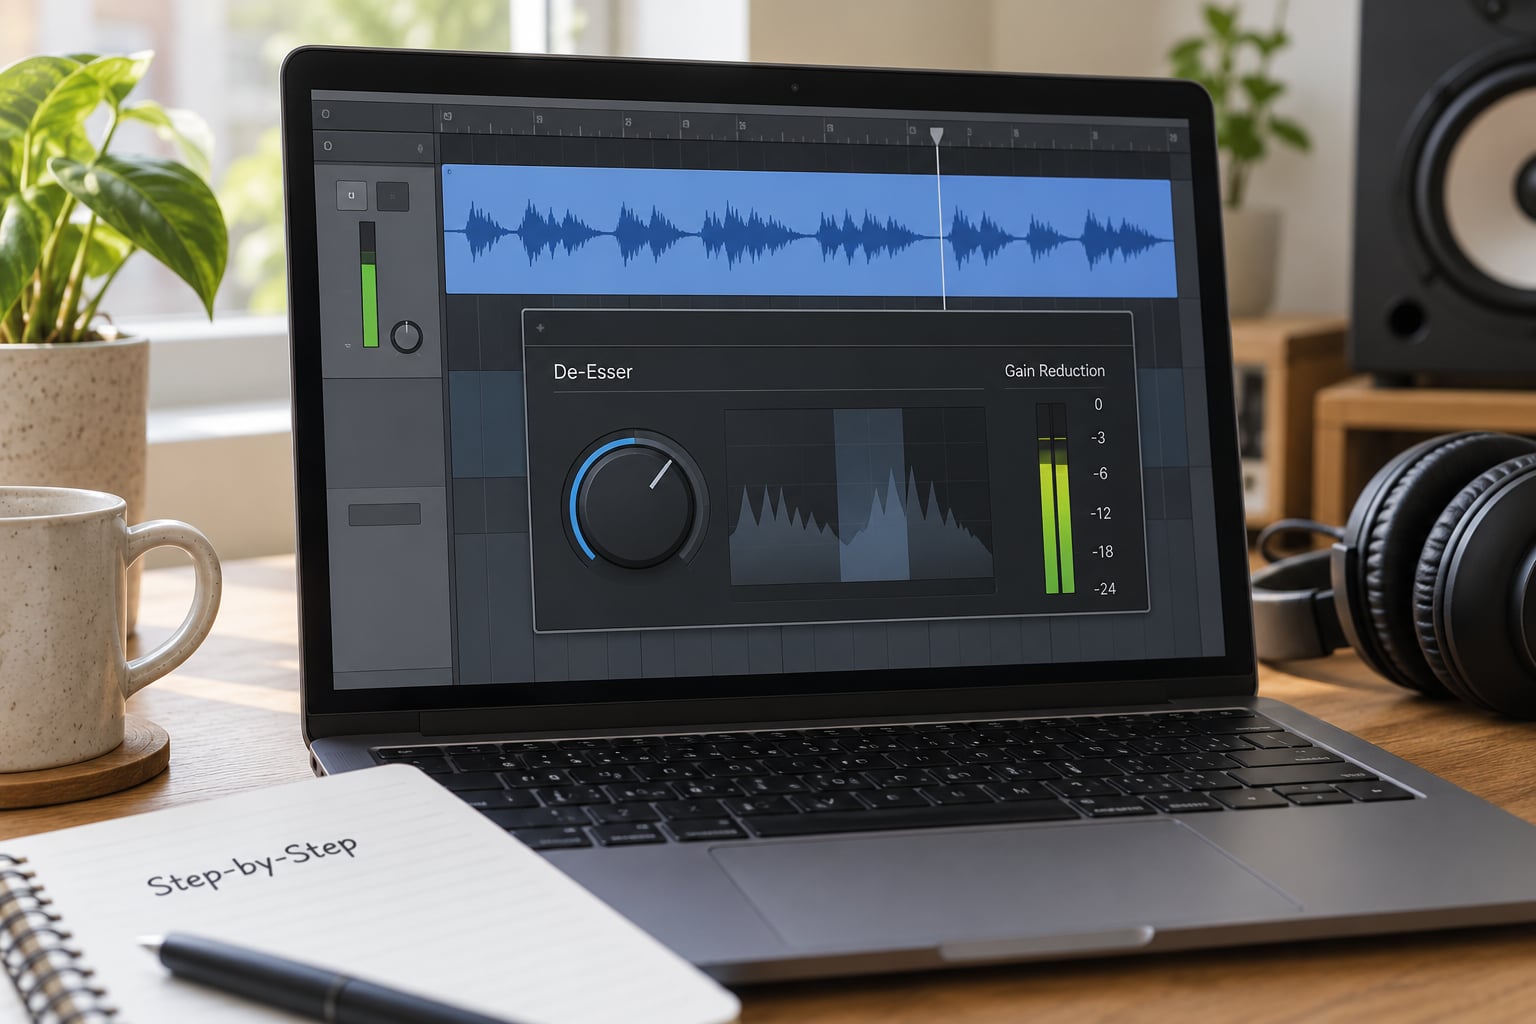
Bring the threshold down slowly from a high value until you see the gain reduction meter move on the sibilant words only. That is the cue, not the number. The setting is correct when the meter dances on the ess sounds and sits still everywhere else.
Then set your range, which is the maximum reduction the plugin is allowed to apply. Four to six decibels is a working default for a lead vocal. If you are regularly seeing eight or more, something upstream is the real problem.
Attack and release matter less than beginners expect. A very fast attack of one to three milliseconds catches the initial spike of the consonant, and a release of 50 to 100 milliseconds or an auto setting lets the band come back before the next word. If the release is too slow the sound smears, and if it is too fast you get pumping on sustained sounds.
Reduce only what is obvious. A de-esser set to 2 dB on the loudest words usually sounds better than one set to 5 dB on everything, and it will sit better in the mix.
5. Check the Vocal in Context
Bypass the plugin and play the line back, then play it again with the plugin on. If you cannot hear a difference on bypass, you are done. If it sounds obviously better bypassed, you have gone too far.
Then play the whole song at two volumes. Low volume is how most listeners hear it, and it is where excess sibilance becomes obvious. Normal volume is where over-processing shows up as a dull, covered vocal. Both checks matter, and they catch different mistakes.
Finally, check on earbuds and a phone speaker. Small speakers cannot reproduce much below 200 Hz, so the vocal loses its body and the leftover top end is all you hear. If your de-esser sounds right on monitors and painful there, narrow the band and reduce the range.
Listen for intelligibility. The words should stay as clear as they were, and there should be no audible dip following each consonant. A de-esser you notice while it works has taken too much.
6. Automate or Refine for Each Line
Static settings work when the singer was consistent. When they were not, automation gives you a cleaner result with less processing on every line.
Draw the threshold or range lower for the loudest phrases and higher for the quiet ones, or draw gain reduction by hand on the automation lane where the plugin exposes one. Ride it through a verse and then check the chorus, which is usually where the belt notes bring the sibilance back up.
Doubles and stacked harmonies need separate care. Two singers with different S sounds, or the same singer tracked twice, produce inconsistent peaks, so a shared channel with a shared threshold either over-processes the quieter voice or under-processes the louder one. Print or commit each layer, de-ess the layers individually, then sum them. Ad-libs at the end of a chorus can often take a faster, more aggressive setting than the lead, because they sit behind everything else.
Common Mistakes
Setting the band far too wide. A band that stretches from 2 kHz to 16 kHz is not a de-esser, it is a volume controller. Keep the Q fairly high so the band covers the spike and nothing else.
Using far too much reduction. Six decibels on a lead vocal is already aggressive. More than that and the word “s” starts sounding like “th”, which is the lispy result that people try to solve by adding more of the plugin.
Picking a frequency from a preset. Every voice, microphone and distance combination puts the sibilance somewhere different. Sweep for it yourself.
Trusting a de-esser to fix a level problem. A meter that is working constantly is usually a gain staging or mic position symptom, not a settings symptom. Producers on r/musicproduction tend to reach for the same conclusion, and it is the right one. Pull the mic back, aim it slightly off-axis, or re-gain the take, then set the threshold again.
Automating like a machine. Drawing a smooth line through every word takes the life out of the vocal. Ride the loud phrases and leave the rest alone.
Treating a performance problem as a mixing problem. If the singer is spitting on every take, or the room is adding hiss, processing can only mask it. Engineers often say the honest fix is a re-record in a dead space, which is correct and unpleasant to hear.
Three techniques that go beyond the basic setup. First, place a second, gentler de-esser after the compressor, which is the standard studio approach at B&H, since the first catches sibilance coming in and the second catches peaks the compressor created. Second, you can de-ess with no de-esser at all: duplicate the vocal, route the copy to a silent aux send, put a notched boost EQ on the send to isolate the sizzing band, and feed that send into the sidechain input of a compressor. That recipe from GearSpace works in any DAW. Third, if the sibilance returns only once reverb is back, as it often does, a narrower band and less reduction will beat adding processing.
Frequently Asked Questions
What frequency should I set my de-esser to?
Start between 5 and 9 kHz for most vocals, then confirm it by ear. Deeper male voices usually have their sibilance closer to 4 to 6 kHz, while higher voices sit nearer 6 to 9 kHz. Use the plugin’s solo or listen button and sweep slowly until the isolated hiss is loudest, then set your Q so the band covers that spike without reaching the air band above it.
What threshold should I set on a de-esser?
There is no correct number, so work by ear and by meter. Lower the threshold from a high value until the gain reduction meter moves on sibilant words and stays still elsewhere. If it moves constantly, the vocal is too loud or the mic is too close. If it never moves, the band or the frequency is wrong, not the threshold.
Where does a de-esser go in the vocal chain?
Put it before the compressor, as the first corrective processor, so the compressor never reacts to a sibilant peak and pumps because of it. The exception is a very dynamic vocal: add a second, gentler de-esser after compression to catch peaks the compressor created. Many working engineers run both, and that is the safest default on dense stacks and doubles.
How much gain reduction is too much on a de-esser?
Four to six decibels on a lead vocal is already an aggressive setting and should only touch the loudest words. Past roughly eight you will start hearing a lisp, where S sounds turn into Th. If your meter regularly shows more than that, fix the cause upstream by moving the mic back or aiming it slightly off-axis rather than adding more reduction.
Should I automate my de-esser settings?
Automate when the performance is uneven, not as a default. Ride the threshold or range down for loud phrases and up for quiet ones, or draw the gain reduction lane by hand if your plugin exposes one. Keep the moves sparse, since automating every word removes the natural feel. Doubles and stacked harmonies should be de-essed as separate layers before they are summed.
Conclusion
Start here: solo the vocal, play it loud enough to be uncomfortable, and find the harshest S. Put a narrow band on it between 5 and 9 kHz, lower the threshold until the meter moves only on those words, cap the range at four to six decibels, and check the result in the full mix at low and normal volume.
If you can hear no difference when you bypass the plugin, the de-esser is doing its job and you can move on to the rest of the vocal chain.