To warm up your voice before recording, spend 5 to 10 minutes on slow breathing, relaxed humming, lip trills, and gentle scales on easy vowels. That short ramp gets your folds moving, your breath steady, and your tone sitting forward in the mix, so the first take you print sounds like the fifth.
It matters most when you have been quiet for a while, when the session starts early, or when the material asks for high notes. Cold voices take longer to control, and singers who try to muscle through that control problem end up pushing from the throat.
The routine below is built for the room where you actually record: a home studio, a project booth, a corner of a bedroom with a mic and a pop filter. It works for singers, rappers, and narrators, and each step tells you how long it takes and how to tell it is working.
If your voice has been hoarse for more than a couple of weeks, or you have pain with swallowing, skip the warm-up and see an ear, nose and throat specialist or a speech-language pathologist. Nothing on this page is medical advice, and no exercise here should ever hurt.
What You Need
You need less gear than most people expect. A glass of water and ten unhurried minutes cover about ninety percent of it.
- Room-temperature water. Cool water is fine if that is what you normally drink, but very cold drinks tighten the throat for some people. Sip steadily through the whole warm-up rather than downing a glass at the start.
- A quiet space. You do not need treated acoustics. You need a room where you can hear yourself without traffic, an air conditioner, or a neighbor’s TV masking the start of a note.
- A timer or a metronome-free clock. The routine is time-boxed on purpose. An engineer’s phone is usually enough.
- Optional pitch reference. A piano app, a tuning fork, or a reference track pitched to you removes the guessing from a scale run. Beginners find this easier than trying to remember where E4 sits.
- A scratch recorder. Your phone voice memo app or a single audio track in your DAW. You will use it for the readiness test at the end, which is the step that tells you whether you are actually ready.
- Your script or lyric sheet. Warming up is easier to judge when you already know what the session will ask of your voice.
Timing matters as much as the exercises. Singers usually feel their voice open and easy 30 to 60 minutes after waking, so early sessions work best for full songs, low notes, and anything soft. If you track at night, warm up later in the day instead of trying to force your voice open cold.
Rap and spoken-word work can be done closer to the mic because the load is lower, but the breathing work still counts. If you already know that one window of the day gives you a noticeably clearer tone, protect it and schedule around it.
Step-by-Step: How to Warm Up Your Voice Before Recording
Run these in order. Each one builds on the last, and skipping ahead is what makes a warm-up feel pointless. Total time is about ten minutes. If you only have three, do the breathing, the hum, and one slow slide.
Start With Easy Breath and Vocal Warm-Ups
Take about two minutes for this opening block. Stand or sit tall with your feet planted, let your shoulders drop away from your ears, and unclench your jaw. Do not push your chin forward; a stacked head over stacked ribs is usually enough posture for a warm-up.
Breathing, about 60 seconds. Put one hand low on your belly and breathe in slowly through your nose so that hand moves outward. Exhale through slightly parted lips, slow and even, like you are fogging a mirror. If your chest rises first and your belly barely moves, you are breathing shallow, and that is the pattern you are trying to change. Keep the exhale twice as long as the inhale.
Humming, about 45 seconds. On the next exhale, hum at a middle pitch that you could speak at all day. Lips closed, jaw loose. You are looking for a small buzz in your lips and across the front of your face. When the hum turns thin or scratchy, you have gone too high, so drop back to where the buzz was fattest.
Lip trills, about 60 seconds. Relax your lips so they are loose enough to flutter, blow steady air through them, and make a motorboat “brrr” sound. Start at that same middle pitch and slide up about a fifth, then back down, keeping the air continuous. Lip trills are less about building range and more about proving your breath and folds want to work together without pressure.
It is working when the hum has an even pulse and the trills sound even. It is not working if you feel a hard pinch in your throat, a bulge in your neck, or a pressure in your ears.
Recording in an apartment? The entire first block works quietly. Hum on a closed mouth, mumble through the lip-trill movement without the sound, and speak the melody at a normal speaking pitch while exaggerating the rise and fall of the notes. You still get airflow and fold movement, and the wall keeps most of it to yourself.
Move Into Gentle Range and Resonance Work
Spend about three minutes here. The goal is connection, not height. You are looking for a tone that sits forward and easy, where the top of your comfortable range feels like the top of a hat rather than a ceiling.
Comfortable slides, about 60 seconds. Sing “vv” or “oo” and glide from a low comfortable note up to a high comfortable note and back. Only travel where you could speak. Skip the slide if you have to press or squeeze to get to the top of it.
Siren, about 45 seconds. Do the same sweep on a “w” sound, which keeps the tongue out of the way. Make the sweep a little wider this time than the first one, but stay in the same comfortable band.
Vowels, about 75 seconds. Run a five-tone pattern on “oo”, then “oh”, then “ah”, each one a short step up and back down. Move the whole pattern up a step each time you repeat it, and stop before the tone gets thin or strained. The vowels matter because they reshape the mouth, and the shape decides how much resonance the tone collects.
Between exercises, reset your breath rather than squeezing more air in. A short sip of water between the slide and the siren keeps your throat from drying out while you are concentrating hard.
It is working when the tone has the same colour at the bottom and the top of the pattern, when you can hold one note for about ten seconds without your throat taking over, and when releasing the note feels easier than making it.
Practice Control, Articulation, and Musical Phrases
This block is about three minutes and it is the part most people skip. A singer who only slides up and down can still record a take with mushy consonants and no rhythm.
Tongue twisters, about 60 seconds. Run four classics slowly and then at performance pace: “red leather, yellow leather”, “Sally sells sea shells by the sea shore”, “Peter Piper picked a peck of pickled peppers”, and “unique New York”. Say each one on a mid pitch, then again on a small three-note rise. Start slower than feels silly. Tongue twisters train the tongue, lips, and jaw to move without tightening the throat.
Short musical phrases, about 75 seconds. Sing four bars of the actual song at half volume. Start in the verse rather than the chorus so you are not reaching for the high part before anything is warmed. If you are rapping, read your bars at half speed with exaggerated mouth shapes, then at speed with the beat, still at half the volume you will use for the take.
Spoken-word variant, about 60 seconds. Narrators and voice actors skip the scales entirely. Read one paragraph of the script aloud at full delivery energy but low volume, then read it again at speed. Throw in a few breath drop-ins, which are short breaths placed on the natural gaps in the text, so your inhalation never lands where an editor will hear it. Podcasters get the same benefit from reading the intro of an episode out loud at pace.
It is working when every word stays as clear as it would be at conversation volume, and when you can feel your jaw staying loose through the whole phrase.
Test Your Voice Before Recording
This is the step that separates a warm-up from a ritual. Give it 60 to 90 seconds and let the recorder tell you the truth.
Record one continuous clip at the volume you will actually sing at: one sustained comfortable note, one phrase from the session, one short riff or bar of the song, and one paragraph of speech or rap. Then play it back and listen for five things: pitch that holds steady at the edges, tone that sounds centred, diction that stays clear, no cracking between registers, and comfort in your throat afterwards.
Narrators should monitor through headphones and play the clip back at normal level, not boosted, because a loud playback hides the very sibilance and thin patches you are looking for. Listen once for content and once with your eyes closed for tone.
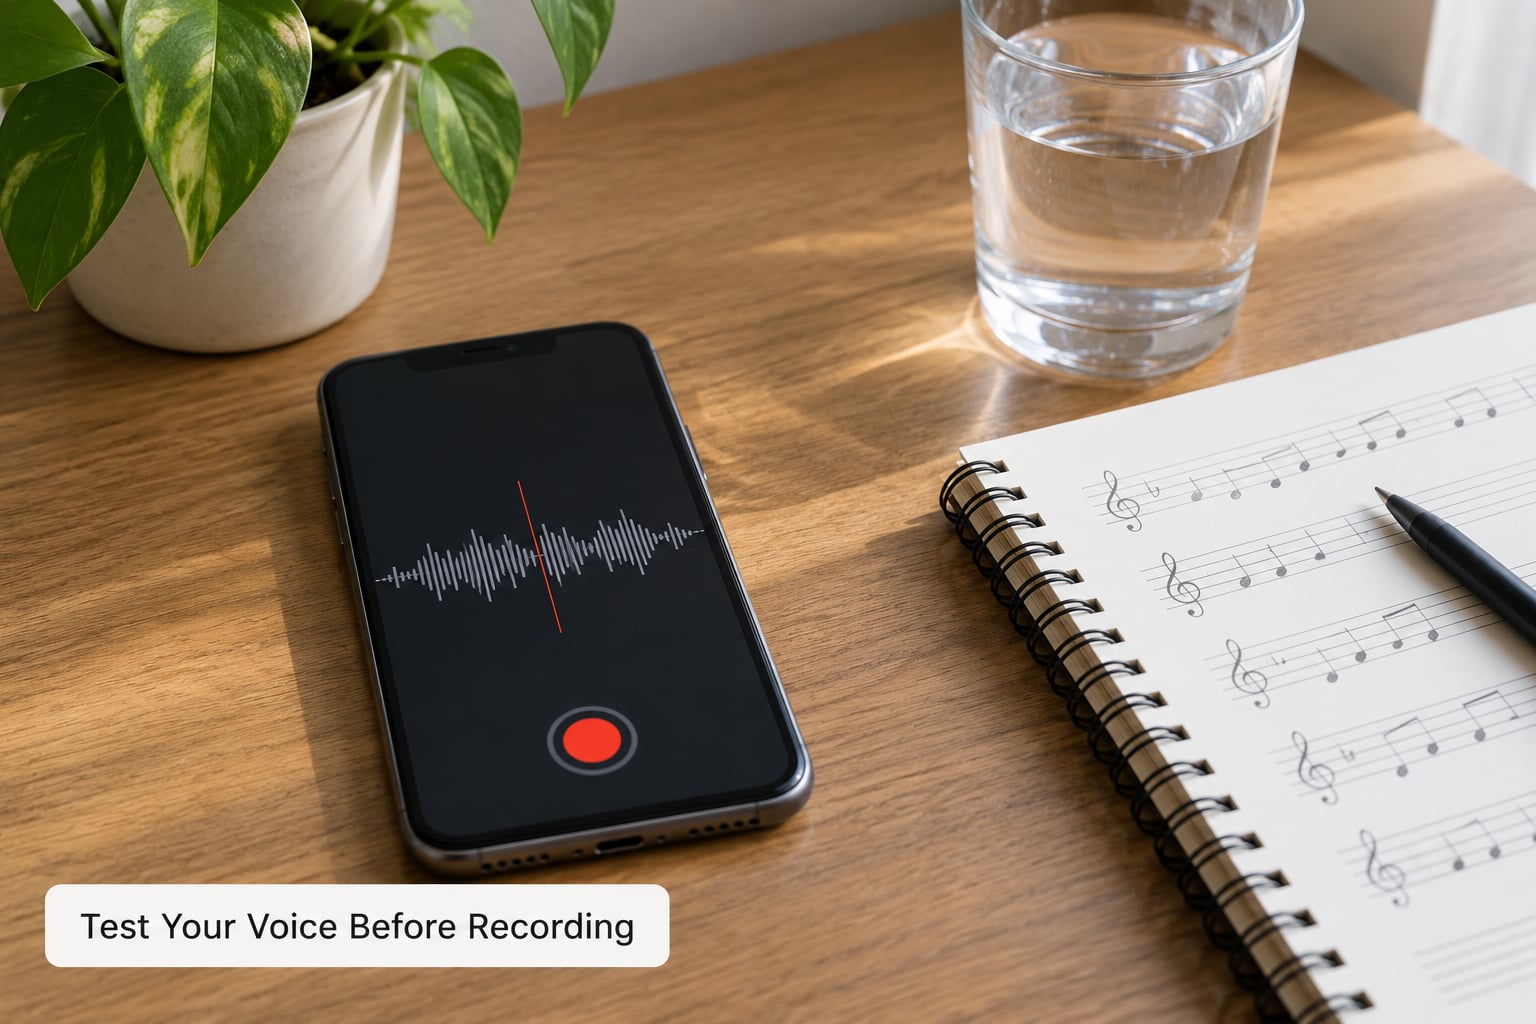
Set your mic distance while you are recording the test rather than after. Keep the pop filter a couple of inches in front of the capsule and the mic about a fist’s width from your mouth, then step slightly behind the filter if sibilance spikes on your “s” sounds. Doing this now avoids reaching forward into the mic on take one.
If the clip reveals strain, do not solve it by pushing harder. Rest for a few minutes, drink water, drop back to the quiet version of step one, and test again. If the voice still sounds scratchy after a couple of tries, record low-stakes material first, or move the session, because pushing through a scratchy voice is exactly how a good take turns into a week of silence.
It is working when you would put that clip in front of someone without wincing. That instinct is usually right.
Common Mistakes
Most disappointing takes trace back to something in this list rather than to the microphone or the room.
Starting at full volume. Belting the top of your range cold is the single most damaging thing in this article. Fix: start at roughly half your recording volume and raise it in two stages across the first few minutes.
Pushing from the throat. If you can see your neck tendons stand out, the sound is coming from somewhere it should not. Fix: stop, reset with four slow breaths, and hum again until the buzz is back.
Forcing high notes during warm-up. A warm-up is not an audition. Fix: cap the routine at your easy range and save the top of the song for the takes themselves.
Over-trilling. Lip trills for four straight minutes tire the lips and the breath. Fix: 60 seconds is plenty, then move on.
Warming up without a target. Going through the motions tells you nothing. Fix: decide before you start whether you are chasing range, control, or endurance, and pick exercises that fit that goal.
Skipping water. Fix: keep the glass within arm’s reach and take a sip every couple of minutes.
Clearing your throat. A hard throat clear is repeated vocal strain with extra steps. Fix: swallow, take a quiet sip, and hum instead.
Recording while the voice feels scratchy. Fix: warm up quieter, push the session back if you can, and consider checking in with an ENT or speech-language pathologist if hoarseness lingers past two weeks.
Finish with a cooldown, which most people skip. Run one slow slide from top to bottom, hum quietly for 60 to 90 seconds, and sip water. Long sessions ending with a cooldown tend to start the next session in better shape.
Frequently Asked Questions
How long should I warm up before recording?
Five to ten minutes is the working range for most sessions. Under three minutes gets you partly ready, ten gets you fully ready, and anything past fifteen is usually wasted effort that leaves you tired rather than warm. Do the full block the first time you record a song, then trim it to the parts that helped as you get more familiar with the routine.
Do I need to warm up before every take?
No. Warm up once properly, then take breaks between takes. After a break of ten or fifteen minutes, a two-minute refresher covering breathing, humming, and one scale run brings you back up. If you have been singing hard for forty minutes straight, or you notice scratchiness creeping in, that refresher matters more than the original warm-up did.
What should I avoid eating and drinking before recording vocals?
Stick to room-temperature water, and eat a normal light meal rather than nothing. Many singers report more mucus in the throat after dairy, and chocolate and heavy sugar can leave a coating that makes the mouth dry by the time you sing. Very cold drinks tighten the throat for some people. Moderate your caffeine instead of cutting it, since a sudden change affects you more than the caffeine itself.
Does a voiceover or audiobook warm-up differ from a singing warm-up?
Yes. Narrators and podcasters can skip scales and vowels almost entirely. Breathing, humming, tongue twisters, reading a paragraph aloud at full delivery, and rehearsing breath drop-ins cover nearly everything that matters for spoken word. Do the readiness test at conversation level rather than singing level, and listen back for clarity and pace instead of pitch.
What are the signs I should stop and rest my voice?
Stop for the session if you feel pain with swallowing, a persistent dry tickle that will not clear, hoarseness that lasts longer than two weeks, or any note that keeps getting scratchier as you repeat it. The daily limit people often search for does not exist as a fixed number of minutes, so use sensation instead. Rest and hydration are safer than pushing, and a clinician can tell you more than any routine.
Conclusion
Start with water and slow breathing, add humming and lip trills while the buzz is fat and even, then move into gentle slides, vowels, tongue twisters, and a few quiet bars of the actual material. Finish with a short recording you play back before anyone presses record.
That is how to warm up your voice before recording, and it takes less time than most sessions lose to silence between takes. Keep it gentle, keep it short enough that you actually do it, and let the recorder make the final call.