Learning how to tune vocals without sounding robotic comes down to restraint: correct only the notes that pull the listener’s attention off the words, leave vibrato and phrasing alone, and check your work inside the full mix instead of on a solo channel. Most home producers get a robotic result because they tune every note to the same instant grid, then wonder why the performance feels lifeless.
That is a fixable problem, and it is usually a workflow problem rather than a plug-in problem. In my experience a mediocre singer with a clean take, a correctly detected key and a slow retune speed ends up sounding better than a great singer whose vocal was tuned at 0 ms.
Table of Contents
- What You Need
- How to Tune Vocals Without Sounding Robotic: Step-by-Step
- Frequently Asked Questions
- How fast should I set vocal tuning in Melodyne or Waves Tune?
- Should I remove vibrato when tuning vocals?
- How do I make automated vocal tuning sound more natural?
- What is the best way to tune vocal timing?
- Can I tune vocals in my DAW without a dedicated plug-in?
- Why do my vocals sound robotic after tuning?
- Conclusion
What You Need
Before you open any tuner, get these four things in place. Skipping straight to the plug-in is what creates most robotic results.
- A clean comp. One vocal take, comped from your best sections, with breaths and mouth clicks edited out. A tuner fed a noisy or reverberant signal chases the wrong pitch.
- A reference track. The backing and any guide vocal, so you can hear where the note should sit rather than guessing.
- Headphones or honest monitors at a moderate level. If you tune at a volume that makes the pitch movement obvious, you will over-correct.
- A DAW and a tuning tool. Auto-Tune, Melodyne, Waves Tune, or the pitch editor built into Logic Pro, Ableton Live, FL Studio or Pro Tools. Every one of them does the same job at different depths.
Write down the goal before you start: fix unstable notes and improve timing. You are not trying to replace the performance. Tuning cannot fix a wrong melody note, bad tone or a flat delivery, and anyone who tells you otherwise is selling something.
One thing worth knowing early. Experienced users on the KVR Audio forum consistently describe Melodyne as the least robotic sounding option because you edit notes rather than snapping them in real time, while Auto-Tune is fast and immediately satisfying. That trade-off holds up in practice.
How to Tune Vocals Without Sounding Robotic: Step-by-Step
1. Clean and Comp the Vocal
Cleaning first, because pitch detection reacts to everything in the signal. Cut breaths you do not want, trim lip smacks and clicks, and reduce room tone and guitar bleed with a gate or noise reduction before the tuner sees the audio. If you tune a vocal with audible room sound, the detector will follow the noise on the way in and out of every note.
Comping matters just as much. Lay your takes on a timeline, mark the strongest phrase of each line, and assemble a comp that flows. Then nudge syllables by a few milliseconds so the comp breathes.
Here is the difference in practice. On one comp I moved a phrase 40 ms earlier and it read as tighter. On the next pass I moved another line 15 ms earlier and the whole take started to feel pushed. Small is almost always the right amount.
2. Find the Correct Pitch Center
Set the right key and scale, because this is the setting people leave alone and it is the one that ruins a vocal. Wrong-key tuning sounds worse than leaving a note flat, since it drags the melody toward a chord tone the song was never written around.
Four ways to find the key:
- Use your DAW’s built-in key detector on the instrumental. Most report the key in seconds.
- Play the chords with a tuner app on your phone and read off the root.
- Use an online detection tool if you are working outside a DAW.
- Test two or three candidates by ear against the lyric melody and pick the one where every sustained note sits comfortably.
Choose the scale next. Chromatic corrects any semitone, which is a trap for beginners because it flattens the natural rise and fall of a line into a straight ruler. Pick major for bright, resolved material and minor for darker songs. If the track changes key, retune the second section rather than forcing the whole song into one setting.
3. Set the Retune Amount Carefully
Retune speed is how fast the tuner moves your voice to the target note. Faster is more precise and more mechanical, slower is softer and less exact. Start in the middle. Somewhere between 30 and 60 ms is the range where most people hear a corrected vocal and still hear a human being.
- Under 10 ms sounds instant and deliberate. That is a stylistic choice, not a default.
- 10 to 25 ms is tight pop and R&B territory, where aggressive tuning is expected.
- 30 to 60 ms is where natural-sounding vocal tuning usually lives.
- 80 ms and above leaves enough wobble that the vocal reads as barely corrected.
Set correction strength around 60 to 80 percent and pull back from there. Then open the humanize control, which reintroduces a small amount of pitch variation. On the FL_Studio subreddit, engineers keep repeating the same advice: if your result sounds robotic, move the speed slower before touching anything else.
A/B the tuned version against the original. If the transition from one note to the next has disappeared, you went too far. Vibrato, scoops and slides should still be recognisable; if the whole line is now perfectly flat, dial the speed up in small steps until you hear the expression come back.
4. Tune Timing Without Flattening Expression
Move notes only as far as they need to go for the words to land clearly against the beat. Nudge a syllable that sits behind the beat until the lyric is intelligible, then stop.
Watch the edges of notes. Dragging the start of a note fixes a late consonant and sometimes drags the whole expressive onset with it. The ends of words matter too, since pulling a note’s tail late turns a short vowel into a long one.
Doubles and harmonies get their own settings. A doubled lead tuned at the same settings as the lead creates a stacked, machine-like sound, so tune the double slightly slower and lower in strength, then pull it back in level. You want the thickness, not the fight.
Quantizing timing hard is another common route to the robot sound, and the fix is to leave a little looseness where the song breathes. Quantized to the grid is not the same as in time.
5. Use EQ and Compression After Tuning
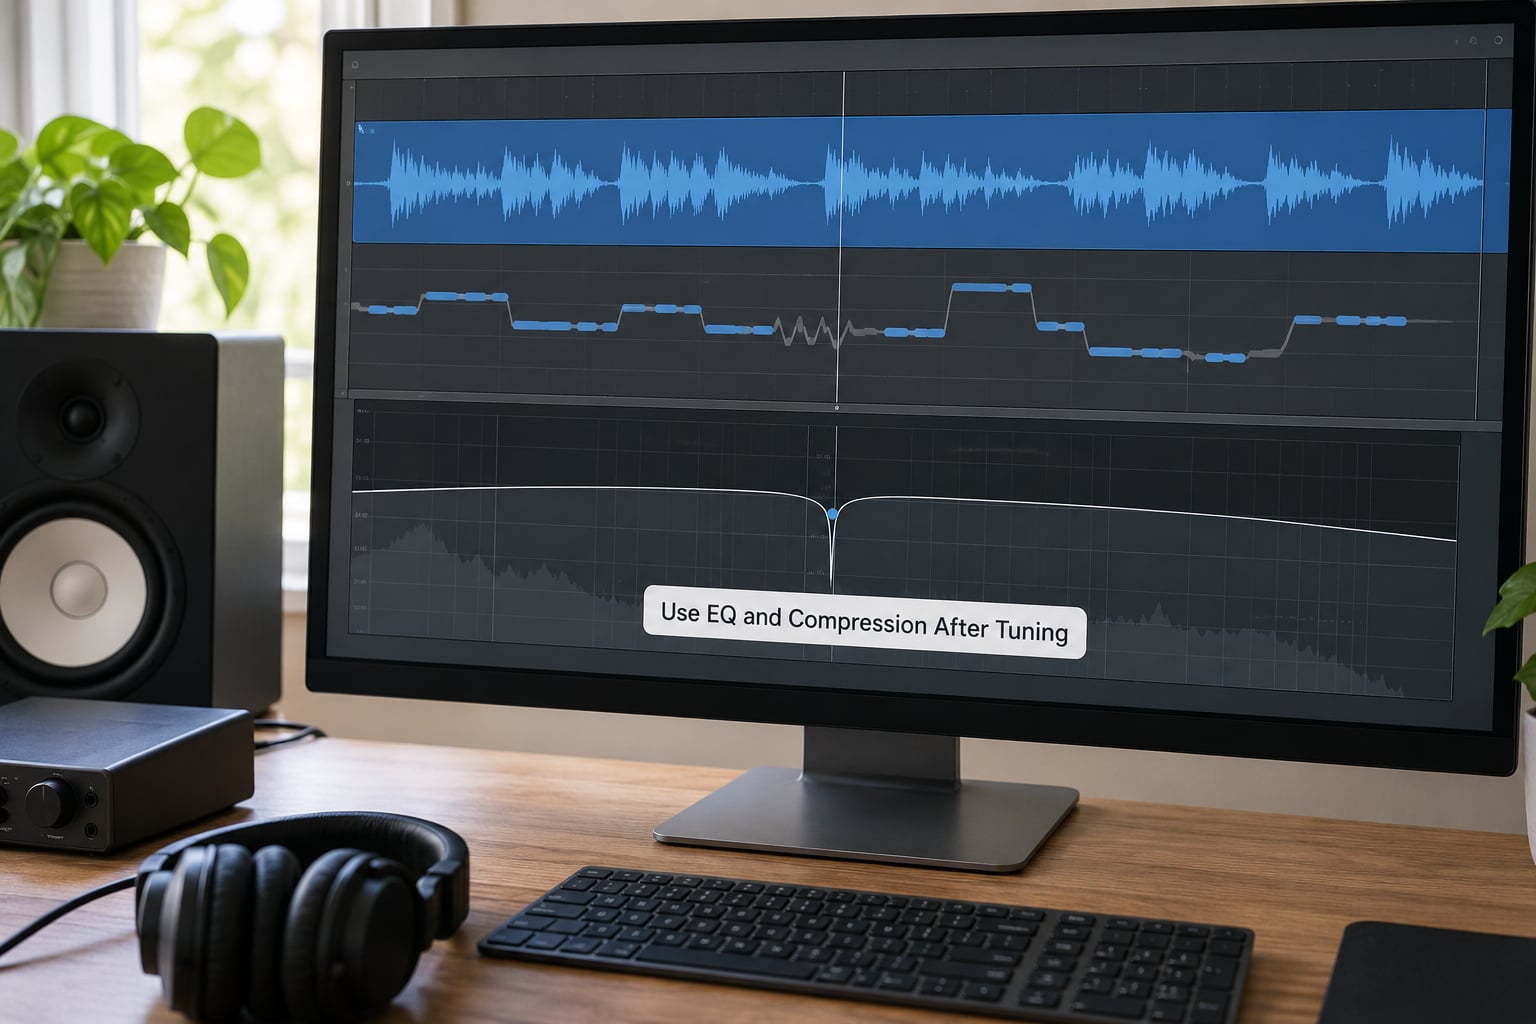
Tuning comes before EQ and compression in the chain, and the order matters. Compression pulls a vocal’s dynamics into a narrow band, so if you tune first, the pitch movement the compressor will exaggerate has already been corrected.
A narrow EQ cut does the same job on frequency. When one note still sounds suspect after tuning, find its frequency, take 2 to 3 dB out with a narrow Q, and let it blend into the performance. Compression after that, with a moderate ratio around 3:1, evens the phrase out.
Watch your levels as you work. Aim for peaks around -12 dBFS on a calibrated meter before compression, and leave the fader alone until the vocal sits against the beat.
6. Check the Vocal in the Full Mix
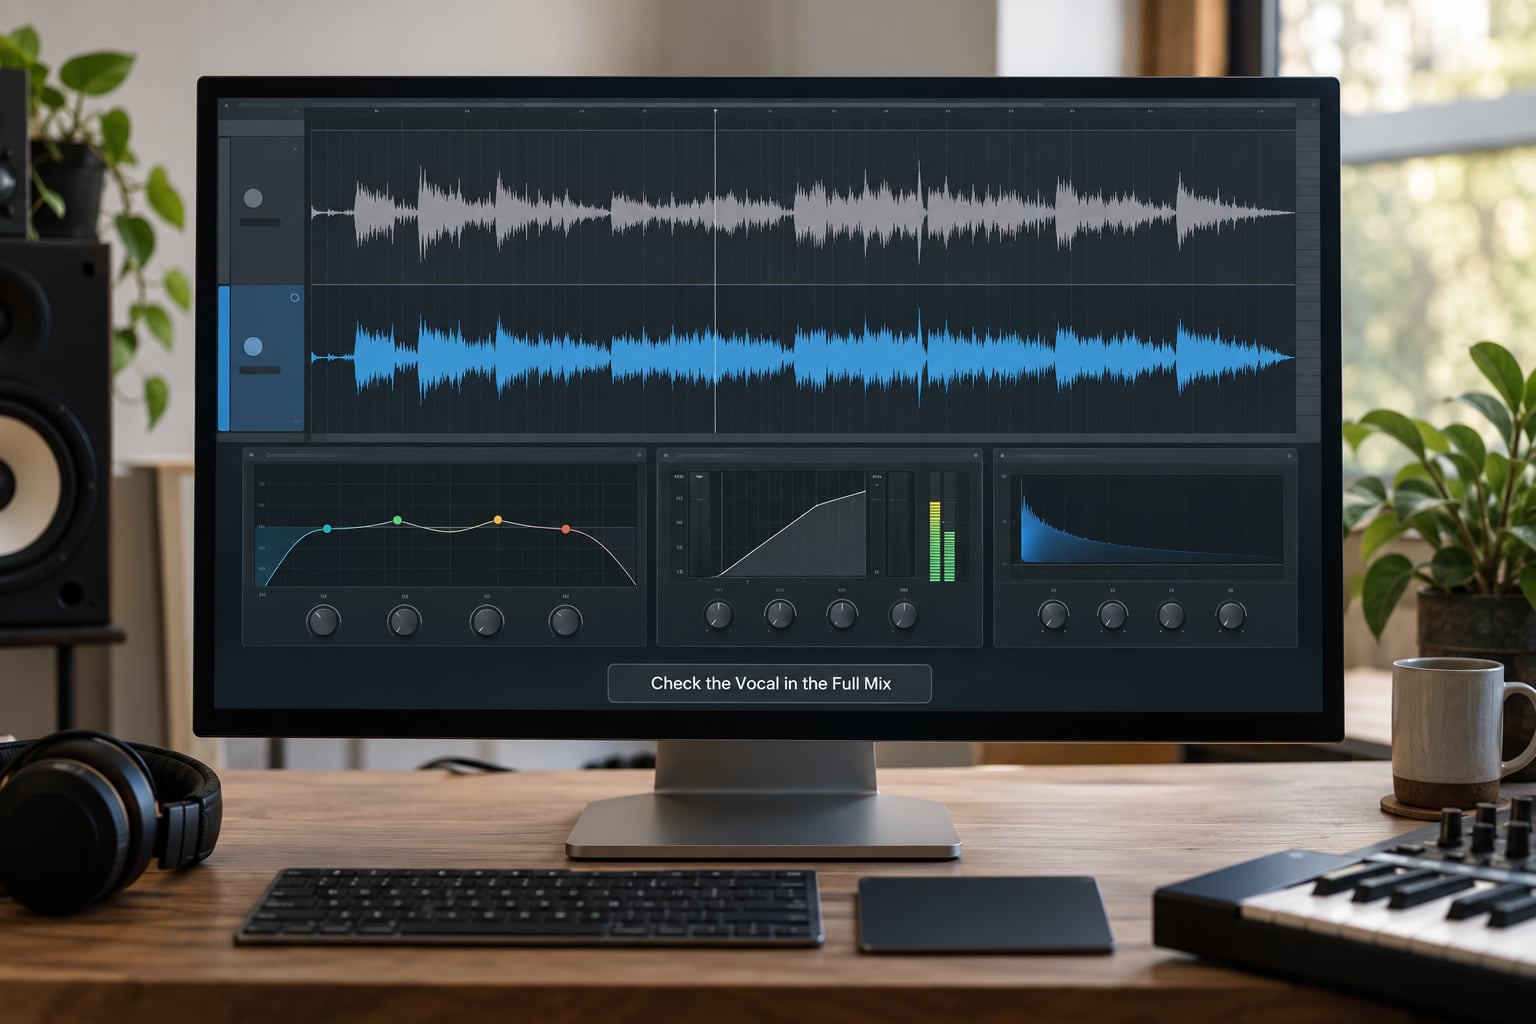
Solo listening lies. A tuned vocal checked on its own always sounds more obvious than it is in context, so audition it in four passes: solo for detail, mono for phasing, low volume for balance, and full mix for the final verdict.
On the full mix, listen for whether you notice the pitch moving. If you can follow the pitch movement instead of the words, the tuning is too aggressive, even if each individual note sounds perfect.
The hardest check is the producer test. Play the mix for someone who mixes for a living and ask whether they noticed you tuned it. If they say yes, take 10 ms off the retune speed.
Common Mistakes
Tuning every note equally. Some notes need correction and others need to stay. Correct only what distracts from the lyric.
Leaving retune speed at 0 ms. That is the robotic setting, and it is frequently the factory default. Nobody’s first instinct should be instant.
Removing all vibrato. Vibrato is part of how a voice reads as alive. Keep it, or reduce it slightly rather than flattening it.
Quantizing timing tightly. Everything lands on the same rigid grid and the phrasing dies. Keep a little looseness.
Tuning a noisy or reverberant take. The detector follows the room, and the result sounds wrong in a way that is hard to place. Clean first.
Stacking two tuners on one track. Double correction creates beating and phase problems that read as a processing artifact.
Judging the vocal in isolation. A solo audition exaggerates pitch movement. The mix is where the decision actually matters.
Tips for a More Natural Vocal Performance
Bypass the tuner briefly on every pass. Listening to the raw take reminds you what you actually sang and stops you from correcting things that were already fine.
Transpose the part if the range is wrong. Singing a line a third or an octave down and pitching it up afterward produces a more convincing result than forcing a note at the edge of your range, which is the single biggest cause of robot-sounding verses.
Compare takes before you commit. Sometimes the second take is more accurate but the third has more character, and the third is the one worth correcting.
Preserve intentional bends. Pull out the tuner on any note where the singer clearly meant to scoop into it, and use manual editing for those transitions rather than letting the algorithm flatten them.
Use automation selectively. Riding the humanize amount up during melodic lines and down during spoken passages keeps a full track consistent without flattening everything to one setting.
Frequently Asked Questions
How fast should I set vocal tuning in Melodyne or Waves Tune?
Start around 40 ms and move slower if the result sounds robotic, faster if you want a tighter, modern pop sound. Below 10 ms is an obvious effect rather than a correction. If the transitions between notes start to disappear, your speed is too fast for that passage.
Should I remove vibrato when tuning vocals?
No. Vibrato is part of what makes a voice sound alive, and removing all of it is one of the fastest routes to a robotic vocal. Many tuners separate vibrato from steady pitch, so you can correct the note underneath while letting the vibrato ride on top. Reduce it slightly if it fights the melody.
How do I make automated vocal tuning sound more natural?
Use a moderate retune speed, set the key and scale correctly, pull correction strength back from maximum, and open the humanize control. Correct only the notes that distract from the words, keep the timing slightly loose, and audition the result in the full mix rather than in solo. A dry parallel blend can also add life back.
What is the best way to tune vocal timing?
Move each note the smallest distance that makes the word land clearly on the beat, and check the start and end of the note rather than the middle. Leave a little looseness where the phrasing breathes, because a rigid grid is the main reason a corrected vocal sounds mechanical. Comp first, then adjust, not the other way round.
Can I tune vocals in my DAW without a dedicated plug-in?
Yes. Logic Pro offers Flex Tune and Alchemy pitch tools, Ableton Live 12 includes Auto Shift and Pitch correction, FL Studio has Newtone, Pro Tools has Elastic Audio, and GarageBand has a basic pitch correction effect. They differ in precision and control, but the workflow is the same: clean take, right key and scale, moderate retune speed.
Why do my vocals sound robotic after tuning?
Most often it is retune speed set too low a value, usually the 0 ms default, or a chromatic setting forcing every note to a fixed semitone. Other causes include removing all vibrato, quantizing timing tightly, tuning a noisy take, a wrong key, and stacked tuners on the same track. Slow the speed down, choose the correct scale, and re-check.
Conclusion
How to tune vocals without sounding robotic comes down to knowing where to stop. Correct the notes and the timing that pull attention away from the words, keep everything else, and let the singer stay in charge of their own delivery.
If you do one thing this week, take a clean comp, set a retune speed around 40 ms with the right key and scale, then A/B it against the untouched take. Make the smallest adjustment that improves the mix, and stop there. That is the whole trick.