No, buses and sends are two different tools. A bus sums several tracks into one channel so you can process them as a group; a send copies part of a track’s signal to a separate effect channel and blends it back, leaving the original dry signal untouched. Learning how to use buses and sends is what turns a pile of tracks into a mix you can actually change.
I have watched people struggle with this for years, and the confusion is almost always about one thing: they do not know which direction the audio travels. Once you can trace the signal from a track to where it ends up, everything else is a fader and a plug-in. This guide walks the whole route, with the DAW menu paths spelled out and the reasoning behind each step.
Everything here works in any digital audio workstation. Where a menu name changes between applications, I name the application.
What You Need
Before touching anything, you need five definitions straight, because most tutorials skip straight to a click path and leave you guessing later.
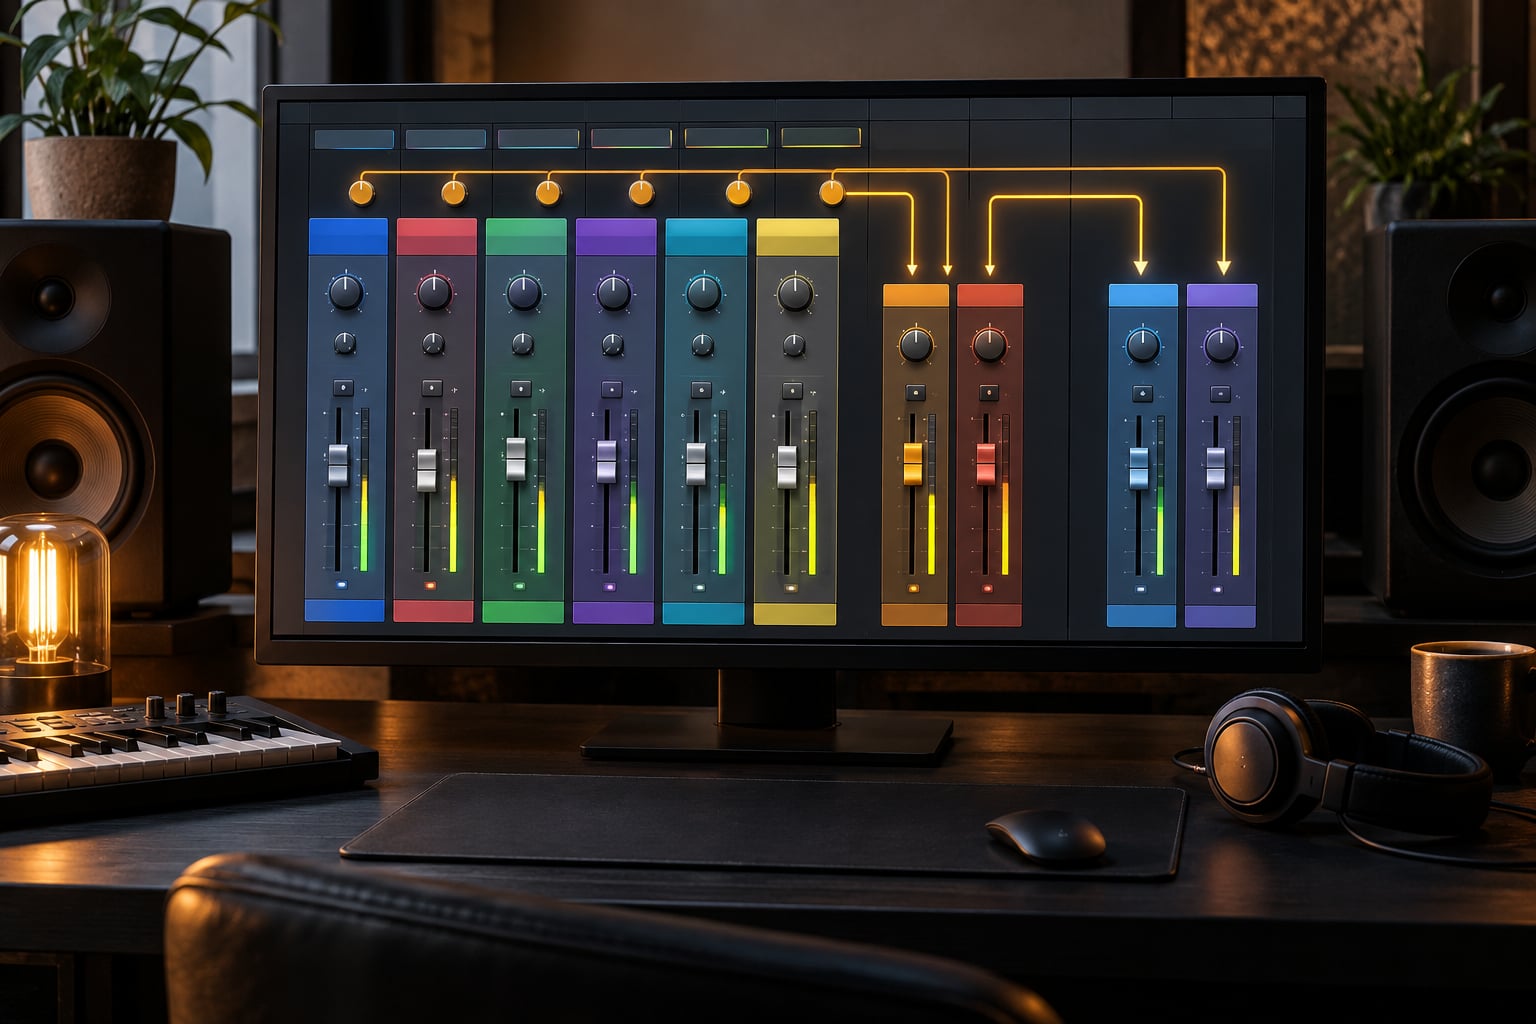
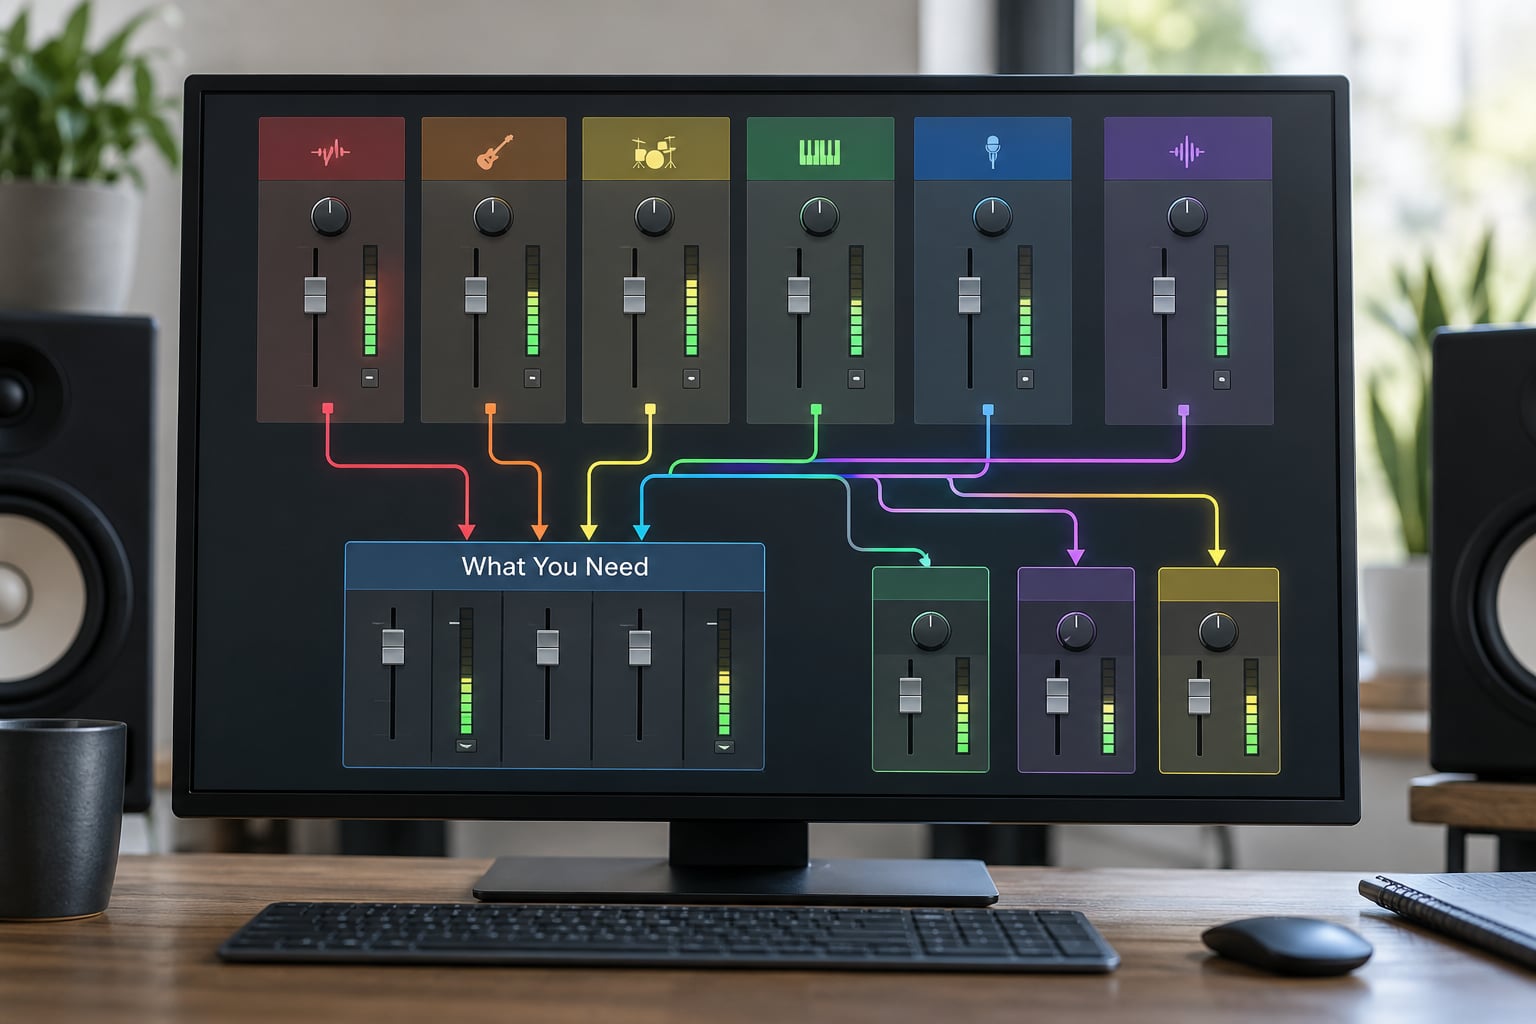
An audio bus is a destination that receives the output of other tracks. The source track’s main output is rerouted away from the master and into the bus, and the bus feeds the master instead. A mix bus (sometimes called the master bus) is the final summing channel your interface listens to, and everything the audience hears passes through it.
An auxiliary bus, or aux, is a channel that exists to hold an effect and feed it back into the mix. The signal entering an aux is processed there and returned, so the aux is a loop rather than a destination. A send is the control on a track that decides how much signal leaves that track for an aux or bus. A return is the tap where that processed signal comes back into the mix.
That is the whole concept. A bus reroutes and combines; a send duplicates and blends.
Because every application names these differently, here is the same five concepts in the places you will actually go looking for them.
| Term | What it does | Signal path | Typical use |
|---|---|---|---|
| Mix bus (master bus) | Final summing channel for the whole project | All buses and returns feed it | Final limiter, gentle bus EQ, meter reference |
| Group bus (subgroup) | Collects several tracks so they can be processed as one | Track outputs are rerouted into the bus, bus feeds master | Drum bus glue compression, vocal bus EQ |
| Aux bus | Holds one shared effect instance | Fed by sends, returns to master | One reverb, one delay, parallel compression |
| Send | Per-channel control that copies signal to a bus or aux | Taps the track, leaves the dry signal in place | Varying how much reverb each voice receives |
| Return | Point where the processed signal re-enters the mix | Aux or bus back into the master | Setting overall wet level for the effect |
Different words, identical signal path. Ableton Live calls the subgroup a Group and the effect channel a Return Track with a Send knob underneath. Pro Tools has an actual bus and separate aux inputs. Logic Pro uses channels plus output slots, so a send from a track to Bus 1 is the equivalent of routing to an aux. FL Studio needs its mixer set to show Sends and Buses before any of this appears. Studio One uses Track Stacks and Folder Tracks, and Reaper simply calls them folders.
If you cannot see a send control anywhere, it is almost always that the channel strip is collapsed or the effect channel was never created. That is a visibility problem, not a logic one.
Step-by-Step: How to Use Buses and Sends
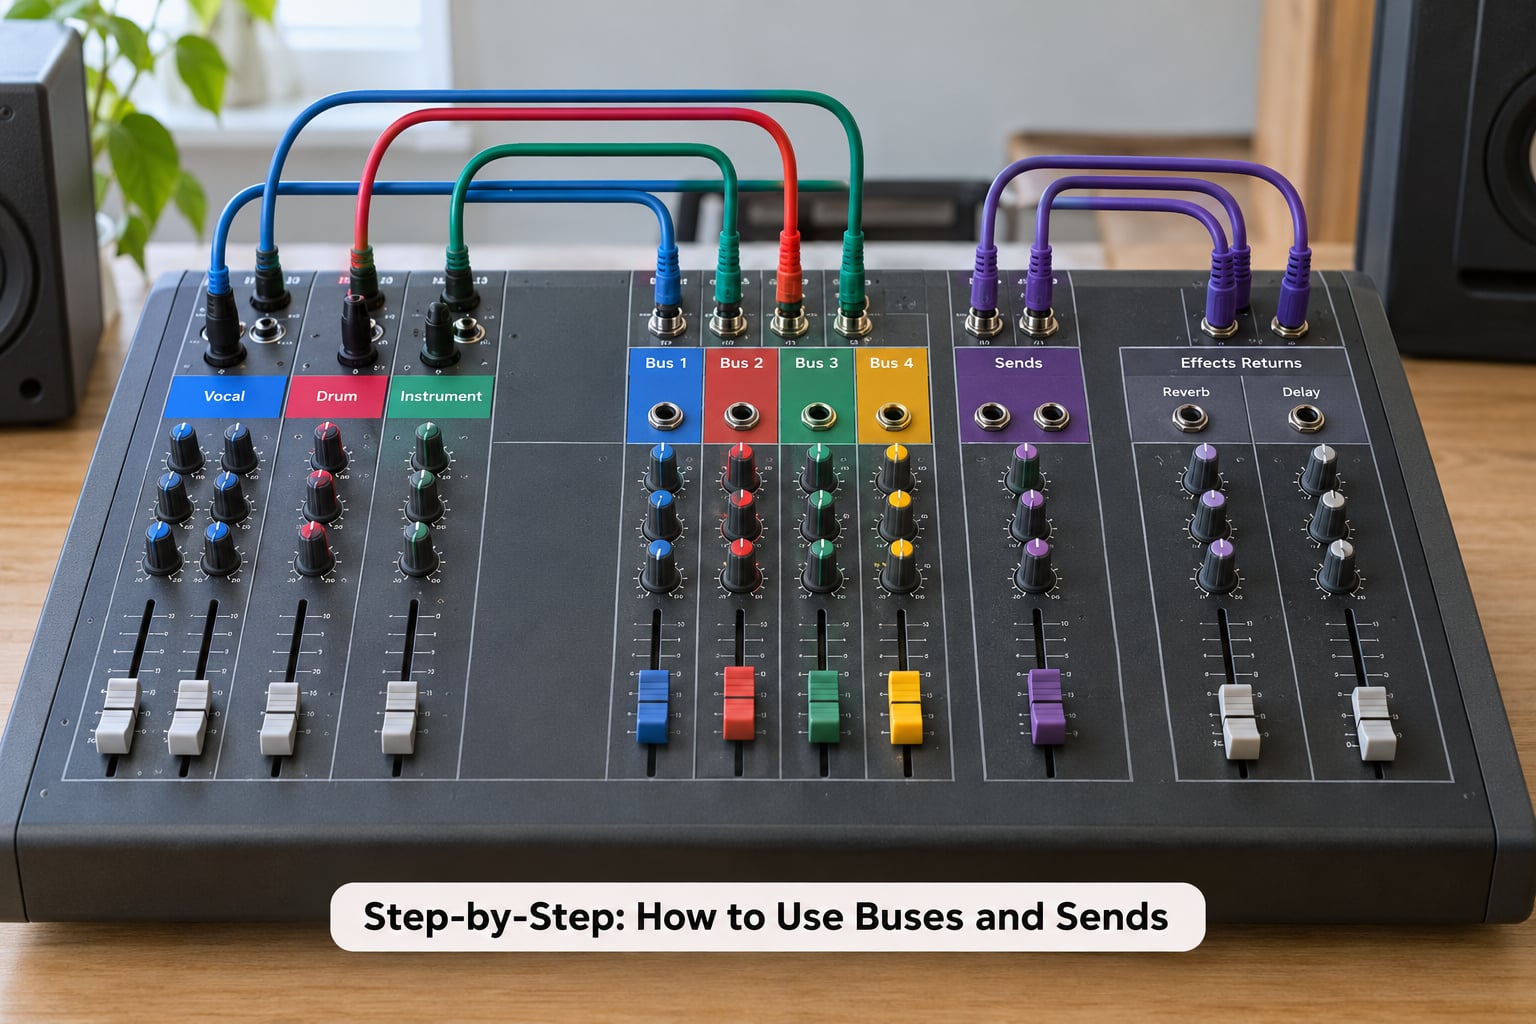
1. Start With a Clear Routing Goal
Decide what you want the routing to buy you before you build it. There are only three goals worth having: several tracks sharing one effect instance, several tracks needing one group change, or a parallel copy of a signal you want blended in from a second path.
Sounds that want shared processing usually do not need their own copy. Reverb, delay and parallel compression fit the shared-instance goal because one instance sounds better and runs lighter than six. EQ, saturation, gating and clipping fit the group goal because you want the whole group shaped at once.
Anything that needs its own automated volume ride, like a lead guitar swelling into a chorus, stays on its own track. If you catch yourself wanting to group something you will later automate differently on every channel, do not group it.
2. Build a Basic Mix Bus
Every project needs one channel that everything else feeds. In Ableton that is the Master track, in Logic it is the Stereo Out or your Main output, in Pro Tools it is a Bus 1-2 designated as your main, and in FL Studio it is the Master channel.
To build it, create the channel, make sure every other channel is routed to it, and check the output of your master channel matches the output pair on your audio interface. Set the interface sample rate and buffer size before you do any of this so you are not re-routing later.
The processing I keep on the master bus is deliberately minimal: a limiter set to the ceiling you deliver at, and sometimes one wide EQ move. If the mix sounds fine without anything else on it, that is the correct amount. A bus compressor here tends to sound like a decision nobody made, so I leave it off and add it only when the mix genuinely needs glue.
3. Create an Effect Bus for Shared Reverb or Delay
This is the most useful build in the article, because one shared reverb sounds different from five separate ones in a way you cannot get any other way.
First create a new audio channel and name it something like Reverb Bus. Put your reverb on it as an insert. Now set the reverb to 100% wet, meaning the processed signal comes out with none of the original left in it.
Why 100% wet? Because the dry signal is already in the mix through the tracks that sent to the aux. If the reverb also passes dry audio back, that dry audio arrives a fraction late and comb-filters against the original. Set the reverb fully wet so the aux contributes only new information, and then decide how much of it you want using the send levels.
Route the aux to the master. The reverb still cannot be heard at all at this point, because nothing is feeding it, and that is correct. A return with nothing pushing into it is silent by design.
Now create a send on each track that needs reverb and point it at the aux. In Ableton, load an Audio To Retrack or Reverb Return on the Return Track, then drag down from the bottom of each source track’s output row and choose the Return Track. In Logic Pro, click an empty send slot in the channel’s Audio FX section and choose Bus 1, which is the built-in aux with a level knob. In Pro Tools, right-click an empty send slot in the channel strip. In FL Studio, pick the return channel number from the send knob’s menu.
The snare at 15% send and the vocal at 8% then sit in the same reverb space, which is what a room actually sounds like, and it frees two plug-in slots on the individual channels.
4. Use a Send Instead of a Full Effect Insert
An insert puts an effect in the track’s path, so the whole signal goes through it and you control the dry/wet ratio inside the plug-in. A send copies a portion of the track to an effect elsewhere, so you control the blend from the send knob and the plug-in stays fully wet.
Use an insert when you want the effect on the whole signal and need the effect to respond to the material, which is the normal home for distortion, gating and corrective EQ. Use a send when you want to add a layer of something, when the effect should run in parallel, or when you want the option to pull it back to nothing later without reopening the channel.
A common reason to choose a send is control. A post-fader send follows the channel fader, so pulling a vocal down during a verse reduces its reverb too. A pre-fader send takes a copy before the fader, so the reverb holds steady while the vocal moves. Setting that choice lives in the send’s option menu on most DAWs, labelled Pre-Fader or Post-Fader Post-Pan.
My rule: reverb that should fill a room sits post-fader, delay that should keep running under a quiet verse sits pre-fader.
5. Add a Vocal or Drum Subgroup
A drum bus is the easiest subgroup to build and the most useful one to own. Select your kick, snare, overheads and toms, group them so their outputs reroute into a new drum bus channel, and place a gentle compressor on that bus.
That single compressor becomes your glue. You are no longer trying to match six tracks one at a time, you are compressing the sum, which is how records were mixed before plug-ins were available. Set the ratio low, around 2:1, with a few dB of reduction, and slow the attack so the compressor reacts to the whole kit instead of only the kick.
A vocal bus works the same way, and it gives you one high-pass filter, one gentle EQ curve and one de-esser for every singer on the track instead of six sets. What it costs you is per-voice tone control, so if the lead and backing vocals need very different treatment, put the bus on the backing layer only.
Set up this way, a build-up or breakdown becomes two fader moves instead of nine, which is the real return on bussing.
6. Automate Buses and Sends for Movement
Because a bus is one channel, automating it moves everything feeding it at once. Write a slow filter sweep on a music bus across an eight-bar section and every instrument routed to it moves together, which is a transition you cannot get by automating eleven tracks.
Send levels automate just as well. Bring the reverb return up for the last bar of a chorus, or pull the delay return down under the clean verse, and it takes one line. On a drum bus, riding the bus fader up a dB or two as the song builds is a cheap and effective way to make the drop feel bigger.
Keep the moves slow. Anything that changes faster than about a second reads as a mix problem rather than a musical one.
7. Check Levels, Phase, and Routing
Before you export, do a short quality-control pass that takes about three minutes.
Solo each send and confirm it is actually receiving signal, because a silent send is the most common routing fault. Then solo the aux with every send feeding it and listen at a moderate level, since an effect inaudible on its own is nearly inaudible in the mix. Check that no insert on the source track is duplicating the effect you just moved to the bus.
Watch the master meter. If your sends are set too high, a dozen tracks feeding one aux can easily push the return into clipping even when every channel fader looks reasonable, and your limiter will be hiding a level problem rather than fixing it. Finally, listen to the dry signal alone with all sends at zero, because if the mix does not work dry, no amount of reverb will rescue it.
When to Use a Bus, a Send, or Neither
If you are still deciding, this is the shortcut. Use a bus when several tracks need one group change or one shared processor and you will move them together. Use a send when you want to add a layer, blend an effect, or run something in parallel while keeping the original path intact. Use neither when a track needs individual tone shaping, individual automation, or a different effect from everything around it.
A starter template for most songs: a master bus with a limiter, a drum bus with glue compression, a vocal bus with a high-pass filter, one reverb aux, and one delay aux. Five channels cover the majority of mixes. You can add buses later, and you will probably end up with fewer than you expect.
One more use worth knowing: an aux channel is a cheap headphone mix. Route the drums and bass to a separate aux, set it 100% wet, and send that aux to your interface’s second headphone output. Performers get a click-free monitor mix without a second system.
Common Mistakes
Sending too much. Most people set the send by matching it to the effect level they hear on one channel, which is far too hot once six channels feed the same aux. Start low, raise until the effect is clearly audible, then back off slightly.
Leaving the reverb part-wet. An aux reverb at 30% wet mixes the dry signal back in late and comb-filters against the original. Set it to 100% wet and control the amount through the sends.
Processing a bus twice. After moving EQ to a vocal bus, EQ and de-essing remain on the individual channels, so you are doing the job twice and usually harder than intended. Strip the duplicate from one place or the other.
Grouping tracks you will automate individually. A bus makes individual moves harder, not easier. If four of the six drum tracks need different ride moves, leave the kit on individual channels and put only the shared glue on the bus.
Using an insert for something that needs to run in parallel. Distortion and clipping at full wet on an insert change the entire signal, which is not always what you want. Send a copy instead and blend it, keeping the original clean.
Building routing nobody uses. Ten buses with nothing meaningful on them cost screen space and fader travel. If a bus exists only because it seemed tidy, collapse it.
Checking routing with sends soloed only. The effect alone can sound great while the blend against the dry signal does not. Always judge the send and the return together, in the full mix.
Frequently Asked Questions
Are sends and buses the same?
No. A bus reroutes the main output of several tracks into one channel and sums them, so you process the group as a single signal. A send leaves the track’s own output alone and copies a chosen amount of it to another channel, usually an aux holding reverb, delay or parallel compression. One combines and replaces, the other duplicates and blends.
What are the main uses for aux sends?
Aux sends route a copy of one or more tracks into a shared effect and blend it back into the mix. The common uses are one reverb across several tracks, one delay across several tracks, parallel drum compression where the source track stays completely dry, and creating a separate headphone mix for a performer. They also let you remove an effect entirely by pulling the send to zero.
Should reverb go on a send or an insert?
Use a send in most cases. A shared reverb bus gives you one instance across every track that needs it, saves CPU, and creates a single blended tail that sounds like a real space instead of five separate ones. Use an insert when one track needs a distinctive effect, or when the reverb needs to respond to that track’s own dynamics in a way you do not want shared.
What does 100% wet mean on a reverb send?
A 100% wet setting means the reverb outputs only the processed signal, with none of the original dry audio mixed into it. That is correct for an aux reverb because the dry signal is already playing through the source track. Set the reverb fully wet and then choose how much of it you hear by raising or lowering each track’s send level.
How many buses does a mix actually need?
Most songs are covered by five: a master bus carrying a limiter, a drum bus with glue compression, a vocal bus with a high-pass filter, a reverb aux and a delay aux. Add buses only when you have a specific group change or shared effect in mind. If you find yourself creating buses to tidy the session rather than to solve a mixing problem, you have more than you need.
How do I print or export stems from a bus?
In Logic Pro, select the bus in the Global Tracks list, open File, Export, and the bus appears in the range menu. In Pro Tools, hold Shift and click the bus name in the Edit window, then File, Bounce to, Disk. In Ableton, set the bus to a Return Track, arm it, and use File, Bounce. Check your master limiter is off or it will print onto every stem.
Conclusion
Find one effect you are currently duplicating across three or four tracks. Build an aux for it, set the effect fully wet, create a send on each track that needs it, and start those sends low. Then raise them until the effect is clearly audible and back off a touch.
Once that bus sits there and you hear the whole arrangement through it, add a drum bus for glue and a limiter on the master. That is the entire system, and from there you add buses only when a specific problem asks for one.