To make beats for beginners you need four things: a computer or phone, a digital audio workstation (DAW), headphones, and a set of sounds to play. That is the whole list. Pick a tempo, build a four-bar drum pattern, add a bassline and a short melody, arrange it, and export it as a WAV file. Your first finished beat can happen tonight.
What makes this feel harder than it is usually the software, not the music. Most beginners open a DAW, get overwhelmed by the number of buttons, and spend a weekend watching comparisons instead of making anything. That is the trap. The skills that matter at the start are tempo, rhythm, arrangement and taste, and none of them require playing an instrument.
This walkthrough uses current FL Studio releases on Windows and macOS. Labels shift a little between versions, but the logic does not. If you use Ableton Live, Logic Pro, GarageBand or BandLab, the same seven steps apply; only the button names move.
What You Need
Here is the free-first setup. Buy nothing until you have finished a few beats and can name the specific thing that is slowing you down.
- A computer or phone. Any laptop from the last ten years will do. A phone works too, through BandLab, GarageBand or an FL Studio mobile app, and it is genuinely fine for a first beat.
- A DAW. This is the program that records and arranges everything. GarageBand and BandLab are free, as is the free edition of FL Studio and a 60-day REAPER trial. Pick one and stay in it for a month.
- Headphones. Any wired pair. Studio monitors are a later purchase, not a starting one.
- Sounds. Every DAW ships with drums, bass and keys. Use the default kit for your first five beats even though it sounds generic.
- A MIDI keyboard, later. Not required. You can draw notes with the mouse, which is how most producers start. Buy one when finger-jamming has become your bottleneck, not before.
You do not need a microphone, an audio interface, an acoustic-treated room or a music theory degree. A microphone only matters once you are recording vocals or a live instrument.
The advice that repeats most on r/makinghiphop and r/musicproduction is the same: get good with free software first, then buy the MIDI keyboard and interface once you know what you want from them. One regular poster put it plainly, get comfortable producing in REAPER, then buy the controller. That order saves people thousands of dollars and months of stalling.
If you are still comparing DAWs, this is the short version. Free and low-friction means GarageBand on Mac, BandLab on any device including phones, or the free edition of FL Studio for hip-hop style beatmaking. Paid and standard means FL Studio, Ableton Live or Logic Pro, all with large tutorial libraries. The tutorial ecosystem matters more than the feature list. Search your DAW name plus your question and you will find video; do that for a program with two tutorials and you are guessing.
How to Make Beats for Beginners: Step-by-Step
Seven steps take you from an empty project to a finished beat. Follow them in order the first few times. Later, when the workflow is familiar, you will jump around and the order will change.
1. Set the Tempo and Start a New Project
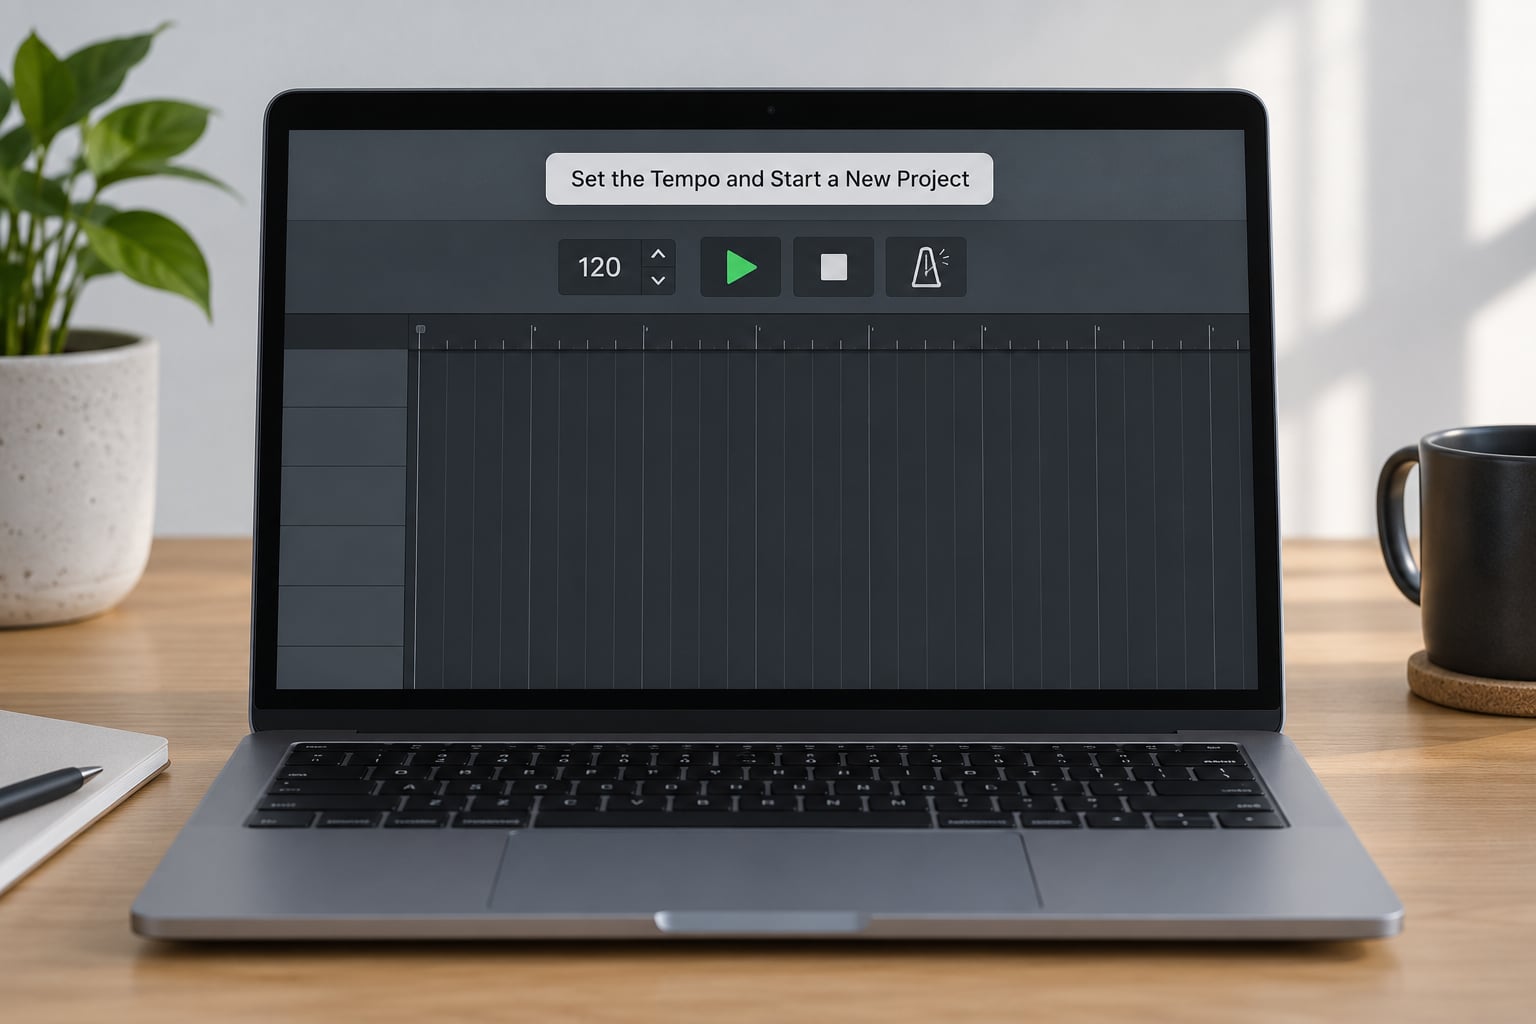
Open your DAW and start a new empty project. In FL Studio that is File, then New, and the tempo box sits in the transport bar at the top of the window. Type a number into it. That number is BPM, beats per minute, which simply means how many quarter-note beats play each minute.
Start around 80 to 90 BPM for a hip-hop beat. It is a moderate tempo that leaves room for both drums and bass, and it is close to the 70 to 90 BPM range most lo-fi and boom bap production sits in.
| Style | BPM range | Typical feel |
|---|---|---|
| Lo-fi | 70 to 90 | Relaxed, dusty, unhurried |
| Boom bap / hip-hop | 80 to 95 | Head-nod, swung |
| Trap | 130 to 150 | Fast hats, long 808 slides |
| House / EDM | 120 to 130 | Four-on-the-floor drive |
| Drill | 140 to 145 | Fast, sliding, dark |
Hit play and watch the playhead move. Turn on the metronome, which is usually a speaker icon or a click button near the transport controls, and let it run for a few bars until you can hear where beat one lands. If you can clap along, the tempo is working.
The first thing that tells you a tempo is right is boredom. If the click annoys you slightly, that is usually the right number.
2. Build a Simple Drum Pattern
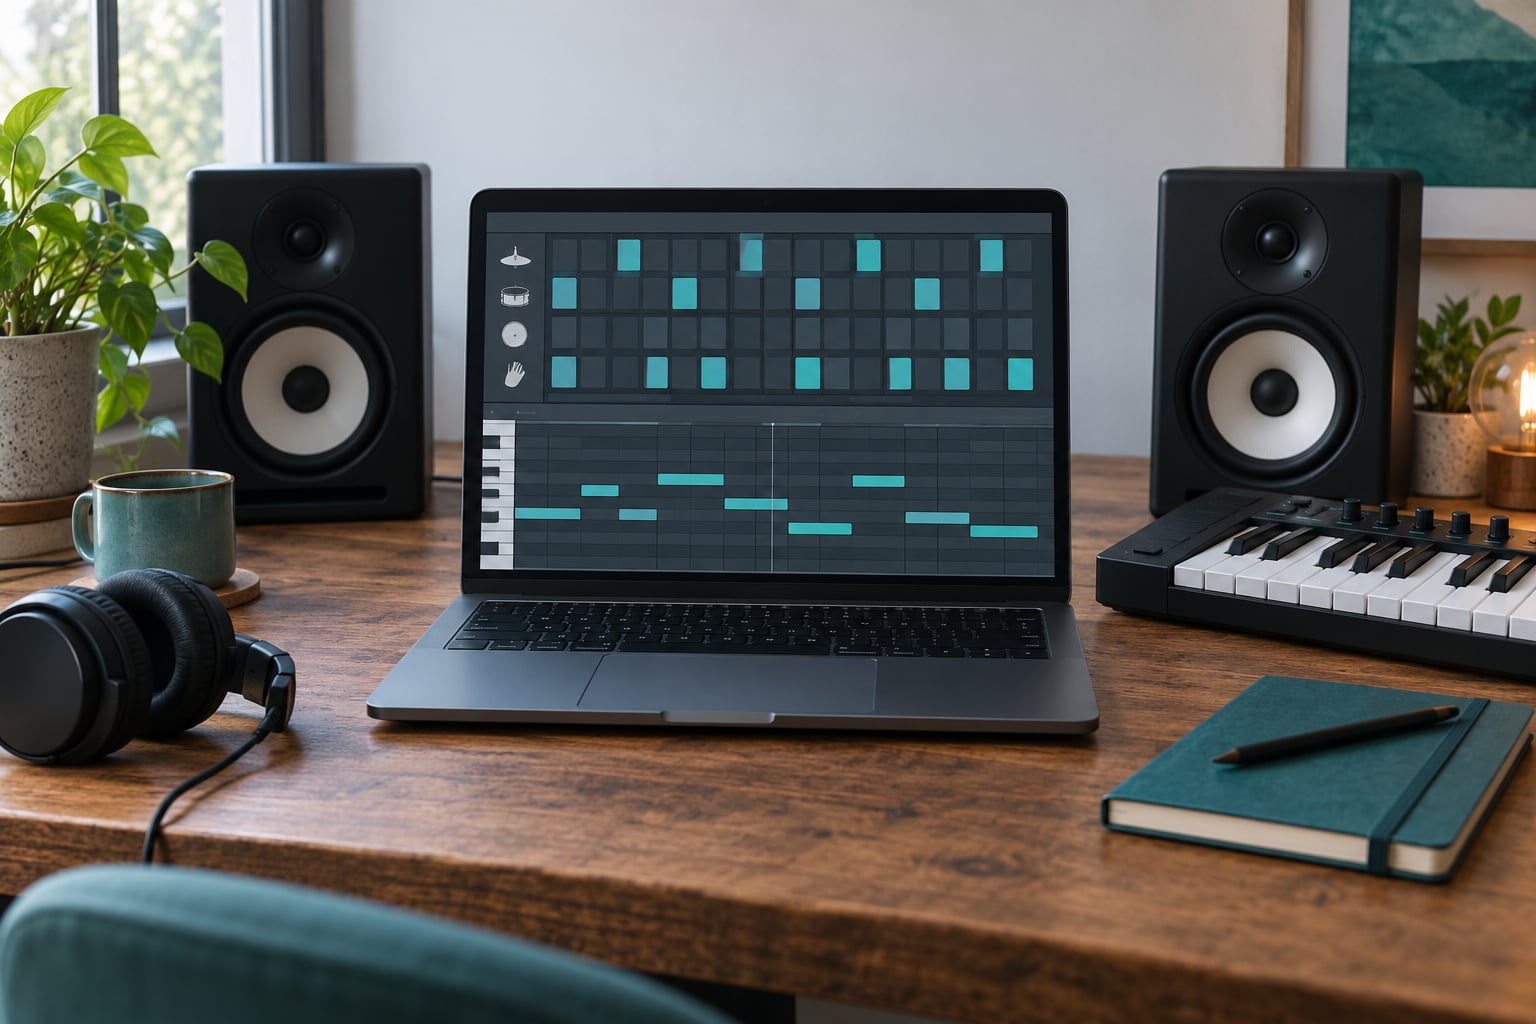
Four sounds cover most beginner beats: kick drum, snare, hi-hat and clap. In FL Studio you load them into the Channel Rack, the step-sequencer panel on the left, one per row. Every other DAW does the same job with a drum grid or a drum editor.
Here is the standard hip-hop pattern written out as sixteen steps. One bar is sixteen steps, and the numbers are the step positions within the bar.
| Step | 1 | 2 | 3 | 4 | 5 | 6 | 7 | 8 | 9 | 10 | 11 | 12 | 13 | 14 | 15 | 16 |
|---|---|---|---|---|---|---|---|---|---|---|---|---|---|---|---|---|
| Kick | X | X | X | X | ||||||||||||
| Snare | X | X | X | X | ||||||||||||
| Hi-hat | X | X | X | X | X | X | X | X | X | X | X | X | X | X | X | X |
Kick on steps one and five, which are beats one and three. Snare on steps four and twelve, which are beats two and four. Hi-hats on every step, or on every other step for a less busy feel.
Two small adjustments make this stop sounding like a machine. Nudge the hi-hat volume on some steps down a few decibels instead of leaving every hit identical, and shorten the clap so it does not smear into the next snare.
Now write a second bar that is not a copy. Move one hi-hat, drop a kick from step fifteen, or leave a gap before the last snare. Four bars is a real beat section, and variation across bars is what makes it feel intentional rather than looping.
3. Choose a Key and Create a Melody
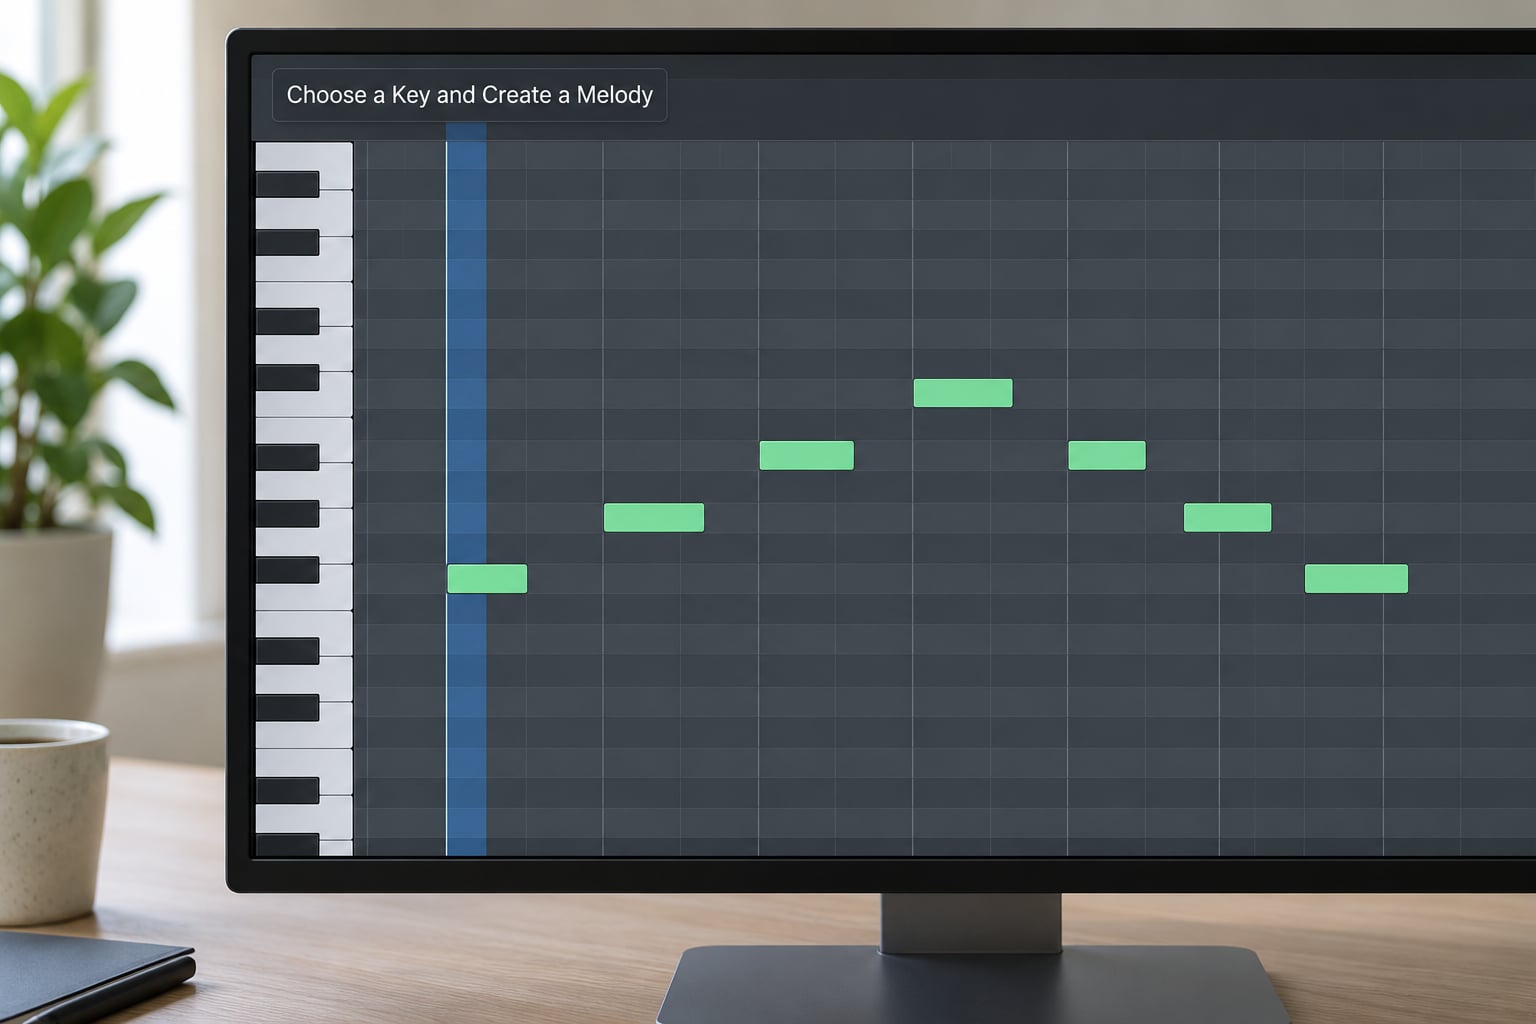
Pick a key before you write anything. A minor key gives a moodier result and most beginner hip-hop beats live in one. Choose F minor, D minor or A minor and stay in it.
Open the piano roll, the grid editor where notes appear as blocks, and turn on the scale guide so wrong notes are highlighted rather than silent. Set the snap to one sixteenth note so every note you place lands on the grid.
Play four to eight notes. That is the whole melody. A long note, a short note, a pause, then two notes that resolve somewhere. Beginners almost always write too many notes, and the ones that stick use fewer notes with more space between them.
Repeat that motif in the piano roll until it fills the section, then change one thing on the repeat. Drop the last note, shift a rhythm, or land on a different scale degree. One strong melody beats five weak ones, and that is not a slogan, it is how listeners stay interested for eight bars.
One more move that costs nothing: hold the octave key while you play and double the melody an octave up at low volume. It sounds finished immediately.
4. Add Bass That Supports the Beat
Bass is the part beginners rush, and the part they most often get wrong. The rule that fixes it is simple: the bassline should be shorter and simpler than the melody.
Look at your melody and pick out its root notes, the notes the chord is built on. Write a bassline that plays those roots, moving in the same rhythm as the drums but with fewer notes. A sub bass sitting under the kick on beats one and three is a complete bassline for a first beat.
In FL Studio, 3xSampler and 3xSynth handle both jobs. Load a sine wave into 3xSynth, drop the pitch to a low range, add a touch of distortion, and you have a usable sub. Keep the low end short so it does not smear into the kick drum.
Then listen with the kick soloed. If the bass disappears or turns to mud when the kick plays, the two are fighting for the same space. Fix it by giving each one a job: the kick carries the transient, the bass carries the sustained low note underneath.
5. Add Samples, FX, and Simple Textures
Samples are recorded sounds, a drum break, a melody from an old record, a shout, a single piano note. FL Studio’s browser holds your sample library and channels, and the same idea exists everywhere as a sampler or a drum pad.
Flip a sample to get a short texture: load it into a channel sampler, trim it to a couple of seconds, pitch it down, and fade the ends so it does not click. Vinyl crackle at low volume under a beat does more for the feel than any plugin.
A short vocal chop layered over the hook is the other classic move. Chopping means slicing a vocal into small pieces and arranging them, which in FL Studio is done by cutting with the selection tool and using the channel pitch and tempo controls.
The beginner mistake here is quantity. Two textures is a beat. Six is a mess. Every added sound has to earn its place, and if you can instantly tell it is there, pull it down or cut it.
6. Arrange the Beat and Add Energy
A loop is not a song. The difference is arrangement, and this is where most beginners stall for weeks without noticing.
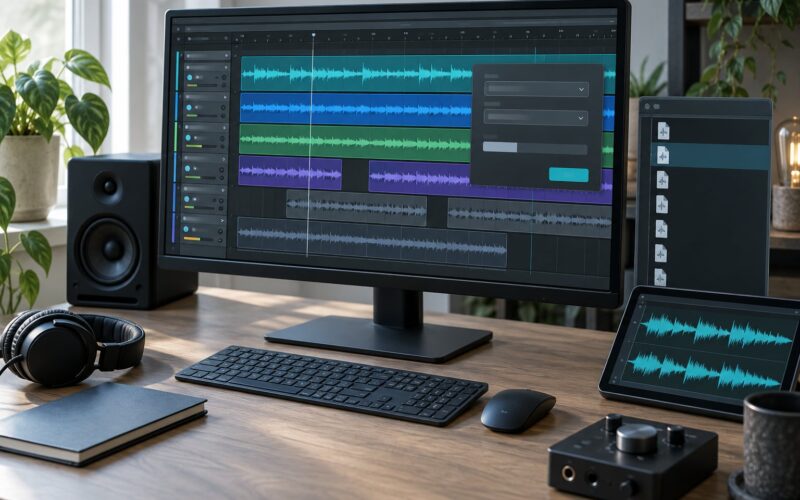
Copy your four-bar loop into the Playlist, the timeline window at the bottom of FL Studio, and build sections. Start with a four-bar intro using drums only, add the full beat for eight bars as the verse, bring the hook in at the highest energy point, and drop the drums out for a two-bar bridge before the last repeat. Most beginner beats are finished at around 1 minute 20 seconds, and that is fine.
Vary the drums between sections instead of leaving them identical. Drop the hi-hats for one bar, double the kick pattern under the hook, or remove the clap from the intro and bring it back at the verse. Change is what creates energy; a loop played eight times at identical volume is the flattest thing you can make.
Automation is the second lever. Draw a filter opening across eight bars on the melody, or drop the drums out for a beat under the hook. In FL Studio these are clip envelopes you draw directly on the Playlist.
7. Mix, Arrange, and Export the Final Beat
Mixing for a beginner means level balance first, effects second. Get the kick, bass, drums and melody sitting at sensible relative volumes and most beginner mixes improve immediately.
Start with gain staging, which just means setting sensible input and output levels so nothing clips. Then pan: kick, bass and snare stay centered, hi-hats sit slightly right, and a clap or a texture slightly left.
Add EQ sparingly. Cut a few decibels around 200 to 300 Hz on anything except the kick and bass if the mix sounds muddy, and cut below 100 Hz on melodic sounds that fight the low end. Reach for compression only when something is jumping around, and for limiting only at the very end.
On loudness, most beginners ask why their finished beat sounds quieter than commercial tracks. Streaming services normalize loudness, so the fix is pushing your master up to roughly minus 14 LUFS integrated, with true peaks held at or below minus 1 dBTP. That is a normal streaming target, not a rule to master to.
Export from the File menu. For sharing, sending to artists and uploading, use WAV at 44.1 kHz and 16-bit, or 24-bit if you want more headroom for a future master. MP3 at 320 kbps is fine for a quick text attachment, and only for that.
Name the file properly and save the project. Beat-01.wav tells you nothing at 2 a.m. six weeks from now.
Common Mistakes
Almost every beginner problem has one cause and one fix. Work down this list before you buy a single plugin.
- Too many drum layers. Four or five kick variations stacked on step one turns to mud. Pick one, and add layers only on steps that are otherwise empty.
- Bass and kick fighting. If both are loud in the same frequency range, duck one with sidechain compression keyed from the kick, or lower the bass and let the sub do less work.
- The melody disappears. Drums are covering it, not that it is weak. Raise the melody level, and high-pass it slightly so it stops competing with the snare.
- Every note perfectly on the grid. This is the reason a beat sounds robotic. Nudge the snare a few milliseconds late and swing the hi-hats, or use a swing control. Slight timing variance is what makes a programmed hit sound played.
- Effects on everything. Reverb, delay and distortion belong on one or two sounds, not on the whole beat. Set sends rather than effects per track.
- The loop never changes. Copy it, then change something in each repeat. Four near-identical bars read as a mistake.
- Tweaking one beat for hours. If a beat is not working after about 45 minutes, save it, start a new one. Finishing twenty rough beats teaches more than perfecting one.
That last one is the real beginner trap. Analysis paralysis, spending weeks choosing software and never making anything, is the most common way people quit. Set a timer, finish something imperfect, and move on.
Frequently Asked Questions
What do I need to make beats as a beginner?
You need four things: a computer or phone, a digital audio workstation, headphones, and sounds to play. Every DAW ships with drums, bass and keys, so buying a sample pack is optional. A MIDI keyboard is not required either, since you can draw notes with the mouse. BandLab, GarageBand and the free edition of FL Studio all let you finish a beat at no cost.
How long does it take to make a beat?
A simple four-bar beat takes 20 to 40 minutes once you know where things are, and the first week in any DAW is slower because you are learning the interface. Arranging a full minute-long song with intro, verse and hook usually takes one to two hours. The time stops being the constraint after that, which is when arrangement decisions start mattering more than speed.
Do I need to know music theory to make beats?
No. You can build a full beat knowing only that a bar has four beats and that a minor key sounds darker than a major one. Most of what beginners learn on the job is rhythm, repetition and arrangement, none of which require reading notation. Learning scales and chord movement later will improve your melodies, but nothing on the list blocks your first finished beat.
Can I make beats without FL Studio?
Yes. The process in this guide is DAW-agnostic and works in Ableton Live, Logic Pro, GarageBand, BandLab, REAPER and Cakewalk. FL Studio is common in hip-hop production, but Ableton suits electronic music and live recording, and BandLab runs on phones and in the browser with no install. Choose based on the tutorial library you will actually watch.
How do I know if samples are copyrighted?
Treat every recorded sample as protected unless you can verify otherwise. Free sample packs usually come with a license covering commercial use, so read the terms before releasing anything. Clearing a sample means paying the rights holder or replacing it. When in doubt, record your own sounds or use royalty-free ones, since copyright claims on streaming can take a track down.
Can one beat-making method work for hip-hop and other genres?
Yes, the underlying method is the same everywhere: set a tempo, build drums, add bass and melody, arrange, mix. What changes is tempo, drum pattern and sound choice. The kick-snare-hi-hat rule reads as hip-hop, but the same grid at 124 BPM with a four-on-the-floor kick becomes house, and slower with dusty drums becomes lo-fi. Learn the process once and change the numbers.
Conclusion
Here is your first action, tonight: open a DAW, set the tempo to 85, build the sixteen-step drum grid from step two, and export a four-bar loop as a WAV file. Do not shop for a keyboard first, and do not spend the evening comparing software.
One honest note about age and timing. If you are wondering whether starting now is too late, the answer is that producers improve on a curve measured in hours, not years, and nobody can hear when you started. The person who makes one imperfect beat every week for a year is far ahead of the person who spends the next month choosing a DAW.
How to make beats for beginners comes down to repetition: same process, new numbers, every time. Keep the loop simple until it feels good, then finish the song around it. If you want to go deeper on the gear and software side, that decision gets much easier once you know what you are trying to build.