How to master a song at home without a degree: bounce your finished mix with about 6 dB of headroom, run it through a short chain in a fixed order — corrective EQ, gentle bus compression, stereo checks, then a limiter — and export at 24-bit for streaming. It takes one focused session of roughly two to four hours once you know the steps, and a lot longer on your first few attempts.
Mastering is the last stage of production, where a finished mix gets balanced, cleaned up, and brought to a loudness that holds up next to commercial releases without destroying its dynamics. It is not louder-for-the-sake-of-louder. A good master makes a track translate across earbuds, phone speakers, a club rig, and a car stereo.
The honest part first: mastering cannot rescue a bad mix. If the balance is wrong, the vocals are buried, or two instruments fight for the same space, no amount of bus processing will fix that. Every professional engineer will send the session back to the mix stage. You can save yourself the trouble by checking the mix first, which is exactly what step one is for.
Table of Contents
- What You Need
- Step-by-Step: How to Master a Song at Home
- Step 1: Confirm the Mix Is Mastering-Ready
- Step 2: Set Up Calibrated Playback and References
- Step 3: Establish a Starting Point with EQ
- Step 4: Control Depth, Width, and Punch
- Step 5: How to Master a Song Loud Without Losing Impact
- Step 6: Review the Song at Multiple Stages
- Step 7: Export, Compare, and Archive the Master
- Common Mistakes
- Frequently Asked Questions
- Conclusion
What You Need
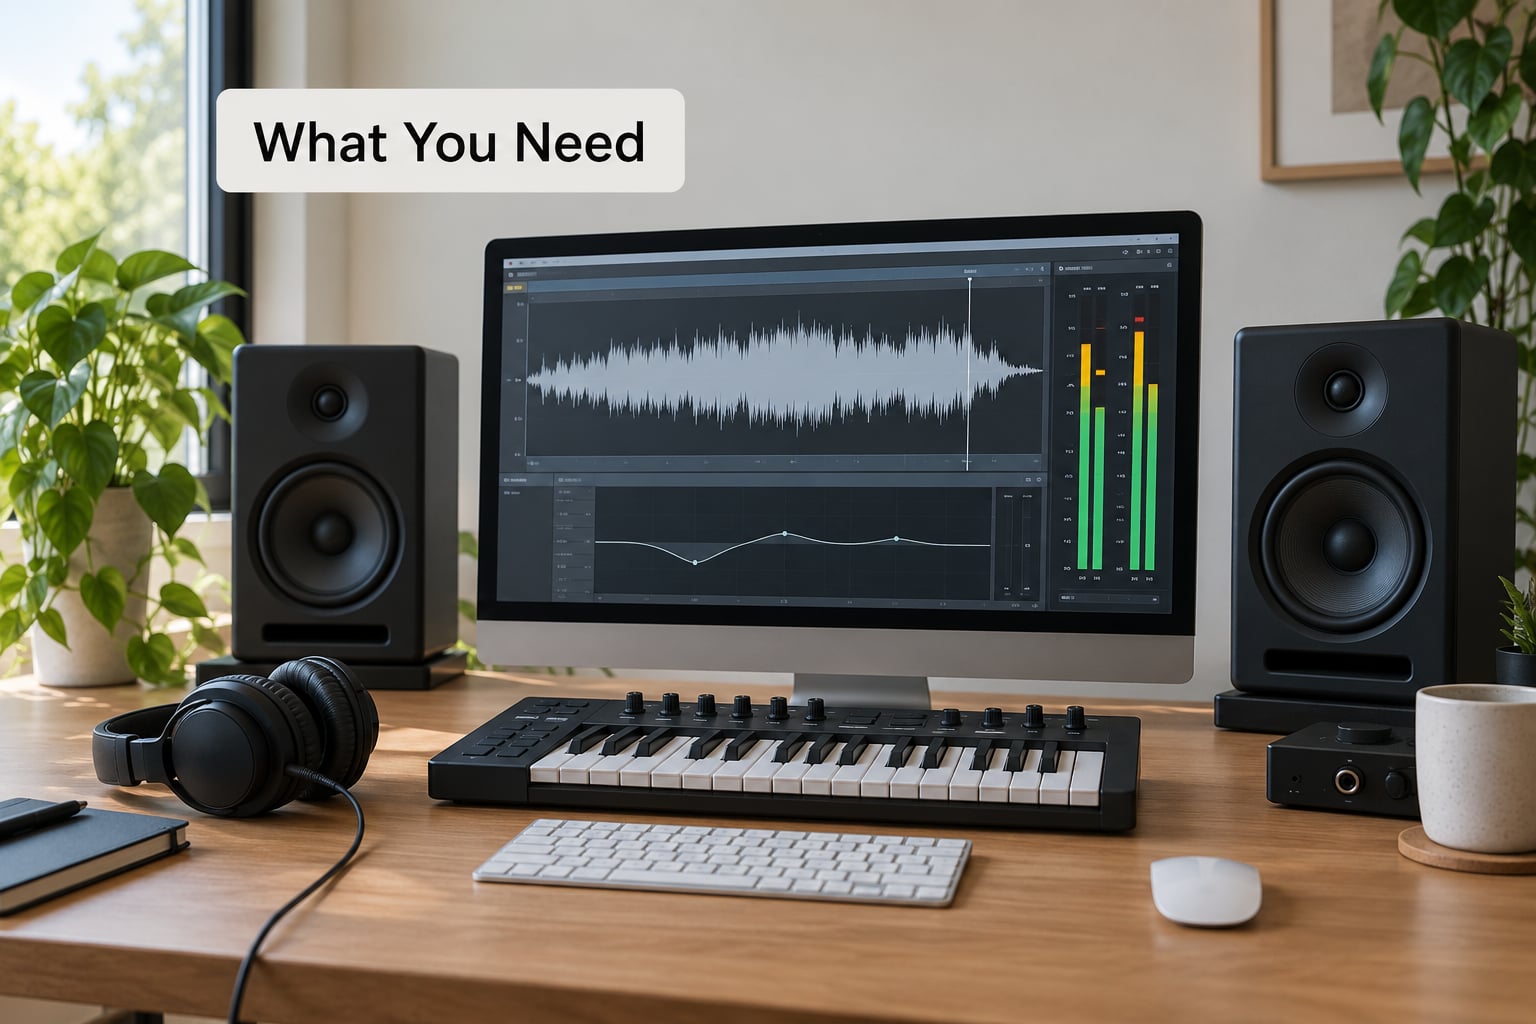
You need a finished mix, a way to listen back accurately, one or two reference tracks, and a DAW with metering and a limiter. That is genuinely the whole list. Everything else people describe as essential mastering gear is optional.
The finished mix
A stereo mixdown, bounced from your session with no master-bus processing on it. If you have a limiter or a brickwall compressor on the master fader during mixing, bypass or remove it before you bounce. The forum consensus on r/audioengineering is consistent on this: processing every bus until the track is loud is what makes mixes sound flat, and it leaves nothing for the mastering stage to do.
A playback setup you trust
Calibrated monitors help, but a decent pair of closed-back headphones plus a well-treated room gets you most of the way. Untreated rooms lie to you about bass and early reflections, so treat the low end as the least certain part of your monitoring chain and make conservative decisions down there.
Reference tracks
Two or three commercial songs in the same genre and era as yours, with a similar instrumentation density and tonal character. Matching a reference that is louder, denser, or brighter than your song is the fastest route to over-correcting. One r/edmproduction thread I read put it plainly: better sound selection and mix balance make a track feel louder without pushing its measured loudness up at all.
A DAW with metering
Any DAW can do this. What matters is that it shows you loudness in LUFS, true peak in dBTP, and a correlation meter. Ableton Live, FL Studio, Logic Pro, and Reaper all have these built in or available. A stock parametric EQ, compressor, and limiter cover the whole chain; free third-party plugins can sound better, but they are not the reason a master works or fails.
Budget a two-to-four-hour session for your first real attempt and an hour or two for later tracks once the process is automatic. Set a timer rather than trusting your sense of how long you have been listening.
Step-by-Step: How to Master a Song at Home
Seven stages, always in this order: confirm the mix, set up playback and references, corrective EQ, depth and width, loudness, review, export. Finish one stage and bounce or save a new version before moving to the next, so you can always hear what the last stage did.
Step 1: Confirm the Mix Is Mastering-Ready
Listen once from the top, at a moderate level, with no plugin on the bus. Then check four things:
- Balance. Can you hear every element without straining? Is the lead vocal clearly in front?
- Arrangement and automation. Do vocals and builds sit forward in the right sections instead of being one flat wall?
- Noise and clicks. De-ess any harsh sibilance, clean up mouth noise, and mute obvious hum.
- Peaks and headroom. Your peak ceiling should sit around -6 dBFS, with no clipping anywhere in the file.
If a frequency conflict needs more than a dB or two of correction, fix it in the mix. Beginners lose weeks in a mastering session trying to solve a problem that a volume fader would have solved. If the mix is not ready, go fix it — that is the correct answer, not a failure.
Step 2: Set Up Calibrated Playback and References
Level matching is the technique that separates real mastering decisions from guessing. Play your mix, then play the reference, then play your mix again, all at the same perceived volume. Turn each track up until they are equally loud. Now a brightness or a lack of punch you hear is an actual difference rather than an artifact of level.
Next, check mono. Most forum threads about surprise collapses on phone speakers and club systems trace back to phase or to an overly wide stereo image. Fold your master to mono and listen; the correlation meter should stay comfortably positive, and nothing should disappear or jump sides. If a hi-hat vanishes, that element is a problem for the mix, not the master.
Finally, translate. Check the track on your monitors, on headphones, and on a phone speaker. Not all three can agree perfectly in a home room, but the phone check is the one that catches missing top end and low-end buildup that you stopped noticing hours ago.
Step 3: Establish a Starting Point with EQ
Start on a broad, restrained EQ and work in small moves. The goal is balance, not a sound. Cut below roughly 30 Hz to remove rumble that eats headroom, and carve out muddiness in the low mids if guitars and bass are fighting.
Look for frequency conflicts before you start moving bands. Two elements fighting in the same range need a cut in the mix or a modest cut on the master, not a boost somewhere else that makes the problem louder. Add a touch of air with a gentle high shelf if the track sounds dull, and de-ess if vocals are piercing. Keep total gain change within a couple of dB.
How do you know it worked? Bypass the EQ and the difference should be a small, pleasant refinement. If the sound changes character completely, you have gone too far.
Step 4: Control Depth, Width, and Punch
Bus compression is a glue tool here. Start with a slow attack, a modest ratio in the 2:1 range, and enough reduction that you can hear the mix lock together without it sounding squeezed. One to two dB of gain reduction is plenty for a home master. Watch the drums: if the kick and snare lose their attack, shorten the attack time or pull the ratio back, because that flattened punch is the single most common symptom of over-compression.
Use a multiband compressor only if you have a specific reason, such as controlling low-end buildup on a dense mix. A subtle high-band reduction can tame harshness, but it is easy to dull a track this way. Optional tone stages like saturation can add warmth, and they also reduce headroom, so add them before the limiter, not after.
For width, use a stereo imager conservatively and check mono after every adjustment. Small amounts work; wide-and-loud mastering is what produces mixes that fall apart on single-speaker playback.
Step 5: How to Master a Song Loud Without Losing Impact
Here are the numbers, because this is where beginners get the least guidance:
| Setting | Value | Why |
|---|---|---|
| Headroom on your mixdown | about -6 dBFS peak | Leaves room for compression and limiting to add level without clipping |
| Integrated loudness target | around -14 LUFS | Sits close to what streaming normalization expects, so playback volume stays predictable |
| True peak ceiling | no higher than -1 dBTP | Stops inter-sample peaks from clipping after lossy encoding |
| Export bit depth | 24-bit | Extra headroom for the distributor to encode from |
| Export sample rate | 44.1 kHz or 48 kHz, matching your session | Avoids a resample step and its risk of losing transients |
Perceived loudness matters more than the raw number, especially in EDM and hip hop, where a dense mix feels loud at a lower LUFS than an acoustic ballad does. Genre context is real: club tracks often need heavier limiting than other styles, and a sparse folk master will never match a master made for streaming playlists. Do not chase a number at the cost of impact.
Set the limiter ceiling to -1 dBTP and raise the gain until the gain reduction meter shows how much limiting you are applying. If it is pinned constantly, you are flattening the track. The so-called 1 dB rule is a useful instinct: if pulling the ceiling up by a dB makes the mix sound meaningfully worse, it is too loud. Walk the level back until the punch is there and the loudness still holds up next to the reference.
Step 6: Review the Song at Multiple Stages
Run a fixed checklist, start to finish, every time. Repetition is what makes you faster, and it is the only reliable defense against the endless-tweaking trap where a track never feels finished.
- Listen through once without touching anything, all the way to the end.
- Check the mix solo for hum, clicks, and stray noise, then check the full mix again.
- Check at a lower volume, then a higher one — problems hide in both.
- Check the mono fold and the phone speaker.
- Take a ten-minute break and listen again with fresh ears. Tired hearing is the usual reason a master feels worse than it measures.
- Confirm metadata: track title, artist name, ISRC if you have one, and the correct version.
If the track still feels unfinished after a break, go back to the reference and level match again. That is almost always what is missing.
Step 7: Export, Compare, and Archive the Master
Export from the mastering session rather than the mix session, so nothing is accidentally included. Dither only when you are actually reducing bit depth or sample rate — for example, going from 24-bit down to 16-bit. Dithering a 24-bit file up to nothing is a common habit that only adds noise.
Keep two versions: a high-resolution archive for future vinyl, video, or remix work, and the release master you upload to your distributor. Name them clearly with the same base name and a suffix, so you never send the wrong file to a label.
Then do the honest comparison. Bypass your processing, level match the original mix and the master, and switch between them. The master should sound like the same song with more clarity, weight, and presence — not like a different record. If it does, step back to step three.
Common Mistakes
- Mastering a mix that needs work. The fix is Step 1, not a new plugin. If you hear a problem in the mix, go fix the mix.
- Matching a reference without level matching. The reference is louder, so you cut highs and add bass chasing a brightness difference that was never there.
- Over-limiting. Symptoms: drums lose their punch, the master sounds flat and fatiguing, gain reduction is pinned. Fix: lower the ceiling, lengthen the release, accept a quieter master.
- Over-compressing the bus. Symptom: everything is glued into one dense block. Fix: less ratio, slower attack, and check the drum attack before and after.
- Riding the volume fader instead of processing. Raising a fader makes the track quieter in LUFS, not louder. That is a classic beginner misunderstanding and a very common forum question.
- Low-frequency buildup. Fix: high-pass around 30 Hz and check the sub energy on a phone speaker.
- Ignoring mono compatibility and phase. Fix: fold to mono at every stage and listen for elements disappearing or jumping.
- Judging only through plugins. The meters tell you the numbers are safe. They cannot tell you the track is right. Always A/B against a reference and a phone speaker.
- Revising endlessly. Fix: set a decision point, do the checklist once, and stop. Second-guessing after ten listens is fatigue, not insight.
On automated and AI mastering: it has become genuinely competent at the loudness and cleanup part of the job, and it is a fair option for demos, practice, and getting a rough sense of how a finished track might sit against others. It cannot make mix decisions for you, and it will not hear the frequency conflict that annoys you at 2 a.m. or the hi-hat that disappears in mono. The honest verdict from the community is that these tools get you a decent, loud master, not a great one. Use them for reference, then decide whether the money you would spend is better spent on lessons or on a second pair of ears.
Frequently Asked Questions
What loudness should I master a song to for streaming?
Aim for roughly -14 LUFS integrated, with true peaks no higher than -1 dBTP. That keeps playback volume predictable across services that normalize loudness, and the ceiling stops inter-sample peaks from clipping during lossy encoding. Treat these as guardrails, not quotas: perceived loudness matters more than the number, especially in dense genres like EDM and hip hop.
Do I need plugins to master a song at home?
No. Every DAW ships with a parametric EQ, compressor, stereo imager, loudness meter, and limiter, and those cover the entire process. Paid plugins can be more transparent or more flexible, but a good master built from stock tools beats a bad master built from an expensive chain. Fix your monitoring and your mix first; gear is last on the list.
Can I use AI to master my song?
You can, and for demos, practice, and quick previews the results are respectable. These services reliably handle loudness, basic cleanup, and gentle EQ, which is genuinely useful. They cannot fix balance, frequency conflicts, or a mix that lacks punch, and you get no control over individual decisions. Use one as a reference, not as a finishing line.
What bit depth and sample rate should I export for release?
Export at 24-bit, at the same sample rate as your session, either 44.1 kHz or 48 kHz. Keeping the rate unchanged avoids an unnecessary resample. Apply dither only when you are truly reducing bit depth or sample rate. Also keep a high-resolution archive master separate from the file you upload, so you can make future vinyl or video versions from it.
How much headroom should I leave before mastering?
Around 6 dB, meaning your mixdown peak ceiling should sit near -6 dBFS with nothing clipping. That gives compression and limiting room to add level without hitting the ceiling. Some engineers work with less, but 6 dB is a sensible target for a home studio and makes the process much less fragile.
Should I master in headphones or on speakers?
Use both, with a speaker check for low end and a headphone check for detail and sibilance. Open-back headphones leak sound into the room and closed-back ones can colour the low frequencies, so neither alone gives you a full picture. Add a phone speaker check as well, because that is where bass buildup and dullness show up most clearly.
Conclusion
How to master a song at home is a sequence, not a search for the perfect plugin: check the mix is ready, level match a trusted reference, then make one deliberate tonal adjustment at a time through EQ, glue, and limiting before a final review and export. Save after every stage so you can hear exactly what each move did.
Start with the mix, not the chain. Open your session, confirm the headroom and the balance, and fix whatever you find there. If you only do three things before touching a single plugin, make them these.