If you are searching for how to teach music production online, the short version is: you deliver DAW instruction, mix reviews and arrangement coaching over a video call or a recorded lesson, and you need a clear audio path, a screen-share setup students can actually read, and a repeatable lesson structure.
The good news is that production is unusually well suited to remote teaching. You are not trying to play together in real time across a 200 ms round trip. You are working on files, and files wait. A beginner who cannot install a plugin before your call starts has not lost the lesson.
This guide covers the setup, a seven-step workflow, and the feedback method that keeps students moving instead of restarting from zero every session.
Table of Contents
- What You Need
- Step-by-Step: How to Teach Music Production Online
- Common Mistakes
- Frequently Asked Questions
- Can I teach music production online without a professional studio?
- What software should I use to teach music production online?
- How should I structure a one-hour online music production lesson?
- How do I give useful feedback to a student’s music project?
- How do I know whether my students are making progress?
- Conclusion: Start With One Complete Lesson
What You Need
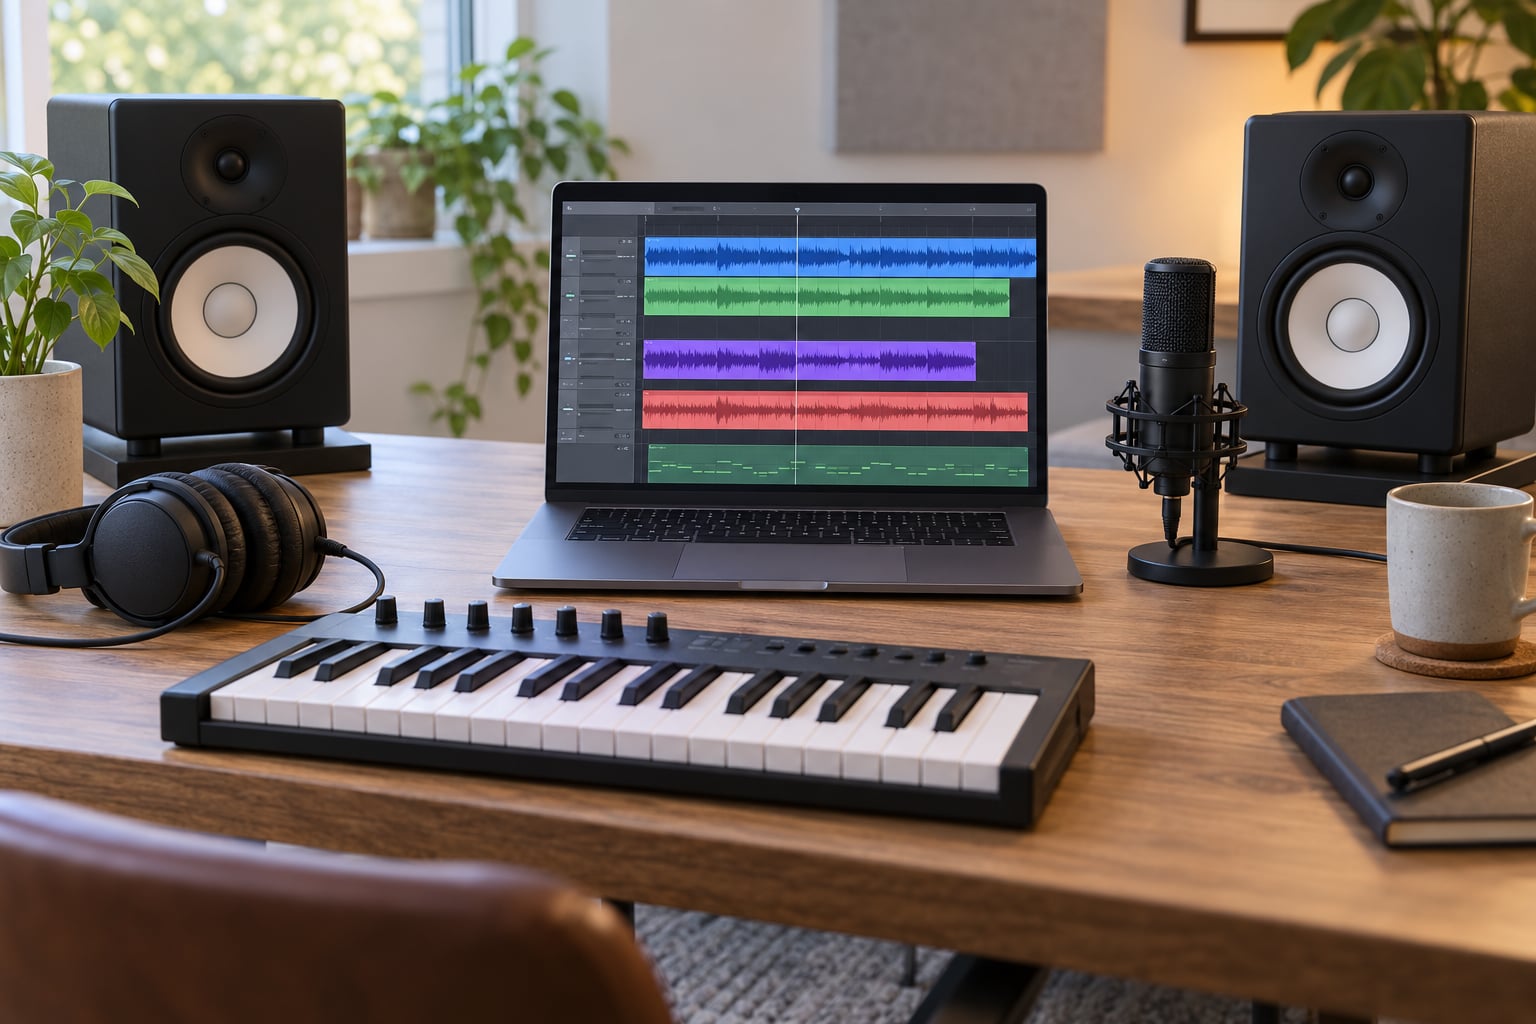
You need far less than a studio. Rank every purchase by how much it affects whether the student learns, not by how it looks on camera. Audio comes first for a simple reason: a student who cannot hear the difference you just described will not understand the lesson, and a crisp camera does nothing for that.
| Priority | What to get | Why it earns its place |
|---|---|---|
| 1 | A USB condenser microphone with a headphone output | Clear speech and a way to play audio back into your session while you talk |
| 2 | Wired ethernet for the upload, not wifi | Screen share stutters ruin a demonstration more than bad audio does |
| 3 | Any camera with manual framing | Useful for hands-on-controller teaching; a phone on a stand works to start |
| 4 | A bright key light behind or beside the screen | Students read your face for cues about what you are listening for |
| 5 | One blanket or duvet on the wall behind your first reflection point | Removes the flattery echo that makes mixing judgment hard over a call |
Your video platform needs to share a screen, let you share program audio, and let you control how your audio is processed. Turn off automatic noise suppression wherever the platform exposes that toggle. Speech-tuned processing treats a sustained synth note or a reverb tail as background noise and ducks it, which makes a demonstration sound broken even when your room is fine.
Before the first student arrives, build two sample projects. One finished beginner-level track with every stem labelled, and one deliberately flawed mix with three named problems. Your students learn faster when they can hear a right answer and a wrong one inside five seconds.
Then write down the student prerequisites and send them early: a computer with a current operating system, a free or trial version of the same DAW you teach in, headphones rather than speakers, and a folder for lesson files. Expect to send these twice. On the day, expect to walk someone through installing a DAW anyway, so leave the first ten minutes of your first session for it.
Step-by-Step: How to Teach Music Production Online
Here is the workflow I would repeat for every topic you teach, whether it is a single paid session or the eighth week of a cohort.
Define the Outcome of Your First Online Lesson
Define the outcome first: one deliverable the student finishes, not a topic you cover. “Produce a 16-bar beat with a kick, a snare, a bassline and one texture” is teachable in one sitting. “Learn drum programming” is not.
Narrow scope is not a compromise. A student who ends a session with a finished thing understands the workflow well enough to repeat it, and repetition is where production skill actually comes from. Ask them to list the skills the outcome requires, then cut anything that is not strictly needed to get there.
Write the outcome as a sentence you would be happy to hear a student say: “I can build an arrangement from a loop by splitting it and pitching the pieces.” That sentence is your lesson plan and your checkpoint in one.
Create a Simple Teaching Studio
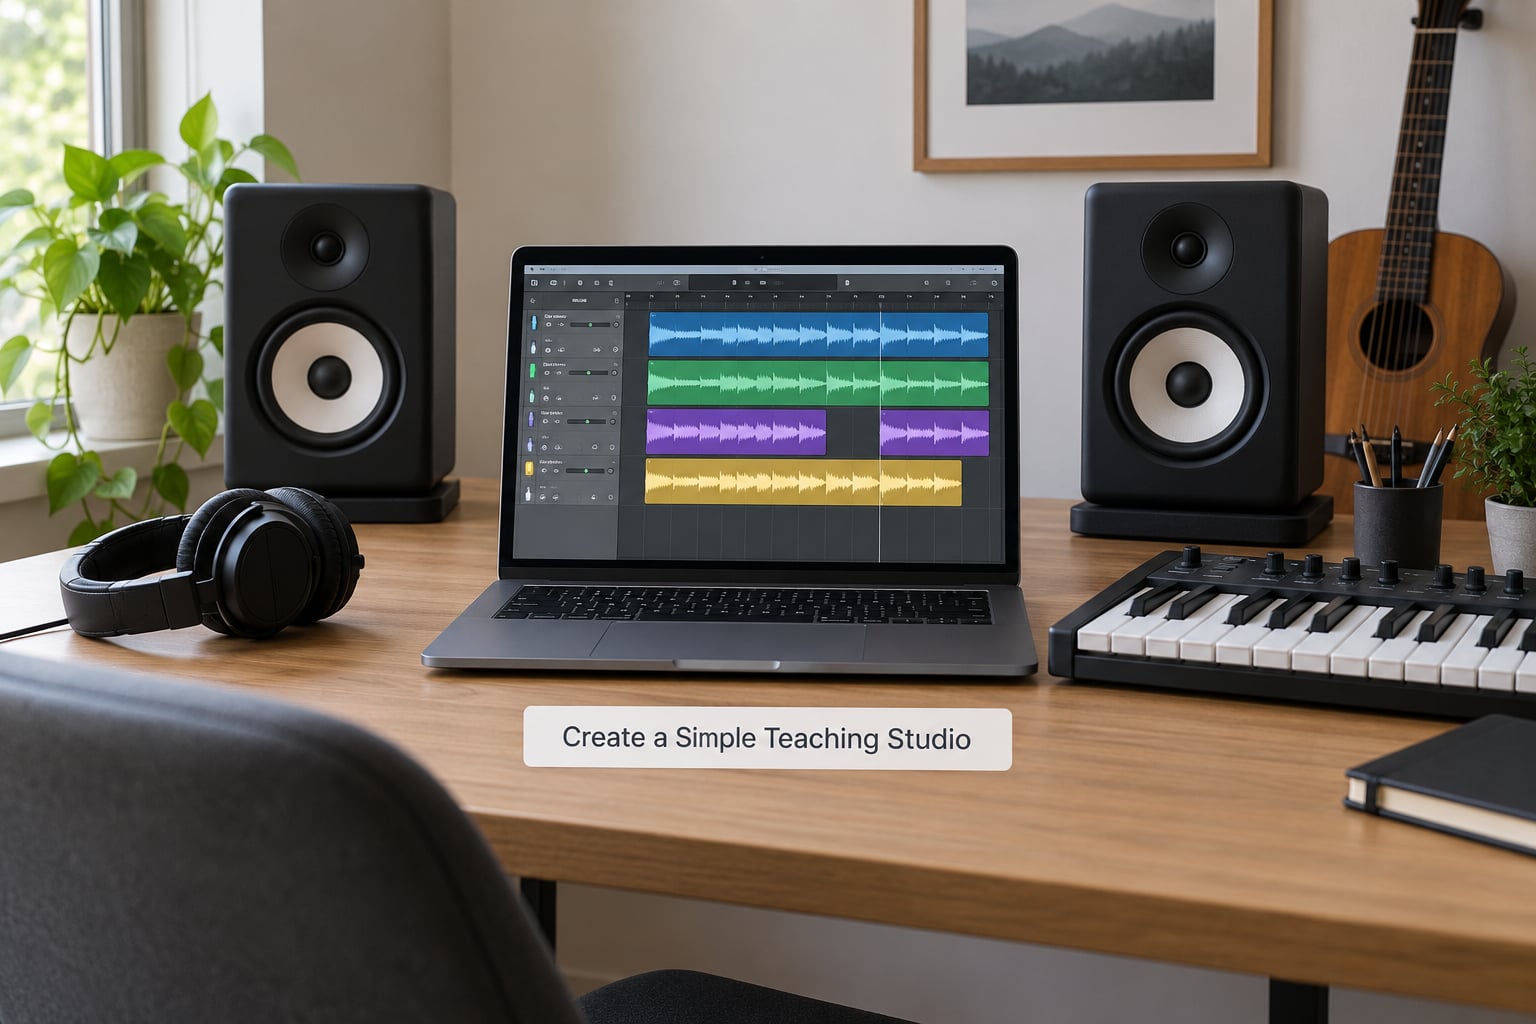
Create a studio your students can read, not just watch. A shared DAW screen at default scaling is unreadable on a phone or a laptop on a couch, so raise the display scaling before you share and open plugin windows at a size where the text is legible when compressed.
Use a second display if you have one, and share the DAW screen rather than your whole desktop. Move the zoom so the arrangement fills the frame. Turn on a cursor highlight so students can follow a click when the session is letterboxed on their side.
Route audio deliberately: microphone into your interface, playback through headphones rather than speakers so the call does not feed back into your room, and program audio shared only when you are deliberately playing something for them. Keep one backup recording running on a separate track, because a dropped connection during a good demonstration is the most frustrating thing that can happen in a lesson.
Teach a Concept and Demonstrate It
Teach one concept per session in four beats: a short explanation, a recorded demonstration, a guided practice exercise, then a show-me checkpoint. The checkpoint is the part most teachers skip and it is the part that makes the other three land. Ask the student to perform the skill while you watch, not to tell you they understand it.
Pre-empt the misconceptions beginners actually arrive with. They will turn everything up to eleven because louder feels better, they will install six compressors on one track because plugins look like progress, they will raise the sample rate and expect the track to sound better, and they will hear a mix of theirs played at half volume as a mistake rather than a level-match habit. Name each one out loud and show the correct version. Silence on a wrong master fader level wastes a whole lesson.
Record your demonstration instead of only live-streaming it. A short screen recording with your voice over it becomes a revision asset the student can rewatch while practising, and it doubles as material for a later course.
Assign a Project That Produces a Track
Turn the lesson objective into a creative assignment with edges. Give constraints rather than a blank page: a length, a key or tempo range, a required element, a required number of sections, and a choice of two reference tracks for the vibe.
Attach the starter files you used in the demonstration so nobody loses an hour to a missing drum loop. Set a real deadline and say what happens on the deadline, which is that you review it. Add one stretch challenge for faster students so the ceiling is visible without slowing everyone down.
Students do not practise unless the assignment produces something they care about. A task that ends in a rendered bounce, even a rough one, gets finished more often than a task that ends in “understand compression”. If you are wondering why homework stalls, this is usually the fix.
Review Student Work With Specific Feedback
Give feedback with a repeatable five-part shape, because generic praise is the fastest way to lose a paying student:
- Technical setup: buffer size, sample rate, missing files, clipping at the master, levels leaving no headroom.
- Sound quality: masking, muddy low end, harsh top end, room tone on the vocal, anything obviously unintentional.
- Musical decisions: arrangement energy, whether the hook arrives, transition choices, tempo feel.
- Revision priorities: the single change with the biggest payoff, then the second one.
- Two concrete next actions, each small enough to finish before the next session.
Time-stamp everything. “The vocal sounds veiled at 1:14” is actionable in a way that “the vocal needs work” is not. Reference their specific project in your first sentence, because that single habit separates a teacher worth booking twice from a generic reviewer.
Ask for a rendered bounce plus the project file rather than a video of their screen. Files let you jump around, compare versions and actually hear the thing. If they use a different DAW than you do, teach the transferable idea first: signal flow, gain staging, arrangement structure. The menu paths will be different, the logic is not.
Run a Live Lesson or Feedback Session
Run the session with a short preflight: confirm audio in and out, confirm screen share, open the lesson file in advance, then spend the first minute on the student’s setup rather than yours.
Give the session an agenda out loud. “Today is one thing: getting the vocal to sit in the mix. We will listen, fix, and re-listen.” Students focus better when they know the session has a shape.
Share program audio during demonstration moments only, and keep it quiet otherwise. When the connection wobbles, fall back to talking through the screenshot instead of fighting the stream, and treat that backup as a normal part of the session rather than an emergency. Leave the last ten minutes for questions, which is where the real questions show up.
| Task | Live call | Async |
|---|---|---|
| Teaching a DAW workflow | Live | Fine, as a recording |
| Arrangement decisions on their track | Live | Fine |
| First mix or full project review | Live if short | Better async for long tracks |
| Debugging a file or install problem | Live | Slow and frustrating |
| Demonstrating a sound-design chain | Live | Often better as a recording |
| Progress check and reflection | Live | Works well in writing |
One practical note on pacing: online teaching back to back is harder on you than it looks, because there is no reset between students. Leave a gap between sessions and shorten the block of consecutive calls.
Track Progress and Improve the Course
Track progress with artefacts, not vibes. Keep a checklist of the skills covered in your course, and mark them only when the student demonstrates them on a show-me checkpoint. Record a short milestone bounce every few weeks so progress is audible rather than asserted.
Ask for a two-line reflection at the end of each block: what clicked, what still breaks. That question gets far better answers than “how are you progressing”, and the answers tell you which lesson to rebuild next.
Watch where students drop off, not just where they finish. A high drop after the project assignment usually means the project was too open, not that the student lost interest. That is your curriculum telling you something specific, and treating it as data is how a scattered set of sessions turns into a curriculum people finish.
Common Mistakes
Most first sessions go wrong for the same handful of reasons, and each has a cheap fix. The pattern is nearly always teaching too much, showing too little, and reviewing without direction. Most people searching how to teach music production online hit exactly these three walls in their first cohort.
Overloading the lesson plan. Four concepts in 60 minutes produces four shallow demos and no finished work. Fix: one outcome, three supporting ideas, and anything extra goes in a follow-up note.
Vague demonstrations. Talking while a screen shows 40 tiny mixer strips teaches nothing. Fix: raise the display scaling, share only the DAW, zoom to one region, and narrate one action per sentence.
Inconsistent files. If lesson files are scattered across three cloud folders, students spend the first ten minutes of every session lost. Fix: one folder per student, one naming convention, everything versioned.
Feedback without revision guidance. A page of observations leaves the student staring at a wall of notes. Fix: name one priority fix and one secondary fix, with time-stamps.
Bad audio on the call. Noise suppression ducks sustained notes and reverb tails, so your demonstration sounds broken. Fix: turn suppression off, use headphones for playback, and check the platform setting before the first student joins.
Passive screen-watching. If the student watches and says nothing, they disengage. Fix: put a show-me checkpoint in the middle of the session, not at the end, and make it small enough to fail cheaply.
Frequently Asked Questions
Can I teach music production online without a professional studio?
Yes. A USB condenser microphone with a headphone output, wired internet, and a reasonably quiet room will carry you a long way. The camera matters less than the audio, because a student who cannot hear the difference you are describing will not understand the lesson. Treat acoustic treatment as a later upgrade: one thick duvet on the wall behind your first reflection point fixes the flattery echo that makes mixing judgements hard.
What software should I use to teach music production online?
Teach in the DAW your students already own or can install free. Ableton Live, Logic Pro, FL Studio, Reaper and Studio One all have free or low-cost tiers, and matching your student’s DAW removes a whole layer of friction. Choose one video platform and learn its audio settings deeply, including how to disable automatic noise suppression. Screen-share the DAW window rather than your full desktop.
How should I structure a one-hour online music production lesson?
Spend five minutes on setup, five on recapping last week’s assignment, thirty on one concept with a demonstration and guided practice, ten on a project brief, and ten on questions and next actions. Put the hands-on work in the middle, not at the end, since attention drops after about 30 minutes. Send the project brief and any recording immediately after the call while it is fresh.
How do I give useful feedback to a student’s music project?
Ask for a rendered bounce plus the project file, not a screen recording. Cover technical setup first, then sound quality, then musical decisions. Time-stamp every note, name the single highest-impact change, and finish with two small actions. Reference their specific project in your opening sentence, since generic praise is the fastest way to lose a student worth keeping.
How do I know whether my students are making progress?
Track skills, not opinions. Keep a checklist of what the course covers and mark an item only when the student demonstrates it on a show-me checkpoint. Save a short milestone bounce every few weeks so progress is audible, and ask for a two-line reflection after each block about what clicked and what still breaks. Where students drop off usually tells you which lesson needs rebuilding.
Conclusion: Start With One Complete Lesson
The whole method fits in one move: pick a single beginner-friendly project, teach it end to end, and give feedback the student can act on this week. A finished 16-bar beat beats a broad tour of your DAW every time.
So before you build a curriculum, record one demonstration, set up one folder per student, and write one feedback checklist with a time-stamp format. Run that with one person, watch where they stall, and fix the lesson before you teach it again. That loop is how teaching music production online becomes a skill rather than a series of calls.