Saturation adds warmth by pushing a signal into a non-linear circuit, usually tape, a tube preamp or a digital clipper, so peaks get gently compressed and extra harmonics come along for the ride. To learn how to use saturation to add warmth without turning your mix to grit, you work on one source at a time, level-match before and after, and dial the amount until you can feel it but can’t point at it. Give it twenty minutes on a drum bus and you’ll have the idea; give it a weekend and you’ll have a repeatable process.
The whole trick is restraint. The saturation sitting in a mix is almost always invisible, which is exactly why it works. If a listener can hear the effect, you’ve crossed into distortion territory and the warmth goes with it.
What You Need
You need very little, and most producers already have all of it sitting on the desk.
- A DAW. Any of them will do. Saturation is a signal process, not a genre process.
- A saturation processor. Ideally one with a dry-wet mix control and a visible gain reduction or drive meter.
- A decent monitoring chain. Headphones or nearfields you know well. Warmth is a spectral balance question, so an unfamiliar monitoring chain will send you chasing ghosts.
- A reference track. Something in the same genre, level-matched, that already has the warmth you’re after.
- Headroom on the bus. Saturation needs signal to push into, so you’ll trim a few dB off the fader before you touch the drive.
Saturation plugins are not all the same, and it’s worth knowing what each one actually does before you spend an afternoon auditioning them. A tape emulation saturates differently from a tube preamp, and a multi-band clipper lets you push the highs without touching the bass. What matters is whether the character matches the source.
Before anything else, do the prep that most people skip: drop your fader so peaks hit around -12 dBFS, open the saturation, and set the mix control to fully wet. If the output clips the instant you engage it, your gain staging is wrong, not your settings.
Step-by-Step: How to Use Saturation to Add Warmth
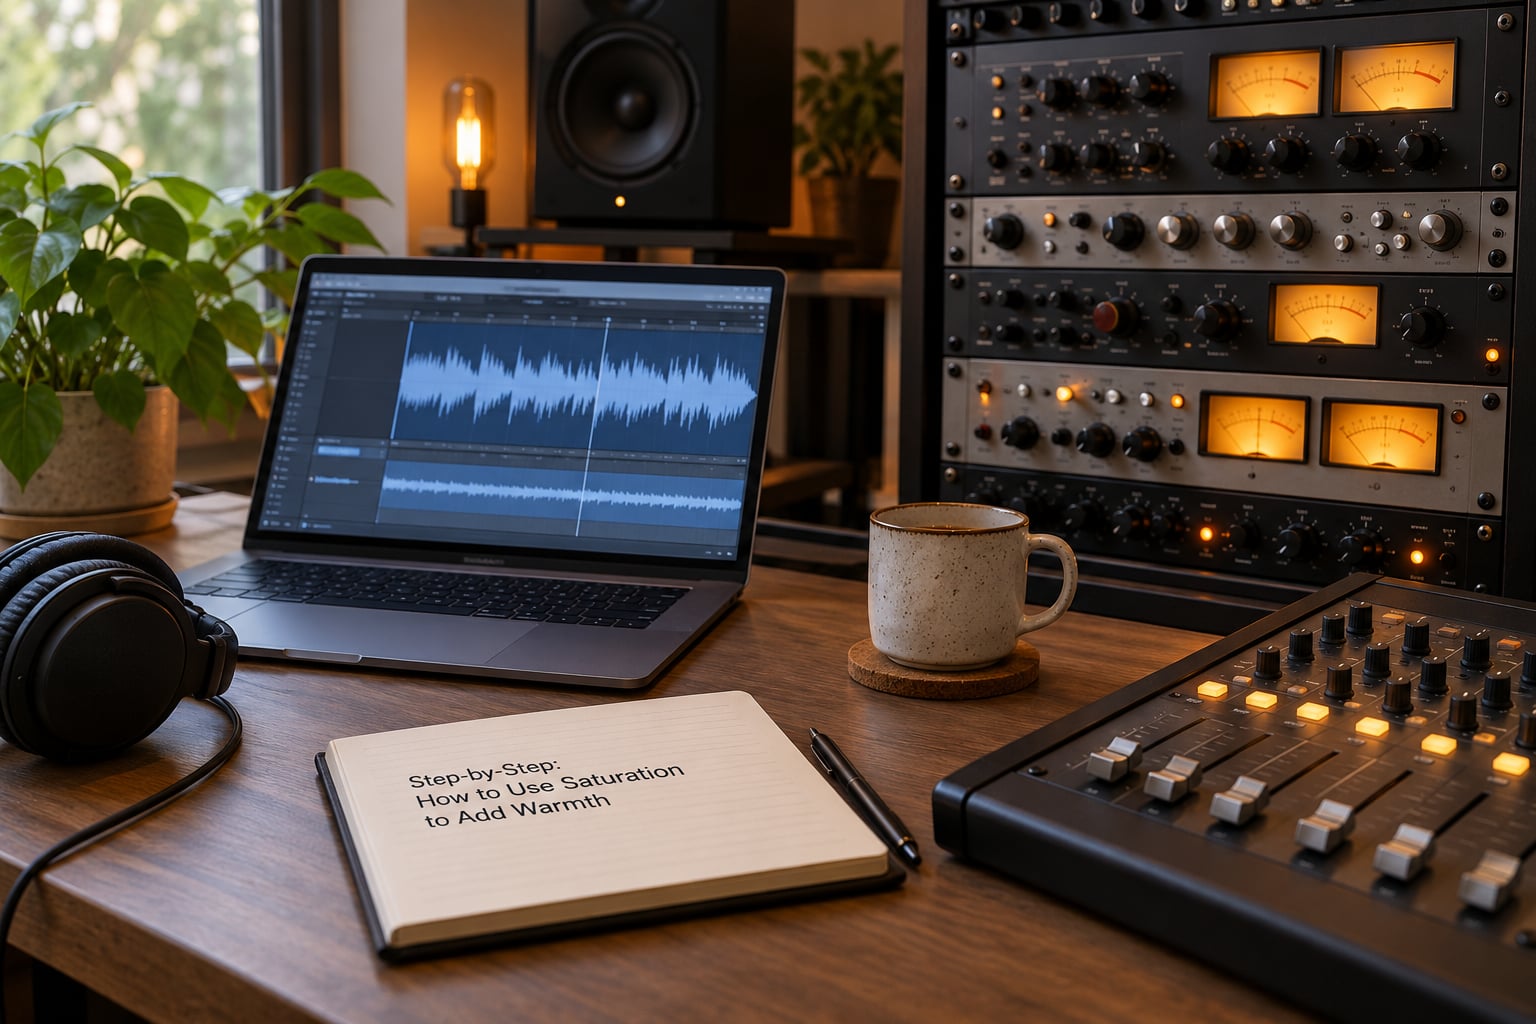
- Pick one source. Start with the drum bus, the bass, or a single vocal. Never the whole mix on the first pass. Buses are easy to overdo precisely because the summed level makes everything sound louder than it is.
- Level-match. Bypass the plugin, note the loudness, engage it, and pull the output down until the two versions measure the same. If you skip this you will simply turn saturation into a volume boost and never hear the tone change.
- Choose the character that suits the source. Tape and tube add smooth low-mid body, transistor and digital saturation add grit and bite, multi-band lets you treat one frequency range independently.
- Set the input gain and watch the gain reduction. For a bus, somewhere around 3 to 6 dB of reduction is a normal starting point. On a single track you can go further before it gets audible.
- Set the dry-wet mix to taste. Most plugins default to 100% wet; starting at 50% and working up keeps the transient detail intact.
- Audition, then pull back. Bypass and compare at matched levels. If you can immediately tell which version is processed, back the mix or drive down a couple of notches.
- Shape it afterwards with EQ and dynamics. Saturation usually adds low-mid weight, so a small cut around 300 to 400 Hz keeps the mix from turning to mud.
- Write it in and move on. Saturation is a finishing move. Once it sits right in context, leave it alone and go back to balance and arrangement.
Choose the Right Kind of Saturation
Match the character to what the source needs, not to which plugin sounds best in a demo.
- Tape saturation. Gentle, broadband compression with soft high-frequency rolloff. It thickens pads, guitars, room mics and reverb tails without ever sounding broken.
- Tube saturation. More pronounced even-order harmonics and a rounder low-mid response. This is the classic “warm” sound, and it works well on bass, snare and lead vocals.
- Transistor saturation. Faster, brighter and more aggressive. Good for distorted guitars and for adding sizzle to dull vocals, but it turns gritty fast.
- Digital or analog-modelled saturation. Clean harmonic generation with high oversampling. Very controllable and the easiest type to set subtly, though the most can sound synthetic if you push it.
- Multi-band saturation. Clips one frequency range at a time, which lets you thicken the 200-500 Hz region for warmth without letting the low end go soft.
Set the Saturation Amount by Ear
Most engineers converge on the same method: push the saturation until it is clearly excessive, back it off until it becomes inaudible, then bring it up until it is just barely perceptible. That “just barely” threshold is the working definition of correct.
It works because it removes the guesswork. Starting at zero and creeping up biases you toward stopping too early, since the first change you hear is usually too small to trust. Starting deliberately too far and backing off gives your ear a reference point.
Use the meter as a sanity check, not a target. Three to six dB of gain reduction on a bus is normal; fifteen on a drum bus means you will hear it, and not the warmth, the pumping.
Shape the Warmth with EQ and Dynamics
Saturation is a level-dependent process, so it adds more of itself to the loud parts than the quiet parts. That is part of why it glues a mix: it gently narrows the dynamic range of whatever bus it sits on, in a way that follows the material rather than a fixed threshold.
Because of that, a light compressor after saturation will behave differently than the reverse order. Saturate first, then compress, and the compressor is taming peaks that already contain harmonic color. Compress first and the saturation mostly decorates a flattened, level-flat signal.
For the EQ, listen for a low-mid build-up around 250 to 400 Hz and trim it by 1 to 2 dB with a wide Q. If the highs get dull, a gentle shelf above 6 kHz restores air without touching the warmth you added below.
Where to Place Saturation in the Chain
There is no single right answer, but the placement question comes up constantly and deserves a real answer. Use this order of decisions:
- On the track itself when one source sounds thin or brittle, like a bass DI or an untreated vocal.
- On a group bus when several tracks share a character, like all the drums or all the guitars. This is where cohesion comes from.
- On the mix bus as the final unifying layer, at a lower drive than feels comfortable.
- On the master bus only during mastering, and only if the mix bus is already finished. Stacking saturation in both places is how mixes end up over-processed.
Should you put saturation on everything? No. Three or four placements across a mix already add up, and each one you cannot hear individually still contributes to the total. Track everything on the bus you touch first, because processors that work on tracks often become confusing on buses where the summed level is much higher.
Where Saturation Goes Wrong
Most saturation problems are one of four things: too much drive, too much width, or treating it as a fix for something EQ should have handled.
- Reaching for saturation when you need EQ. If the problem is a hollow, boxy tone around 200 to 500 Hz, a 1 to 3 dB boost there may be the honest fix. Saturation will add body, but it will not remove the hollowness underneath.
- Confusing warmth with loudness. A saturated bus measures louder until you level-match it. Judge warmth with your ears at matched volume or you will just make a quiet mix.
- Losing the low-end focus. Pushing a bus hard can make the kick and bass blur into one thick block. Trim the low-mid, or use parallel saturation so only part of the signal is affected.
- Stacking saturation on ten tracks. The result is a mix that feels dense and slightly unwell without anyone being able to point at the culprit.
Saturation vs Compression vs EQ
These three get mixed up constantly, so here is the short version of what each one actually does.
- Saturation adds harmonic content and warmth. Reach for it when the mix is technically correct but sounds cold or sterile, and watch out for grit, lost transients and mud.
- Compression evens out levels and adds punch. Reach for it when drums or bass are jumping around the mix, and watch out for pumping and flattened dynamics.
- EQ fixes frequency balance. Reach for it when a specific range is masked, harsh or hollow, and watch out for wide cuts papering over a mixing problem.
Very few processes are truly saturation-free. A compressor already generates some harmonic distortion as it works, which is part of why heavy compression often sounds thick without anyone adding a saturation plugin.
Saturation by Instrument
The same plugin settings will not suit every source. Start points, loosely:
- Lead vocals: tape or tube saturation, 20 to 40% mix, gentle drive. Add sizzle with a high-pass into a parallel saturated send rather than saturating the whole vocal.
- Bass: a little saturation on the DI thickens notes that a clean amp recording leaves thin. Keep the fundamental clear or the low end turns to mush.
- Drums: the mix or drum bus, low drive, mostly for cohesion. A little parallel saturation on the snare alone adds weight without squashing the room.
- Guitars: transistor saturation for bite, tape for a smoother thickening. Both work well in parallel.
- Synth pads and drones: tape saturation, low mix percentage. Long notes reveal every harmonic you add.
- Mix bus: the lightest touch of anything in the chain, then re-check your levels.
Parallel Saturation for a Safer Result
Parallel saturation means sending a copy of the signal to a saturated chain and mixing it under the dry signal. The dry transient stays completely intact while the processed copy contributes only harmonics and thickness.
It is the lowest-risk route to warmth, and some engineers prefer it for that reason alone, working without extra input gain staging on the main path. The cost is level management: if the wet return is too loud, you will hear the saturation, not the warmth.
Hardware vs Plugin Saturation
A tape deck or tube preamp does the same thing a plugin emulates: push signal past the linear range and collect the harmonics. The argument for hardware is that the non-linearity is genuinely unpredictable, and that unpredictability is audible. The argument for plugins is control, repeatability and cost.
Genuine tube warmth is hard to match with emulation. Whether that matters to you depends on whether the track needs to sound like a specific machine or simply warmer than it did.
Most DAWs ship with something usable. Ableton has Saturator, Logic has its channel strip and Pedalboard, Pro Tools has BW Saturation and Lo-Fi, and Reaper users lean on stock JSFX or free options. They will absolutely get you there while you learn what the effect is doing.
Common Mistakes and How to Fix Them
If your warmed mix has gone wrong, the problem is almost always recoverable without starting over.
- It sounds obviously distorted. Halve the drive, raise the dry-wet mix toward the dry side, and re-check the gain reduction. If it is still gritty, the type is wrong, not the amount.
- It sounds muddy. Saturation adds low-mid weight. Cut 1 to 2 dB around 300 Hz with a moderate Q, and listen to the kick and bass separately afterwards.
- It sounds quieter or louder than before. Level-match. Warmth judged at different volumes is meaningless.
- It sounds thin on the tops. Saturation rolls off highs. Add a gentle high shelf above 6 kHz to bring the air back.
- It pumped. The bus drive was too high. Bring the reduction down to 3-6 dB and try parallel saturation instead.
- It disappeared in the mix. Good. That is what invisible warmth sounds like. If it is truly gone, nudge the wet level up a fraction, not the drive.
Two habits keep you out of trouble. Bypass often, because memory adapts fast and what was subtle five minutes ago may now sound like part of the track. And keep your saturation moves to one source per session, so you always know which one is responsible for what you hear.
Frequently Asked Questions
What does saturation do in music mixing?
Saturation gently compresses a signal by driving it into a non-linear circuit, which generates extra harmonics. Those harmonics sit alongside the original signal and listeners read them as warmth, thickness and analog character. It also narrows dynamic range slightly, which is why a saturated bus tends to feel more cohesive. It is a finishing move for tone, not a fix for balance, arrangement or masking.
Is saturation the same as distortion?
They use the same physics, and the difference is only how far you push it. Saturation lives at the gentle end of the curve, where the added harmonics are below conscious awareness. Distortion is the same process driven hard enough to hear clearly as crunch. If you can instantly tell a processed version from the bypassed one, you are in distortion territory and should pull the drive back.
Should I use saturation on vocals, drums, or the whole mix?
Start with one source where the problem is obvious, often the drum bus or a thin bass. Group buses give the best cohesion per unit of effort, because they affect several tracks at once. The mix bus works too, but at a lower drive than feels comfortable. Avoid putting it on every track, since each individual effect adds to the total even when none is audible alone.
How much saturation is too much?
Use gain reduction as a rough guide rather than a rule: around 3 to 6 dB on a bus is a normal starting point. The real test is whether you can tell the processed version from the bypassed one at matched levels. Push until it is clearly excessive, back off until inaudible, then bring it up until just perceptible. That threshold is where warmth lives without grit.
Does saturation make a mix sound louder?
It measures louder until you level-match it, which is the trap most people fall into. Saturation compresses peaks, so the output level rises and the mix seems bigger. That is why level-matching before and after matters so much, and why warming a mix and turning it up feel identical at first. Judged at the same loudness, the effect is tone, not volume.
Can I add warmth without using a plugin?
Yes. Physical tape machines, tube preamps and console channel strips all saturate naturally, and they are the original source of the analog sound people emulate. You can also stack plugins to taste a warmer sound without adding more saturation, though that solves balance rather than harmonic character. Most producers learn the concept on plugins first, then decide whether hardware is worth the cost.
Conclusion
Pick one source, level-match it, choose a saturation character that fits, and set the drive until the effect sits just at the edge of hearing. Then pull it back a notch, trim any low-mid build-up with EQ, and check it against a reference at matched loudness.
If you take one thing from this guide, make it the level-match. Most people who think they dislike saturation simply heard it louder than the dry signal. Learn how to use saturation to add warmth on one bus this week, and leave the rest of the mix alone until it makes sense to move on.