If you have ever wondered why do my vocals sound thin, four things are usually responsible: you cut too much of the 200-300 Hz region that carries vocal body, guitars and keys are masking that same band, the recording captured a light tone from too much distance in a reflective room, or the take was performed in a head voice with no chest resonance. One more culprit sneaks in — a big high-pass filter and a presence boost stacked on top of an already thin signal.
I have mixed a lot of bedroom vocals for artists who were convinced they needed a different microphone. Most of the time the mic was fine. The problem was a high-pass filter set at 300 Hz, a de-esser cranked to 12 kHz, and a compressor squeezing 4 dB of gain reduction on every word. That is not a vocal, that is a whisper with a plugin chain attached.
This guide walks through diagnosis first, then fixes, in the order that actually works. You will find the frequencies involved, a recording-stage section, a mixing section, a salvage path for takes you already own, and a section on when no amount of processing will help.
Table of Contents
- Why Do My Vocals Sound Thin?
- How to Tell Whether the Problem Is in the Recording or the Mix
- Fixing Thin Vocals at the Recording Stage
- Using EQ, Compression, and Reverb to Add Body
- Check the high-pass filter first
- Protect 200-300 Hz
- Carve the instruments instead of boosting the vocal
- Vocal frequency reference
- Compression that keeps weight
- Parallel compression
- Saturation
- Doubling and double tracking
- The de-esser caution
- Reverb and delay for perceived size
- Why Do My Vocals Sound Thin? A Step-by-Step Fix
- How to Fix a Thin Vocal You Already Recorded
- When Thin Vocals Need a New Performance
- Frequently Asked Questions
- Conclusion: Start With the Biggest Source of Thinness
Why Do My Vocals Sound Thin?

A thin vocal has little perceived weight. It sits forward in frequency but not in depth, so it feels like it is hovering in front of the track instead of sitting inside it. Usually the energy is missing from the low-mid region, roughly 200-300 Hz, where a voice gets its fundamental and its weight.
That definition matters because “thin” is often confused with three neighbouring complaints. A hollow vocal has a hole in the middle and is usually a room or mic-distance problem. A flat vocal has no dynamic shape, often the result of heavy compression or tuning. A tinny vocal is thin plus harsh, usually a 3-5 kHz problem. Each one gets a different fix.
| Complaint | What you hear | Most likely cause | First thing to change |
|---|---|---|---|
| Thin | Light, insubstantial, no weight | 200-300 Hz cut, or masking from instruments in the same band | Check your high-pass filter, then carve the instruments instead of the vocal |
| Hollow | A gap in the middle, like the centre was scooped out | Room reflections, or a large notch around 400-600 Hz | Move off the reflective wall, record closer, re-check that notch |
| Flat | No rise and fall, lifeless, same volume every word | Over-compression, aggressive tuning, or a too-consistent performance | Back off compression, ease the tuning, sing with more shape |
| Tinny | Thin and biting, fatiguing after a minute | Presence boost at 3-5 kHz to force the vocal forward | Drop the boost, automate it, fix the masking at the source |
Here is the wider diagnostic table. The recording column tells you whether the fix belongs on stage or in the session.
| Symptom | Likely cause | Where the fix goes | First fix |
|---|---|---|---|
| Thin solo, before any processing | Performance, mic distance, or room | Recording | Move to about 3 inches with a pop filter and sing with more chest |
| Fine solo, gets buried in the mix | Frequency masking | Mix | Narrow cuts around 3-5 kHz on guitars and keys |
| Thin and harsh at the same time | Presence boost used as a volume fix | Mix | Remove the boost, automate level instead |
| Thin only after the plugin chain | Over-processing, HPF too high, aggressive de-esser | Mix | Bypass every plugin and listen to the raw take |
| Body fades on quiet phrases | Compression plus a high-pass doing too much work | Mix | Automate the filter or slow the release |
| Wispy, breathy, no projection | Head voice, jaw and throat tension | Performance | Reset posture, drop the jaw, support the phrase from the chest |
One honest caveat before we go further. Plenty of singers have voices that fight EQ, and no plugin makes a genuinely unsupported performance sound finished. If the raw take has no weight in the low-mids and no dynamics, you are looking at a re-record, not a mixing session. I would rather tell you that now than after you spend a weekend on it.
How to Tell Whether the Problem Is in the Recording or the Mix
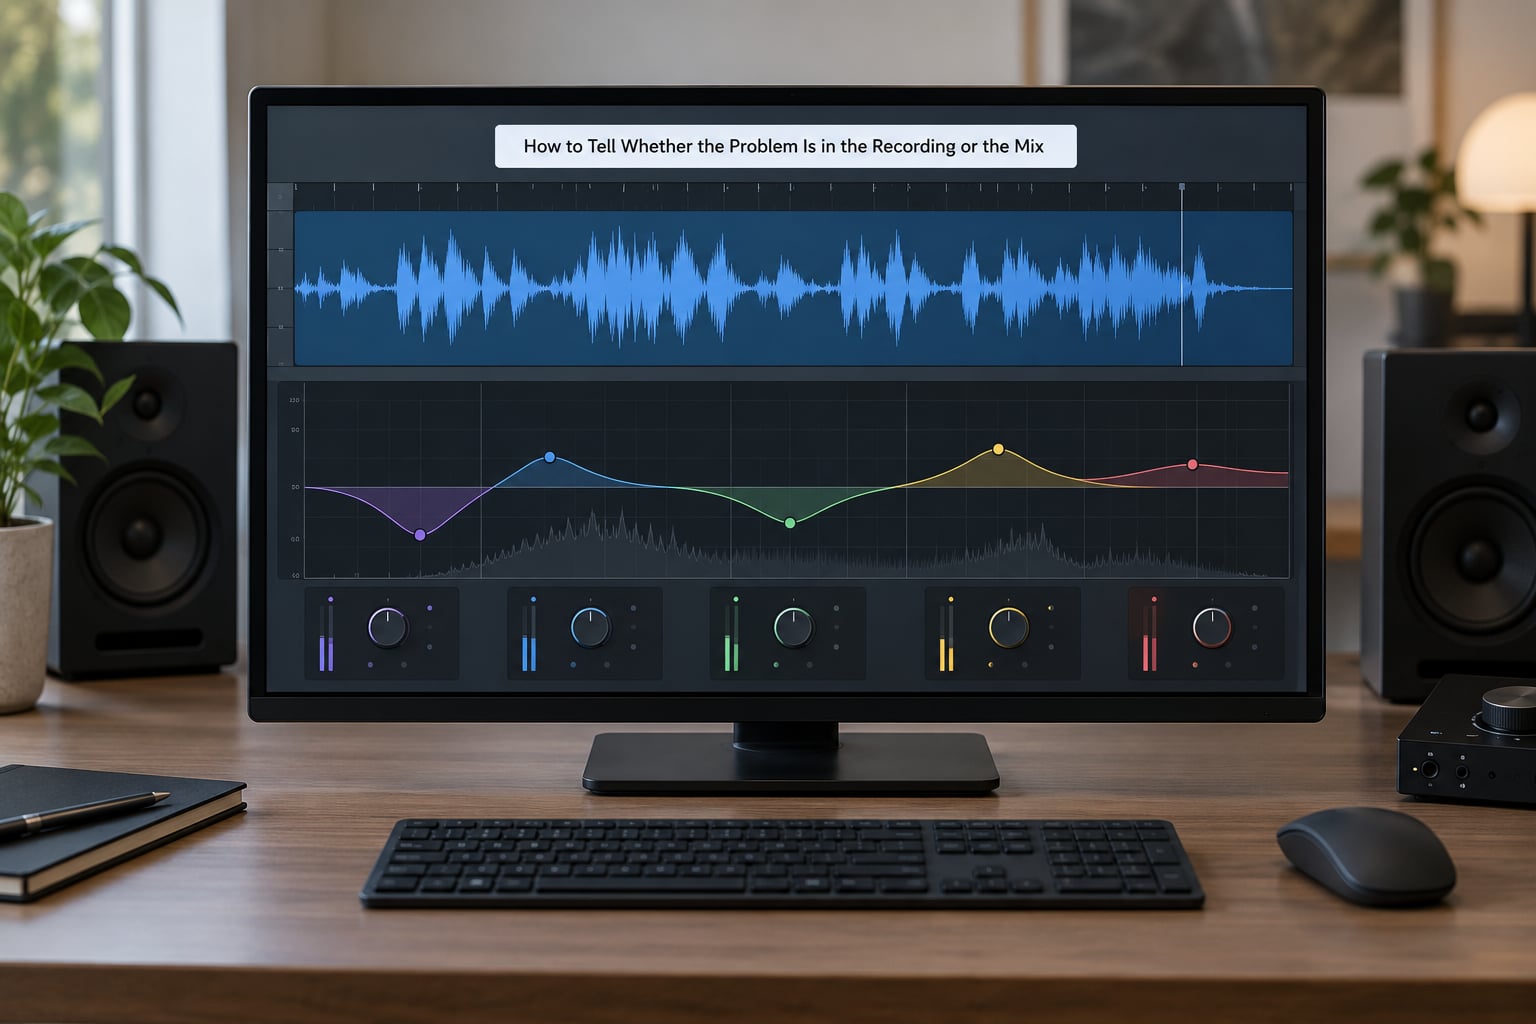
This is the question that decides everything else, and it takes about five minutes to answer. Solo the raw vocal before any plugin and listen on decent monitors or decent headphones at a level where you are not reaching for volume.
Ask yourself one question: is the vocal thin on its own, or only inside the mix?
Step 1: Solo the raw take
Bypass everything and play the unprocessed recording. If it sounds thin and papery here, the recording stage failed you. No EQ curve fixes a performance recorded a foot away from the mic in a carpeted closet.
Step 2: A/B the raw take against the full mix
Play the song, then drop the vocal out for four bars, then play it again. What you are listening for is whether the track loses weight without the vocal or simply loses information. Losing weight means the vocal is carrying the low-mids the rest of the mix has none of. Losing information means the vocal is masking, not filling.
Step 3: Check the level relationship, not the level itself
Most home mixes have vocals that are too quiet in an absolute sense and too loud in a comparative sense. Push the vocal up until it is clearly too present and obviously fatiguing, then pull it back until it feels right. That overshoot is where the correct level lives, and finding it by ear beats any number on a meter.
Step 4: Compare against a reference in the same key
Pull up a commercial track you like and match it to your song’s key so the level matching is honest. Listen to how much low-mid weight its vocal carries relative to the kick and bass. Most producers are surprised by how much less weight they have given their own vocal than the reference does.
If the vocal is thin solo, work on the recording and the performance. If it is fine solo and disappears in the mix, work on the arrangement and the EQ of everything else. Mixing a thin recording harder is the most common wasted evening in home production.
Fixing Thin Vocals at the Recording Stage
The recording decides how much weight you have to work with later. A vocal captured well can be rough and still mix into something solid. A vocal captured badly usually needs rescuing instead.
Distance and proximity effect
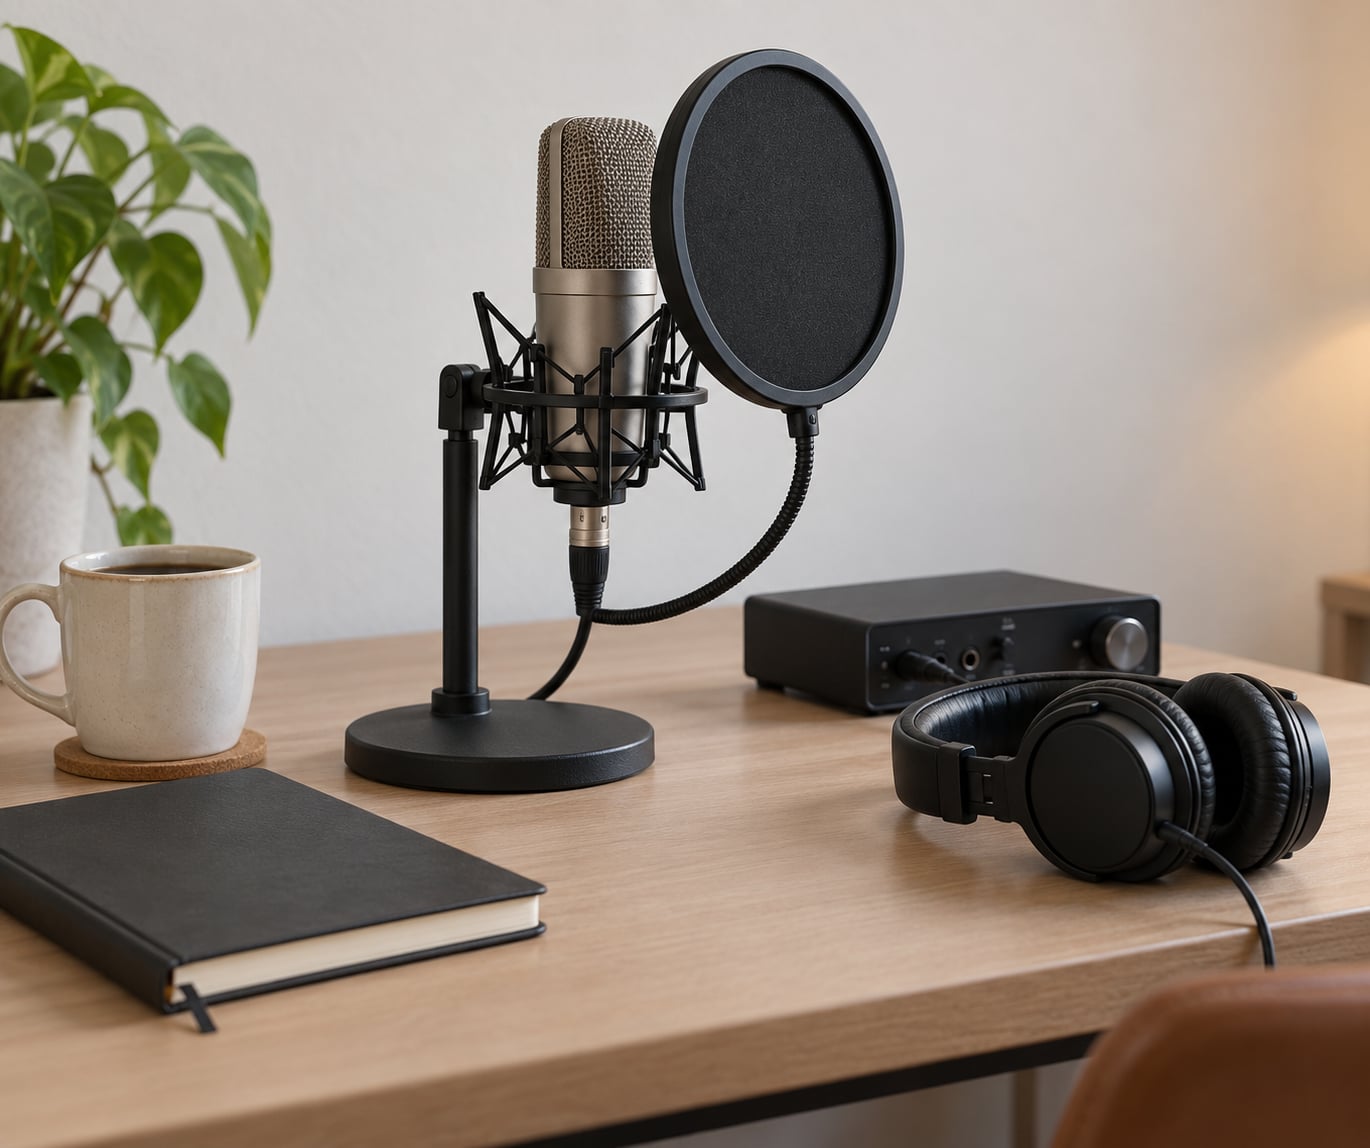
Most directional mics have a proximity effect, a natural low-end boost that kicks in when you get close, typically within about 3 inches of the capsule. That boost is free body. Standing a foot back with a large-diaphragm condenser gives you a thin, room-soaked signal with none of it.
Move in until the pop filter is roughly a knuckle’s width from the mic. Not so close that you split the capsule or blast it with plosives, just close enough to catch the bass. With a dynamic mic like an SM58 or SM57, the same close position is what turns a thin bedroom track into something with weight, because you need the proximity effect to replace the room tone you are no longer picking up.
Angle
Point the mic slightly off-axis rather than straight down the throat. A few degrees of angle tames sibilance without needing a de-esser, and it also softens the harsh edge that people mistake for thinness. Large-diaphragm condensers are unforgiving straight on, so this matters most with them.
Pop filter placement
A pop filter between you and the mic, roughly an inch off the mic side, controls the plosives that push a vocal into a compressor too hard. Plosive hits are where a take loses its shape, and a take that keeps getting hit by P and B sounds ragged and thin even if every note is perfectly sung.
Gain staging
Record with the preamp gain set so your loudest phrase peaks around -12 dBFS. That headroom gives you clean gain reduction later without asking the interface to make up level, which is where noise and distortion creep in. A quieter, cleaner raw file is always the better trade.
The room
Untreated rooms are the biggest hidden cause. Hard walls and a bare desk give you early reflections that smear the low-mids and pull the perceived body out of the take. You do not need a foam-lined studio to fix this. Move away from the wall, put a blanket or a thick duvet behind the mic, hang clothes on the reflective side, and close the door. The bedroom corner is the worst spot; a walk-in closet stuffed with clothes is surprisingly decent.
Monitoring level
Record at a level where you sing with effort rather than whispering. KVR regulars keep saying the same thing about thin bedroom takes: use a dynamic mic, get close, and sing louder. Singing at 60% effort records a 40% vocal, and no later stage can add the intent back.
Using EQ, Compression, and Reverb to Add Body
Now the mixing side. This is where most people try to fix a problem that started earlier, so work in order and stop when the vocal sits properly.
Check the high-pass filter first
You want to remove rumble and proximity buildup, not body. For most male vocals, set the high-pass somewhere between 60 and 100 Hz with a gentle slope. For most female vocals, 70 to 120 Hz. If you are at 200 Hz already, you have probably cut half your fundamental and that is a large part of your answer.
Use a filter with a selectable slope so you can choose 12, 24 or 36 dB per octave. A steep 36 dB filter at 100 Hz still leaves everything above 200 Hz alone, which is exactly what you want.
Protect 200-300 Hz
This band is where vocal weight lives. Boosting it broadly makes things muddy fast, so use a wide bell with a gentle gain, around 1 to 2 dB, and listen on a small speaker as well as your monitors. If the singer sounds thicker but the whole mix turns to mud, the other instruments need space there, not the vocal.
Carve the instruments instead of boosting the vocal
This is the fix people skip, and it is the one that works. When guitars and keys sit in the same 3-5 kHz region as vocal presence, the vocal gets buried, and the instinctive response is to push the vocal up until it is harsh and thin. Instead, put a narrow cut of 2 to 3 dB with a Q around 5 to 10 on the guitars and keys at the frequency where they fight the voice. The vocal then sounds bigger without being louder, because nothing is covering it.
Members on the KVR Audio production forum describe the same problem from the other end, noting that a vocal sounding harsh in the high end usually means it is being boosted to cut through the mix. Fixing the masking is faster and sounds better than another 3 dB of presence.
Vocal frequency reference
| Range | What it contributes | What happens when you cut it | What happens when you boost it |
|---|---|---|---|
| 20-60 Hz | Rumble, handling noise, room thump | Nothing useful lost | Wasted headroom, muddy sub |
| 100-200 Hz | Chest weight, some proximity buildup | Voice gets lighter and boxy | Boominess, chestiness |
| 200-300 Hz | Fundamental body, the core of thickness | Classic thin vocal, the number one cause | Muddiness fast if it is not narrow |
| 300-500 Hz | Warmth, but also boxiness | Boxiness goes away | Sounds like a covered box, loses definition |
| 800 Hz-1.5 kHz | Forwardness, nasal edge | Vocal recedes, sounds polite | Nasal and honky |
| 2-5 kHz | Presence, intelligibility, the masking zone | Vocal gets lost in guitars and keys | Harsh, fatiguing, and thinner-sounding |
| 5-10 kHz | Articulation, consonants, sibilance | Mumbled, unintelligible | Harsh spit, needs a de-esser |
| 10-18 kHz | Air, openness, sheen | Closed-in, dull vocal | Nice with a low gain, harsh above about 3 dB |
Sweep a parametric band slowly while listening, and cut where it annoys you most. That technique, described repeatedly on mixing forums, is faster than guessing numbers from a chart, because your ear knows where your specific vocal and your specific room are misbehaving.
Compression that keeps weight
The goal is to control peaks, not to flatten the voice. A ratio between 3:1 and 4:1, an attack around 10 to 20 ms, and a release of 80 to 150 ms with the auto-release off gives you an even ride while letting the consonants stay in front. Watch your gain reduction: if you see 6 dB or more on a steady phrase, you are flattening the performance into something that will read as thin.
Compression on the master bus or a group compress after the EQ stage is another option, because it evens the vocal without touching the individual transients inside it.
Parallel compression
This is the single most effective mix-side fix for a vocal that is too light. Duplicate the vocal on a send, EQ out the highs and some of the lows so the layer sits behind the main vocal, compress it hard with a slow attack, then bring the layer up underneath. You get density and apparent weight while the original keeps all of its articulation.
Community consensus puts doubling, parallel compression and saturation as the three fastest fixes, and I would order them the same way. Start with parallel compression, since it works on almost any take.
Saturation
A tape or tube saturation stage, or a gentle amp-sim character, adds upper midrange harmonics that our ears read as thickness and loudness. Keep the drive low and high-pass the return around 300 to 500 Hz so you are adding harmonics, not bass. Saturation on a vocal that already has too much low-mid just makes mud louder.
Doubling and double tracking
Record the same phrase twice, pan one copy hard left and the other hard right, and mute the centre a little on both. Even slightly different performances produce comb filtering that our ears interpret as width and size. Mismatched takes widen it further, though this needs two recordings of the same line, so plan for it rather than discovering it at mixdown.
The de-esser caution
De-essing is where thinness sneaks in unnoticed. Broadband de-essers remove energy well above the sibilance frequency, which dulls the vocal and takes the air with it. Use a multiband or split-band de-esser, set it only on the S and T sounds, and cut no more than 4 to 6 dB. If your vocal was thin before, an aggressive de-esser is often why it is thin now.
Reverb and delay for perceived size
Reverb does not add body but it adds space, and space reads as size. A plate or hall reverb on a send, pre-delay around 30 to 60 ms, sitting behind the vocal in the mix rather than in front of it, gives the impression of a bigger performance. A short slap delay on the same grid can add perceived size as well. Both should stay under the dry vocal in level, and both should be high-passed so they do not drag the low-mids around.
Why Do My Vocals Sound Thin? A Step-by-Step Fix
Here is the repeatable order. Work through it in one sitting and stop when the vocal sits right.
- Listen to the raw take. Solo it, no plugins, at a fair level. Decide whether the thinness is there or only in the mix.
- Check the take itself. Pitch consistent, phrases shaped, no rushed or mumbled sections. Mark anything you cannot live with.
- Check gain staging. Peaks near -12 dBFS, noise floor far below the quietest note, no clipping.
- Set the high-pass filter. 60-100 Hz for lower voices, 70-120 Hz for higher voices, gentle slope. This alone fixes a surprising number of cases.
- Shape the tone. A wide, gentle lift around 200-300 Hz, a small presence lift around 3 kHz at most, a touch of air between 12 and 16 kHz.
- Cut the competition. Narrow subtractive cuts on guitars and keys around 3-5 kHz so nothing covers the vocal.
- Set the dynamics. Moderate compression around 3:1 to 4:1, then a parallel layer underneath for density.
- Place it. Balance against a reference at a level that feels slightly too loud, then back off until it sits.
- Compare before and after. Solo the original take, then the new one, back to back. If you cannot hear a clear improvement, undo the step you just added.
How to Fix a Thin Vocal You Already Recorded
Sometimes re-recording is not an option, because the singer is gone, the song changed, or you simply like the take. A thin raw file can still be improved, with limits.
Work from least to most invasive. First, drop a parallel compression layer underneath for density. Second, add saturation on a high-passed send. Third, if you recorded with room sound in the take, try a short gated or narrowed reverb to tighten the space around the vocal, which makes the remaining body sound more solid.
You can also layer the take against itself: pitch-shift a copy down three or four semitones, pan it wide, and pull it well under the main vocal for a doubled thickness effect. It works better than it should, and it is a well-known trick on mixing forums for exactly this problem.
Be honest about the ceiling. If the raw take has no proximity effect, no chest weight and inconsistent pitch, layering and saturation will make it thicker and still not make it good. That is the point at which a re-record is the cheaper option, not the failure.
When Thin Vocals Need a New Performance
Some things simply are not mix problems. This is the half of the answer that most tutorials leave out, and for a lot of home singers it is the half that matters.
A singer sitting in a light head voice will record thin every time, because there is no chest resonance to capture. Dropping into a mixed or chest register, slightly lower than feels comfortable, adds the low-mid energy that the microphone is waiting for. Speak the line in a full voice first, then sing it in the same place.
Jaw and throat tension flatten the tone and raise the larynx, which strips brightness and weight at once. A quick reset before each take: shake out the hands, drop the jaw, do a silent hum with the lips closed, and hum down to the lowest comfortable note before you sing. A warm up takes two minutes and changes the take.
Breath support is the other half. A supported phrase keeps the vocal folds from thinning out under a rising melody, and it holds the tone steady through long notes. If the voice fades as the phrase climbs, that is a support problem, and no compressor will reconstruct the lost fundamental.
Vocal fry deserves its own mention. A creaky, unpitched tone reads as weak and thin, and it sits nowhere useful in the spectrum. If your take has a lot of fry, it is usually a habit under fatigue rather than a stylistic choice. Push through it and sing the line properly.
When you direct a re-record, give the singer three specific things: the reference track, the register you want them in, and one line to redo. Vague direction like “make it bigger” produces the same thin take with more effort behind it. If tuning is the problem, record a second take slightly under the beat rather than asking someone with shaky intonation to fight it in the pocket.
Frequently Asked Questions
What is a thin vocal and why does mine sound that way?
A thin vocal has little perceived weight, usually because its energy in the 200-300 Hz region is missing or covered. Common causes are a high-pass filter set too high, guitars and keys masking the same band, a microphone recorded too far away in a reflective room, or a performance sung in a light head voice. Solo the raw take to find out which one you have.
How can I fix thin vocals in my mix?
Work in order. Check your high-pass filter is at 60-120 Hz, not 200. Protect 200-300 Hz with a gentle wide boost. Cut guitars and keys around 3-5 kHz with narrow subtractive EQ instead of boosting the vocal. Then add density with a parallel compression layer and a little saturation. Bypass everything and compare against the raw take at each stage.
Why do my mixes sound so thin overall?
Usually three things at once: too much high-pass filtering across several tracks, no instrument actually covering the low-mids, and presence boosts used as volume fixes. A mix needs something with real weight in the 200-300 Hz region, usually a bass or a doubled low instrument, and instruments that leave that space alone. Check your mix bus chain too, since a mastering compressor can flatten everything.
Why do my vocals sound so flat?
Flat usually means no dynamic shape rather than no body. Heavy compression, aggressive pitch correction and a performance with no phrasing variation all flatten a vocal. Back the compression off so you see 3-4 dB of gain reduction rather than 8, reduce the tuning speed, and sing with more contrast between words. A flat take in the recording cannot be fixed by EQ.
How to fix muddiness in vocals without making them thin?
Muddiness and thinness are opposite problems in the same band. If the vocal is muddy, take a narrow cut around 300-500 Hz rather than sweeping a high-pass filter up. A high-pass filter cannot fix mud because mud sits above the range it affects. If it is thin instead, you need weight added back, not removed.
Do I need a better microphone for fuller vocals, and how close should I sing?
Most thin bedroom takes are a distance and room problem, not a microphone problem. Get within about 3 inches of the capsule with a pop filter, because the proximity effect is where the free low-end boost comes from, and move away from bare walls and a hard desk. After that, a dynamic mic on a treated corner outperforms an expensive condenser in an untreated room.
Conclusion: Start With the Biggest Source of Thinness
Three things will explain most thin vocals, and you can check all of them tonight. Solo the raw take before any plugin and decide whether the thinness is in the recording or in the mix. Look at your high-pass filter, because anything above 150 Hz is almost certainly eating body you wanted to keep. Then listen to guitars and keys around 3-5 kHz and cut them instead of pushing the vocal forward.
From there the work is additive rather than corrective. A parallel compression layer underneath, a touch of saturation above 300 Hz, and moderate compression that keeps your consonants intact will add weight without adding harshness.
And if the raw take itself is thin and flat, fix the performance before you touch the plugins. Get closer to the mic, drop into the chest, and record it again with intent. Updated for 2026, this is still the order I work in, because it saves more weekends than any plugin.