Building a usable home studio takes one weekend, a quiet room, and a signal chain that does not fight itself. Knowing how to build a home studio on a budget is mostly a question of order: pick the room first, buy the recording chain in the right sequence, and skip everything that does not change the sound yet.
Most people get this backwards. They spend on a microphone in week one and a desk in week six, then spend a year wondering why the recording sounds like it was recorded in a stairwell. The room and the performance do more for your track than any single piece of gear.
Table of Contents
- What You Need
- How to Build a Home Studio on a Budget: Step-by-Step
- 1. Set a Realistic Budget and Recording Goal
- 2. Choose the Room Before Buying Gear
- 3. Buy the Core Recording Setup for a Home Studio on a Budget
- 4. Improve the Room with DIY Treatments
- 5. Install, Route, and Test the Signal
- 6. Create a Simple Recording Workflow
- If You Are Recording Voiceover or Podcasts Instead of Music
- Common Mistakes
- Frequently Asked Questions
- How much does it cost to build a recording studio in your house?
- What is the best free DAW for beginners?
- Is a USB microphone good enough for recording music?
- Do I need studio monitors, or are headphones enough?
- Do I need a new computer for music production?
- How much is a recording studio for a day?
- How do I reduce echo in a room for recording?
What You Need
Last reviewed in 2026. Everything below reflects gear and software that were current when this guide was refreshed.
A minimum viable home studio is a computer you already own, an audio interface, one microphone, closed-back headphones, two XLR cables, and enough soft material in the room to kill reflections. That bare chain runs somewhere around 150 to 300 dollars. A complete all-purpose setup lands closer to 400 to 800 dollars.
Here is how the money usually splits. Room treatment takes about 10 to 15 percent and does more for your sound than anything else on the list, because it is the only item that fixes a problem the gear cannot. The microphone takes 25 to 35 percent. The audio interface takes 20 to 30 percent. Headphones, cables, a stand, and a pop filter take the rest, and the DAW takes nothing at all if you pick a free one.
Three things are deliberately missing from every budget I would write down. Studio monitors can wait a year, because mixing on good headphones plus cross-checking on phone speakers is more honest than mixing on cheap near-field monitors in a bad room. A MIDI controller is a nice-to-have, not a requirement. And a new computer is the single most common expensive mistake — most laptops and desktops from the last several years handle multi-track recording without breaking a sweat.
Buy the things that are hard to replace later, and defer the things you will want anyway once you know what you are doing.
How to Build a Home Studio on a Budget: Step-by-Step
1. Set a Realistic Budget and Recording Goal
Decide what the studio is for before you spend a dollar, because the answer changes the shopping list. Writing demos and making beats needs a MIDI controller eventually and a microphone eventually, in that order. Recording vocals over beats needs a microphone on day one. Podcasting and voiceover need a microphone and a treated corner, and nothing else. Mixing and mastering other people’s sessions needs monitors and plugins before it needs a microphone.
Then write down a hard ceiling per category and refuse to move it. Most of the improvement in a first setup comes from better technique and a better room, not from crossing a category ceiling. If you cap yourself, you are forced to learn what you bought, which is the whole point.
2. Choose the Room Before Buying Gear
The smallest, quietest, softest room you have is the right room. Size matters more than people expect: a tiny room has strong room modes and piles up bass wherever you sit, while a mid-sized carpeted bedroom with a wardrobe and a bed is a perfectly respectable recording space. Concrete, tile and bare hardwood are the surfaces that ruin cheap rooms.
Put the desk away from windows, since glass is a hard reflector and outside noise leaks in. Keep it off the wall shared with a hallway or a bathroom. Face the desk into the room rather than flat against a wall, and notice where the hum comes from — refrigerators, air conditioning and computer fans are the usual offenders, and they are usually quiet enough to solve with placement.
Do a phone recording test before you buy anything. Record yourself clapping in the room and listen back on headphones; a bright, splashy clap means hard surfaces and too much reflection.
3. Buy the Core Recording Setup for a Home Studio on a Budget
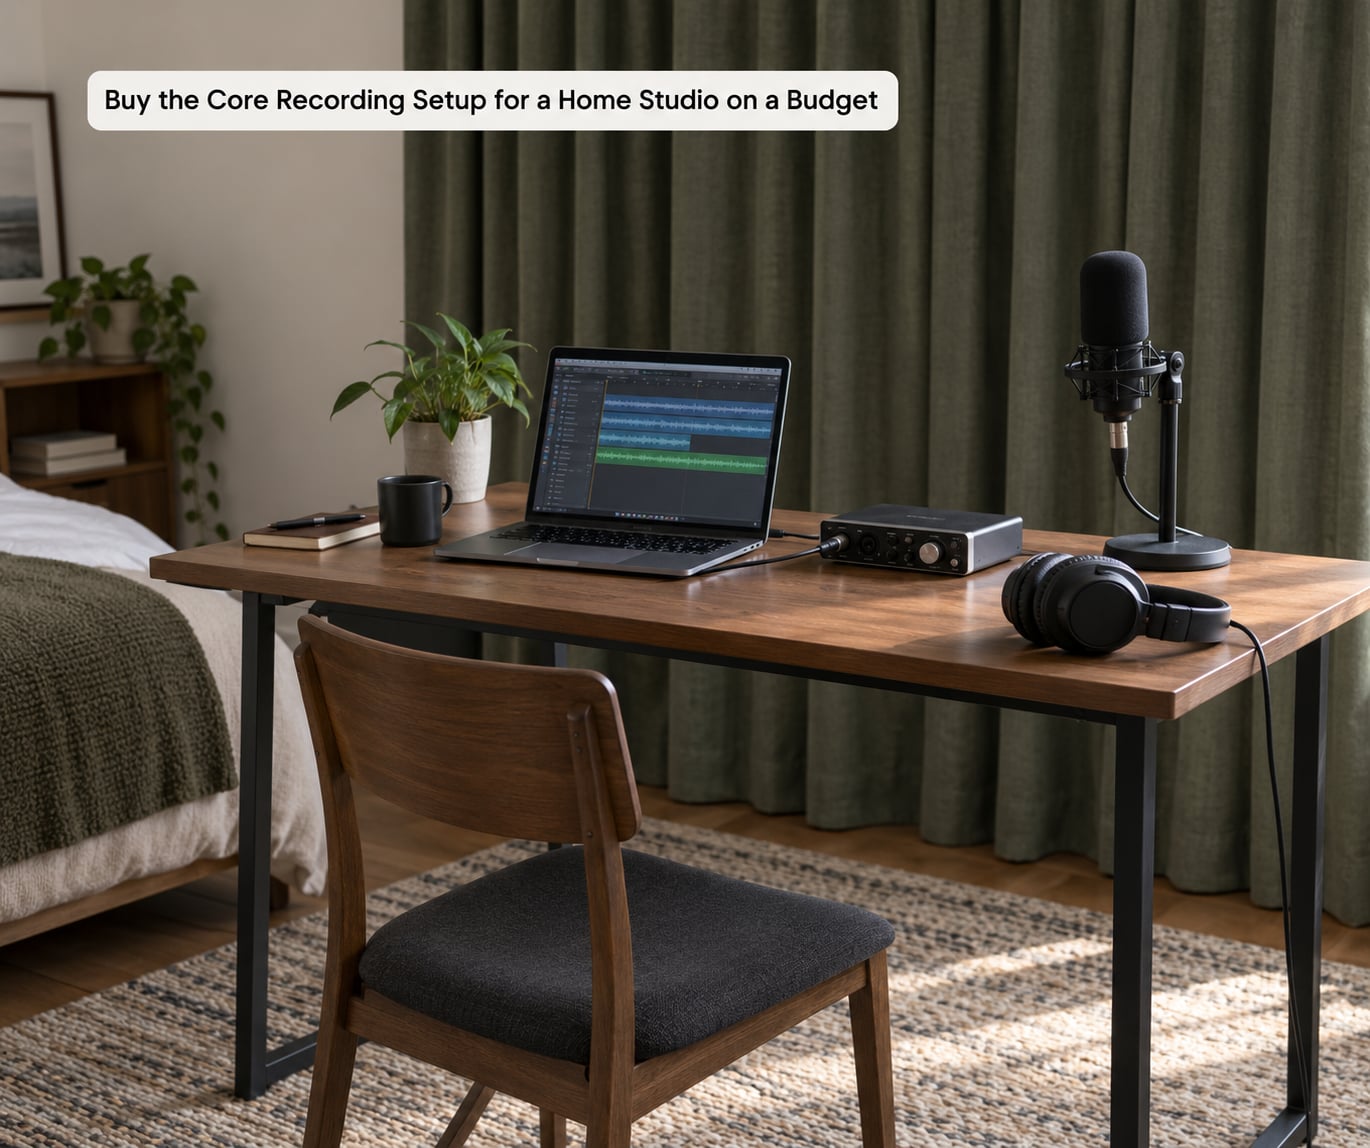
The core chain is four purchases and nothing else. An audio interface with at least two XLR inputs and a headphone output, one microphone that suits your room, one pair of closed-back headphones for tracking, and cables that are actually the right length.
For the interface, look at two-channel units in the Focusrite Scarlett, MOTU M4, PreSonus Studio 24C, SSL 2+ and UA Volt ranges. The differences between budget interfaces come down to preamp noise and converter character, not features, so the honest answer is that the cheapest one with a headphone output will get you a finished record. Buy the one with a direct monitoring switch and hardware gain knobs if you record vocals, since those remove a chunk of monitoring lag. One more thing worth knowing: the cheapest Steinberg interface often ships with a free Cubase version, which makes it a two-in-one purchase.
For microphones, the Audio-Technica AT2020 and AT2035 and the Rode NT1 are the usual first condenser options. A Shure SM58 or SM57 is the first dynamic option and it is much harder to ruin in a live room. A Shure SM7B is a stage and broadcast microphone that needs gain and a cloudlifter-style booster, so it is a second-studio purchase, not a first one.
The fork everybody argues about is USB microphone versus XLR plus interface. A USB microphone is cheaper, needs no interface, and works today. It also has a fixed converter and preamp inside it, limited monitoring latency, and no upgrade path — it cannot be swapped for a better mic later because it is the mic. An XLR microphone plus a two-channel interface costs more and lets you change microphones, add a second one for stereo or two performers, and record instruments on the second input. If the budget stretches past a couple of hundred dollars, go XLR.
Headphones should be closed-back for tracking. The Audio-Technica M20x and M50x and the Beyerdynamic DT 770 Pro cover the range from light to heavy isolation. Keep open-back headphones like the Sennheiser HD 650 for mixing and reference listening, never for tracking, because they leak sound into the mic.
4. Improve the Room with DIY Treatments
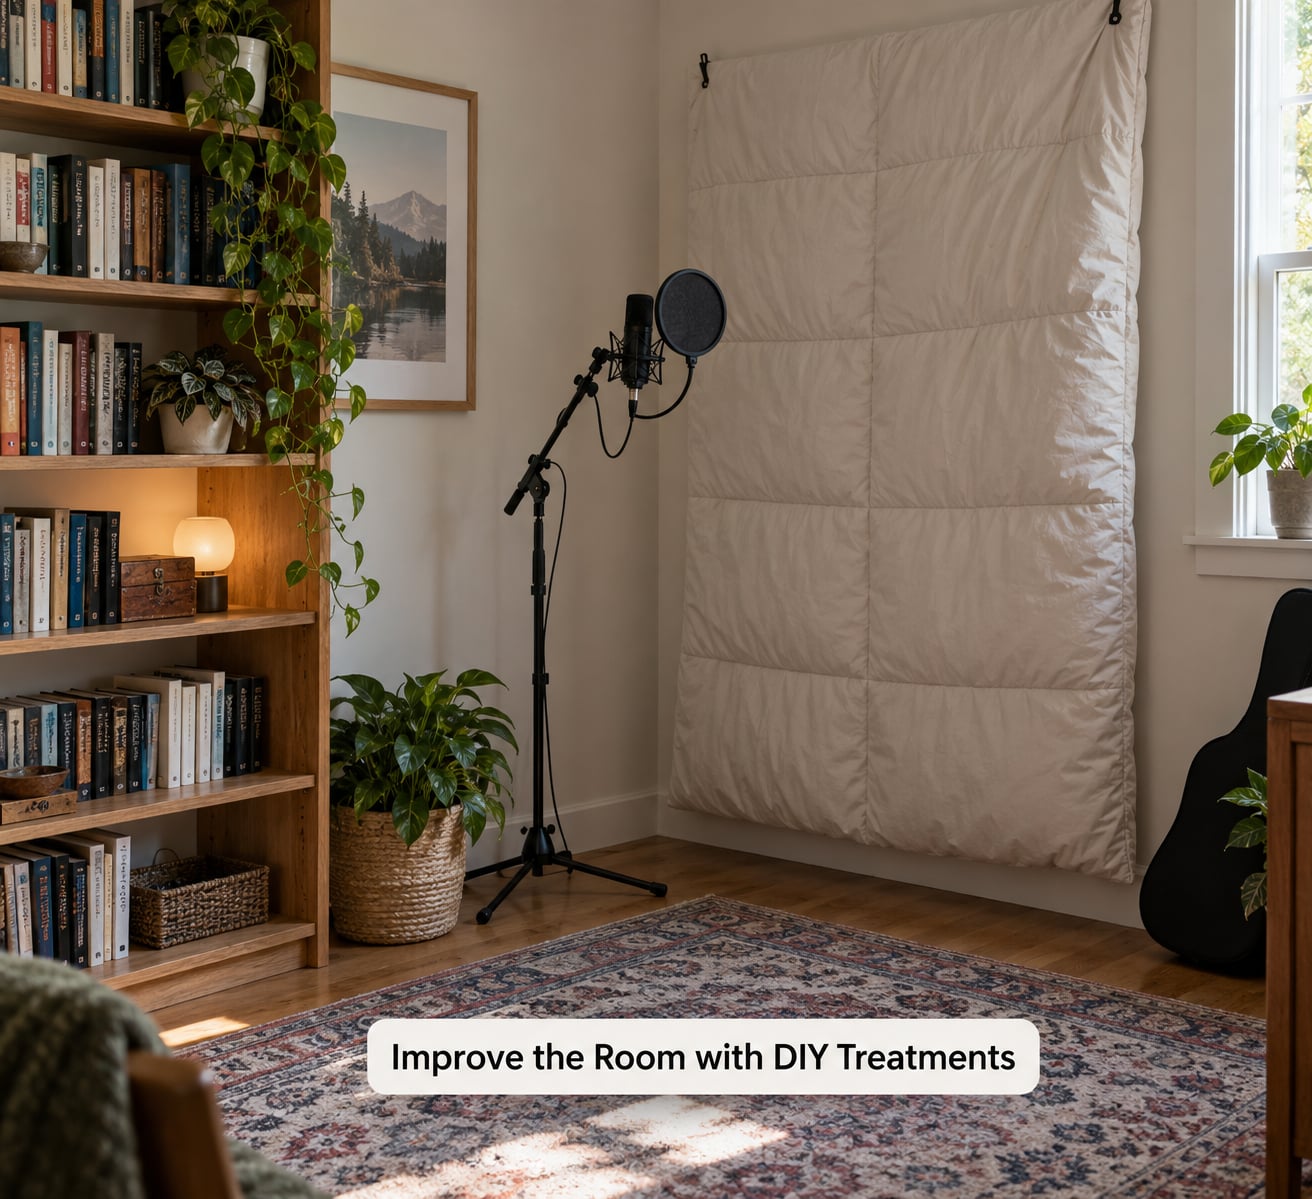
Treating a room means stopping sound from bouncing back into the microphone. Soundproofing means stopping sound from leaving or entering the room, and it is a construction job you are not doing. Thick acoustic foam on the wall behind the microphone is nearly useless for this, which surprises people every time.
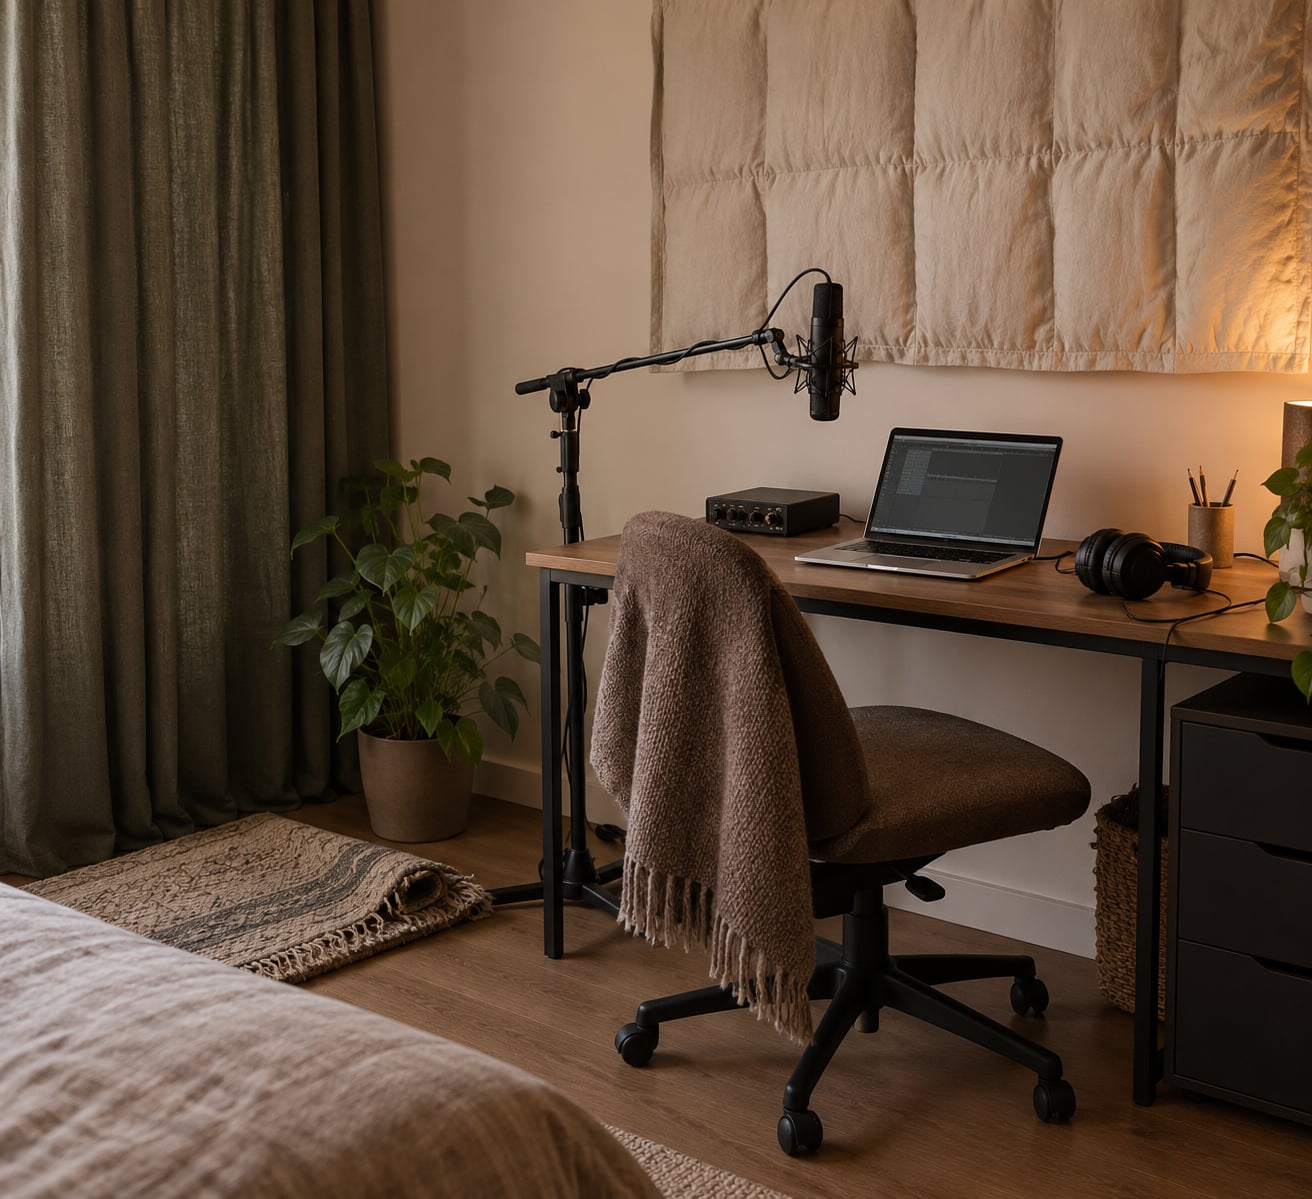
Cheap fixes, roughly in order of impact: put a rug or thick carpet down to kill floor bounce, hang a heavy duvet or moving blanket on the wall behind where you will sit, hang curtains over the window, and use a full bookshelf as a wall on the worst reflective surface. Move the microphone off the wall into the room rather than pressing it against drywall. Record in a corner, where three surfaces scatter energy in different directions, instead of the middle of a wall.
Once money allows, broadband panels at the first reflection points and corner bass traps are the next step. Foam pyramids sold as bass traps do nothing. Broadband panels with real thickness and air gaps do.
If the room is noisy from outside, choose a dynamic microphone over a condenser. Condensers pick up everything, including the fridge and the traffic.
5. Install, Route, and Test the Signal
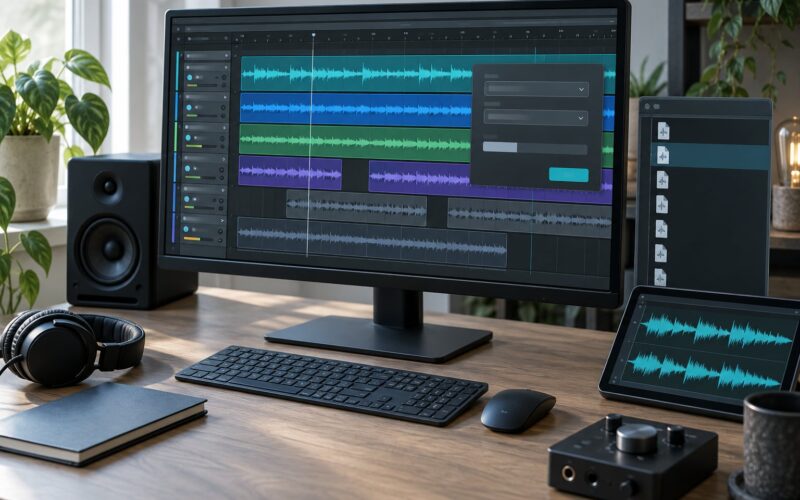
Plug the interface into the computer with the cable it came with, connect the microphone to an XLR input on the interface, and connect the headphones to the interface headphone jack — not to the computer. In the DAW, choose the interface input as the recording input and the interface output as the playback device.
Set 24-bit and 48 kHz as your session format. The higher numbers mostly matter for mastering and do not make an untreated demo sound better. Set the buffer size to 256 samples for tracking, which gives low enough latency to play along comfortably, and lower it to 128 or 64 only when recording virtual instruments and you notice lag.
Gain staging is simple and worth getting right: unplug the microphone from the interface, turn the preamp gain all the way down, turn the input trim to its lowest setting, then turn gain up until your loudest take peaks around -12 dB. Do not record loud and turn it down later — it brings noise up with it. For condensers, confirm phantom power is on, usually a button on the interface.
The test: record thirty seconds of speech and one sustained note, then listen back on headphones without touching anything. If there is reverb, move the mic and soften the room. If it distorts, back off the gain. If it hums, unplug one thing at a time. If it goes quiet, check the input selection. Three minutes of testing saves three hours of confused mixing.
6. Create a Simple Recording Workflow
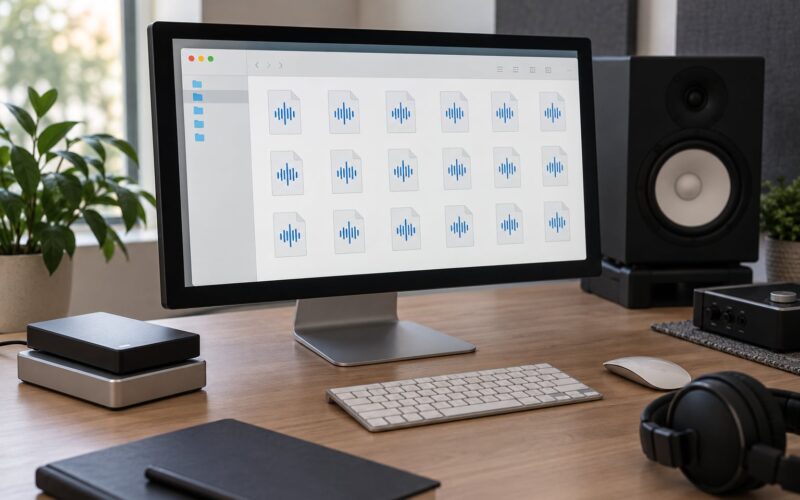
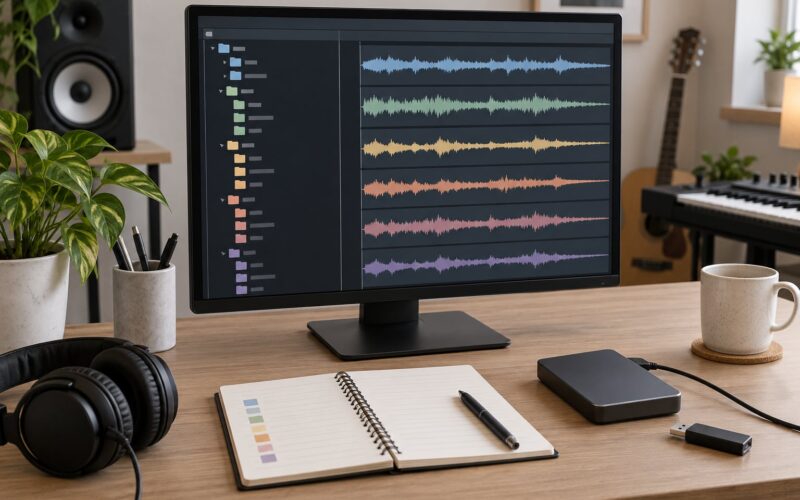
Make one folder per project, dated, with subfolders for audio files, bounced exports and backups. Name takes the moment you record them, not later — take names cost nothing when you write them and cost a full afternoon when you are guessing at them.
Keep two copies in different places. A second drive and a cloud folder is enough; a project that exists in exactly one place is a project you will lose.
Then fix the repeatability: same input settings, same gain levels, same mic position, same template with your favorite plugins already loaded. A consistent setup is what turns a hobby into a habit, and it makes a rough take easier to compare with the next one because nothing but the performance changed.
If You Are Recording Voiceover or Podcasts Instead of Music
Change three things. Drop monitors entirely — headphones alone are the right tool for speech. Put the microphone in a treated corner on a stand with a pop filter, and get close, about a handspan away, because distance adds room sound. And swap the condenser for a dynamic if the room is untreated or noisy; a Shure SM58-style dynamic handles a home office better than any condenser.
Common Mistakes
Buying a USB microphone first. It is the most repeated regret in the home recording forums, and it ends with a second microphone purchase six months later. Fix: if the total budget allows an interface, start there. If it does not, spend the money on the room instead and borrow a mic to learn on.
Ignoring the room. A treated setup on the cheap beats an untreated setup twice its price every time. Fix: rug, duvet, curtains and a corner position cost almost nothing and change the recording more than any purchase on this list.
Putting foam behind the microphone. The mic points at the singer, not the wall, so wall treatment there does nothing for the recording. Fix: treat the first reflection points — the wall the singer faces — and the corners.
Recording too loudly. Hot levels capture whatever noise is in the room along with the performance. Fix: peak around -12 dB and leave the rest to gain staging later.
Buying mismatched gear. A cheap interface with a studio microphone usually ends up with the interface as the bottleneck. Fix: match the tiers, or deliberately buy the interface a step up and the mic a step down.
Skipping backups. One overwritten file is one lost session. Fix: two copies, different places, same day.
Upgrading before testing. New gear is emotionally exciting and technically neutral. Fix: record a full track on what you have, write down the two things that actually bothered you, then buy the fix for one of those.
Two habits cover most of it. Record for ten minutes every day for a month before you spend on anything, and keep a short list of what frustrated you. The list is a much better buying guide than any gear chart.
Frequently Asked Questions
How much does it cost to build a recording studio in your house?
A usable home studio starts around 150 to 300 dollars for a computer you already own, an audio interface, one microphone, closed-back headphones and cables. A complete all-purpose setup runs closer to 400 to 800 dollars, with the microphone, interface and room treatment taking most of it. Spending beyond that only pays off once you know what your recordings are missing.
What is the best free DAW for beginners?
GarageBand on Mac is the easiest start because it loads instruments instantly. Audacity is free on Windows and Mac and handles basic recording and editing. Cakewalk by BandLab is the strongest free option for arranging and MIDI. Reaper is often called free, but it is a 60-day trial with a discounted licence for private use.
Is a USB microphone good enough for recording music?
For a first demo or podcast, yes — it works out of the box with no interface. The limits show up fast: you cannot change the microphone later, monitoring lag makes recording along difficult, and the built-in converter and preamp are fixed. If your budget reaches a couple of hundred dollars, an XLR microphone plus a two-channel interface is the better buy.
Do I need studio monitors, or are headphones enough?
Headphones are enough to start, and mixing on them plus checking the result on phone speakers is a defensible workflow for a first year. Monitors only help once the room is treated, because unmonitored low end in a small room will fool you. Buy monitors later, and pair them with a subwoofer only if your room can handle it.
Do I need a new computer for music production?
Almost certainly not. Any recent laptop or desktop with at least 16 GB of RAM and an SSD handles multi-track recording with plugins, and a solid-state drive matters far more than processor speed. Treat buying a computer as a repair step: upgrade the drive first, add memory second, and replace the machine only if specific projects genuinely will not run.
How much is a recording studio for a day?
Day rates vary hugely by city and by room size, so get three local quotes before comparing. The useful comparison is amortized: a commercial day rate buys you one good day, while a budget home setup spread over a few hundred dollars gives you unlimited hours for years. If you only need one polished vocal or one final mix, renting is still the cheaper call.
How do I reduce echo in a room for recording?
Echo is reflections coming back into the microphone. Start with a rug to kill floor bounce, a heavy duvet or curtain on the wall behind the singer, and soft furnishings on every hard surface. Move the microphone away from the wall and record in a corner where three surfaces scatter reflections. Broadband panels at the first reflection points come after the cheap fixes, not before.
Start with the room and a free DAW this week, then buy closed-back headphones, then the interface and the microphone, in that order. Record a full track before you consider monitors, a controller or a faster computer — the gap between a good track and a great one is practice, and gear only closes that gap once it stops being the interesting part. Check current figures for any specific item before buying, since costs move around.