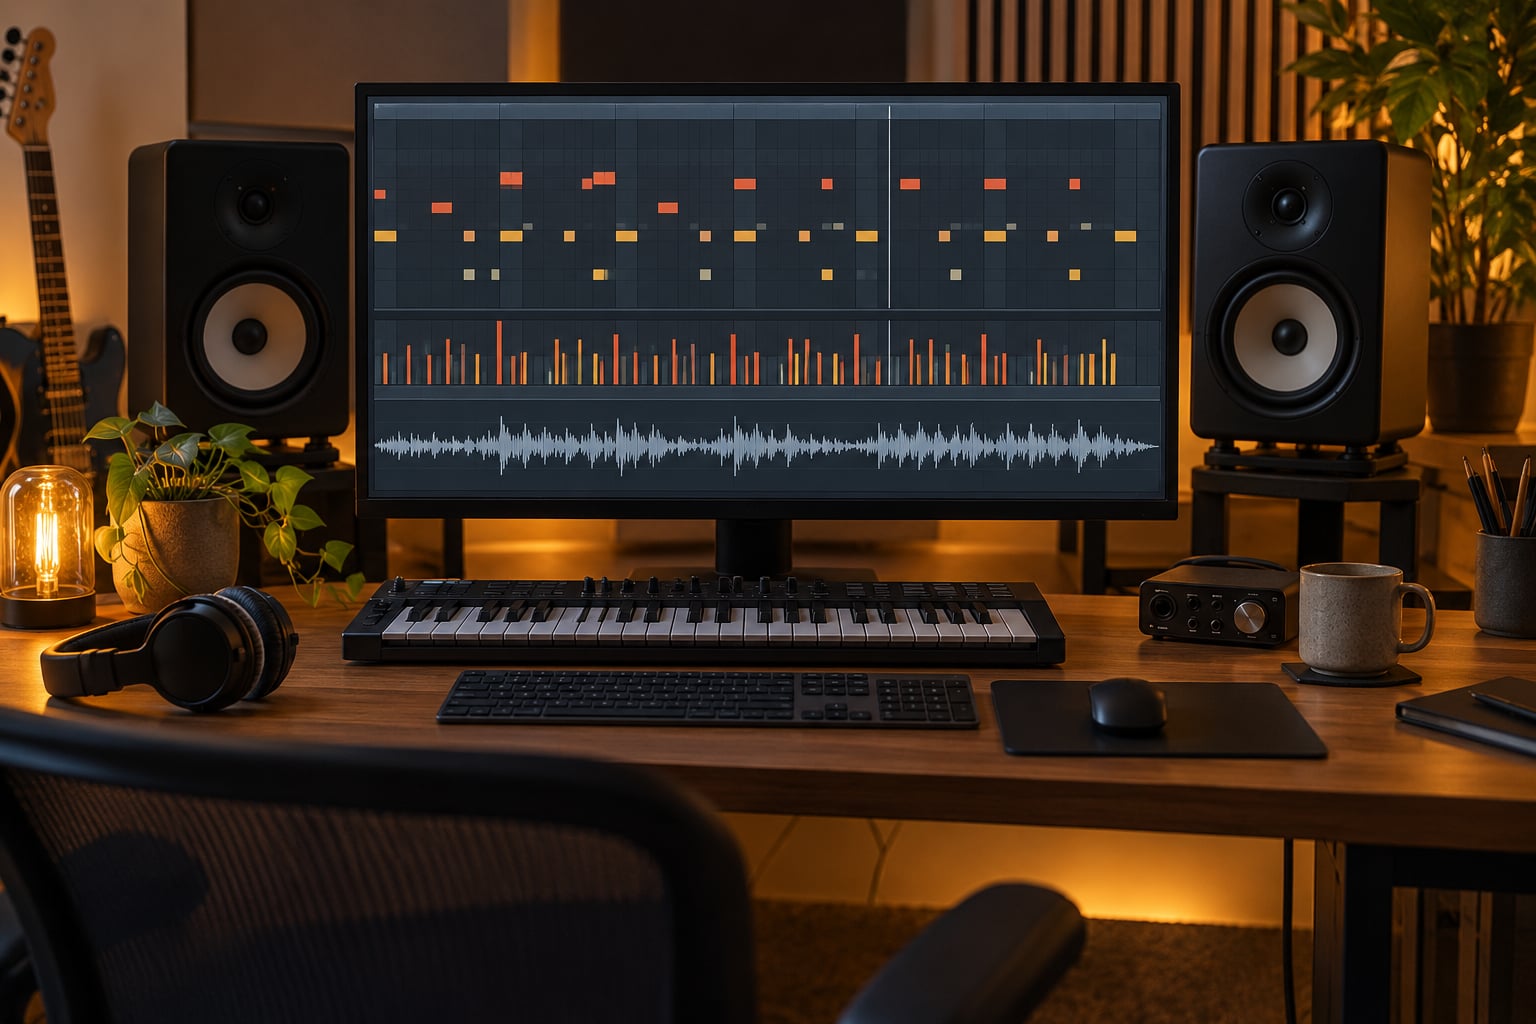
To use velocity to humanize drums, give each hit its own level of emphasis: louder on downbeats and backbeats, softer on ghost notes and offbeats, then add roughly 10% random variation so a repeated bar never sounds identical twice. Set the main groove by hand first, because blind randomization on a flat pattern produces chaos rather than feel.
The whole process takes about half an hour on a two-bar loop, and no experience beyond basic drum programming. If your drums currently sit at the same volume on every hit and land dead on the grid, that single flatness is the reason they sound like a machine.
Here is what to have open, the workflow in order, and the numbers that keep it from falling apart.
What You Need
Four things, and most of them are already in the session you are working on.
- A drum sample library or sampler that responds to velocity. Most libraries switch samples or add layers as velocity rises, so this is what turns a number into a different drum, not just a louder one.
- MIDI drum tracks for kick, snare and hi-hat. Audio loops work too, but with a different toolset, covered further down.
- A velocity lane in your DAW’s Piano Roll editor. Every major DAW has one; the shortcut to get to it differs by program.
- A gain-staged mix, meaning the drum busses are not already slammed into a compressor. Velocity work needs headroom to be audible.
Where the velocity lane lives in each program:
- Ableton Live – Piano Roll, then the lane buttons under the grid switch between notes, velocity, pitch and more.
- FL Studio – open the Channel Rack or Piano Roll, click the velocity bar icon at the top left of the piano roll window, then draw bars directly.
- Logic Pro – Piano Roll editor, then the automation pop-up menu at the top left set to Velocity.
- Pro Tools – the MIDI Editor’s Note Velocity controller strip, or the Velocity tool from the Tools menu for draw-by-hand editing.
- Cubase – the Velocity Lane at the bottom of the Key Editor, enabled from its display options.
- Reaper – in the MIDI item editor, right-click the note area and turn on the Velocity lane, or use the built-in humanize and randomize item actions.
Step-by-Step: How to Use Velocity to Humanize Drums
Choose a Strong Drum Foundation
Build the boring version first: kick on 1 and 3, snare on 2 and 4, hi-hat on eighths. Give it clear downbeats and backbeats with a flat velocity for now, and confirm the groove feels right before touching anything else. Humanizing a weak pattern does not save it, it just makes a weak pattern sound confused.
The mistake most people make here is reaching for the humanize function while the pattern is still flat. Randomization applied to an unaccented pattern produces noise, because there is nothing for the variation to sit against.
Vary Note Velocities Without Losing Control
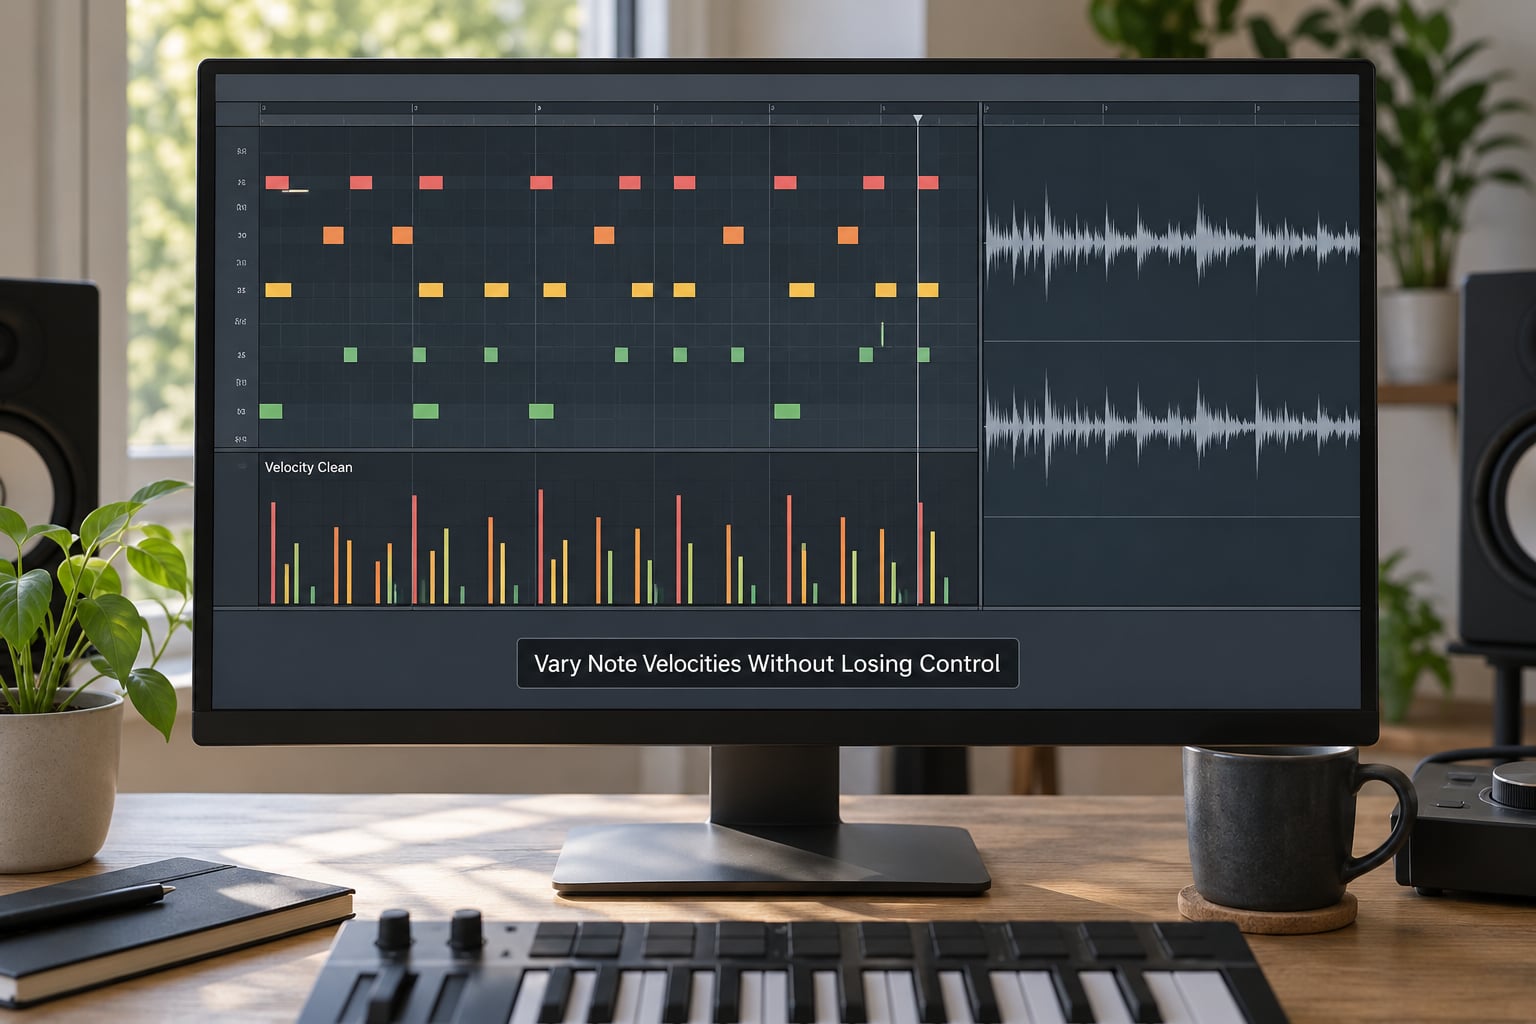
Now edit the velocity lane by hand. Click a note bar, drag it up or down, and listen to the result rather than watching the number. The change you hear is what matters, and the figure in the lane is just the way the DAW stores it.
A useful reference for a standard rock, pop or hip-hop groove:
| Drum voice | Working range | What that means |
|---|---|---|
| Kick | 90 to 115 | Solid and consistent, with a few accents landing near the top of the range |
| Main snare | 100 to 112 | Backbeat stays present; small drops suggest a player relaxing |
| Closed hi-hat | 70 to 95 | Lower values thin the sound out and open the mix |
| Open hi-hat | 85 to 100 | Used as an accent, so it needs to clear the closed hats |
| Ghost notes | 25 to 45 | Felt more than heard, sitting under the main snare |
| Crash or ride | 100 to 118 | Reserved for section changes, never the steady pulse |
Treat these as a starting point, not a rule. Different libraries map velocity differently, so a kick at 90 in one kit can be a completely different weight than a kick at 90 in another. Listen, then trust your ears over the table.
Use Accents to Create a Natural Performance
Velocity variation only reads as human when it follows an intention. A drummer plays the first beat of a phrase harder than the fourth, and leans on the snare where the music leans. Write those accents in before you write the randomness.
Three rules cover most grooves:
- Downbeat first. The kick on beat 1 sits 8 to 15 points above the kick on beat 3 in most rock and pop patterns.
- Backbeat emphasis. Snare on 2 and 4 stays high; if a snare ghost is present, drop it 55 to 70 points below the main hit.
- Offbeats quieter. Eighth-note hi-hats alternate around 78 and 68 instead of holding one value, which reads as a hand moving rather than a sequencer clicking.
Only two hands are available, so a hit with a huge accent cannot also be carrying another big accent on the same stroke. Cross-handed players drop the closed hat under a crash hit for exactly this reason. If your programmed pattern breaks that rule, it will feel wrong before you can name why.
Add Subtle Timing and Articulation Changes
Velocity handles dynamics. Timing handles pocket, and the two are edited separately. Once the velocity work sits well, quantize to 80% rather than 100%, which leaves a fraction of the original feel in place instead of snapping everything dead to the grid.
Then nudge a handful of notes by ear, in small amounts: 5 to 15 milliseconds early on the snare for a pushed feel, and 5 to 20 milliseconds late on some kicks for weight. Large offsets do not read as human, they read as a mistake.
Articulation changes help too. Shorten some hi-hat note lengths so the sampler chokes them, alternate closed and open hats on accents, and vary the note length of ghost snares. A hit cut short always sounds more like a stick than a fully ringing sample.
Humanize the Entire Pattern, Not Every Hit
Once the accents are set, add a small randomized pass over the whole pattern and let it be. In Ableton that is the Velocity effect with the Random knob at about 10 to 20%. FL Studio has a humanize channel preset, Logic’s Transform panel has a Humanize button, Pro Tools and Cubase both expose a humanize setting on the MIDI Tools window, and Reaper offers humanize and randomize as right-click item actions.
Ten percent is the starting point and 20% is roughly the ceiling. Past that, primary groove elements lose definition and the pattern starts to sound drunk. Producers regularly describe DAW humanize buttons as doing exactly that, which is why hand-edited accents first and random variation last is the order that works.
Two finishing moves worth knowing:
- Floor your kick. Randomization can push a kick down far enough to vanish. Check the quietest kick in the bar and lift it to a minimum of about 90, keeping the variance inside that floor.
- Vary every 8 or 16 bars. Copy the same edited bar 16 times and listeners hear the loop. Change the accent pattern every 8 or 16 bars, or re-randomize a bar or two at each section change, and the repetition stops announcing itself.
If you recorded from an e-drum kit or a velocity-sensitive controller rather than drawing notes in, the job is different. Leave the timing mostly alone, since a human already played the timing, and focus on trimming outliers: pull anything above about 120 or below about 40 back toward the pocket, then add the same ghost notes you would have programmed.
Common Mistakes
Randomizing before accenting. Variation with no intention behind it is noise. Fix it by undoing, writing the accent pattern first, and adding random velocity last at 10%.
Everything at 127. Full velocity on every hit is the fastest route to a robotic feel. It also squashes your drum bus, since every transient lands at the same level and the compressor has no range left to work with.
Everything too quiet. Dropping the whole kit by 40 points to sound dynamic just makes a quiet mix. Vary around the original level instead of moving the average.
Moving the accents you meant to keep. Randomization should not flatten a deliberate backbeat. After randomizing, restore the accents you care about, or set the random range narrower on the kick and snare than on the hats.
Treating velocity as a timing fix. A badly placed hit is a timing problem, and no amount of dynamics fixes it. Handle position separately, at 80% quantization.
Humanizing before the mix is settled. Do the dynamics last. You cannot hear 10% of variation on a drum bus that is already pinned against the limiter.
Quick Performance Checklist
Run this before you commit the change and export a reference.
- Turn the drums down to a low level. Dynamics you cannot hear quietly are not doing much for you.
- Play bar 1 next to bar 2. Identical accents across both mean the loop is announcing itself.
- Check the accents first: kick on 1 and the snare backbeat should be the two loudest things in the pattern.
- Confirm the kick and snare are still clear, and that ghost notes sit under the main snare rather than competing with it.
- Check the quietest kick. Anything under about 90 has probably been randomized out of usefulness.
- Export a short before-and-after and compare on a second system, since ear fatigue hides differences in one long session.
Frequently Asked Questions
What is the best velocity range for humanizing drums?
Most rock, pop and hip-hop grooves live in a narrow band: kick 90 to 115, main snare 100 to 112, closed hi-hat 70 to 95, ghost notes 25 to 45. Wider ranges sound looser and more live. The figure matters less than the gap between the loudest and softest hit of each voice, which usually wants to be 15 to 30 points.
Should I change velocity on every drum hit?
No. Set the pattern structure first, then vary only the hits that need phrasing. Producers on r/WeAreTheMusicMakers make the point often: running a flat quantized pattern through random humanization is usually not enough, because velocity is stylistic. Change the first beat of a phrase and a couple of backbeats, leave the rest steady, then add about 10% random variation on top.
Is velocity the same thing as timing when making drums human?
No, they are separate levers. Velocity changes how loud and how bright a hit is, and on layered kits it can change which sample plays. Timing moves the note itself, usually by 5 to 15 milliseconds. Humanized drums need both: velocity carries the dynamics, and a small push or drag on the snare and kick gives the groove its pocket.
Can I use this technique on an audio drum loop?
Partly. An audio loop already contains its own dynamics, so there are no MIDI velocities to edit. Draw a velocity or volume automation curve over the loop instead, riding the downbeats and dipping the offbeats, or chop it into single hits and resample each one so you can nudge loudness per hit. For real per-hit control, load it into a sampler and trigger it as a one-shot.
How much variation is enough before drums sound sloppy?
Start at 10% randomization and stay under 20%. Past that, primary groove elements lose definition and the pattern reads as drunk rather than human. If you need more life, add ghost notes or shift a handful of notes by a few milliseconds instead of turning the random knob further.
When should I humanize drums in my DAW?
Late rather than early. Program the groove, arrange the song and settle how the kick sits with the bass first. Humanize once the pattern repeats, so the variation has to hold up across fills and repeated sections instead of in a single loop you are about to rewrite anyway.
Conclusion
Start with a solid programmed pattern and flat velocities, then change only the hits that carry the phrasing. Emphasize the first kick and the backbeat, drop the ghost notes to roughly 25 to 45, keep a floor under the kick so randomization cannot bury it, and finish with about 10% random variation plus a few milliseconds of timing movement. Compare that against the original groove, and if it sounds like a person played it, you are done.