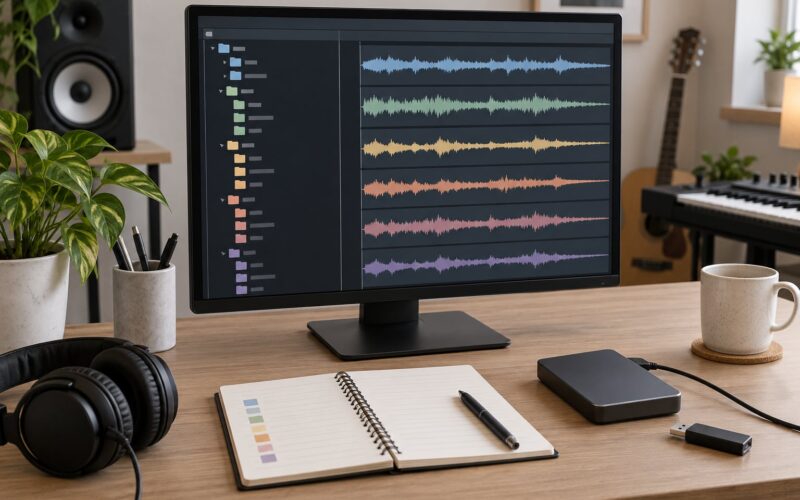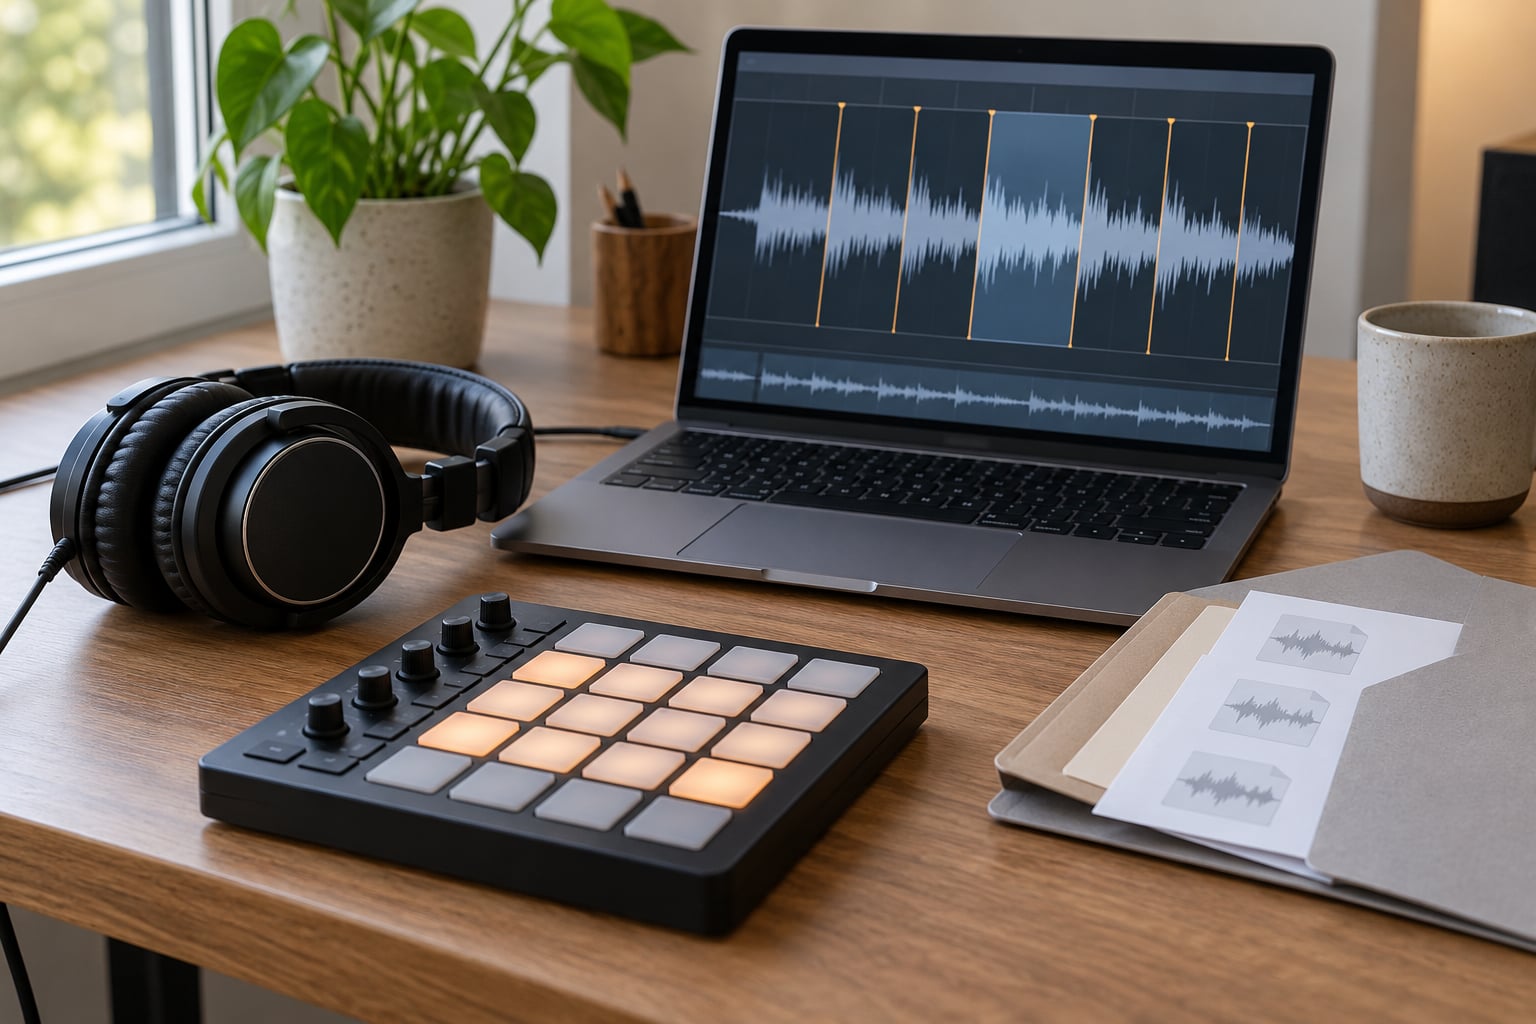
To make a drum break from a sample, you isolate the drum section of a record, find its tempo by ear, slice it into individual hits, assign each hit to a note or pad, clean the hits up, then write a new pattern from them. Most producers get 80% of the way in about an hour.
That is genuinely beginner-friendly, and the method works the same in every DAW. Nothing here depends on a particular plugin or a particular program. If you can cut audio, you can make a drum break.
One thing to sort out before you start, because the phrase means two different things. Sometimes you already have a break — a chopped Amen, a loop from a sample pack, a break pulled out of a record. Other times you have some arbitrary sound and you want to turn it into drums. Both paths are covered below, and the first five steps are shared.
Updated for 2026. Menu paths below name the tools as they appear in Ableton Live, FL Studio, Logic Pro, Reaper, MPC and Reason; the underlying method is identical elsewhere.
Table of Contents
- What You Need
- Step-by-Step: How to Make a Drum Break From a Sample
- Common Mistakes and How to Fix Them
- Frequently Asked Questions
- Can I make a drum break from any sample?
- What is the easiest way to extract drums from a song?
- Should I time-stretch a drum break to match my beat?
- How do I make a chopped sample sound like a modern drum break?
- What EQ settings help a drum break cut through a mix?
- How do I avoid copyright problems when using samples?
- Conclusion
What You Need
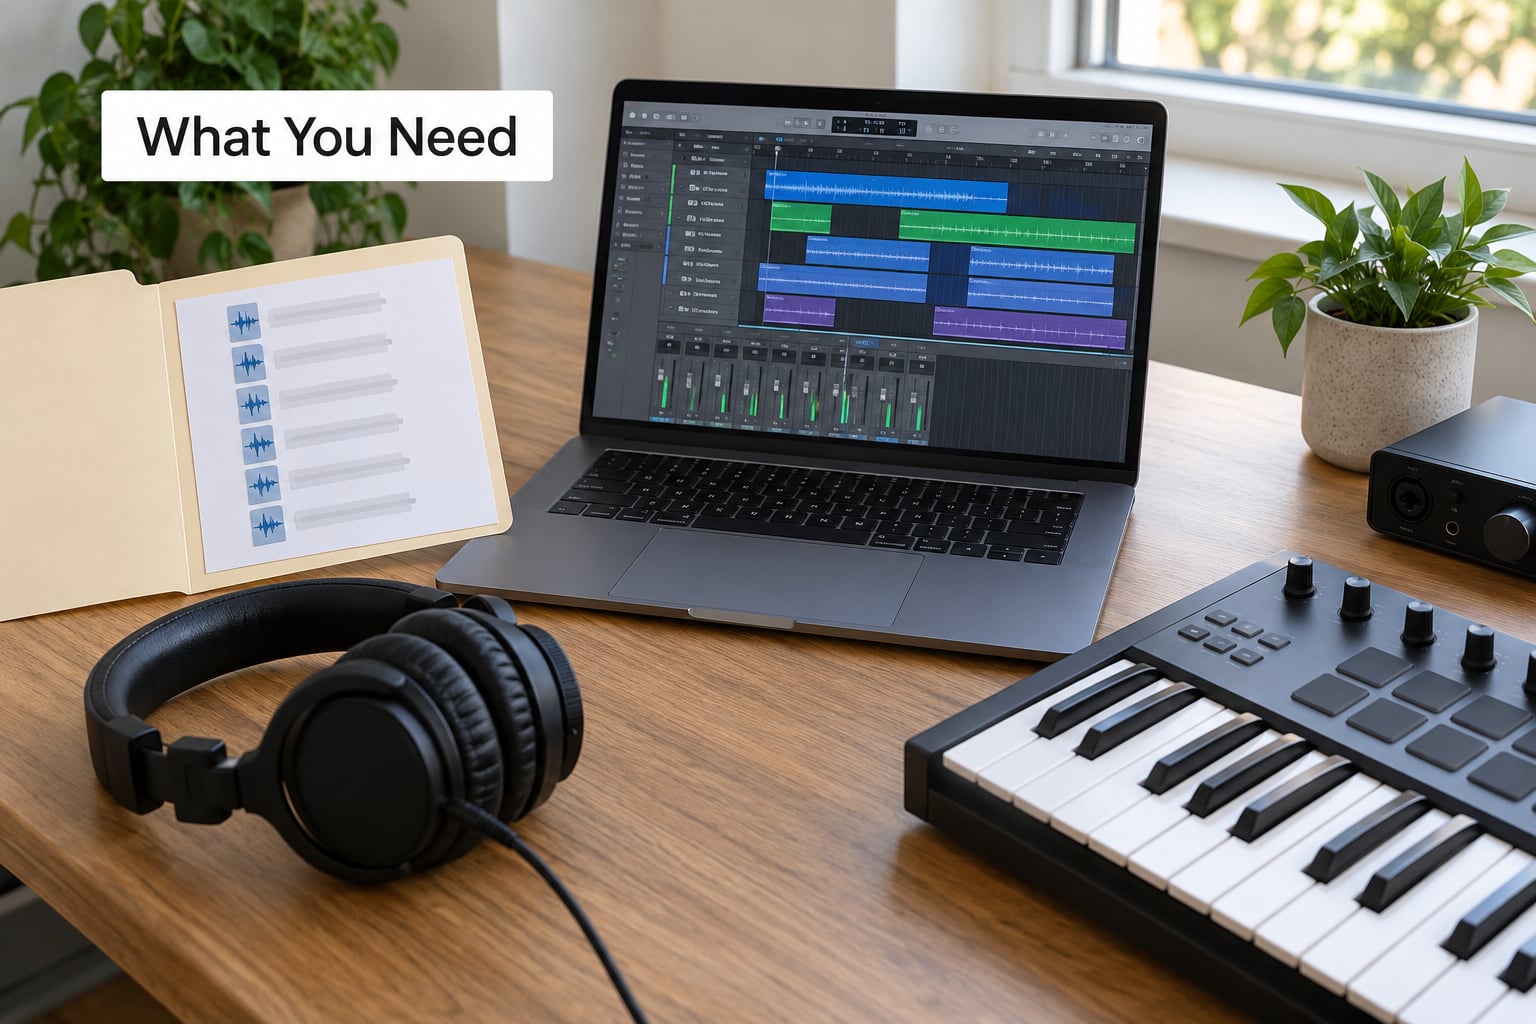
Four things, and only one of them costs money. You need source material, a DAW, a slicer, and optional processing tools.
Source material. A record, a field recording, a video clip, anything with a rhythm in it. The famous breaks come from 60s and 70s soul, funk and jazz records, and plenty of usable material comes from records that were never sampled to death.
A DAW. Whatever you already own. Every major one has a built-in slicer, so there is no reason to change software for this.
A slicer. This is the tool that cuts a long audio file into playable pieces. It lives inside the DAW you already have, under a different name in each one.
Optional processing. An EQ, a compressor and a saturator. Every DAW ships versions of all three, and stock plugins are genuinely good enough for this job. Plugins are the last thing you need, not the first.
A MIDI controller with pads speeds things up a lot but is not required. You can map slices to keys on your computer keyboard and get the same result.
Step-by-Step: How to Make a Drum Break From a Sample
1. Choose a Sample With a Strong Drum Moment
Pick a source with an obvious drum moment, because you will save hours if the break is already isolated and clear. Most 60s and 70s records have one. Drop the bass and guitars and the drums sit alone for a few bars, which is exactly the window you need.
Listen for three things before you commit. First, rhythm: does the pattern repeat cleanly enough that you can hear where the bar lines are? Second, tone: is the recording bright or dark, dry or soaked in room reverb? Both are fine, they just point at different genres. Third, editability: can you clearly hear individual hits, or is everything smeared together?
A great test is to hum the pattern. If you can tap it out by ear without the recording running, you have something workable.
On copyright, be honest with yourself about what the source is. Chopping a break you lifted from a record you do not own is a legal question, not a technical one, and we come back to it at the end. Royalty-free breaks and records you own outright sidestep the whole issue.
2. Import and Isolate the Drum Sound
Drag the file into your project and trim the clip down to just the drum section you care about. Give yourself about half a bar of room on each side so you can see where the hits begin and where the reverb tail ends. That margin is where most of the good editing decisions happen.
Now find the tempo. Old records were played by humans, so the BPM shown by a beat tracker will be wrong or will wobble. Tap it out by hand. Hit a key on the beat, hit it again on the next beat you hear, and set your DAW to that number. Precision is not the goal — being within a couple of BPM is plenty, because you are going to be re-sequencing the hits by hand anyway.
If you do want to warp, set the first marker on a downbeat, not on the first transient you see. The downbeat is a quarter of a measure earlier than people assume, and putting a marker there stops the sample drifting over a long loop.
Here is where the slicer comes in. The tool names differ, the button is the same idea.
| DAW | Slicer tool | Auto-slice | Notes |
|---|---|---|---|
| Ableton Live | Simpler or Drum Rack | Yes, transient or beat division | Slice mode lays slices on one keyboard row automatically |
| FL Studio | Slicex | Yes, by markers or beat | Each slice can get its own envelope, pitch and articulation |
| Logic Pro | Sampler | Yes, transient or beat | Zone-based; a Pad or Step Sequencer is a quick alternative |
| Reaper | Built-in item slicing | Yes, beat or transient | Right-click the item and slice, then map to a virtual instrument |
| MPC | Slice mode on the main screen | Yes, chop on 16 levels | Designed for this exact job; the tempo and slice grid are always visible |
| Reason | Matrix Pattern Sequencer | Manual slicing | Slice the audio manually, then trigger slices from a Matrix Pattern Sequencer |
| Studio One | Drum Hits with beat slicing | Yes, transient or beat | Set the sample start mode to the slice group for clean playback |
3. Cut the Break Into Musical Pieces
Slice the break into pieces you can actually play. Two chop philosophies exist, and both are useful.
Transient chops are one hit each. A kick, a snare, a hi-hat, a cymbal. These are the raw material for writing a brand new pattern, and they are what most people mean when they chop a break.
Micro-loop chops are two, four, or eight hits held together. These keep a bit of the original groove inside them, which is how jungle and drum and bass producers get that rolling, chopped-up feel.
Set your slicer to divide on transients first, then listen. If a slice catches two hits, nudge the marker back a few milliseconds. If a slice starts before the hit and includes a sliver of the previous tail, move it forward until it sits right on the transient.
Trim the tails while you are here. A chopped break usually sounds better with slice lengths pulled to roughly 80 to 120 milliseconds, with the reverb chopped off after it. That is the single biggest difference between a break that sounds thin and fake and one that sounds like a record.
Watch the start of each slice too. Leaving a few milliseconds of space before the transient, rather than starting exactly on it, is a small trick that keeps a re-sequenced break from sounding machine-locked. It is also just how the original was played.
4. Tighten Timing, Swing, and Feel
Map the slices to notes or pads. Low notes for kicks, middle notes for snares, high notes for percussion and cymbals. Write a pattern in the piano roll or step sequencer and use it to play the break back.
Now the question everyone asks: should you quantize it? Mostly no. A chopped break that lands perfectly on the grid loses the reason you sampled a record in the first place. Off-the-shelf drum kits are perfectly quantized, which is a large part of why they sound lifeless.
What you do instead is fix the problems while keeping the character. A slice that drags noticeably behind where you dropped it is an editing error, not a feel. Quantize to a coarse value, or nudge by hand, and stop as soon as the timing stops bothering you.
For swing, listen to the original. If the source pushes the off-beats late, reproduce that by hand instead of dialing in a percentage. On a break that already has heavy swing, adding host swing on top usually makes it unusable.
If you do need to time-stretch to match a beat, keep the stretch small. Anywhere under about 10 percent the transients survive and it sounds fine. Past that, every hit turns into a smear, and a re-sequenced version of a smeared break sounds worse than the original every time.
5. Add EQ, Compression, and Saturation
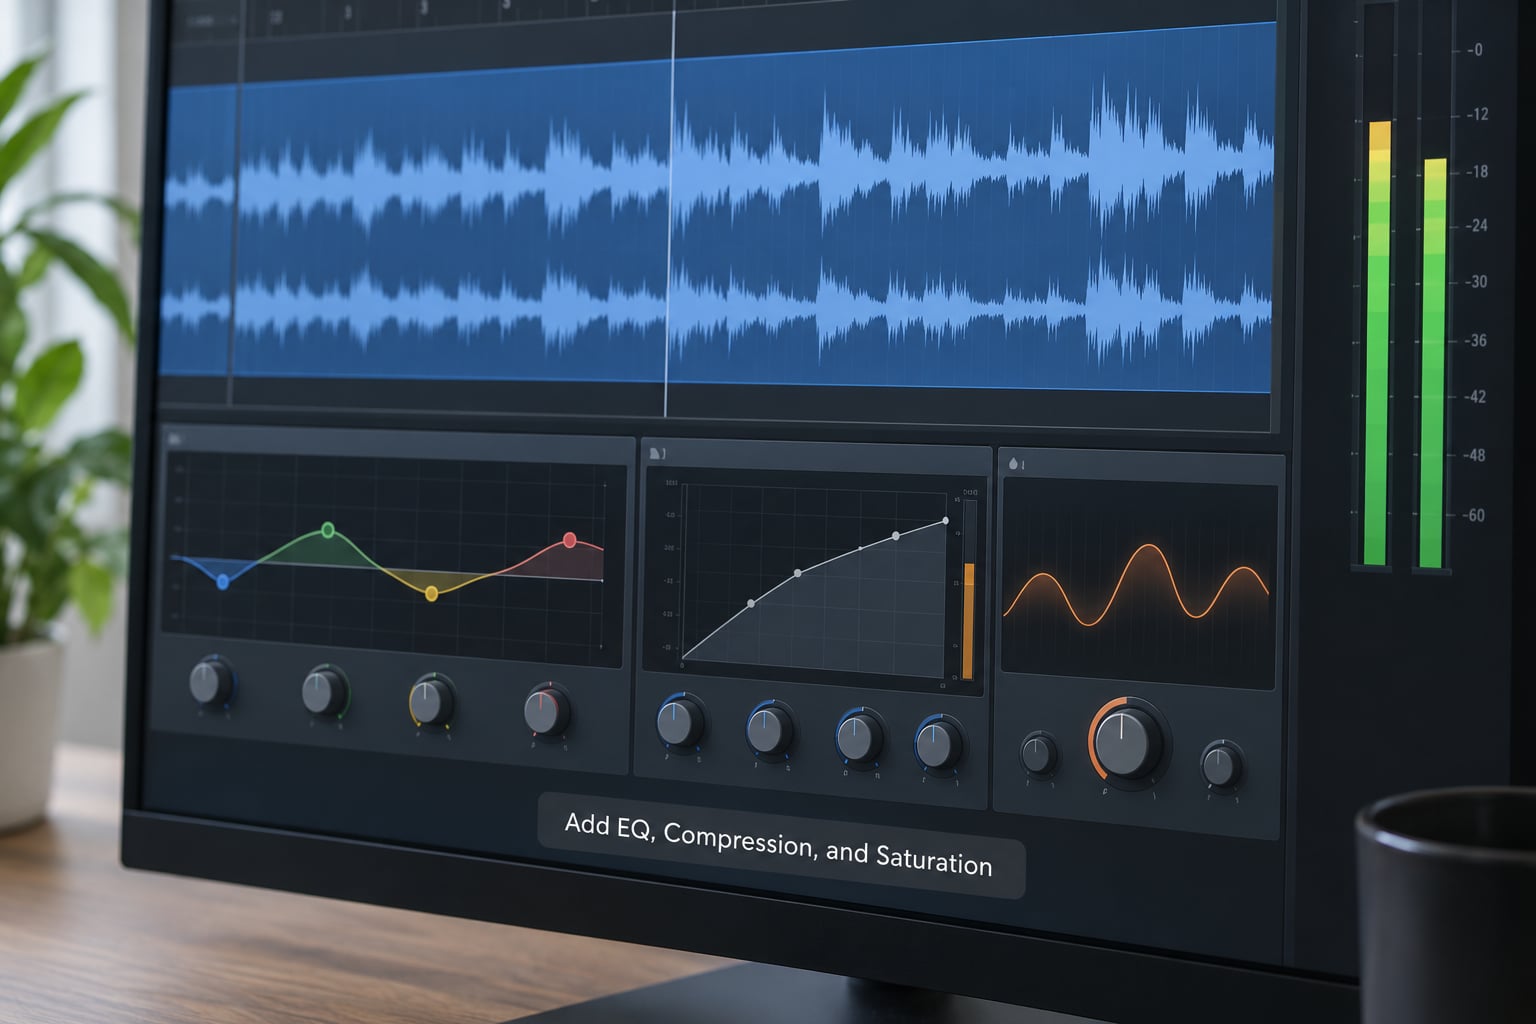
Old recordings are dull in a specific way, and four moves fix most of it. A high-pass filter around 40 to 60 Hz removes rumble that eats space in the low end. A gentle EQ lift in the 200 to 400 Hz region gives a 70s kit its chest. A short 2 ms attack compressor at a 3:1 or 4:1 ratio evens out the volume swings that come with tape. And a little saturation rounds off the brittle top end, which is what makes a chopped break sit in a modern mix rather than poke out of it.
Bit depth or sample rate reduction does something similar and it costs nothing, since every DAW has it. A little is usually plenty.
The point is contrast, not polish. On the r/makinghiphop side of the sample-chopping debate the advice that comes up again and again is high-pass, low-pass, saturate, and listen to a lot of 60s and 70s records so you know what you are aiming at.
Resist going further. A break that has been EQ’d, compressed, saturated, bitcrushed and reverberated sounds like nothing in particular. Do one thing, listen, then decide whether it needs the next one.
6. Arrange and Test the Break in a Beat
Now do the thing that separates a usable break from a folder of chops. Build an actual beat around it.
Start with your kick and bass, get the groove settled, and only then drop the break in underneath. That is the standard move described on the chopping forums: play one-shots over the break rather than replacing it. A single programmed kick under a chopped break adds weight without touching the character of the original.
The conflict to watch for is the sub range. If both the break and your 808 are living below 100 Hz, they will fight and the low end turns to mud. High-pass the break slices somewhere around 300 to 500 Hz when layering with a programmed kick, and the arrangement opens up immediately.
Test the pattern at full musical intensity, not in isolation. Soloed slices reveal every flaw. Under bass, melody and a vocal, most of those flaws disappear and you are left judging the groove, which is the only thing that matters.
From here, arranging is normal work. Build fills from the percussion slices, use the micro-loop chops for transitions, vary the hit count per bar so it does not feel like a machine, and let some of the original timing drift survive into the final version.
Making a Break From a Non-Drum Sample
If your source has no clean drum break in it, you can still get usable percussion out. Three routes work, in order of how much effort they take.
Transient extraction. Run the audio through a noise gate with a fast release, or a transient designer set to detect sharp attacks. What survives the gate is mostly the percussive content, since sustained tones cross the threshold and keep sounding while the gate is open. Tighten the gate threshold until only the attacks remain.
Frequency separation. Most melodies sit in the midrange while drums and claps span a wider spectrum. A multiband compressor or a spectral EQ lets you duck the vocal or lead instrument while leaving the top and bottom largely alone. It is a blunt tool, and artifacts are likely, but it works on busy material.
Spectral editing. A spectral editor shows every partial as a mark you can erase by hand. Delete the notes of a melody and leave the noise floor and drum transients. This takes the longest and gives the cleanest result, so it is the right tool for one signature hit rather than a whole pattern.
Once you have isolated something rhythmic, treat it exactly like a break from step three onward. Honestly, a single well-chosen claps or rimshot sample from a non-drum source can carry a beat just as well as a full chopped break, and it will sound more original.
Common Mistakes and How to Fix Them
Almost every problem with a chopped break falls into a short list, and nearly all of them come from slicing without listening to the result. Here is the version I keep open next to the project.
| Problem | What it sounds like | Fix | Starting setting |
|---|---|---|---|
| Clicks and pops | Ticks at the start of hits, crackle on the loop point | Add 2 to 5 ms fades to both edges of every slice | 3 ms fade in and out |
| Flamming | Two hits from the same slice a few milliseconds apart, warbling tone | Slice from a single start point per hit, or alternate between two start points on the same slice | Nudge a slice 5 to 10 ms and listen |
| Muddy low end | Break disappears once a kick or 808 is added | High-pass the break slices so the kick owns the sub range | 300 to 500 Hz, 12 dB per octave |
| Unwanted background | Room tone, tape hiss, a voice or guitar bleeding into the break | Gate or filter before slicing, not after | High-pass at 200 Hz, noise gate with a fast release |
| Awkward timing | Pattern feels out of time, or hits land late | Fix only the offenders by hand, leave the rest loose | Nudge in 5 to 15 ms steps |
| Sounds processed to death | No life, everything is the same level and the same tone | Bypass the chain and keep only what you can hear the difference from | One processor at a time |
| Loop seam | A click or a gap every time the loop restarts | Extend the loop length so the end of the last slice lands near zero crossing on the first hit | Try 4, 8 or 16 bars |
| Too uniform | Every hit sounds identical and lifeless | Vary level, decay length and panning per slice group | Randomize 1 to 2 dB of level per hit |
Two habits prevent most of the table above. Check your slice edges every time you chop, and listen to the finished break in the full mix before you start adding plugins to fix a problem you have not identified yet.
There is one more thing worth knowing here rather than in a footnote. The reason a 70s break feels human is that it was never on a grid. The drummer drifted, the tape moved, the room added reverb. Quantizing all of that away leaves you with a stock kit that happens to be old. Keep some of the drift and the break sounds like a record again.
On releasing a beat with a chopped break, the practical routes are: sample something you own or that is cleared, buy a break from a rights-cleared pack, or interpolate the pattern with your own or royalty-free sounds. Chopping and rearranging does not by itself remove the copyright in the underlying recording. For anything commercial, sample clearance is a real step, not a formality.
Frequently Asked Questions
Can I make a drum break from any sample?
Not from every sample, but from far more than most producers expect. Any source with a rhythmic attack works, including claps, rimshots, percussion, a spoken word sample, or a record where the drums only play for two bars. The weakest sources are dense pads and sustained textures, which have no clear transient to slice on. Even then, a transient extractor can pull usable percussion out of a mix.
What is the easiest way to extract drums from a song?
Start with a noise gate or transient detector with a fast release, and tighten the threshold until only sharp attacks pass through. Sustained instruments cross the threshold and keep sounding, so what you are left with is mostly the drum transients. For a single hit from a busy mix, opening the file in a spectral editor and erasing the partials of the other instruments by hand takes longer but gives the cleanest result.
Should I time-stretch a drum break to match my beat?
Only slightly. Under about 10 percent the transients survive and the result is usable. Past that, every hit turns into a smear, and a re-sequenced version of a stretched break sounds worse than the original. A better approach is to find the break’s real tempo by tapping it out, match that to your beat instead, and cut new markers on the downbeat so the sample does not drift.
How do I make a chopped sample sound like a modern drum break?
Trim the slice tails to roughly 80 to 120 milliseconds to remove the old reverb, add a high-pass filter around 40 to 60 Hz, lift a little in the 200 to 400 Hz region, and put a fast compressor on it. A small amount of saturation and a touch of bit depth or sample rate reduction will do the rest. Resist stacking more effects after that; the goal is contrast, not polish.
What EQ settings help a drum break cut through a mix?
It depends on what you are layering over. With a programmed kick or 808, high-pass the break at 300 to 500 Hz at about 12 dB per octave so the two are not fighting for the sub range. To give a thin 70s break more body, lift 2 to 3 dB around 200 to 400 Hz and cut 1 to 2 dB in the 1 to 2 kHz region where tape dullness tends to accumulate.
How do I avoid copyright problems when using samples?
Use material you own outright, a rights-cleared or royalty-free break, or interpolate the rhythm with your own sounds instead of reusing the recording. Chopping and rearranging a break does not remove the copyright in the original performance or recording, and short is not the same as cleared. If a track with a sampled break is going anywhere commercial, budget for sample clearance rather than treating it as a formality.
Conclusion
Start small. Find one source with a clear, short drum moment, tap out its tempo, slice it on transients, trim the tails, and play the hits back in a simple pattern before you touch a single plugin. Get that sounding like a record rather than a collection of one-shots, then decide what actually needs fixing.
The whole job is a handful of repeatable moves, and once you know how to make a drum break from a sample in your own DAW, the same process works on any source you throw at it.