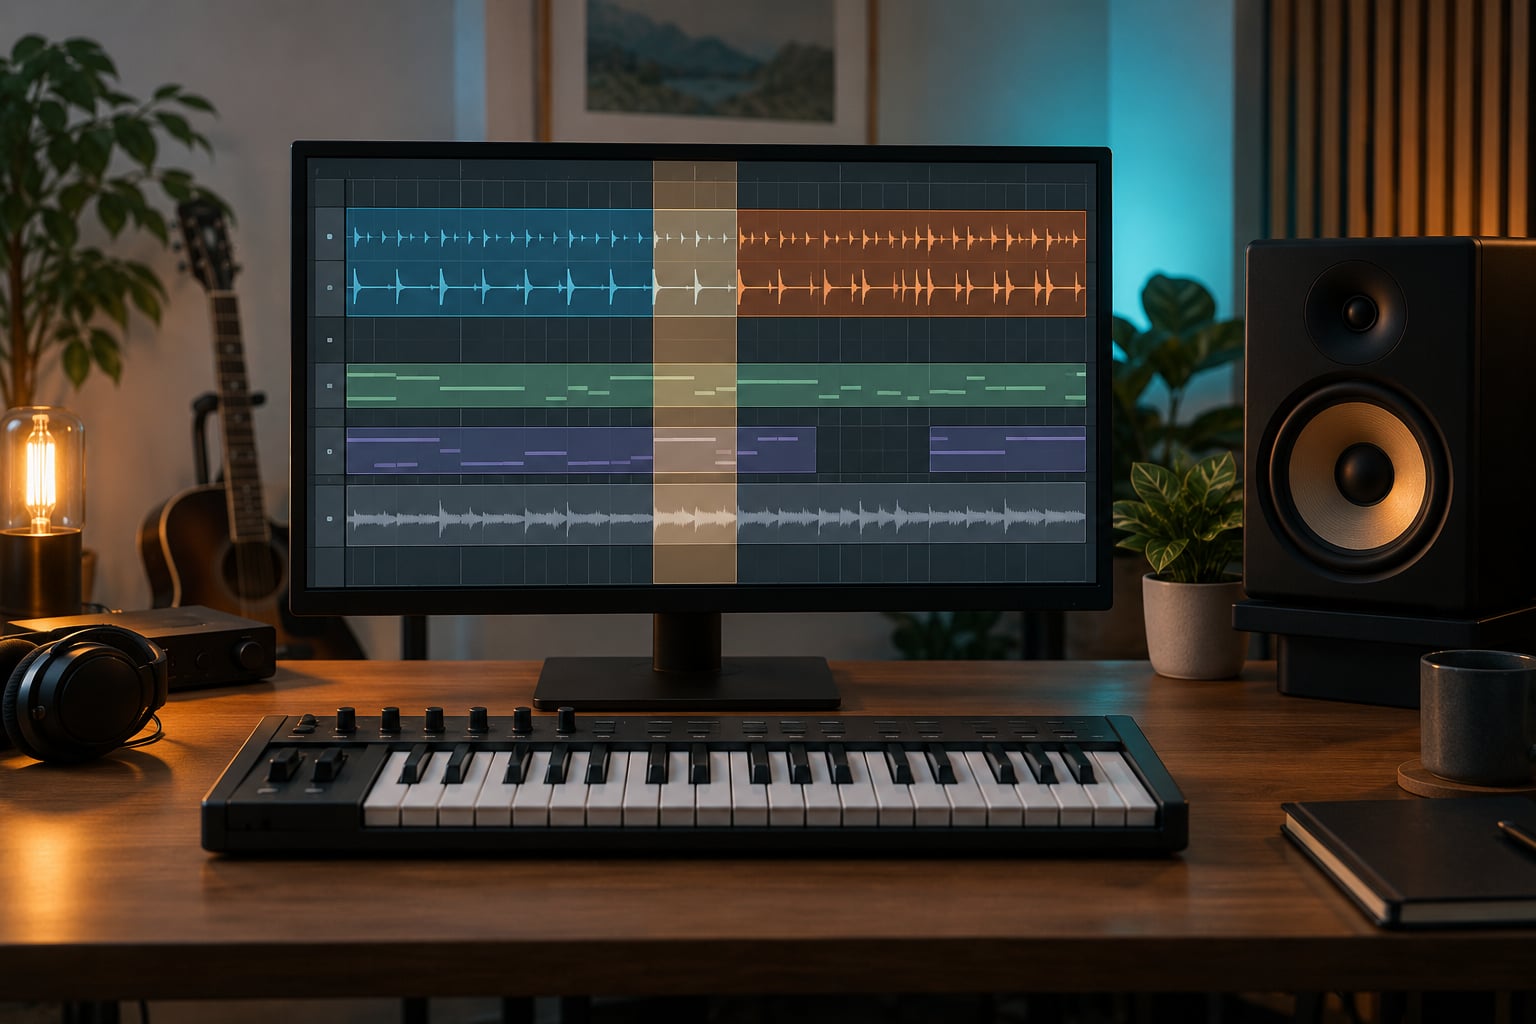
A beat switch is a deliberate mid-song change in instrumentation, rhythm, tempo, key, or production style. Learning how to make a beat switch that lands means picking the bar first, building real contrast between two patterns, covering the join with one transition, and matching loudness at the seam.
Most switches fail for the same reason: the producer reaches for the effect before deciding what the change is for. A switch that only sounds clever gets skipped the second time through.
In short order:
- Find the structural seam and count bars to it.
- Design the second pattern to contrast on one clear axis.
- Build both patterns inside a single project so the stems line up.
- Cover the join with one transition, chosen for the kind of change you made.
- Automate energy into the last two bars and release it on the downbeat.
- Bounce and test the switch at low volume on a second playback system.
Beginners can get a usable switch in an afternoon. The hard part is placement, not plugin choice.
What You Need
You need very little to build a switch, and none of it is specialized. A DAW, two contrasting ideas, a transition sound, and a reason for the change cover everything.
- A DAW you actually know. FL Studio, Ableton Live, and Logic Pro all handle switches fine. Pick the one you can move fast in, because you will be rebuilding the transition several times.
- Two drum patterns that sound obviously different. Contrast in the drums reads instantly, even on a phone speaker.
- A stock library or two. Risers, impacts, reverse cymbals, and noise sweeps. Most DAWs ship enough to start.
- A reference track with a switch you like. Listening is how you judge placement. Producers on r/MusicFeedback regularly post switches and ask whether the transition works, usually naming a track as the benchmark.
- A structural reason. A hook that needs to restart, a verse that needs to escalate, a breakdown that needs air.
Audio samples and a MIDI controller help, but neither is required. You can do the whole thing with stock drums and one automation lane.
Step-by-Step: How to Make a Beat Switch
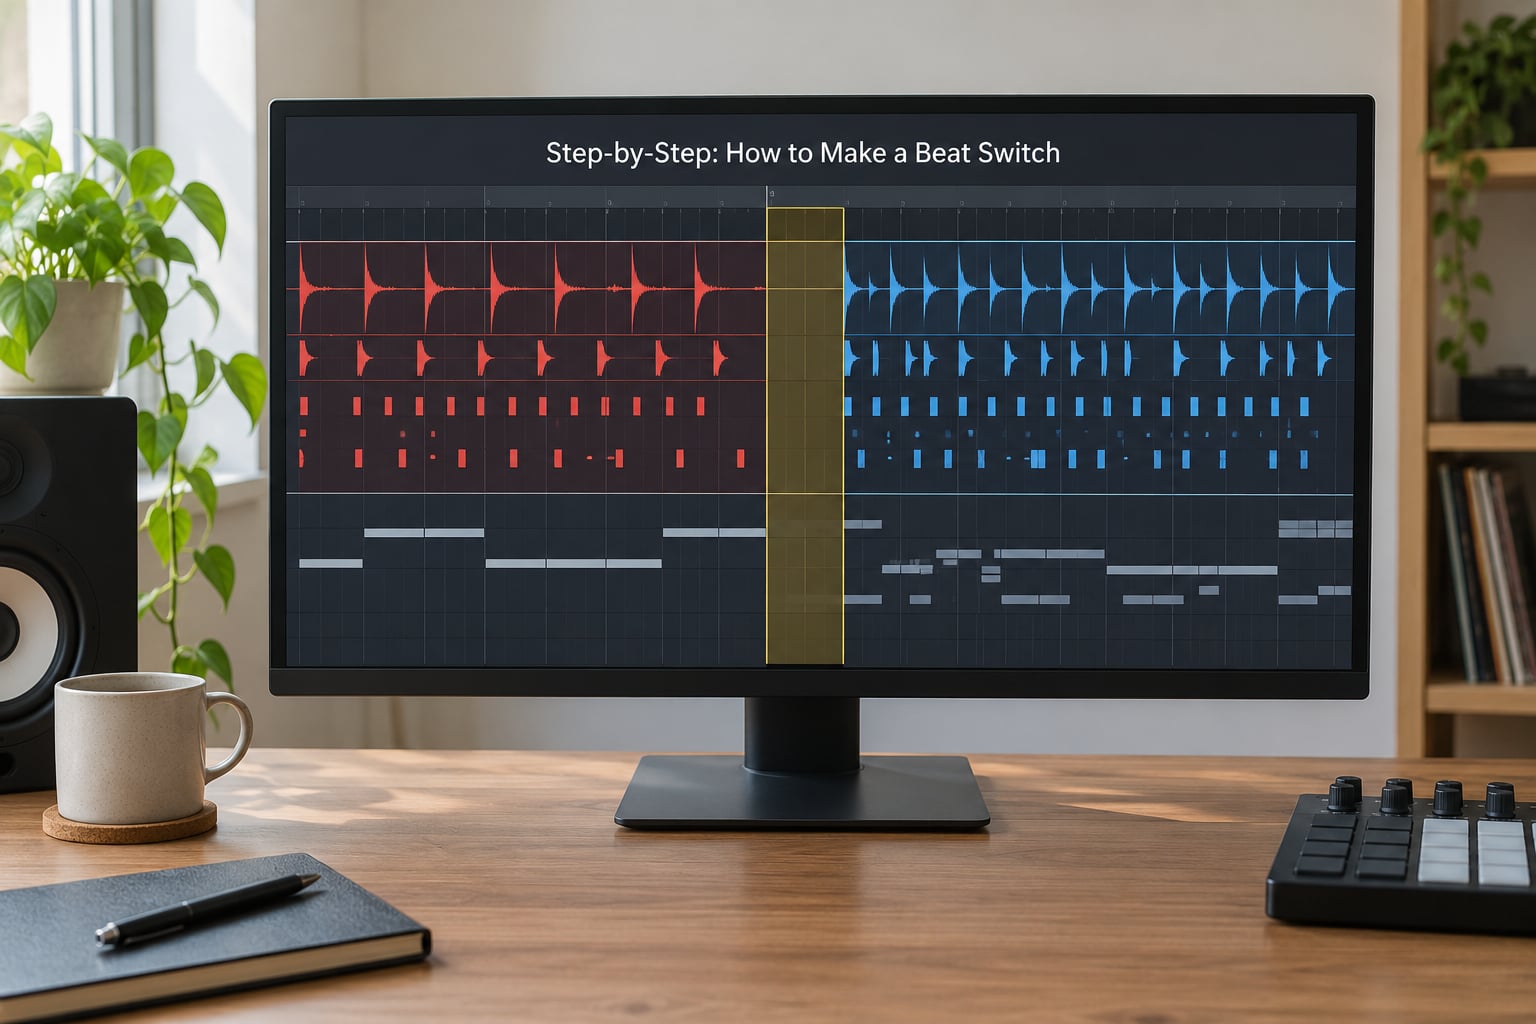
The process below runs in order because each step removes a decision from the next. Placement first, contrast second, arrangement third, and effects last.
1. Choose the Right Moment for the Switch
Put the switch at a structural seam, not at the moment it sounds coolest in isolation. The best spots are right after a hook ends, at the top of a closing verse, or where a breakdown naturally starts.
Count bars instead of guessing. Seconds per bar equals (60 divided by BPM) multiplied by 4, so a beat at 140 BPM gives you about 1.71 seconds per bar. An eight-bar section is roughly 13.7 seconds, which is a normal verse length at that tempo.
- 8-bar verse at 140 BPM is about 13.7 seconds. Perfect for one bar of lead and one bar of ad-libs.
- 16-bar verse is about 27.4 seconds. Switch at bar 12 or bar 16, not bar 9.
- 4-bar hook is about 6.9 seconds. Short enough that the switch can land right after it with no gap.
One structure survey of 160 hip-hop tracks found roughly 77 percent follow a verse-hook template. That number is the reason a switch feels loud: it breaks the pattern the listener already predicted.
How you judge placement: play the section back with the switch muted, then with it in. If the first section sounds finished, the bar is right. If it sounds like it was cut off, move the switch one phrase forward.
2. Create Two Contrasting Musical Ideas
Contrast needs to be obvious in one place and quiet everywhere else. Change one axis hard and leave the rest alone.
- Drums: a swung boom-bap pattern against a straight trap hi-hat roll, or a sparse drill pattern against a busy one.
- Tempo: a genuine tempo change is dramatic but forces every following part to follow the new grid.
- Key: moving up a minor third or dropping to the relative minor reads as emotional rather than technical.
- Texture: strip to a single sample and a kick, then bring in layered pads and a bassline.
The trap pattern still needs a kick and something that locks to the grid in its own time. Keep the tonal center the same when you change tempo and drums; that keeps the track coherent while the rhythm does the dramatic work.
3. Arrange the Transition in Your DAW
Build both patterns in one project so the stems line up and you can audition the join instantly. Building two finished songs separately and forcing them together is the most common problem, and it comes up constantly in r/makinghiphop threads where producers have two beats in different keys and tempos and no clean way to join them.
Two approaches, and only one of them is a real decision:
| Approach | How it works | Use it when |
|---|---|---|
| Same project | Second pattern lives in its own playlist or arrangement under the same sample rate and tempo | Almost always. You can change tempo per playlist and try both routes |
| Two projects | Separate files, tempo or key adjusted with time-stretch or pitch-shift | Only when a client sent you finished tracks already |
Studio notes, since menu names differ between them:
- FL Studio: use the playlist and separate channels for pattern one and pattern two. Mark the switch bar with a marker so you always return to the same spot, and set each pattern to its own playlist if you need a different tempo.
- Ableton Live: put pattern one and pattern two in separate sets, or use a drum rack with two chains and automate the chain selector across one bar.
- Logic Pro: use the global and main track, add a second software instrument track, and use track automation plus a matrix track for the pattern change.
How you know the arrangement is right: nudge the switch a half-bar in either direction and neither version sounds better. If one clearly does, keep that one.
4. Add Impact With Sound Design
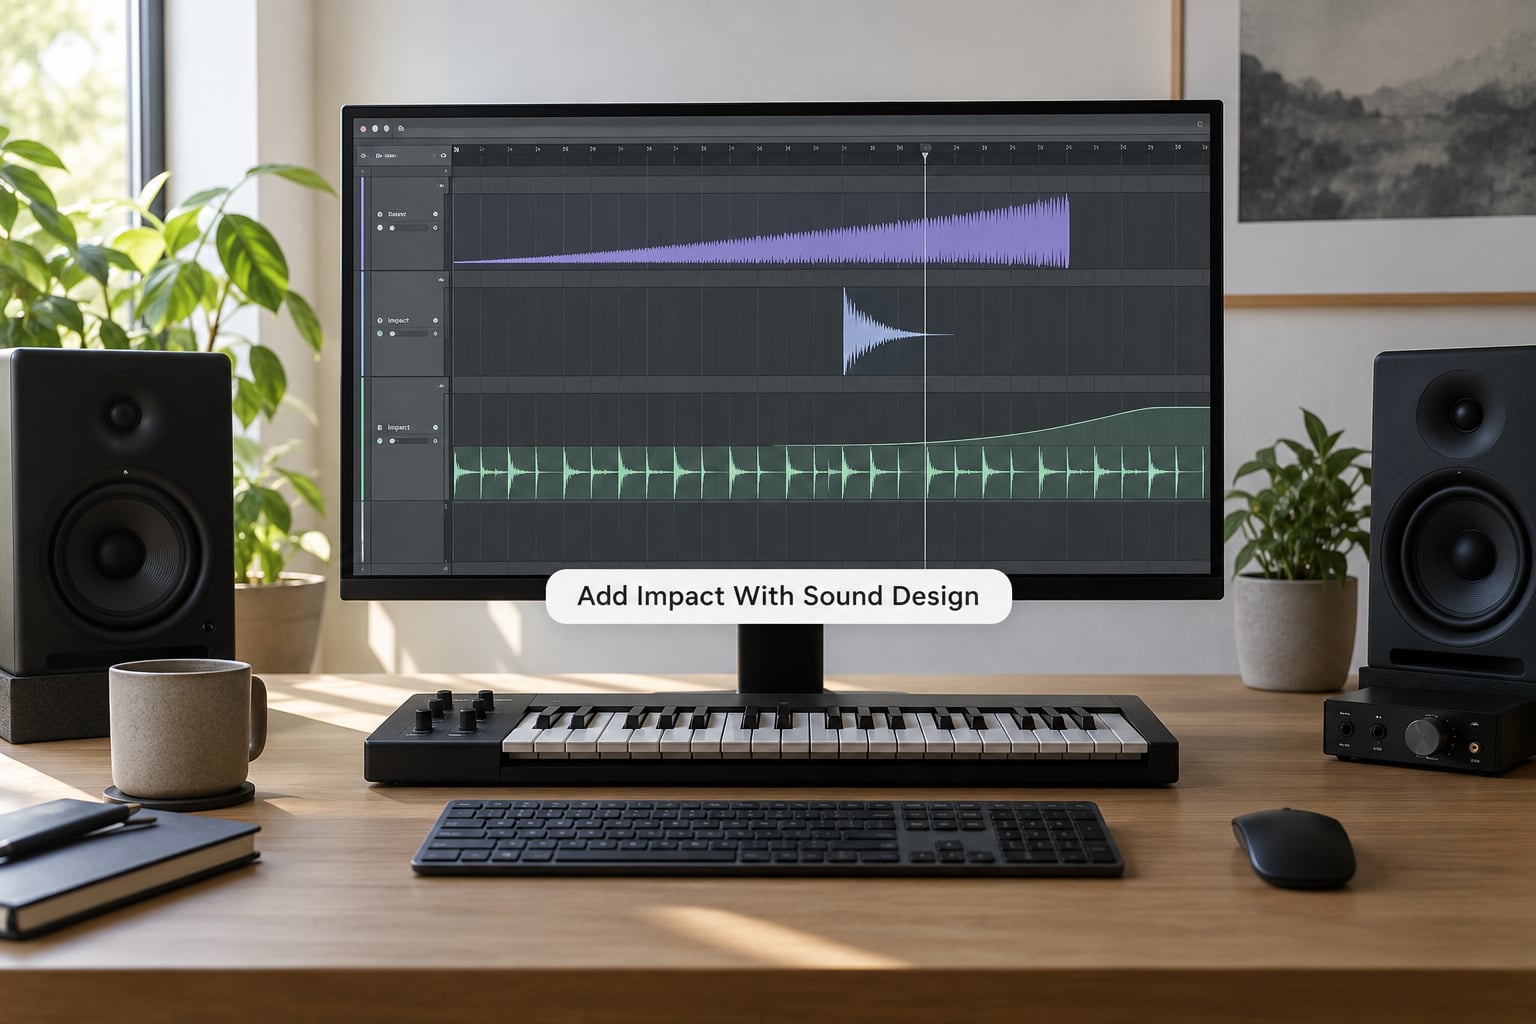
Use one transition, not five. A riser that fights an impact that fights a reverse cymbal usually turns a clean switch into noise.
| Technique | How to do it | Best for |
|---|---|---|
| Hard cut | Stop the first pattern dead on the bar line, second pattern already playing | Aggressive switches, drill, anything that wants an instant jolt |
| Filter sweep | Automate a low-pass cutoff upward on the first pattern, then open fully at the switch | Small tempo or drum changes that need a soft landing |
| Reverse cymbal or riser | Drop the sound in two bars before the switch so it plays forward into the downbeat | Big moments like a final hook or an outro drop |
| Reverb or delay tail | Push the snare reverb decay up over a beat, automate the reverb level down as the new pattern enters | Melodic rap and vocal transitions where you want space, not force |
| Faux dropout | Drop volume and cut high frequencies for a beat, then bring the new pattern back in | VIP switches where you want a sense of the track breaking apart |
How to evaluate it: if the transition is the first thing you notice when you play the track from the top, it is too loud. Mute the transition layer and hear whether the switch still works musically on its own.
5. Control Energy With Automation
Automation is what turns a switch from a change into an event. The shape that works most often is a two-bar build and a fast release.
- Bar minus two: dip the first pattern slightly and thin the arrangement so the ear expects something.
- Bar minus one: bring the transition sound up to its peak, ending exactly on the switch bar.
- Switch bar: drop the transition layer out immediately, and put the new pattern’s kick and sub at full level.
- After the switch: let the new pattern sit untouched for four bars before adding anything back.
Automate arrangement elements too. Pulling the hi-hat out for two bars and bringing it back with the new pattern does more work than another effect ever will.
Watch the loudness match at the seam. If the second pattern is louder, the switch gets credited to the mix instead of the arrangement. Automate a track’s volume a decibel or two and listen again.
6. Export, Bounce, and Test the Beat Switch
A switch that works in your DAW can fall apart on other systems, so the test happens outside the session.
- Bounce the full track to a WAV and listen to it without the session running.
- Play it low. Turn it down until it is barely there. If the transition disappears, it was carrying information the arrangement should carry.
- Try a phone and a cheap speaker. Low-end disappears on small systems. If the switch only works on headphones with a sub, rebuild the low end of the second pattern.
- Check the bar line. Zoom in on the join and confirm there is no click, no premature tail, and no half-bar of silence.
- Check clipping. The loudest point in the track is often the switch itself, so watch the master peak.
Test the track in these conditions at least twice before you call it done. Once more if the artist will be writing to it, since that usually means more space in the new pattern.
Common Mistakes
Nearly every weak switch traces back to one of a handful of mistakes, and each has a quick correction.
Switching Too Abruptly Without Warning
If the first section never signals that something is coming, the change reads as an accident. Add two bars of anticipation and the same cut feels intentional.
Piling On Effects
Riser plus impact plus reverse cymbal plus a filter sweep all at once is the classic overproduction. Keep one transition, remove the rest, and see whether the switch still works.
Ignoring the Grid
Placing the switch a bar late or off the downbeat is the most audible technical error. Zoom in, snap to the bar, and count out loud before you commit.
Masking the Elements That Carry the Song
When the new pattern is busier, it hides the melody or the vocal space. Thin the drums in the first four bars after the switch so the hook and the bassline stay readable.
Switching With No Structural Reason
A switch that changes nothing about the song’s energy is decoration. Ask what the second section accomplishes: a new hook, an escalation, a reset. If there is no answer, the switch is not earning its place.
Matching Two Unrelated Tracks
Grafting two finished beats together gives you two songs stitched into one. The tell is a joint where nothing overlaps: no shared drum element, no shared tonal center, no shared space. Rebuild the second pattern around the first.
Quick reference before you bounce:
- Switch lands on a bar line and only a bar line.
- Two bars of anticipation exist before it.
- One transition, not four.
- Loudness matched within roughly one decibel at the seam.
- Second pattern leaves room for a vocal.
- It still works at low volume.
Frequently Asked Questions
Do beat switches need to match tempo and key?
No. A tempo or key change is one legitimate style of switch, but it forces every part after it to follow the new grid. Keeping the same tempo and tonal center while changing the drum pattern and texture is easier to execute and usually sounds cleaner. Mismatched key and tempo works when the transition itself is motivated, such as a filter sweep or a drum roll covering the join.
How many bars should a beat switch be?
One to two bars for the switch itself is the usual answer, plus eight bars for the new pattern before you add anything else, so the listener has time to register it. Build the anticipation two bars before the switch. Placing a switch in the middle of a phrase, such as bar 9 of a 16-bar verse, is what makes it sound misplaced.
Should a beat switch change key?
Change it only when the emotional shift matters more than the convenience. Moving up a minor third or dropping to the relative minor reads as a mood change. A distant key change needs a longer transition to sound motivated. If you are unsure, keep the key and change the drums instead; it is the least risky switch you can build.
Can you write lyrics over a beat switch?
Yes, and you should leave room for it. Treat the switch bar as a breath in the flow, then let the rapper restart on the new pattern. Give the new section eight bars before layering in extra production, and keep drums thin for the first four so the vocal stays clear. Many rappers write their strongest bars directly over the second beat.
What is the fastest way to make a beat switch in FL Studio, Ableton, or Logic?
Duplicate the existing pattern in the playlist, mute or filter the original, and let the copy play in a two-bar overlap. Then add one transition sound that peaks on the switch bar. That route takes a few minutes and keeps both patterns in the same project, which is the setup most producers eventually settle on.
Why does my beat switch sound overproduced?
Usually too many layers and too little arrangement. Mute the riser, impact, and reverse cymbal together and hear whether the switch still lands. If it does, keep only the one that adds information. Producers who build the switch out of drums, filtering, and arrangement rather than stacked effects usually get a cleaner result.
Conclusion
Start with a bar count, not an effect. Pick a hook that ends on a clean downbeat, build a second pattern that contrasts only in the drums, and let two bars of anticipation sell the change. That sequence alone gets you most of the way to a switch that works, and the sound design only has to confirm what the arrangement already set up.
The best beat switches serve the song’s energy rather than announcing themselves. Bounce it, play it quiet, and if the change still lands, you are done.