Mix it. Do not master it. That single distinction decides whether an artist hears a competitive beat or a demo that loses to every professionally mixed one in their inbox.
Knowing how to mix a beat before sending it to an artist is mostly about restraint. You level the elements against each other, carve out midrange space for a vocal nobody has recorded yet, set a limiter as a ceiling rather than a crasher, and bounce a 24-bit file with headroom. The whole pass takes me 45 to 90 minutes on a finished beat, and about 30 minutes if the rough mix was already close.
Here is the workflow I run before every pitch, including the parts most guides skip: what to send first, what to hold back until money is in hand, and how to undo your master-bus processing once the vocalist shows up.
Table of Contents
- What You Need
- Step-by-Step: How to Mix a Beat Before Sending It to an Artist
- Common Mistakes
- Frequently Asked Questions
- How loud should a beat be before sending it to an artist?
- Should I master a beat before sending it to an artist?
- Is it better to export WAV or MP3 for a beat?
- Should I export at 44.1 or 48 kHz?
- Do producers mix their own beats before pitching them?
- What plugins should be off the master bus before sending a beat?
- Conclusion
What You Need
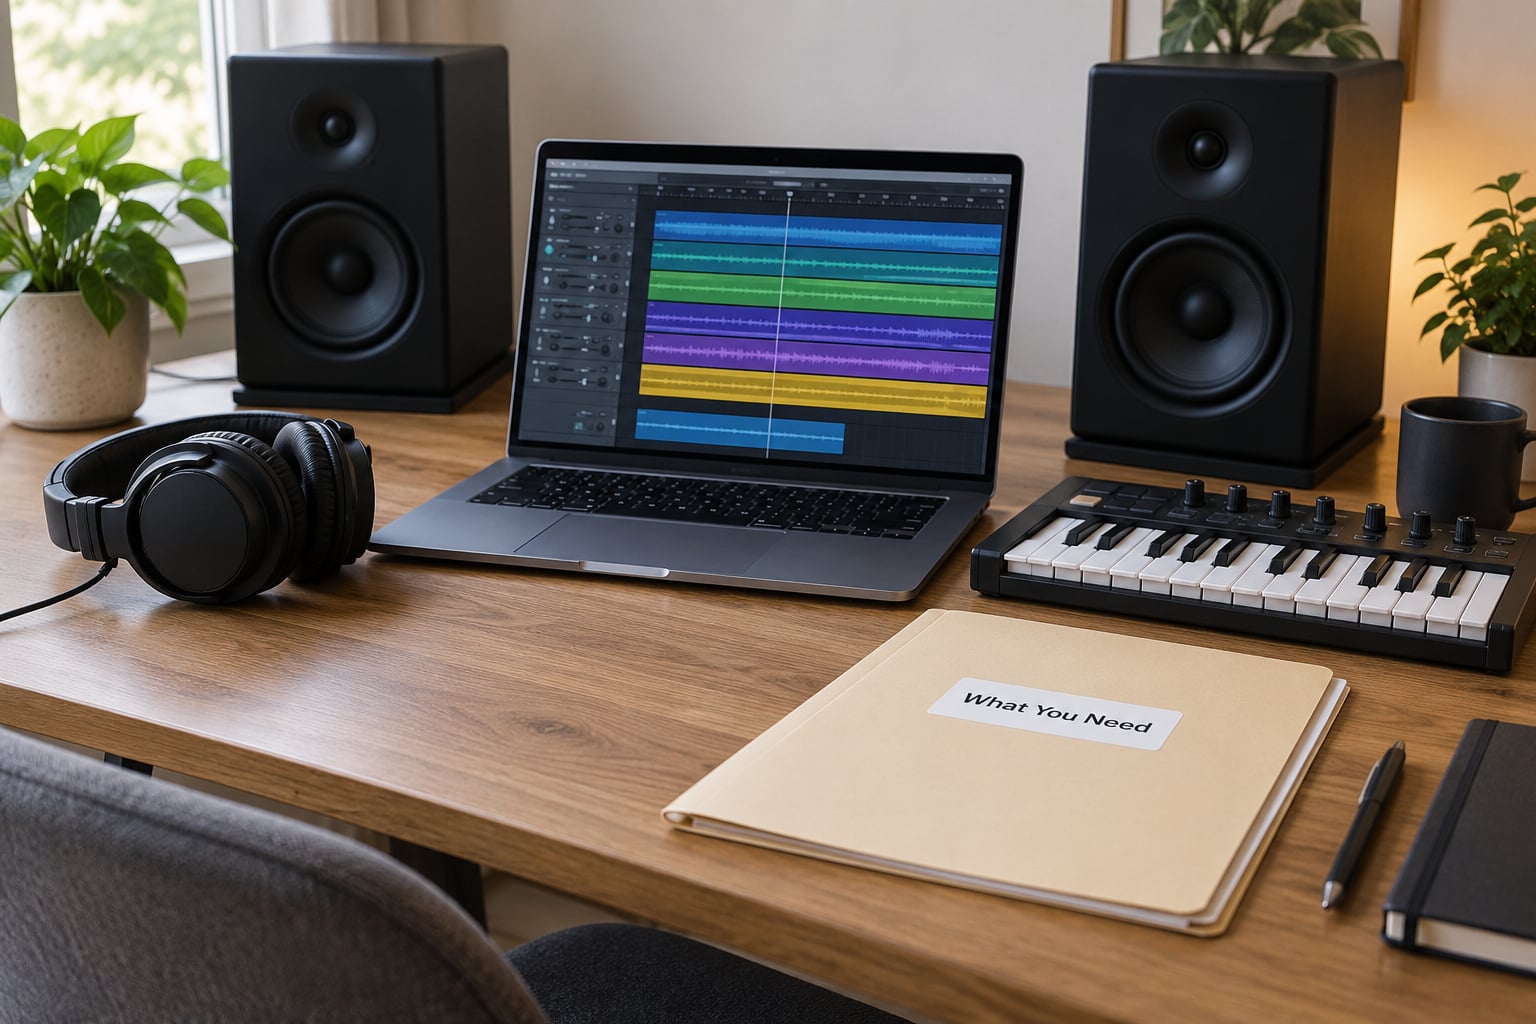
You do not need an expensive signal chain for this pass. You need a session that is organized, a monitoring setup you trust, and enough time to listen twice.
- A finished arrangement. Mixing a beat whose structure is still changing wastes the session. Finish the arrangement first, then save a copy as the mix source.
- Headphones and monitors, if you have both. Monitors tell you about balance and low end. Headphones tell you about masking and sibilance. Artists mostly audition on earbuds, so headphones are non-negotiable.
- A loudness meter. Every DAW ships with one. It is the only honest way to hit a peak target.
- One reference track in the same genre and era, level-matched to your mix.
- A delivery folder ready to receive bounces, so exporting is a ten-second job and not an excuse to delay sending.
One more thing before you open a plugin: decide who this file is for. A rough pitch, a vocal-ready bounce, and a paid trackout are three different jobs.
Step-by-Step: How to Mix a Beat Before Sending It to an Artist
Start With a Purpose and a Clean Session
Ask what the artist is supposed to do with the file. Four versions come out of most sessions and confusing them is how a good beat gets sent back.
- Audition file: a loud, competitive bounce for a DM or email. Its job is to survive ten seconds of phone-speaker playback.
- Vocal-ready bounce: headroom, no crushing, a muted region in the mids so the artist can write and record over it.
- Mix-ready bounce: what you send a mix engineer. Includes dry and effected versions, plus a note on intent.
- Delivery master: post-deal only. Stems, tagged WAV, and the session if the artist paid for it.
Then do the boring housekeeping. Group your tracks so the session reads like the beat: drums, bass, music, vocals, FX. Name them. Delete orphaned duplicates from three sessions ago.
Set the tempo map once and confirm the key is what you intended. A swing or groove percentage drifting mid-arrangement is invisible on your screen and obvious in a bounce.
Check the raw recording for defects: clicks at the start of takes, a muted take accidentally left on, a hi-hat loop that repeats at an obvious interval. Fix those at the source, not with a plugin.
Set the Mix Balance Before Processing
Do not open a plugin yet. Faders first, always.
Put the beat in mono at the start. If anything disappears or jumps when you switch to mono, you have a problem that will show up on phone speakers and club systems later. Keep the low end under roughly 150 Hz centered, because bass frequencies do not translate well across many small speakers.
Now build the balance with faders alone. Solo the kick, note its level. Bring in the bass underneath it and check whether the two collide or lock. Add the melody, then the drums around it, then any texture like vinyl, guitar layers or texture pads.
Identify the focal element. For most hip-hop that is the kick and the snare, with the melody sitting behind them. If a hi-hat is the loudest thing in the hook, pull it down.
Mute everything and play only the kick for a few bars. Then only the bass. If either one sounds like a finished hook on its own, your relationship is solid. If the bass vanishes whenever the kick plays, you have a masking problem that compression will only amplify.
Two rules I keep coming back to. Do not let any one element jump out on first listen unless it is the intended hook. And do not fight the low end with volume — that is an EQ and gain-staging job, and doing it with the fader leaves you with a mix that clips the moment you add a limiter.
Clean Up Frequencies and Dynamics
Now work through the mix in this order: high-pass filters, then EQ, then compression. Each stage should solve a problem you can name.
High-pass everything that does not need bass, usually around 30 to 80 Hz depending on the track. Keep the kick and bass alone down low. Clean up hiss on pads and guitars. This alone makes a beat sound more expensive, because speakers stop working to reproduce inaudible low frequencies that eat headroom.
Fix the kick and bass relationship with EQ, not volume. If the kick is masking the bass, cut a narrow band around 60 to 100 Hz on one of them. Listen in mono during this work because the problem usually lives in the center.
Now the vocal space, which most producers skip and every artist notices. There is no vocal yet, so choose a region where nothing important lives: often 2 to 4 kHz, sometimes 300 Hz to 500 Hz if your beat is sparse. Cut or scoop a few dB there, gently, across the instruments rather than on a master EQ. Scoop too hard and the beat sounds like a phone speaker in a tunnel. A few dB is plenty.
Compression should do one job per track: level control on vocals, consistency on drums, glue across the mix bus. Watch the gain reduction meter while you work. Heavy pumping on the master bus is a sign you are pushing rather than balancing.
Watch your peak meter the entire time. Clipping before the master means every track above that level is distorted, and no amount of limiting will restore it. Gain staging is the fix — pull the individual tracks down, not the master fader.
| Target | What it means | Use it when |
|---|---|---|
| -6 dBFS peak | Plenty of headroom, transparent | Vocal-ready bounce and mix engineer handoff |
| -3 dBFS peak | Punchier, still clean | Dense mixes where -6 felt timid |
| 0 dBFS peak | Ceiling, no headroom left | Pitching only, and only on a limiter |
| About -14 LUFS integrated | How loud streaming makes it sound | Previewing how it will behave on DSP |
Streaming normalization is why an artist streaming your beat may hear something quieter than your laptop. Match your mix to a reference at matched loudness rather than pushing volume to feel impressive.
Add Depth Without Hiding the Beat
Depth is placement, and placement is what tells an artist where the vocal can go. A beat where everything sits in one flat plane feels finished and leaves nowhere to write.
Start with reverb. Use it as depth, not as a sound. Short room on the snare, a longer plate or hall on the vocal bus later, and almost nothing on the kick and bass, because low reverb muddies a mix fast. Keep the wet level low enough that you still perceive the dry source first.
Delay next. A tempo-synced delay on claps, vocals or a plucked element adds width without adding frequency clutter. Filter the repeats so they get darker with each repeat, or the echoes pile up in the same band as your lead and muddy everything.
Stereo width is where beats go wrong. Elements below about 150 Hz should stay centered, since many listeners play on mono bluetooth speakers. Above that, move hats, percussion, ambience and doubled layers outward. Keep the snare, kick and bass mostly centered, because width on those elements can make the groove feel unstable rather than wide.
Check on headphones and on a phone speaker before moving on. If the beat falls apart on the phone, no artist will ever shortlist it, however it sounds on your monitors.
Automation, References, and Final Listening
Static mixes feel lifeless. A few dB of filter movement on a pad, a volume lift on a hook, or a filter opening over a bar or two is usually enough.
Draw volume automation where the arrangement thins out so a vocal can breathe, and on the intro so it does not start as loud as the hook. High-pass the intro to about 300 Hz and let it open up as the beat builds. That one move makes an instrumental feel like it knows where it is going.
Ducking is worth a mention. A sidechain compressor on the mix bus, keyed from the kick, opens space for any future vocal. Use it lightly, with a slow-ish release, and check it does not choke the sustained parts of your bass.
Pick one reference track from the genre, roughly the same tempo and era, and level-match it to your mix. Toggle between them on the same section and ask specific questions: is my kick as defined, is the vocal area as clear, is my low end as tight.
Do not copy the reference arrangement or levels. You are checking translation and balance, not reproducing someone else’s mix.
Final listening happens at low volume on a small system, at normal volume on monitors, and in headphones. Then leave it alone for an hour and listen again. Fatigue hides itself until you step away from the session, and a fresh hour usually shows you the one thing that was wrong.
Package the Files for the Artist
The bounce takes five minutes. Setting it up properly takes about thirty seconds of the previous session.
| Setting | Value | Why |
|---|---|---|
| Format | WAV | Lossless, so an engineer loses nothing |
| Bit depth | 24-bit | Standard for delivery, plenty of headroom |
| Sample rate | Match the session, 44.1 or 48 kHz | No resampling artifacts, and never upsample a 44.1 session to 48 |
| Dither | Off | Adds noise for nothing at 24-bit |
| Normalize | Off | Normalization pushes the peak and undoes your headroom |
| Tail | 2 to 8 bars of silence | Gives the mix engineer room to work |
Bounce a clean version without master-bus effects as well as the polished one. Engineers appreciate getting a dry reference alongside the mixed bounce, because it shows exactly what you did to the signal.
Name files so nobody has to guess. A format like ArtistName_BeatName_v1_Mix_24bit.wav tells the whole story in one line, and version numbers save an argument three emails later.
Keep stems and the session until the beat is paid for. Forum consensus on Gearspace and FutureProducers is consistent on this: send the audition file, and if the artist is serious they will ask for multitracks. Sending stems first gives away the whole product for free.
The delivery note can be three lines. Say what the beat is, say the key and tempo, and say one specific thing about the topline you can hear space for. Add one or two references and note the sample rate and bit depth. Keep it short.
Common Mistakes
These are the errors I see most often in beats that get skipped, each with a fix and a quick way to verify it.
- Mastering before the vocals exist. A crushed master leaves nowhere to put a vocal. Fix: bypass the master chain and listen again. If the mix suddenly feels thin but clean, that is the sound the engineer needs.
- Exporting at 0 dBFS with normalization on. Normalization undoes the headroom you carefully created. Fix: turn it off, then check your peak meter before and after the bounce. They should match.
- Bouncing at 16-bit with dither. You are adding hiss an engineer will hear. Fix: 24-bit, dither off, verify by checking the export window rather than trusting memory.
- Mono-unfriendly low end. Wide bass or a wide snare collapses on bluetooth speakers. Fix: toggle mono every few minutes, or check the beat on a phone speaker.
- No space carved for the vocal. The artist cannot hear a place to sing. Fix: scoop 2 to 4 kHz by a few dB across the instruments, then check nothing sounds scooped.
- Over-compressed drums. The kick and snare lose their attack and the groove stops moving. Fix: watch gain reduction, aim for a few dB rather than ten.
- Sending stems in the first message. Fix: hold the stems until money is in hand, and say in your note that they are available.
- Clipping on individual tracks before the master. Distortion baked in cannot be undone. Fix: pull the individual tracks down until nothing clips, then set the master.
One habit worth building: mix at a comfortable level rather than as loud as you can tolerate. Fatigue sets in around the 90 minute mark, and the fixes you find late tend to be over-corrections.
Frequently Asked Questions
How loud should a beat be before sending it to an artist?
Aim for a peak around -6 dBFS for a vocal-ready bounce and around -3 dBFS for a punchier pitch file, measured on your mix bus before any limiter. That leaves an engineer real headroom to work with. Streaming normalization will make loud demos quieter anyway, so chasing volume buys you nothing. Check with your DAW loudness meter rather than by ear.
Should I master a beat before sending it to an artist?
No. Mix it, then leave mastering for after the vocals exist, because a mastered instrumental is usually a wasted spend. A light limiter as a ceiling on the audition bounce is fine so the demo does not sound weak on a phone. Once the artist records, bypass your master-bus plugins and rebalance before sending the mix to an engineer.
Is it better to export WAV or MP3 for a beat?
Send a WAV for anything an engineer will touch, and an MP3 at 320kbps only for quick phone auditioning or beat marketplace previews. A 24-bit WAV preserves your headroom decisions and costs nothing to send. If you send an MP3 to a manager, expect the question about stems and the session to come immediately after.
Should I export at 44.1 or 48 kHz?
Export at the same sample rate your session runs at, whichever that is. Never upsample, because converting 44.1 kHz material to 48 kHz adds nothing and can introduce resampling artifacts. Most DAWs default to 48 kHz and both rates are normal in professional work, so matching your own session is the correct rule.
Do producers mix their own beats before pitching them?
Yes, and the consensus on production forums is that a mixed beat gets more responses simply because it sounds competitive in the first ten seconds. Mix to the level of your ability rather than spending days on a pitch that may never convert. Producers consistently say getting a beat to 95 percent matters far more than reaching a perfect 100.
What plugins should be off the master bus before sending a beat?
Bypass everything that compresses or limits hard, especially glue compressors, multiband dynamics and loudness-maximizing limiters. Keep a gentle limiter only on the audition bounce so it does not fall apart on a phone speaker. Bounce a no-effects version alongside the polished one so an engineer can see exactly what processing you applied.
Conclusion
Start with the arrangement and the faders. Balance the kick, bass and melody in mono, high-pass what does not need low end, carve a few dB out of the midrange for a vocal that does not exist yet, and set a limiter only as a ceiling.
Then bounce a 24-bit WAV at your session sample rate, with dither and normalization off, peaking near -6 dBFS, and name the file so the artist understands it in one glance. Send the audition file, hold the stems until money is in hand, and let mastering happen after the vocals land.
That is the whole checklist. None of it is glamorous, and all of it decides whether the artist replies.