To make a lyric video, you import the finished audio into an editor, drop the lyrics onto the timeline, time each line or word to the vocal, style the type so it reads on a phone, and export a 1080p file in both 16:9 and 9:16. A beginner can finish a three-minute song in a weekend with a free app, and the polished version in a professional tool is a full weekend on its own.
Which route you take depends almost entirely on how much control you want over the typography and how long you can sit with a timeline. Pick one of these three before you download anything:
- Browser, no install: Canva, Adobe Express or Invideo take an audio file, generate a transcript, and hand you a styled timeline. Fastest route, and fine for a first release.
- Phone or tablet: CapCut has auto-lyrics that transcribe the vocal and place words on screen by themselves. This is the one most independent artists finish on.
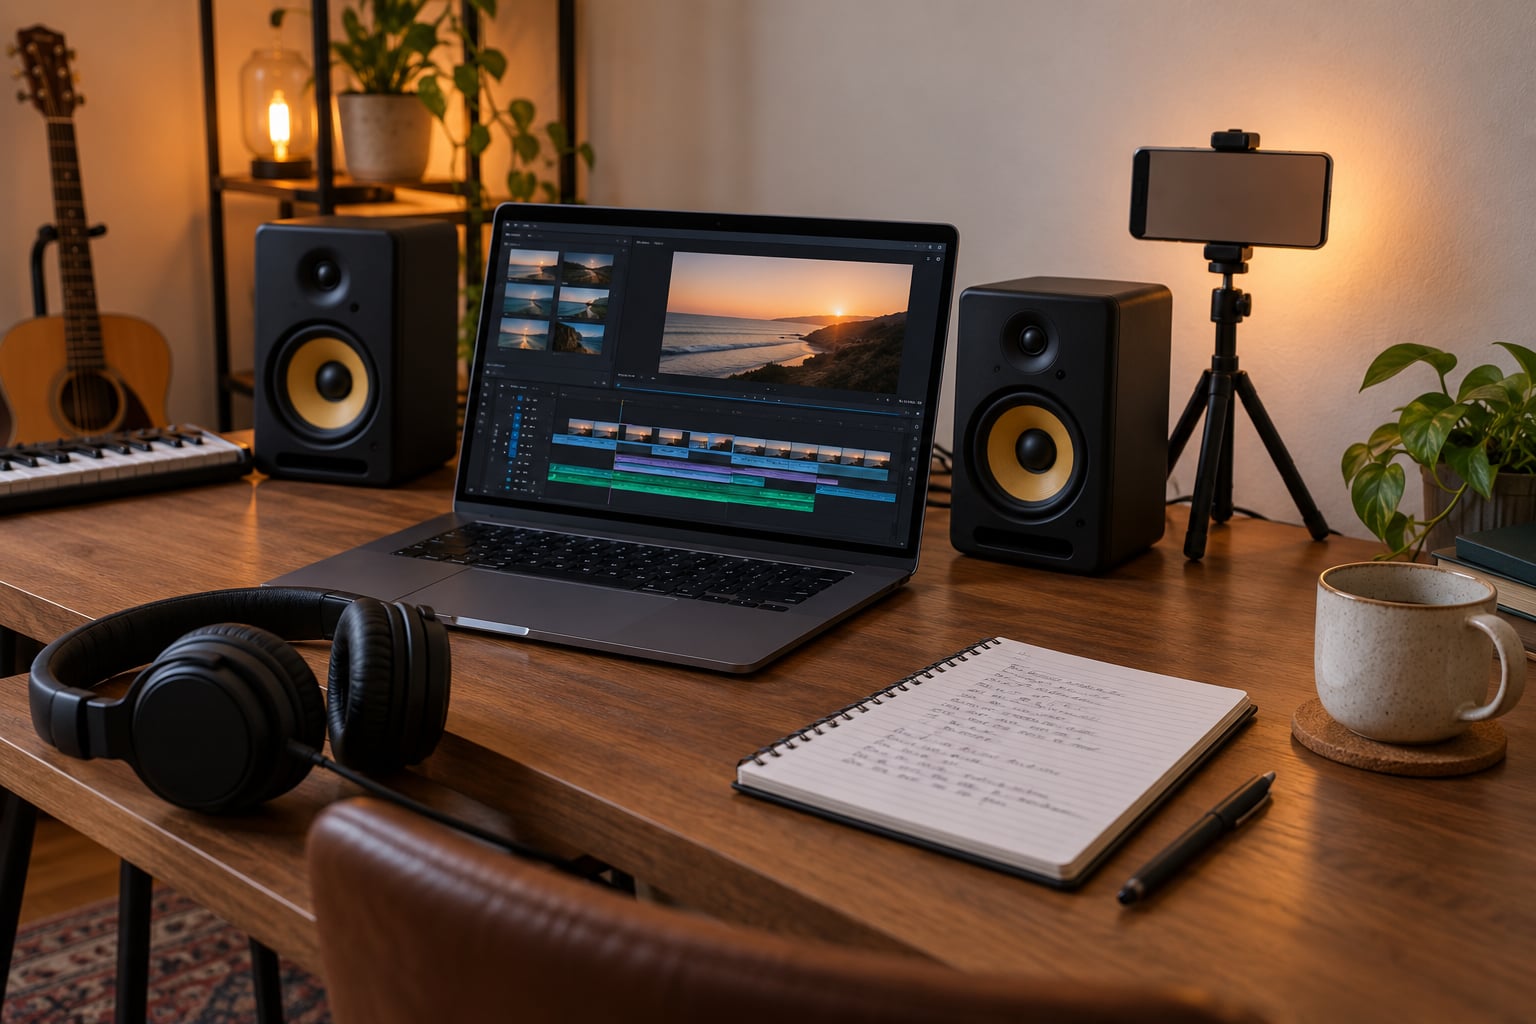
- Desktop, full control: DaVinci Resolve for free, Adobe Premiere Pro for text tools, or After Effects for anything word-by-word. Expect a weekend, not an evening.
The steps below work across all three. You follow the same path either way; only the buttons change.
What You Need
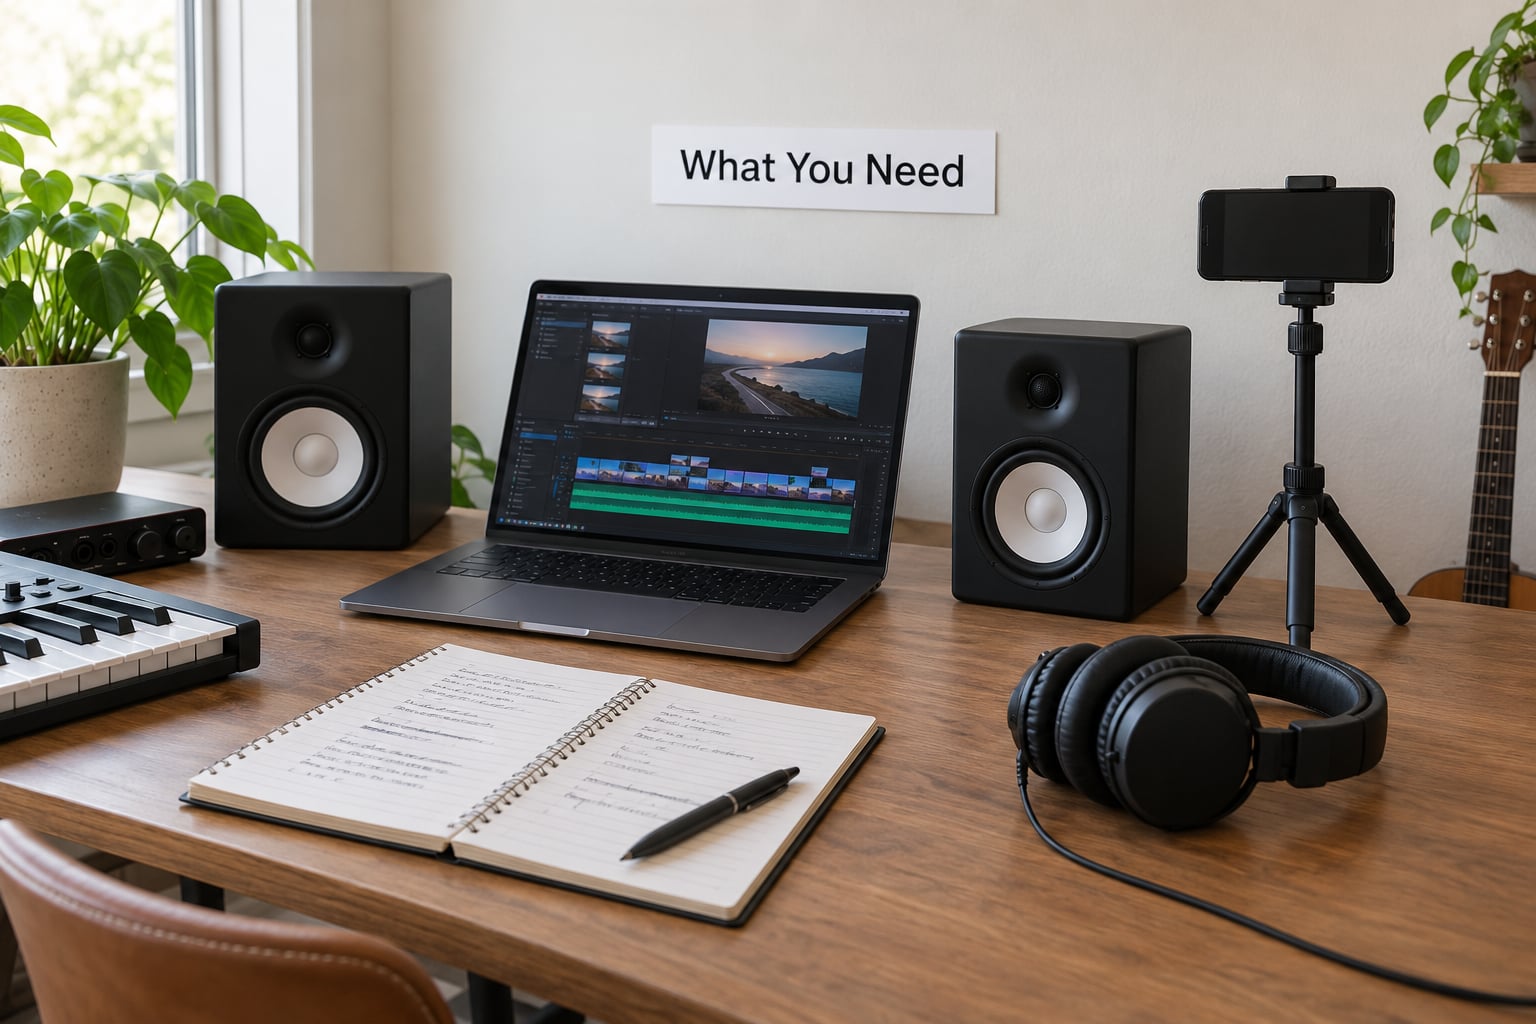
Gather these before you open an editor and the build stops being frustrating.
The final song file, not the rough bounce
Export your master as a WAV or AIFF at the sample rate and bit depth you mixed at. A compressed MP3 adds artifacts that show up as shimmer on waveform-driven visuals, and it gives the auto-transcription less to work with. If you are bouncing straight from your DAW, leave a few dB of headroom so nothing clips.
Lyrics in a plain text document
One line per row, no punctuation caps, no formatting. You will paste this into a transcript box or an SRT file, and clean text beats a formatted document every time. Keep the original verse and chorus labels somewhere separate so you know which lines repeat.
Visual material in three buckets
Gather performance footage, licensed clip library footage, and graphic assets such as album art, textures, and photographs you own. Licensing matters here: a video clip from a library usually permits use in one project, and it never covers the song. Anything lifted from a music video, film, or another artist’s visuals carries a real claim risk.
An editing tool that matches the job
For free desktop editing, DaVinci Resolve is the one people in artist communities keep recommending, and it needs no card and no account to start. CapCut covers the phone route, and Canva covers the quick browser route. You will upgrade only if you need word-level highlight timing that the free tools cannot do.
A format decision
Decide now whether you are making a 16:9 video for YouTube or a 9:16 cut for TikTok, Reels, and Shorts. Building the vertical version from the start is an hour of work. Cropping a finished horizontal video at the end usually hides text behind platform buttons and costs more.
Two export defaults to settle on: 1920×1080 at 30 frames per second for YouTube, and 1080×1920 for vertical. Audio at 48 kHz, 320 kbps or better if the platform accepts it. A 30 fps master is fine for lyric work; 60 fps only matters if you are animating at that rate.
Step-by-Step: How to Make a Lyric Video
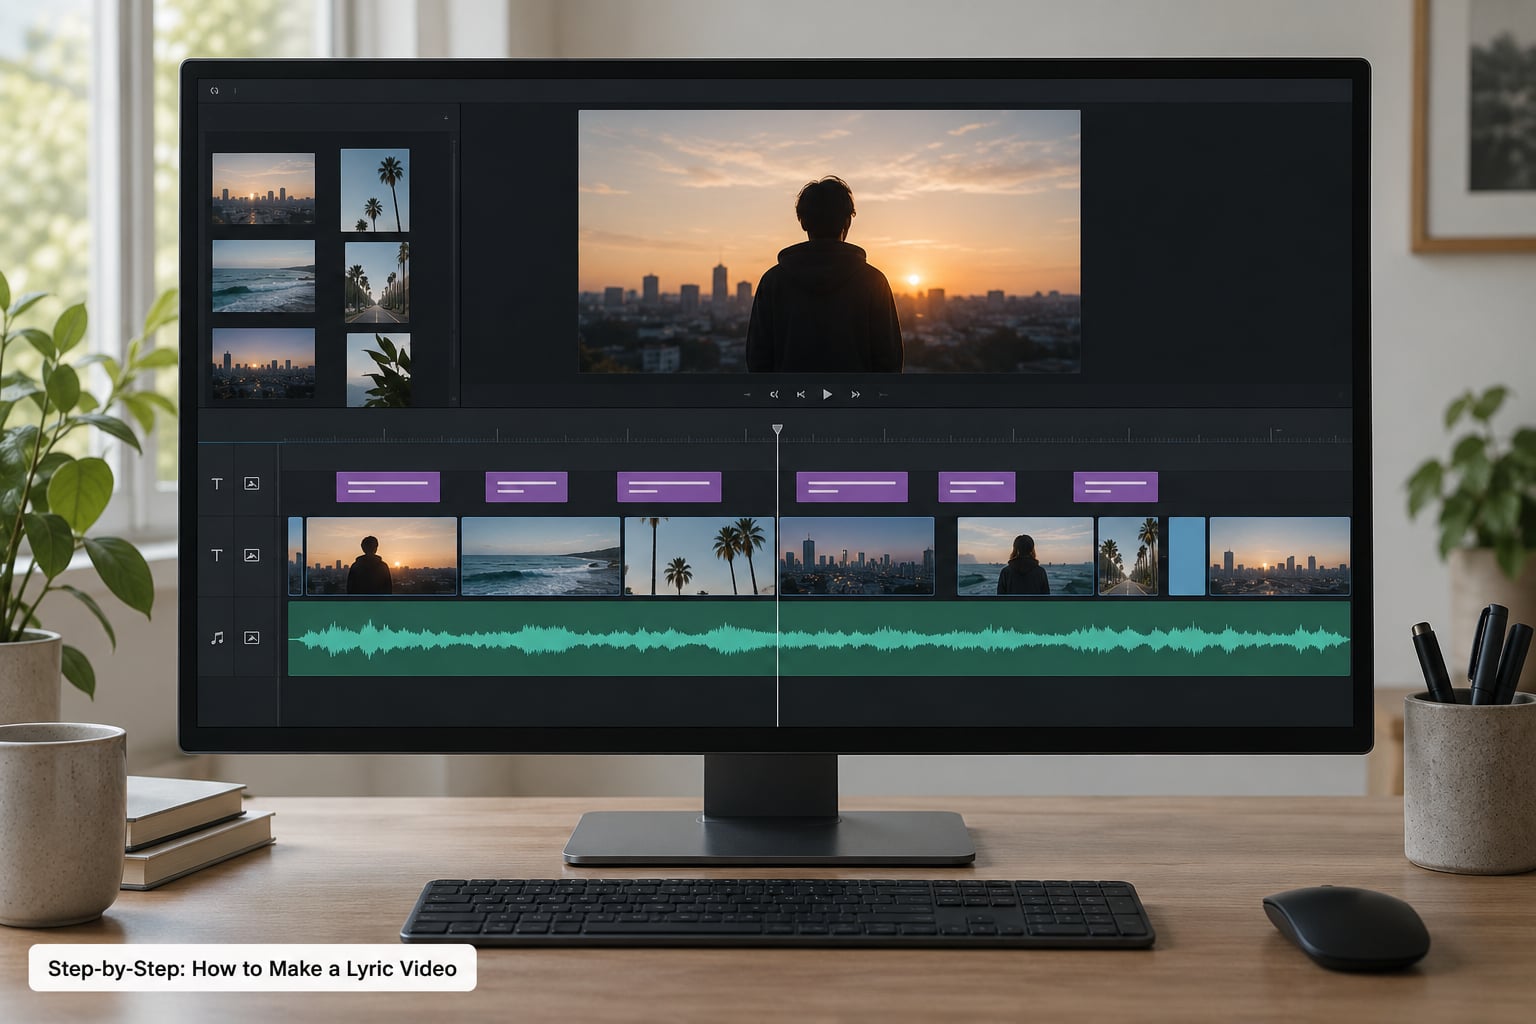
1. Define the Concept and Visual Direction
Write one sentence describing what the video looks like. “A single candle burning out across three minutes while lyrics appear in a thin condensed typeface” is a concept. “Something emotional” is not, and it will send you making random decisions for three hours.
Then pin down four things: the mood, the audience, the length, and the platform. Mood decides the color palette. Audience decides whether the type is playful or restrained. Length should be the full song for a YouTube upload and 15 to 30 seconds for a social cut.
A short treatment keeps you honest. Half a page is plenty: the visual idea, the palette, the typeface, and how the background changes between verse, chorus, and bridge. When you get tempted by a new effect at minute two, the treatment is what says no.
2. Prepare the Song and Lyrics
Drop a marker for every section in your DAW before you export, or note the timestamps in a text file: intro at 0:00, first verse at 0:18, hook at 1:02, bridge at 2:10. Section markers become your cutting points in the editor, and they are the difference between a video that breathes and one that feels random.
Clean the lyric text next. Remove ad-libs you do not want on screen, expand the contractions you would rather spell out, and decide the line breaks. Singers stretch words across phrases and the transcript will follow their phrasing, not your written lines, so expect to rebreak by hand.
You also decide how much text appears. Line-by-line is calmer and reads better on a phone. Word-by-word with a highlight color gives you the karaoke effect and suits upbeat songs and rap. Fast verses with dense syllables will destroy legibility either way, and the fix is to group four to eight words per screen and highlight the current word rather than showing the whole bar.
3. Create the Visual Assets
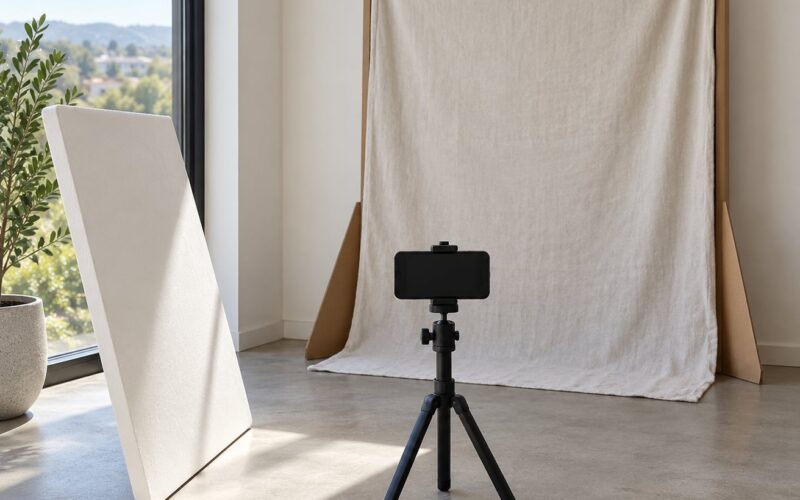
Shoot more than you think you need. A phone on a small tripod, a plain wall, and one window light source will carry an entire video if the composition is simple. Record the performance in long unbroken takes rather than many short clips, and film a handful of slow push-ins and hand movements to use as cutaway shots.
Licensed clip library footage fills the gaps where a performer cannot be. Match it to the mood and, more importantly, match its motion to your cuts, because a busy moving background makes the text harder to read. Slow and even beats fast.
Graphic backgrounds are the cheapest option and often the strongest. A slow gradient shift, a soft texture loop, or your album art with a slight drift gives you a full video with zero shooting. Screen recordings, waveform animations, and audio spectrum visualizers work in the same lane if the song suits them.
Whatever you use, keep the background darker than the text. That single decision handles most legibility problems before they start.
4. Sync Lyrics and Footage to the Music
Put the audio on the timeline first and lock it. Everything else builds on top of that one track, so never nudge the audio itself to fix a lyric that arrives late.
Run the auto-transcription now. Every major editor has some version of it, and CapCut’s auto-lyrics is the most reliable of the free routes. It will get you maybe eighty percent of the way, and the last twenty percent is where the craft lives.
Correct the errors rather than re-timing from scratch. Open the transcript panel, fix the misspelled word or the misheard ad-lib in the text, and the timing on that word stays where it was. Editors rebuild the caption timing from the corrected text, so you are not redoing the work.
Then split your video clips at meaningful beats rather than every beat. Snapping cuts to the nearest musical moment makes an edit feel intentional. Align each lyric change with the phrasing of the vocal, and where the singer stretches a syllable, stretch the word on screen to match instead of cutting early.
Hand-nudge only where the feel is wrong. If everything else is accurate, spending twenty minutes fixing four badly-timed words beats two hours of perfectionism.
5. Edit for Readability and Emotional Impact
Type size is the most common complaint on finished lyric videos, so decide it in numbers rather than by eye. On a 1080-pixel-tall frame, keep your lyric type between 70 and 110 pixels tall, which fills roughly seven to eleven percent of the frame height. Then watch the result on a phone at arm’s length before you export anything.
Use a font pairing: one typeface for the lyrics and a second, clearly different one for credits and links. Weight contrast inside a single family works too, but avoid more than two styles on screen. White text with a soft black outline or drop shadow survives almost any background, and pure white on a mid-grey photo does not.
Keep the text away from the edges. Leave about five percent of the frame height clear at the top and bottom in a vertical video, because short-form platform interfaces cover the lower third and the right-hand button column. Centering the type block in the middle third is usually the safest spot.
Pacing is a musical decision. Hold the same shot through a verse, cut faster through a hook, and let the bridge breathe with the longest shot in the video. Color grade the whole project to one palette so it reads as a single piece rather than a folder of clips.
6. Add Captions, Branding, and Final Details
Decide whether this is a lyric video or a captioned song video. A lyric video treats the words as designed typography the viewer reads along with; a caption video serves spoken words for accessibility. Many artists ship both: the designed version for YouTube and a captioned version for anyone who needs it.
If you add captions, keep the contrast ratio high, avoid placing them in the same position as the lyric type, and check them against your lyric styling so the two do not fight each other. Hard captions burned into the picture are the safer default for silent scrolling feeds.
Add your branding in one consistent place. Credits for the performer, songwriter, producer, and any clip library or font licenses belong in the description and in a short end card. Put your streaming links in the video description with timestamps, and reserve the last two seconds for a clean end card so the final frame does not cut off mid-word.
7. Export and Publish
Export the 16:9 master at 1920×1080, 30 fps, H.264 video with AAC audio at 48 kHz and 320 kbps. Upload it to YouTube with a custom thumbnail of your lyric type on a dark background, since lyric videos live and die on the click of that one still.
Export the vertical version at 1080×1920 with the same frame rate and audio settings. Name your files clearly, something like artistname_songtitle_lyric_16x9 and artistname_songtitle_lyric_9x16, so you can find the right cut six months later when you are posting again.
Watch both exports once end to end before you upload. Check the first three seconds, the lyric on the busiest shot, the final frame, and the vertical version with the platform interface mockup over it if you have one. Confirm the audio is not clipping and that no word is cut off at a frame edge.
Then publish. If you distribute the audio to a content ID system, register the same file you exported so the visuals and the audio rights match. For songs made with AI music generators, the terms you agreed to when generating usually grant you commercial use of that output, but you are responsible for any sample or lyric material you add yourself.
Common Mistakes
Text that disappears on a phone
Fix it with the 70 to 110 pixel rule at 1080p, then check on the actual device. Editors preview at a size that flatters you. Never rely on the timeline view to judge legibility.
Lyrics that arrive a fraction early or late
Transcription follows the vocal’s phrasing, not your written lines. Re-run the transcription, correct the words, and then nudge the handful of lines that still feel wrong. Re-timing the whole track over one bad word is the classic time sink.
Too many words on screen during a fast verse
Group the bar into short phrases and highlight the current word instead of revealing everything at once. If it still will not read, drop the least important words entirely. Nobody misses a filler word they could not read.
Unlicensed music or clips
No video tool’s license covers your song, and free tiers on many editors block commercial use or add a watermark. Check the specific plan’s terms before you publish anything you earn money from, and keep the license details for every clip in a note next to the project file.
Backgrounds that fight the words
Darken the background, blur it slightly, or place the type over a darker gradient. If the footage has to stay bright, add a semi-transparent panel behind the text. Busy backgrounds plus thin type is the combination that always fails.
Cropping the vertical version at the end
Build it from the start. Reframing every shot by hand in 9:16 takes longer than planning for it during the edit, and the platform interface will still cover the lower third of your carefully placed lyrics.
One more habit worth building: show the video to someone who has not heard the song before. If they cannot follow the words, neither can your audience.
Frequently Asked Questions
What is a lyric video?
A lyric video is a music video built around on-screen words timed to the vocal, usually one line or one word appearing exactly when it is sung. The text is styled as designed typography over a background of performance footage, licensed clips, stills, or animation. It differs from a caption video, which exists for accessibility, and from a music visualizer, which reacts to the audio without displaying any words.
How are lyric videos made?
You import the finished audio, load or auto-transcribe the lyrics, and let the editor timestamp each line or word against the vocal waveform. Then you correct the misheard words, style the type for contrast and phone-sized legibility, build the background, and export. Most editors ship with auto-lyrics that handle the timing, so the work is mostly correction and design rather than manual timing.
What software is best for making lyric videos?
For a free desktop route, DaVinci Resolve is the strongest choice and needs no card or account. CapCut is the best mobile option for auto-lyrics. Canva and Invideo handle quick browser-based drafts, and After Effects gives you word-level highlight control if you are willing to spend a weekend learning it. The best tool is the one whose timeline style you will not fight.
Do I need to type the lyrics myself?
No, but you should check every word. Auto-transcription reliably mishears ad-libs, repeats, slang, and anything delivered with a heavy accent or a double track. Correcting the text in the transcript panel keeps the existing timing, so you fix a misspelled word in seconds instead of re-timing the song.
Do I own the rights to a lyric video I make?
You own the video you edit yourself. You are responsible for the song, which must be yours or licensed, and for any clip library footage or fonts you use, each of which comes with its own terms. Free editor tiers often restrict commercial use or add a watermark, so read the plan terms before publishing anything you earn money from.
What resolution and aspect ratio should a lyric video be?
Export a 1920×1080 master at 30 fps for YouTube, plus a 1080×1920 vertical cut for TikTok, Reels, and Shorts. Keep lyric type between 70 and 110 pixels tall on the 1080p frame and leave the lower third of the vertical version clear, because platform buttons cover it. Test both exports on a phone before you upload.
Conclusion
Start tonight: write the one-sentence visual concept, mark your sections in the DAW, export the master as a WAV, and paste the lyrics into CapCut or DaVinci Resolve to see the auto-sync work. Once that rough timeline exists, the rest is correction, contrast, and pacing. Leave the fancy animation until the words are readable, because that is the part listeners actually notice.