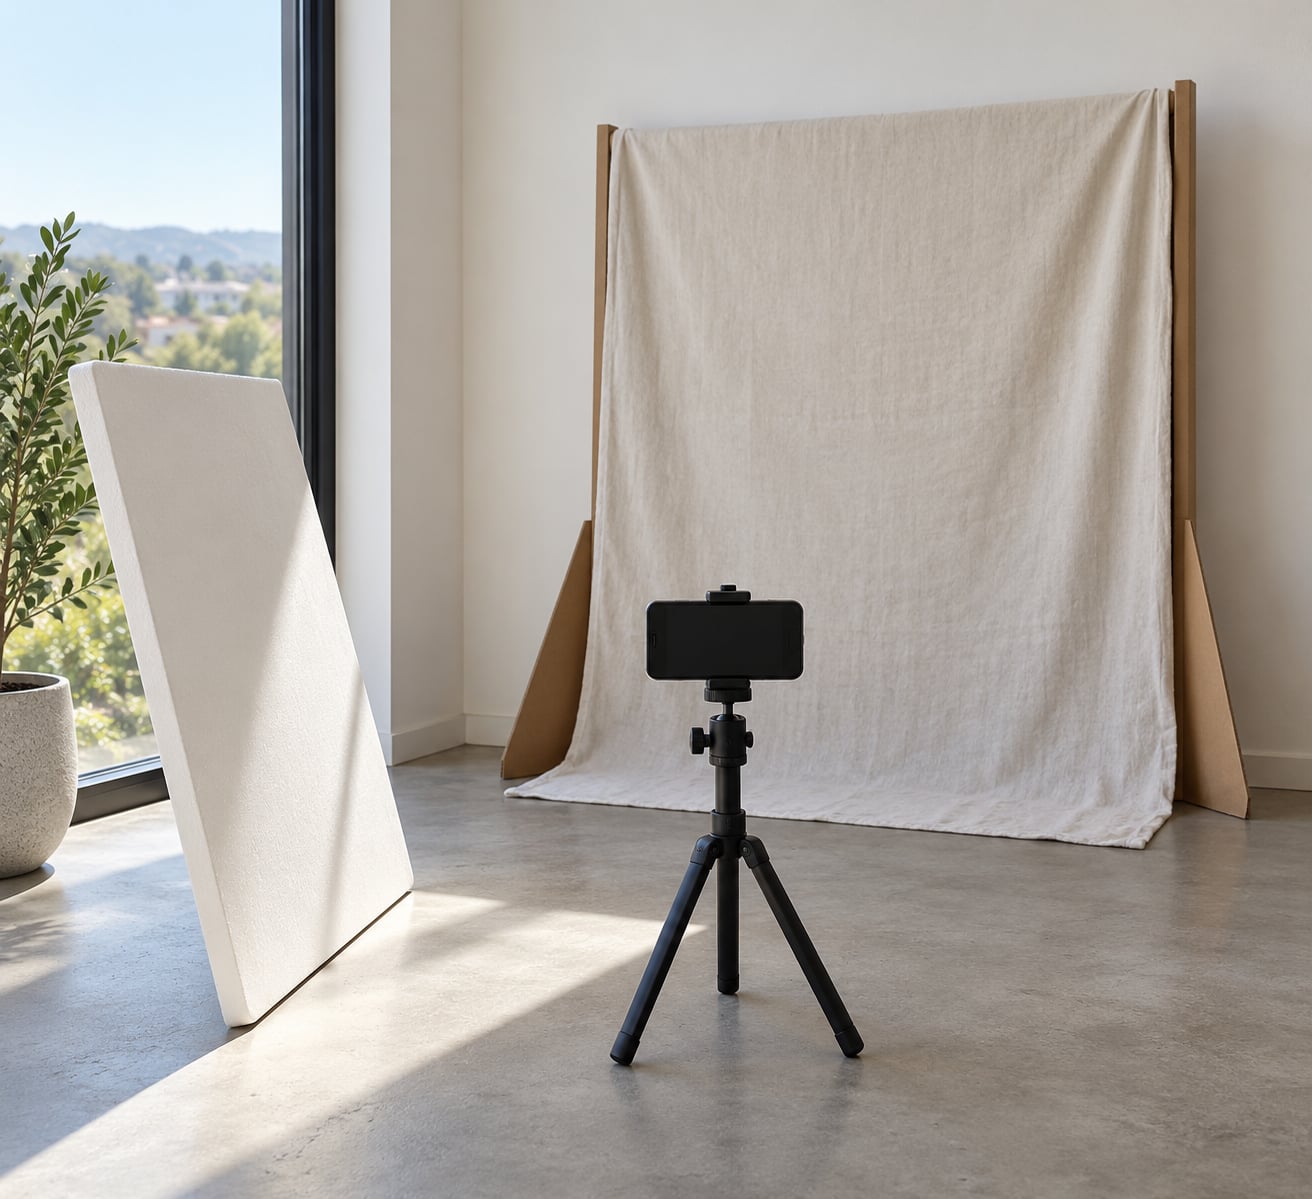
How to take artist photos on a budget comes down to three things: a phone or any camera you already own, one dependable light source, and a plain background. Shoot in a room with a big window during the day, tape a sheet of fabric or paper to the wall, and you have a working setup in about thirty minutes. The editing side is free software and a consistent set of crops.
What you spend rarely shows up in the finished image. Light direction, a clean background, and knowing what to ask the artist to do matter far more than the camera body. A decade-old phone shot next to a window will beat a newer phone shot under a bad ceiling lamp every time.
Below is the process I use when a band needs promo images this week and there is no budget for a studio. It scales: you can stop after step two and still have usable frames for a streaming profile, or run all six steps and come out with a full press kit.
What You Need for Budget Artist Photos
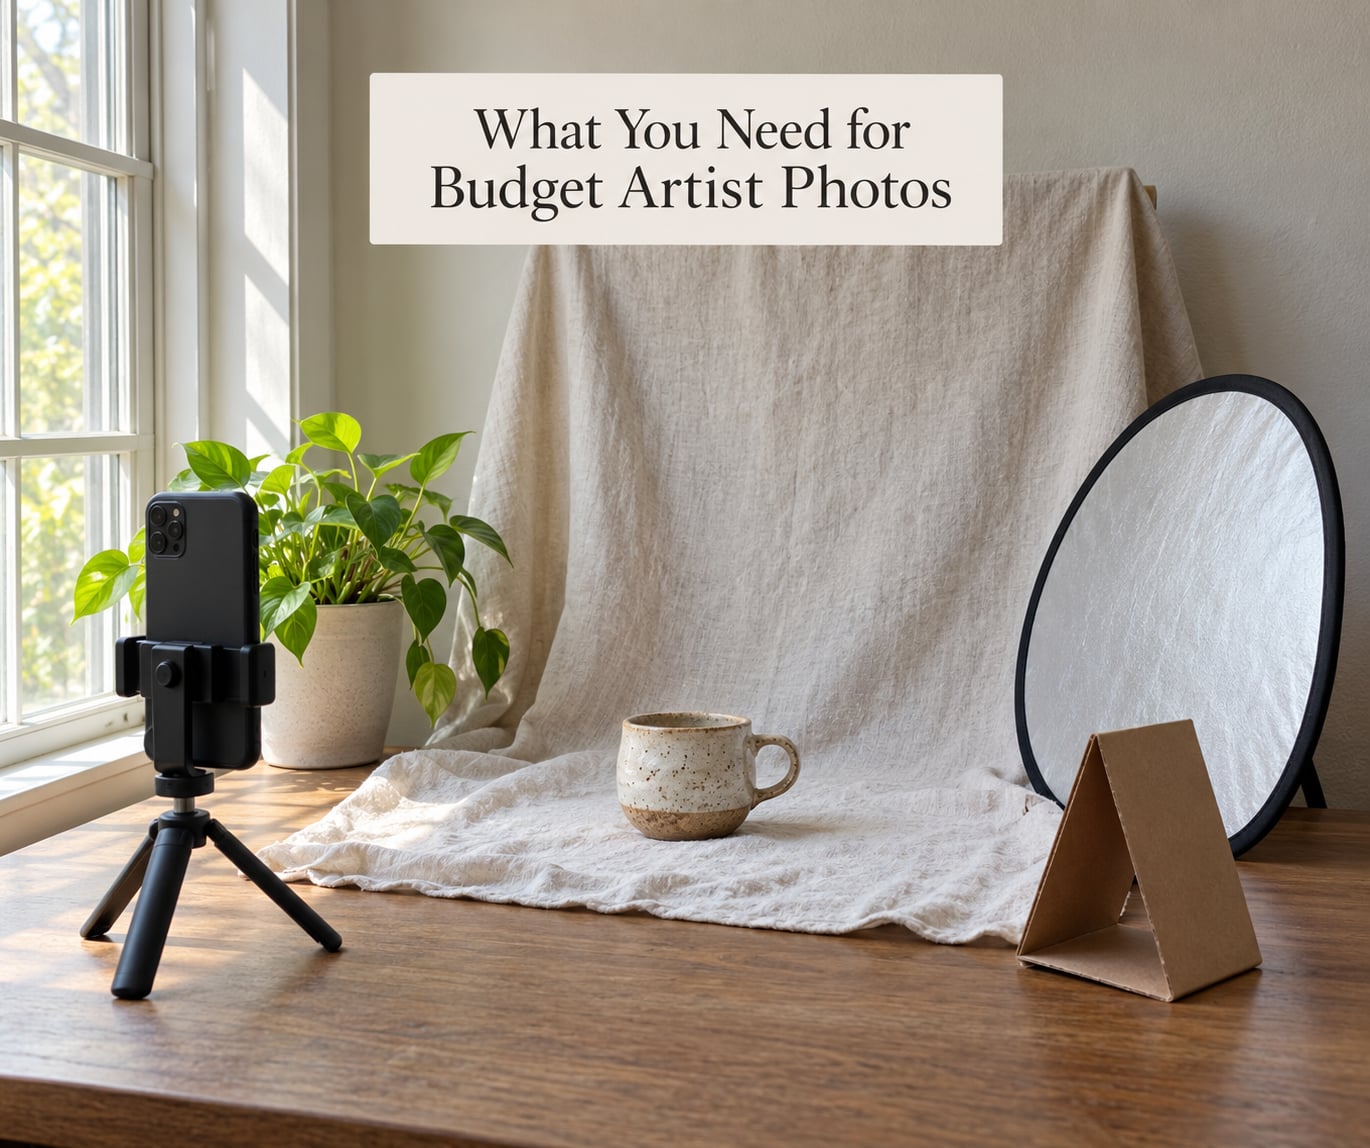
Start by writing down what you already have. Almost everyone owns a phone with a decent camera, a bed sheet or curtain that reads as a backdrop, a mirror or a car window for bouncing light, and a bookshelf that can act as a posing block.
The four things worth adding, in order of impact:
- A reflector. A sheet of white foam board or a large piece of white poster board costs almost nothing and fills in shadows on the darker side of a face. Without it, every shot splits into lit half and black half.
- A tripod or stack of books. Blur from a shaky hold is the most common reason a home shoot looks amateur. Height matters more than brand.
- Two identical light sources. Not expensive ones. Two matching lamps with the same color of bulb beat one strong lamp and one phone flashlight.
- Backdrop tape and a clamp or two. Ordinary gaffer tape holds a backdrop to a wall and comes down without leaving marks, unlike tape with glue residue.
Skip the cheap lighting kits sold as all-in-one sets. They usually ship a single low-wattage bulb that gives off a strong orange cast, and the color cast is harder to correct later than an underexposed frame.
Wardrobe and props deserve the same attention as gear. Thrifted denim, a leather jacket, boots, and one strong color piece will carry more personality than any lens. Borrowing furniture and instruments from a bandmate costs nothing and beats buying props you will use once.
Step-by-Step: How to Take Artist Photos on a Budget
Plan the Shoot and Choose a Location
Before the artist arrives, decide what the images are for. Streaming profiles want a square head-and-shoulders frame that reads clearly at thumbnail size. Press kits and EPKs want full-body and horizontal images. Social posts want vertical frames with room for text.
Pick a location with one wall that is free of outlets, light switches, and door frames in the background. A bedroom corner with a window to the side usually beats a living room, because you control the light and can clear the furniture.
Then write a shot list of eight to twelve frames: one straight-on portrait, one three-quarter turn, one full-body, one close-up, one seated, one with the instrument, and a few in motion. Working from a list is what keeps the session to an hour instead of an afternoon.
How you know it worked: you can name every frame you need before anyone walks in, and the chosen wall needs nothing removed except clutter.
Create Strong Lighting with Minimal Equipment
Stand the artist about one to two feet from a window, with the window to the side rather than directly behind. Light from the side shapes the face. Light from straight behind turns the artist into a silhouette, which is a choice, not an accident.
Hang a plain white curtain or sheet over the window if the sun is direct. That single layer turns a hard patch of sunlight into soft, even light and removes the squinting expression that direct sun causes.
Turn off every other light in the room. Mixed light is the number one reason a cheap shoot looks off, and it is the one mistake you cannot fix in editing. If the room needs light at night, cover the bulbs with warm white material so they match.
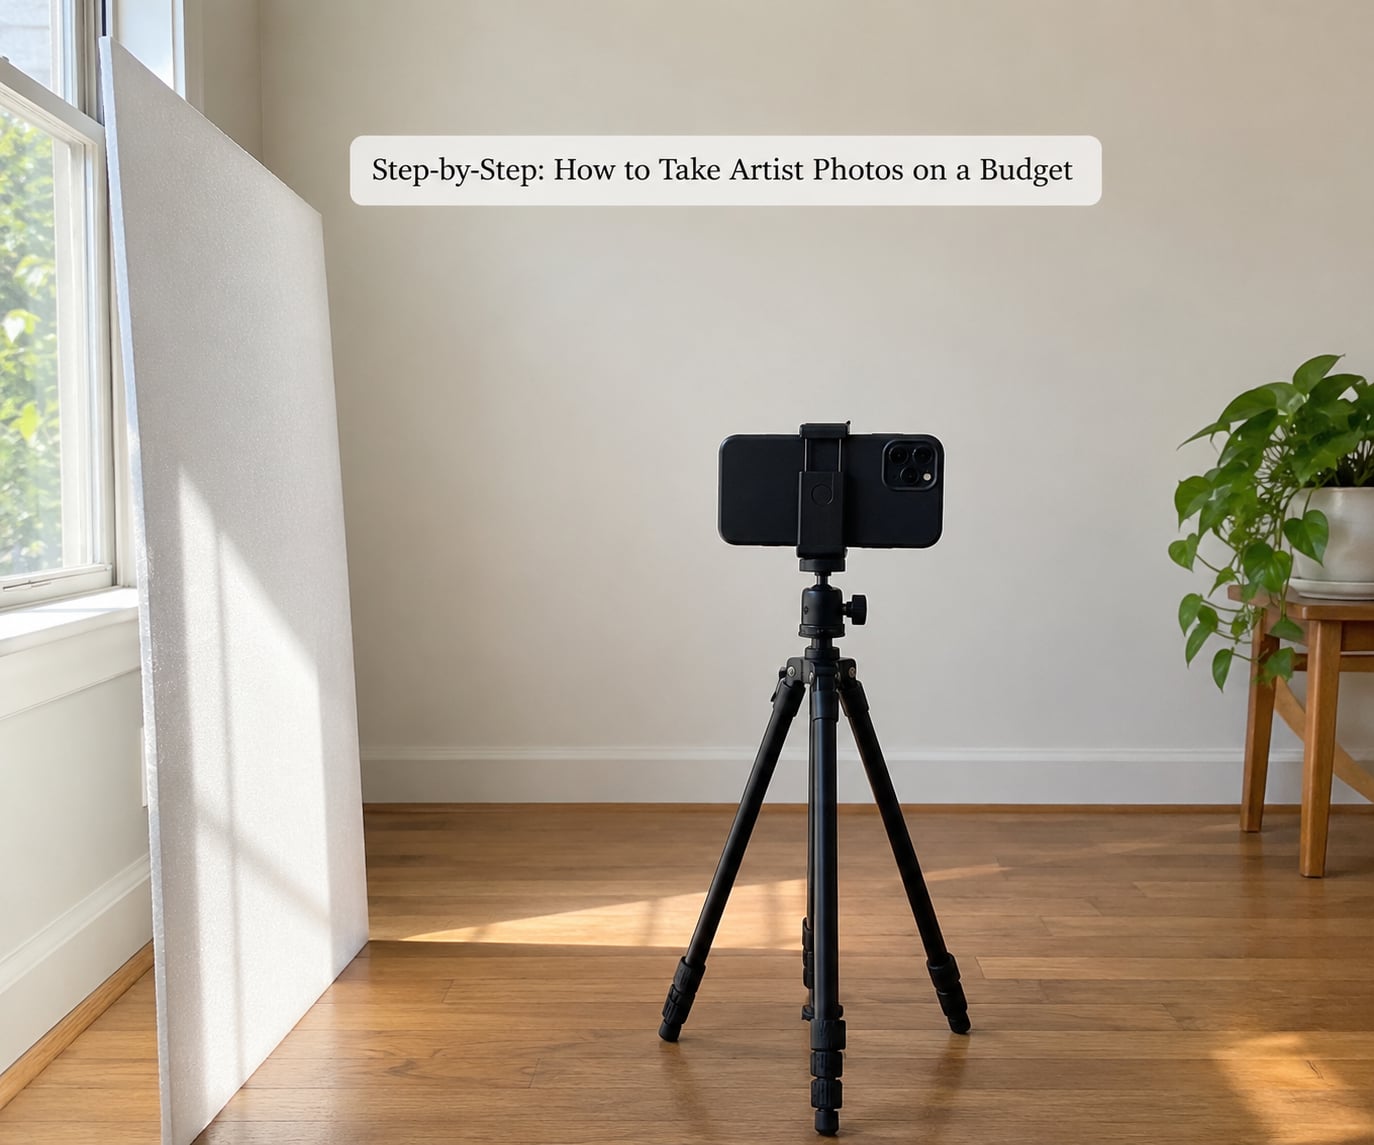
Place the white board opposite the window, low, so it bounces light into the shadow side. Check the result by squinting: if one side of the face is noticeably darker, raise the board.
How you know it worked: both sides of the face carry detail, and there is no hard shadow line across the cheeks or nose.
Set Up the Camera or Smartphone
Whatever you shoot with, stabilize it. This is the step that separates a phone from a camera when you are learning how to take artist photos on a budget. A phone on a small tripod or a stack of hardbacks held at the right height removes camera shake entirely, and shake cannot be repaired later.
On a phone, tap the face to lock focus and exposure, then step back a half step and re-tap if the brightness changes. Portrait mode is useful above the waist and unreliable on hands and instruments, so turn it off for full-body shots with a guitar or a mic stand.
On a camera, shoot RAW if the body allows it. You can recover shadow detail and correct white balance later from RAW, and a JPEG is already baked. Keep the shutter fast enough to freeze a hand on a guitar neck, open the aperture wide, and raise ISO only as far as the grain looks acceptable.
Set the white balance manually rather than leaving it automatic. Automatic white balance shifts frame to frame, and a set with slightly different color casts looks worse than one that is slightly flat.
How you know it worked: a test frame at your intended settings looks correct on the camera screen before the artist settles into a pose.
Direct Poses, Expressions, and Movement
Most stiff photos come from the photographer counting down from three. Give the artist an action instead: strum, tap a foot, adjust a mic stand, put headphones on, look at the camera and then look away.
Weight on the back leg with the front knee slightly bent reads as relaxed. Arms crossed at the chest reads as closed unless the hands are touching something. Chin forward a fraction and down a fraction lengthens the neck and defines the jaw.
Shoot movement in short bursts. Ask the artist to walk toward the camera, or turn the instrument over their shoulder, and take a frame every second rather than a single attempt. That gives you options to crop later, and it keeps the session fast.
Do not fill every second with instructions. Quiet stretches produce the frames that end up in the press kit, because the face stops performing.
How you know it worked: you have at least three frames where the hands are not frozen mid-gesture and the expression is not mid-blink.
Compose Varied Promotional Images
Keep the subject’s eyes off dead center and leave a little space above the head. Give a horizontal frame room on one side so text or a title can sit there later.
Work through your shot list and vary the lens distance each time: a close-up from chest up, a mid shot from the waist, a full-body frame with the feet visible. Full-body frames are the ones that break up a feed, because most artist posts are headshots.
Shoot one frame with the artist looking at the camera and one where they are not. The off-camera look gives a press page or a biography layout somewhere to breathe.
Include the instrument, the mic, the headphones, the studio corner. Those objects tell a stranger what kind of artist this is before they read a single word.
How you know it worked: you have horizontal, vertical, square, and full-body frames, and any one of them works cropped to a square without cutting the head off.
Edit for Consistency Without Overprocessing
Open the set in one program and apply the same corrections to every frame. Free options cover this well: a mobile editor for phone shots, or a desktop raw processor if you shot RAW. The point is not which tool, it is that every image gets the same treatment.
Work in a fixed order. Correct the white balance first while the image is still flat. Then lift exposure and set contrast. Then crop to your delivery shapes without moving the crop differently on each frame.
Clean the background before retouching the person. Removing a cable, a light switch, or a bright edge behind the artist does more for a press image than any skin smoothing.
Sharpen lightly at the end. Heavy sharpening on a phone file amplifies noise into a grainy mess, and aggressive contrast on a dark room shot turns shadow areas into black holes.
Export in sRGB and save a full-resolution copy before any platform compression. Streaming platforms, press pages, and social feeds all compress again, and you want the cleanest file going in.
How you know it worked: four images from different moments in the session sit next to each other and look like the same shoot.
Common Mistakes and Budget-Friendly Fixes
Mixed lighting. A window plus a warm ceiling bulb plus a phone light produces three color temperatures in one frame, and the camera picks one. Turn off every source except your main one, or cover bulbs to match.
A distracting background. Door frames, tangles of cable, and bright windows pull the eye off the artist. Clear the wall, hang the backdrop slightly wider than the frame, and check the background edges on screen before each setup.
Soft focus from a shaky hold. Everything else on this list is a smaller problem than blur. Rest the camera on something solid or hold it with both hands against your chest, elbows tucked in.
Hard shadow across the face. The light is too close and too direct. Move it a step back, bounce it off the board, or diffuse it with a curtain.
Overprocessing. Saturated skin, crushed blacks, and heavy clarity make a cheap setup look cheap. If the face detail is gone when you view the image at full size, undo the last two adjustments.
Only one look. A shoot that produces twenty near-identical frames is harder to use than one that produces six different frames. Change distance, change angle, or change what the artist is holding every few shots.
One habit saves more time than any other: review the images on the camera screen while the artist is still there. A background problem takes ten seconds to fix during the session and hours to fix in software later.
Frequently Asked Questions
What is the cheapest way to take professional artist photos?
Use a phone, one window, and a plain wall. Put the artist a foot or two from the window with the light to the side, hang a white sheet if the sun is direct, and bounce light back with white foam board. Shoot vertical, horizontal, and full-body frames, then apply identical white balance and crop adjustments in a free editor. The setup takes about thirty minutes and needs nothing bought.
Can I take good artist photos with a smartphone?
Yes, for streaming profiles, social posts, and press pages a current phone is plenty. Tap the face to lock focus and exposure, use portrait mode above the waist and switch it off for full-body shots with an instrument, and turn off the grid of filters. Shoot in the highest resolution the phone offers, then crop and correct color once, consistently, in editing.
Do I need a studio or expensive lighting equipment to shoot artist photos?
No. A room with one window, a plain backdrop, and a white reflector handles almost any artist portrait. Cheap all-in-one lighting kits tend to produce a strong orange cast that costs more time to correct than an underexposed frame. If you add one piece of equipment, make it a reflector or a tripod, since shake and hard shadow ruin more home shots than any other issue.
How do I make my artist photos look professional?
Consistency does most of the work. Use one light source, one background, and the same white balance and crop on every frame so the set reads as one shoot. Clear the wall behind the artist, choose clothing in one color family, and shoot a range of framings rather than twenty versions of the same headshot. Review on the camera screen while the artist is still there.
How many photos should I take for a music release or press kit?
Plan eight to twelve finished frames rather than hundreds of raw files. A press kit usually needs one horizontal hero image, one square headshot, a few full-body shots, and two or three with the instrument or microphone. Shoot well over that so you have choices, then deliver a consistent set. Save full-resolution files before uploading, since every platform compresses again.
Conclusion
Start with the room you already have. Clear one wall, put the artist beside a window with a white board bouncing light back, and set the phone on something solid before anyone poses.
Shoot eight to twelve planned frames across different distances and angles, then apply the same white balance, crop, and contrast to every one. That single afternoon gives an artist a usable headshot, a full-body frame, and a press-ready set, and learning how to take artist photos on a budget mostly comes down to light control and editing consistency rather than gear.