Autotune listens to a vocal, measures the pitch being sung many times a second, and moves anything off the intended note toward the nearest note in the scale you chose. Correction speed decides whether that movement is invisible polish or the robotic hard-tuned effect.
The part that surprises people is that both results come from the same process. There is no separate “good” autotune mode hiding inside the plugin. One number, the speed of correction, sits between a vocal that nobody knows was tuned and one that sounds like a machine.
Once you understand that chain, the settings stop being a list of knobs and start being answers to specific questions. Why did the note jump instead of slide? Why does the vowel sound like it moved even though the singer stayed on the same syllable? Why is there a delay in my headphones but not on the printed track?
Table of Contents
- What Does Autotune Do to a Vocal?
- The Autotune Processing Chain from Microphone to Output
- Pitch Correction vs. Creative Retuning
- What Are the Main Autotune Modes?
- Why Does Autotuned Vocals Sometimes Sound Robotic?
- What Do Retune Speed, Retune Amount, and Humanize Control?
- How Does Autotune Handle Timing and Latency?
- How to Use Autotune Without Losing Vocal Character
- Frequently Asked Questions
- Conclusion
What Does Autotune Do to a Vocal?
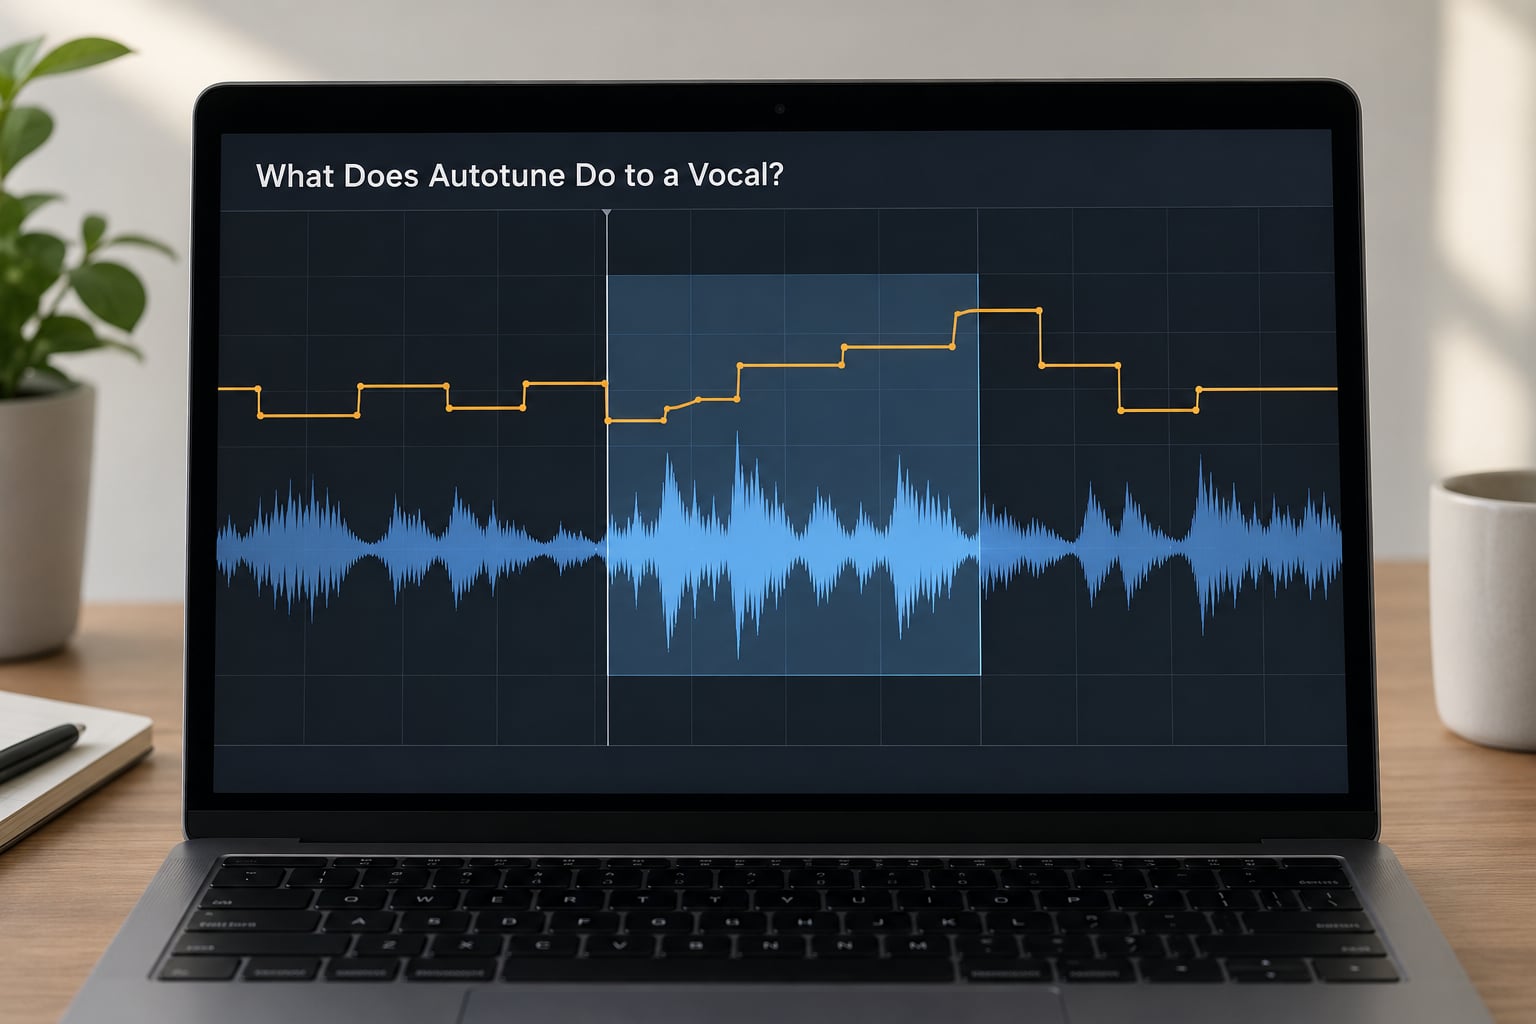
Autotune is a pitch measurement and correction tool. It takes the audio coming in, works out the pitch at each moment, decides what pitch the note should be, and then alters the audio so the note arrives there.
That is the whole job. It does not write melodies, it does not add notes that were never sung, and it cannot rescue a performance that is out of tune because it is out of rhythm, badly phrased or recorded badly. Pitch correction only moves pitch.
It is worth separating the tool from the category. Pitch correction is the broad term for anything that measures and fixes pitch. Auto-Tune is one well-known product in that category, and its name became so common that people use it for the whole idea. A hardware tuner, a DAW’s built-in pitch tool and a dedicated editor are all doing the same job with different interfaces.
The Autotune Processing Chain from Microphone to Output
Everything happens in a fixed order, and it runs whether you are hearing it live while recording or printing a correction later during mixing.
- The microphone captures the voice, the audio interface converts it to digital samples, and the plugin receives that stream.
- The plugin analyses the incoming signal in short overlapping windows and estimates a fundamental frequency for each one.
- Those estimates are smoothed so the pitch line does not jitter between frames.
- Each estimate is compared with the notes in the key and scale you selected, producing a target pitch and a correction amount in cents.
- The audio is time-stretched toward that target, then stretched back so the vocal keeps its original length and timing.
- Formant and vibrato handling keep the result plausible rather than obviously synthetic.
- The processed signal is monitored in real time or rendered to a new audio track for mixing.
Steps two and five are where most of the character comes from, and steps four and six are where most of the bad results come from.
How Autotune Actually Works Step by Step
Step 1, detection. A human ear judges pitch continuously, but software has to measure it in numbers. The plugin chops the signal into short overlapping frames and looks for the repeating pattern inside each frame. A vocal sung at middle C produces a waveform that repeats about 261.6 times a second, and that repeat rate is the fundamental frequency, the number the ear hears as pitch. Common methods for finding it are autocorrelation, which compares the signal with slightly delayed copies of itself to find its period, and the YIN algorithm, a refinement of autocorrelation that reduces octave errors and holds up better on noisy or breathy material.
Step 2, smoothing. Raw frame estimates jump around. A human vibrato of five hertz cycles about ten times a second, and a sung note wobbles, cracks and adds consonants that briefly hide the pitch. Smoothing removes the noise between frames while keeping real movement, so the plugin sees one continuous melodic line rather than a cloud of jitter.
Step 3, target selection. Here is where your settings enter. The measured pitch is compared with the notes of the selected key and scale, and the nearest permitted note becomes the destination. In chromatic scale every semitone is allowed, so almost nothing moves. In a major or minor scale only those notes are permitted, and notes outside the scale are pulled in. A bypass setting holds the original pitch, and a remove setting actively deletes notes the scale does not allow.
Step 4, correction. The plugin now has an original pitch and a target pitch. The difference between them is the correction, measured in cents, where 100 cents is one semitone. The correction is applied gradually rather than instantly, and the speed of that application is the parameter that decides whether the result sounds human or mechanical.
Step 5, pitch shifting. This is the part people find hardest to believe. A vocal cannot simply be nudged up half a semitone, because pitch and duration are physically linked in the waveform. If you resample the audio normally to raise the frequency, you also shorten it, and your singer sounds like a chipmunk having a panic attack. Pitch correction gets around that with time-stretching techniques of the same family as a phase vocoder: the audio is stretched to reach the target frequency and then compressed back to its original length. The result keeps the original timing and changes only the pitch.
Step 6, output. In a monitoring session the corrected signal is routed straight to your headphones, with a small delay that comes from the analysis and the buffer. In post-production the plugin renders the correction onto a new track so you can automate, blend or bypass it later.
Pitch Correction vs. Creative Retuning
Correction and retuning use identical machinery with different intentions. Correction pulls a note toward the one the singer meant; retuning moves it to a note the singer never sang.
Consider a vocal that is 30 cents flat on the last word of a line. With a moderate speed, correction eases that note up to true pitch. You hear the same melody, only steadier. Retuning takes that same note and moves it all the way down a minor third. You hear a different melody, sung in the same voice, which is the basis of the doubled-vocal and pitch-shifted layer tricks that sit under a lot of trap and hyperpop production.
One practical difference: correction usually moves a small distance, and small moves are easy on the ear. Retuning often moves a long way, and long moves drag the vocal tract resonances along unless formant handling is used to put them back. That is why a half-step correction is invisible and a whole-step retune can be obvious.
What Are the Main Autotune Modes?
The modes differ mainly in whether they operate in real time or after the fact, and in how much authority they take over your choices.
Natural correction is a slow correction speed with a higher amount of correction. Small errors vanish, larger slides and intentional scoops survive, and the result is usually inaudible to anyone who was not in the room.
Auto mode is the real-time version. It listens continuously and follows the performance, which makes it good for a light pass across an entire take or for monitoring while recording. It cannot make decisions that depend on seeing the whole phrase.
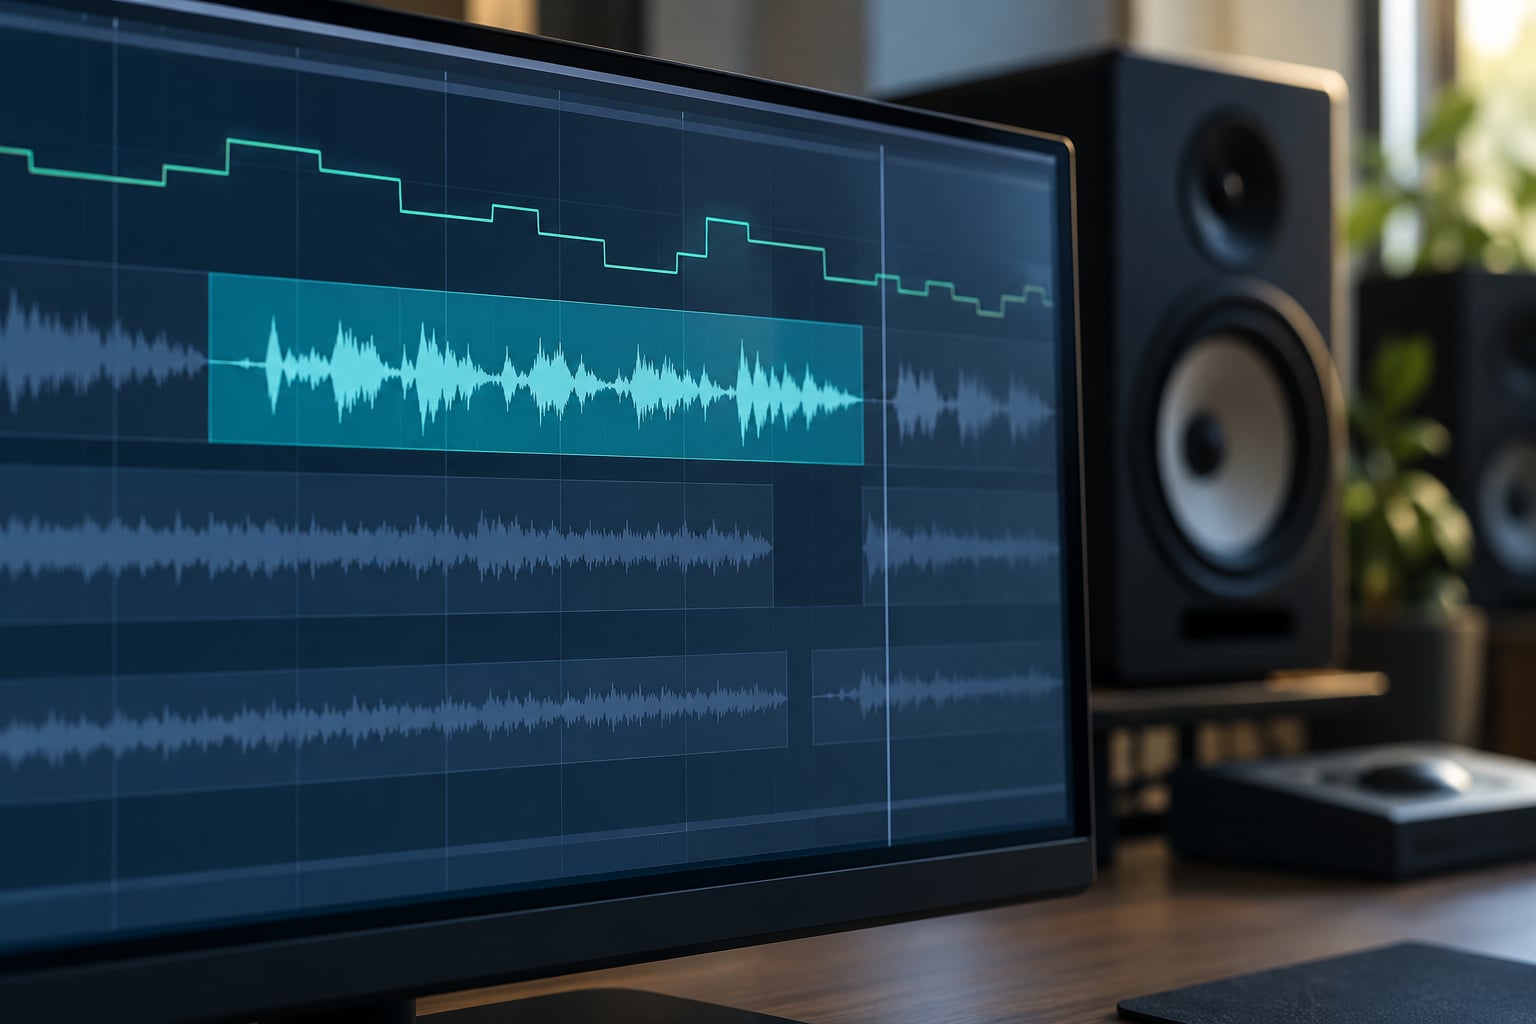
Graph mode is an offline, graphical editor. The vocal appears as a pitch curve you can see and edit note by note, drag transitions, remove sections and set each note individually. It is the precise tool, and it is slower because it processes the file rather than the moment.
Hard tuning is not a separate mode at all. It is what happens when correction speed approaches zero: notes snap to their targets almost instantly and transitions become steps instead of glides. Set to roughly zero, with a scale that only allows a few notes, you get the straight, quantized vocal that Cher’s “Believe” made famous and that trap production later turned into a genre convention.
Two smaller modes sit alongside these. Bypass passes the original signal through untouched, which makes it easy to switch between corrected and uncorrected without moving anything else. Create vibrato does the opposite job, deliberately adding pitch movement to notes that are too flat to sustain.
Why Does Autotuned Vocals Sometimes Sound Robotic?
Robotic sound is a mechanical consequence of a particular setting, not a vague artistic failure. Once you can hear the mechanism, you can hear it in records you like.
The biggest cause is instant snapping. A fast correction speed gives the pitch almost no time to travel, so a slide between two notes becomes a vertical jump. Real singing glides between notes, especially at the start of a phrase, and removing that glide is exactly what listeners read as synthetic.
Second is vibrato handling. A held note with a natural wobble gets pulled toward a flat target, and the wobble either disappears or turns into a tremor as the correction fights it. Lower speed, or a control that lets sustained notes stay looser, restores the movement.
Third is formants. Your vocal tract is a fixed tube with resonances that give each vowel its colour. Those resonances sit at their own frequencies and do not move when the pitch moves. Shift a note up a whole tone and you have the pitch of the next note sitting inside the resonances of the current vowel, which is why heavily shifted vocals can sound oddly detached. Formant handling exists to shift those resonances to match, which keeps the vowel intact instead of strangling it.
Fourth is a wrong scale. Set a song in a scale that does not contain the melody and every note gets treated as an error, so the plugin fights a performance that was already correct. This is the single most common cause of a badly tuned vocal, and it is why the key matters more than any other setting.
Fifth is over-editing. Chopping a take into tiny clips, each corrected independently, removes the natural drift between phrases. Singers slide slightly between notes for good reasons, and heavy note-by-note correction leaves a line that feels welded together.
What Do Retune Speed, Retune Amount, and Humanize Control?
These three controls get confused constantly, and each one changes a different part of the process.
| Control | What it changes | Natural correction starting point | Hard-tune starting point |
|---|---|---|---|
| Retune speed | How fast the pitch travels to the target note | 20 to 40 | 0 |
| Retune amount | How far it travels, as a percentage of the way to the target | 70 to 100 | 100 |
| Humanize | How much correctable error is allowed to remain, especially on held notes | 60 to 80 | 0 |
Retune speed is the headline control because it governs the transition shape. Low values produce steps, high values produce gentle slopes. Retune amount governs distance, so lowering it gives you a deliberately detuned or slightly loose layer without slowing the correction.
Humanize is subtler and often the most useful of the three. It selectively relaxes correction on sustained notes, where the ear is most sensitive to a frozen pitch, while leaving short passages fully corrected. Raising it a little at moderate speed is usually better than dropping the speed to zero to chase the same result.
How Does Autotune Handle Timing and Latency?
Autotune corrects pitch, not rhythm. It will not tighten a lazy entrance, straighten a phrase, or move a vocal earlier in the bar. Timing is edited separately with clip nudging, elastic audio, tempo grids and manual comping, and the order matters. Clean the timing first, then correct the pitch, because pitch correction follows the notes where they sit.
What you do get during recording is latency. The plugin must buffer audio while it analyses, decide and process, and that takes longer on a monophonic voice than on a simple compressor. The delay is normally a few milliseconds, but a singer feels it as their performance arriving late, and singers often drift behind what they hear in headphones.
The fix is practical rather than technical. Keep one ear tuned to your own unprocessed voice, raise the buffer size if the plugin stutters during recording, and remember that the delay does not appear on a printed take once the plugin is offline. If you record through it for monitoring confidence, capture the dry signal anyway so you keep the option to change your mind later.
How to Use Autotune Without Losing Vocal Character
The goal is a vocal that sits in tune without sounding repaired. A predictable order gets you there most of the time.
- Record the dry signal. Monitor through the plugin if it helps you sing, but capture the unprocessed take. Printed correction is irreversible, and you may want it lighter later.
- Comp and edit the timing first. Tighten the phrasing, align the consonants and trim the fat. Pitch correction cannot do any of this for you.
- Identify the key properly. Check the chords rather than trusting your memory. Most plugin interfaces also have an automatic key-detection mode that is usually right.
- Set the input type and scale. Tell the plugin the singer and range you are working with, then choose the scale the melody actually uses. If the song has a deliberate chromatic note, edit the scale to include it.
- Start moderate. Retune speed around 30, amount near 100, humanize somewhere above half. Bypass repeatedly while mixing to check that you can still hear the performance.
- Use the fine controls where you hear trouble. Raise humanize or reduce amount on a phrase that has gone stiff. Only drop the speed to near zero when you actually want the hard-tuned effect.
- Automate where the song asks for it. Doubling a chorus, dragging a layered vocal down for width or snapping one word to a wrong note on purpose all work better as written automation than as a global setting.
- Print and listen away from the session. Reference tracks and the dry take make it easy to fool yourself in both directions.
If a take needs heavy correction everywhere, the fastest fix is a second take. Correction rescues a good performance with a few bad notes. It cannot manufacture conviction, and pushing it that far costs you every natural inflection the singer had.
Frequently Asked Questions
Is autotune the same as pitch correction?
No, autotune is one product in the pitch correction category. Pitch correction describes any tool that measures pitch and moves notes toward a target. Autotune is a specific real-time plugin known for one extra capability: at very fast correction speeds it produces the hard-tuned robotic effect. Tuners, DAW pitch tools and graphical editors all correct pitch without doing that.
What is the difference between Auto mode and hard tuning in autotune?
Auto mode is real-time: the plugin listens as you or the singer perform and corrects continuously. Hard tuning is not a mode at all but a setting, created by dropping correction speed to around zero so notes snap to their targets almost instantly. You can hear hard tuning through Auto mode during monitoring, and you can hear gentle correction through a Graph editor pass.
Why does autotune sound bad or robotic on some vocals?
Usually one of four things. Correction speed near zero turns note transitions into steps instead of glides, vibrato gets pulled flat on held notes, large pitch shifts drag vocal tract formants out of place with the vowel, or the chosen key and scale do not match the melody so the plugin fights a correct performance. Slow the speed, add humanize, check the scale and correct only the notes that need it.
Can autotune change the timing of a vocal performance?
Not in the musical sense. Autotune moves pitch, not rhythm, so it will not tighten a lazy entrance or straighten a phrase. Timing is handled separately with clip nudging, elastic audio, tempo grids and manual editing. Do that work first, because pitch correction follows the notes wherever you place them. The only timing effect you will notice is monitoring latency while recording.
Why is there latency when recording with autotune?
The plugin buffers incoming audio while it detects pitch, chooses a target and time-stretches the result, and that processing takes a few milliseconds. Because your voice arrives in headphones late, singers tend to drift behind what they hear. Keep one ear listening to your natural pitch, increase the buffer size if the signal stutters, and record the dry track so the delay disappears from the printed take.
Conclusion
Autotune works in three stages: it measures the pitch of the incoming audio, compares that pitch with the notes of the scale you chose, then time-stretches the waveform so it reaches the target without changing the vocal’s length or timing. Every setting simply adjusts one part of that chain.
So start where correction is gentle. Set the key and scale correctly, leave the speed in the twenties, add some humanize, and bypass constantly to check that the performance survives underneath. Once you like what you hear, the faster settings stop being a risk and start being an instrument you already know how to play.