To become a mastering engineer, you need three things in order: an ear you trust, a monitoring setup you can believe, and a growing pile of finished mixes you have worked on end to end. There is no certificate that unlocks the job. The people who get hired are the ones who can hear a problem, fix it without wrecking the track, and explain what they did. Updated for October 2026.
That last part surprises people. Mastering is as much a service as it is a craft, and studios hand out work based on what clients hear when they press play on a delivery file.
This roadmap takes you from zero to your first paid projects, in the order that actually works.
Table of Contents
- What You Need
- Step-by-Step: How to Become a Mastering Engineer
- 1. Learn the Role and Workflow of a Mastering Engineer
- 2. Build a Reliable Practice Setup
- 3. Develop Critical Listening and Ear Training
- 4. Master Professional Releases Repeatedly
- 5. Learn the Tools and Deliver Standards
- 6. Get Feedback and Complete Real Projects
- 7. Build a Portfolio and Start Offering Services
- Common Mistakes
- Frequently Asked Questions
- Conclusion
What You Need
Six prerequisites, none of which require a commercial studio. Some you already have; the rest you buy or borrow over months.
- A working ear. You should be able to spot a dull hi-hat, a boxy vocal, a smeared low end, and a mix that is simply too loud without thinking about it.
- A quiet, honest listening space. Not a treated commercial room. A treated bedroom beats an untreated living room.
- Two ways of monitoring. Nearfield speakers for the main work, headphones for checking detail and translation.
- A DAW and a plugin bundle. Most general-purpose DAWs handle mastering fine. The dedicated mastering platforms are optional, not required.
- Access to finished mixes. Someone else’s tracks, delivered at whatever bit depth and sample rate they have.
- A second set of ears. A mixing engineer, a producer friend, or a community that will tell you the truth.
- A habit of documenting decisions. Notes on what you changed and why. This is what separates a mastering engineer from someone poking at faders.
What you do not need is a gear list. People on r/audioengineering and GearSpace keep pointing beginners at the same trap: buying outboard mastering hardware before they can hear what they are fixing. The room and the ears come first, always.
Step-by-Step: How to Become a Mastering Engineer
1. Learn the Role and Workflow of a Mastering Engineer
A mastering engineer takes a finished stereo mix and prepares it for release. That is the job description in one sentence: quality control, corrective processing, and delivery for streaming, CD, vinyl, or tape.
The workflow is consistent enough to learn in a week. Start with preparation: get the file, check the sample rate and bit depth, ask the mix engineer what they wanted, find out if the mix was printed through a limiter or a compressor plugin. If headroom is already gone, that conversation changes everything you do later.
Then audition. Play the track start to finish without touching anything, loud enough for detail and quiet enough that fatigue stays away. Reference tracks come next, matched for genre, loudness, and era. Processing follows in a deliberate order: corrective equalization first, gentle dynamics second, stereo and saturation decisions third, limiting last. Quality control closes it, and so does delivery.
Learn where mastering stops. If a mix has a lead vocal fighting a guitar in the same frequency range, mastering cannot fix it. Knowing when to send a track back to the mixer is a mastering skill, and it takes humility to use.
2. Build a Reliable Practice Setup
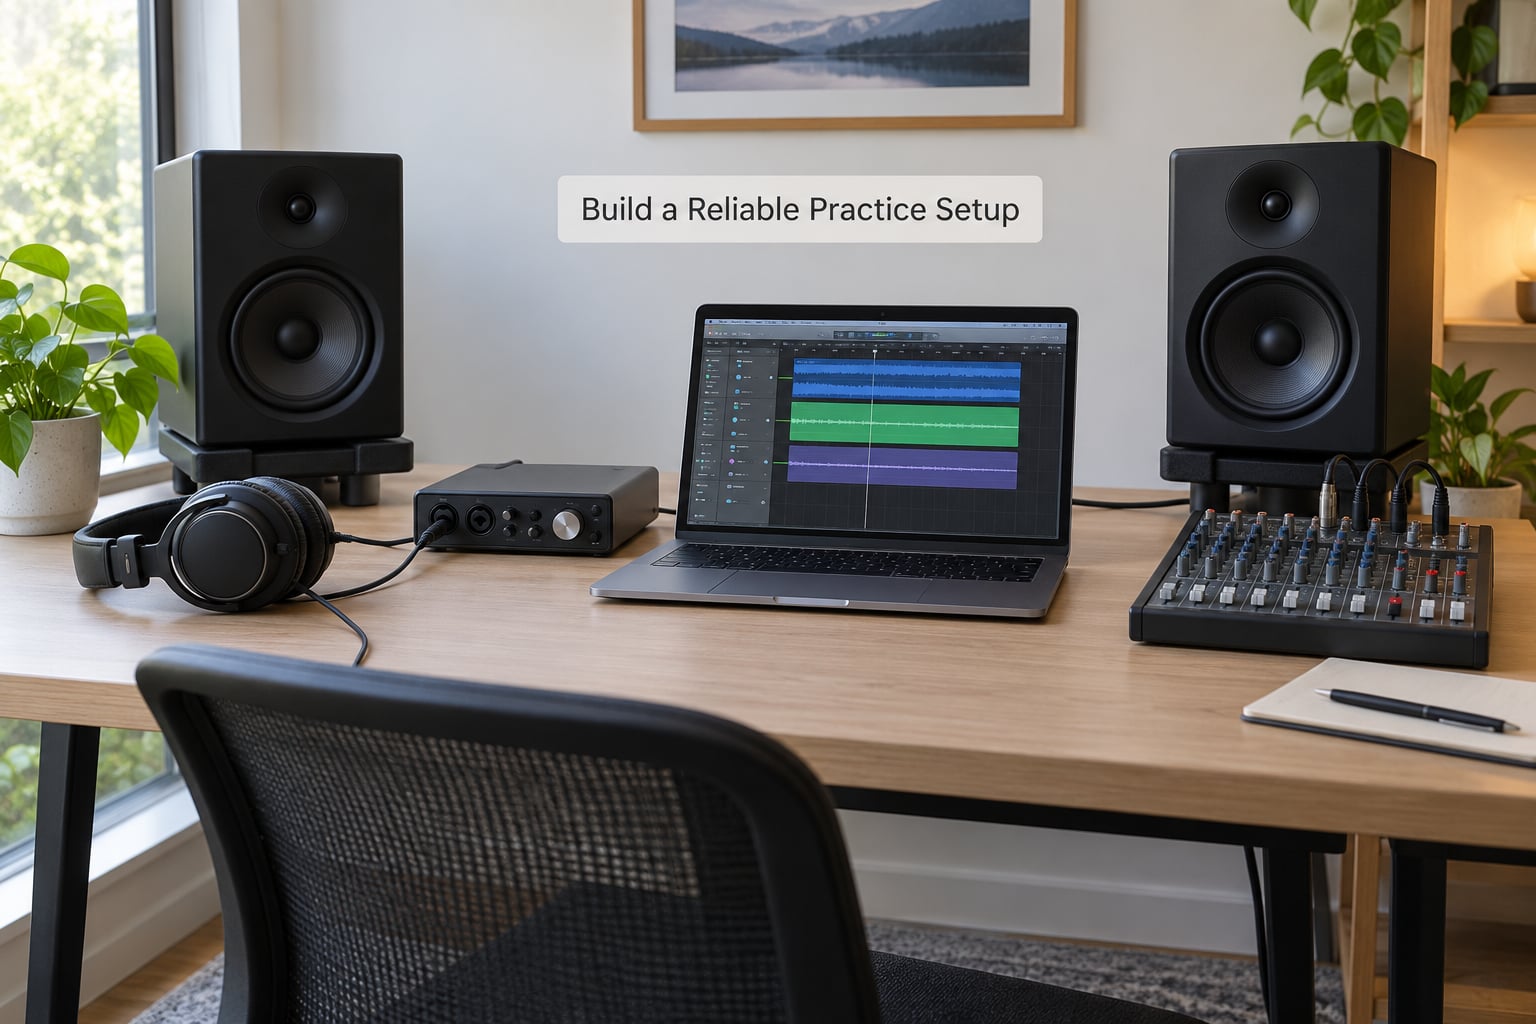
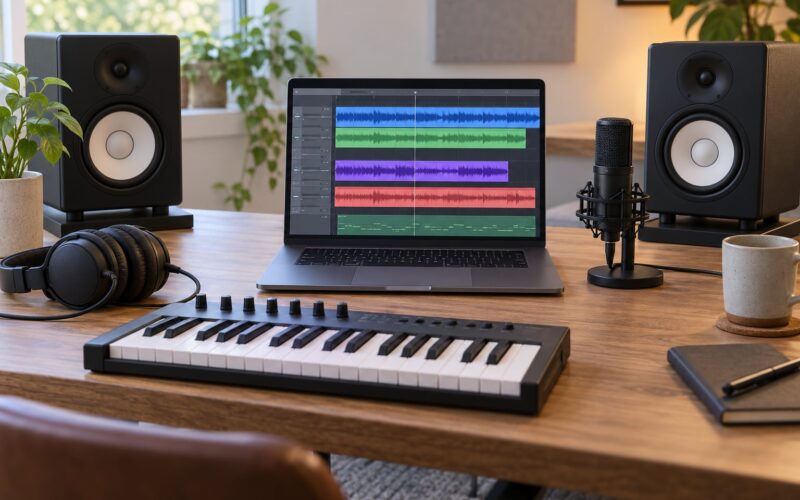
Your setup has one job: reproduce the music honestly and consistently. Build it in that order.
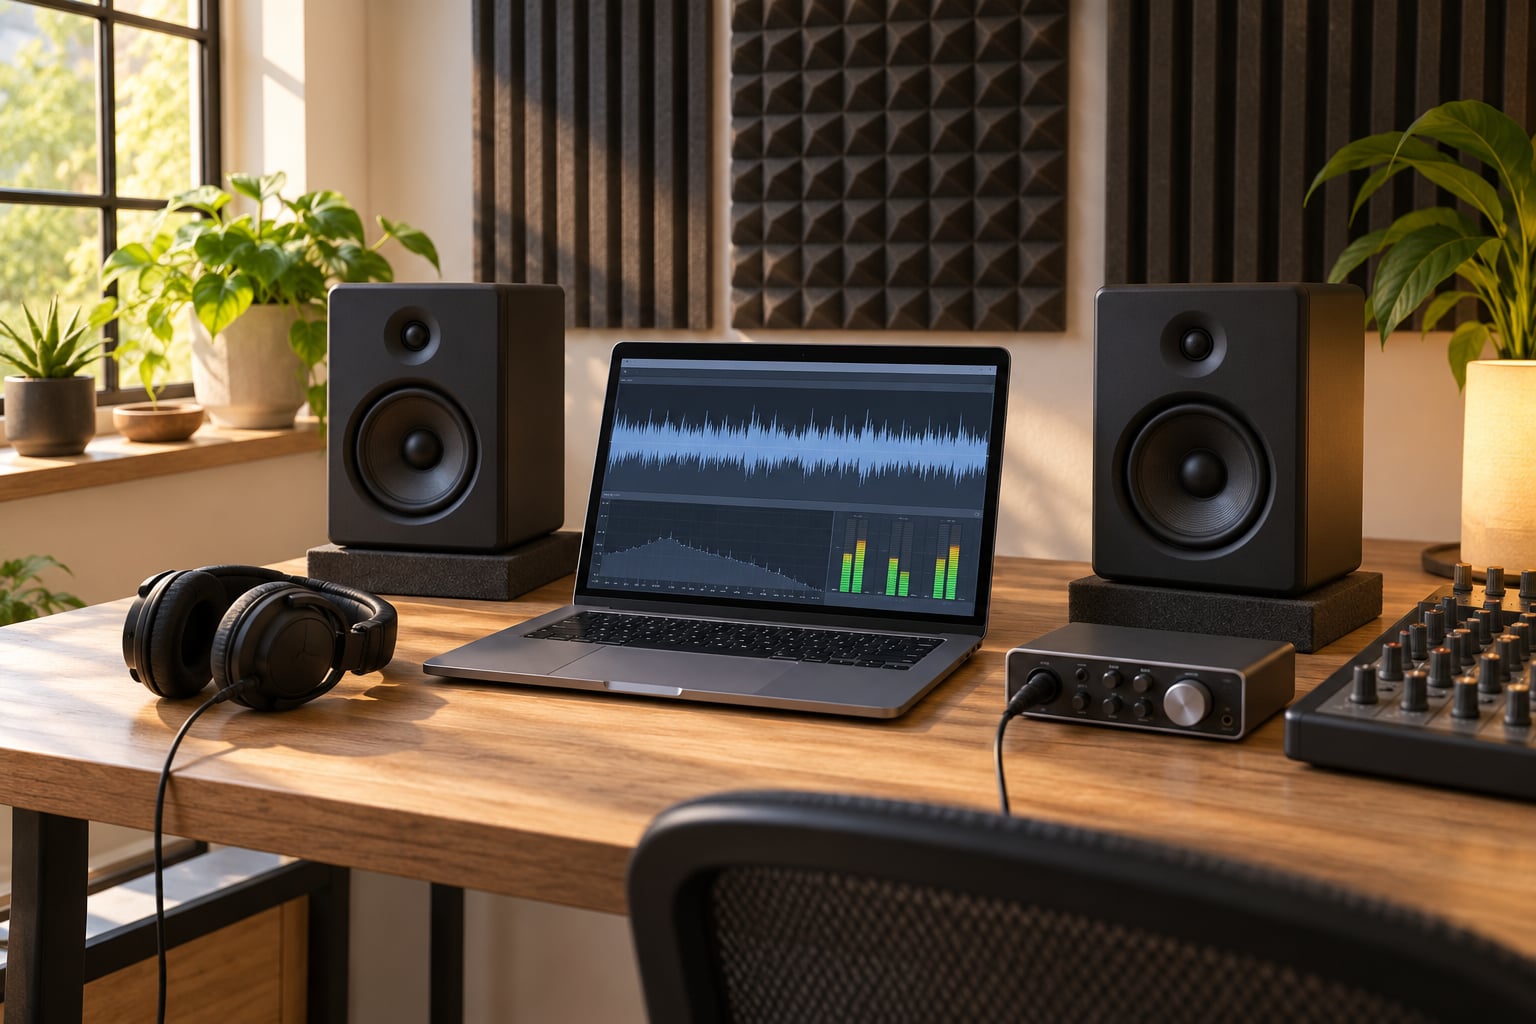
Speakers come before an interface upgrade. Small, sealed, nearfield monitors placed correctly will get you further than an expensive pair shoved against a wall. Position them so the tweeters are roughly at ear height, form a triangle with your head, and keep them away from corners where the bass will pile up.
Headphones are the second leg, not the first. You will finish on speakers, but you will check on headphones, and a cheap pair of closed-back headphones is enough for that job early on.
The interface matters less than people think. Any converter with clean output and a volume control you can trust will carry you through the first year. What matters more is setting a calibrated monitoring level and sticking to it. Play a loudness reference, set the level once, and never touch it again during a session. Changing level between edits is how bad decisions sneak through.
Room treatment beats speaker upgrades in almost every case. Thick absorptive panels in the first reflection points and some low-frequency control in the corners will do more than doubling your monitor budget. If you cannot treat the room, correct what you can and be honest about the rest.
Finally, keep the signal path short and uncolored. One good preamp chain, one monitor controller, one DAW. Every extra converter in the path is another place for a problem to hide.
3. Develop Critical Listening and Ear Training
Listening is the skill. Everything else is technique in service of what you hear, so drills beat courses here.
Try these four:
- Reference drills. Put on a professional release in your genre at matched loudness, then switch to your work at the same level. Note the first thing that separates them, then the second. Write it down.
- Balance drills. Take a mix, solo nothing, and describe the frequency balance out loud in plain words. Being able to say “the low mids are crowded” is more useful than knowing a dB value.
- Imaging drills. Blind a mix, widen it, narrow it, mono it, and rotate it. Learn how it changes when the side content collapses.
- Translation drills. Check the same track on your monitors, on headphones, on a phone speaker, and in a car. Every translation check should end with you writing down what you heard.
Ear training apps help with intervals, but the specific skill you need is different: hearing problems and fatigue. Train that by working at one moderate level for forty-five minutes, then walking away. Mastering quality drops sharply past that point, and knowing your own limit is a professional habit.
One more habit worth stealing from experienced engineers: listen at a low level when you are checking dynamics. At low volume you hear compression pumping, intermodulation, and noise floor problems long before they jump out at full volume.
4. Master Professional Releases Repeatedly
Repetition is the part nobody can shortcut. Take the same mix and master it several ways, then compare the versions honestly.
Start conservative: corrective equalization only, no compression, no limiting. That version is usually too quiet, and that is fine. It is your baseline and it teaches you what the mix already sounds like without your help.
Then produce three more versions. One with gentle equalization and stereo decisions. One adding compression for glue and control. One with limiting and a delivery target. Compare all four, loudness-matched, in a single sitting.
Check the numbers on every pass. Integrated loudness, true peak, dynamic range, and how much gain reduction each processing stage is doing. If the limiter is pulling more than a couple of dB for long stretches, something upstream needs attention rather than more limiting.
Write a short note for each version: what you did, why, and what you would change. Those notes are the raw material for your portfolio later, and they force you out of mastering by habit. Do this weekly for a few months and the decision-making starts to feel obvious.
5. Learn the Tools and Deliver Standards
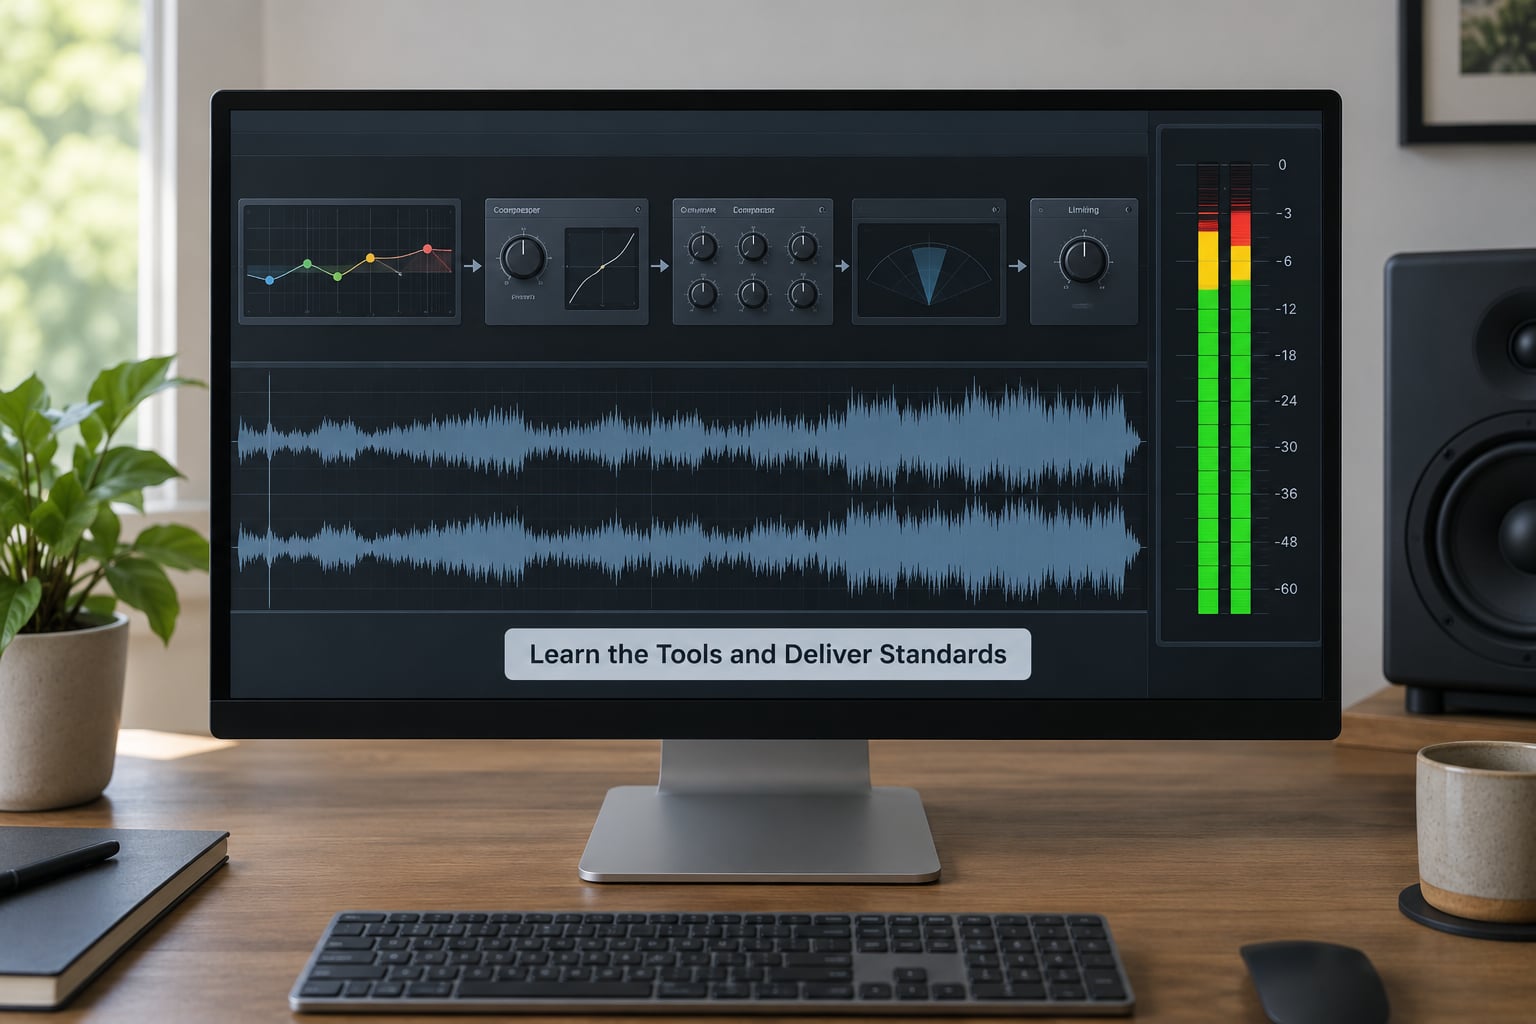
Mastering has a small core toolset. Learn these and you can cover most professional releases.
- Equalization. Subtractive cuts for problems, additive moves for tone. Use it to clear space around what matters.
- Compression. Gentle ratios, slow-ish release, minimal gain reduction. Its job is control and cohesion, not level.
- Saturation. Useful for density and harmonic content, risky when the mix is already busy.
- Stereo imaging. Mid/side processing, mono checks, and depth placement. Check everything in mono before delivery.
- Limiting. The last stage, with a deliberate ceiling. Remember true peak, not just sample peak.
- Metering. Loudness units, true peak, and dynamic range read together rather than peak meters alone.
Delivery is where a lot of beginner work fails, so learn the specs before you ever take a client. Streaming services normalize loudness, which means a master pushed far too hot gets turned down and can lose its impact. Common working targets sit around minus 12 to minus 14 LUFS integrated with a true peak ceiling near minus 0.3 to minus 0.8 dBTP for streaming. CD, vinyl, and cassette each want different handling, and vinyl in particular needs headroom and a proper cutting engineer rather than a louder master.
File preparation counts too: high-resolution export, dithering when reducing bit depth, consistent file naming, and metadata embedded correctly. Getting those details right is what makes a client say yes to a second project.
6. Get Feedback and Complete Real Projects
This is where most self-taught engineers stall, and the forum advice is consistent about it: start doing the work before you feel ready. Someone on the Steve Hoffman forums asked how to break into the industry in their mid-40s, and the top advice was simply to do it non-professionally first and see whether you actually want the professional context.
Three routes that work:
- Volunteer projects. Offer to master finished mixes for free, with clear terms. Put the agreement in writing even when it costs nothing: what you deliver, how many revisions, and that both parties walk away if it is not working.
- Assistantships. Email small mastering studios and ask to assist. Expect to pay for the privilege, and expect to sit quietly while someone else works. This is the fastest way to see real sessions.
- Communities. r/audioengineering, r/mixingmastering, and forums like VI-Control are full of people at your exact stage. Post finished work and ask for specific feedback.
Ask specific questions. “How do I sound better” gets nothing back. “Does the vocal sit too far forward in the second chorus” gets you an answer you can act on.
Also decide early whether you will master your own music. Producers do it constantly, and a beginner can ruin a good mix by chasing loudness. Use the same restrained workflow you would use for a stranger, and get someone else to check the final file.
7. Build a Portfolio and Start Offering Services
A portfolio for mastering is not a list of plugins. It is proof that you can hear a problem and solve it without damage.
Include three or four before-and-after pairs, level-matched so listeners are not fooled by loudness. One vocal-led track, one dense band mix, one album sequence where the point is consistency across tracks. Keep the commentary short: what arrived, what was wrong, what you changed, what you deliberately left alone.
Then write a focused résumé. Studio, software, monitoring, years working, and a link to the portfolio. Mention the formats you deliver and the revisions you include. Specifics build more trust than adjectives.
On pricing, beginners get this wrong in both directions. Too cheap reads as careless, and too expensive reads as untested. Start at the lower end of what your local market pays while you are building credits, quote per track for singles and per album for longer projects, and always state what is included. Decide in advance how many revisions you allow and what a revision means.
Intake matters as much as the mastering. Ask for the mix in the highest available resolution, the reference tracks, the intended release format, and the artist’s goal in one sentence. If the artist expects the master to fix a mixing problem, say so before you start.
Once you have a few finished projects, keep the relationships. Send the artist a message when their next release is out, and stay in touch with the mixers you worked with, because most mastering work arrives through referrals rather than advertising.
Common Mistakes
These come up over and over in the audio communities, and most are fixable.
- Over-processing. Adding processing because the meters moved. Fix: build the version with equalization only, then decide if more is actually needed.
- Mixing during mastering. Rearranging the balance or fixing arrangement. Fix: report the problem to the mixer and ask for a new print.
- Chasing loudness. Treating louder as better until the limiter is working constantly. Fix: pick a delivery target first and stay near it.
- Trusting untreated monitors. Judging low end in an untreated living room. Fix: treat first, correct what you can, and check translation on several systems.
- Mastering an already-squashed mix. A mix printed through a brickwall limiter has no headroom left. Fix: ask for a pre-master print.
- Skipping quality control. Delivering before checking the file end to end for clicks, dropouts, phase, and mono compatibility. Fix: a full listen on headphones, monitors, phone, and in mono.
- Inconsistent delivery. Different naming, missing metadata, wrong sample rate. Fix: a written delivery checklist you run every time.
- Working past fatigue. Making late decisions that undo early ones. Fix: fixed listening level, fixed session length, and a rule to stop and come back.
Frequently Asked Questions
Do you need a degree to become a mastering engineer?
No. There is no degree or certificate that mastering studios require, and plenty of working engineers came from self-taught routes. A degree helps with signal flow and access to internships, but it is not the gate people think it is. What studios look at is work: finished projects, a listening practice, and the ability to explain your decisions.
How long does it take to become a mastering engineer?
Treat it like any skilled trade. You can learn the workflow and produce usable masters in a few months of steady practice, which is enough to charge for work. Being trusted with commercial releases usually takes years, because clients are buying judgment accumulated over a long time. Volume of finished mixes matters more than any course length.
What software and equipment do mastering engineers use?
Most start with a general DAW such as Logic Pro, Pro Tools, Cubase, or Reaper, plus a small bundle of equalization, compression, and limiting plugins. Dedicated mastering platforms like WaveLab, Pyramix, SADiE, and Soundblade exist but are not required to begin. Speakers, headphones, and a room you have measured matter far more than software choice.
Can mastering be learned from home?
Yes, with caveats. Home learning covers the theory, the signal flow, the tools, and the delivery standards without trouble. What it cannot fully replace is sitting in a professional room, and hearing sessions run by engineers with thousands of records behind them. Address that gap with assistantships, masterclasses, and careful study of reference material.
Is mastering harder than mixing?
It is a different difficulty rather than a bigger one. Mixing involves making hundreds of creative decisions from scratch, so it is wider. Mastering involves far fewer moves on a finished piece, so precision and restraint are everything. Many mixers find mastering difficult precisely because they are used to adding rather than correcting.
How do mastering engineers get their first paid clients?
Most first clients come from people you have already worked with, not from advertising. Master free or reduced-rate projects for local artists, bands, and podcast producers, then tell those clients what you did and ask for referrals. Mixing engineers are a strong referral source. Staying visible in communities like r/audioengineering and professional audio forums keeps the pipeline full.
Conclusion
To become a mastering engineer, start with four actions this week. Learn the workflow properly, from preparation through delivery. Fix the weakest part of your monitoring setup, whichever that turns out to be. Master a finished mix from someone else four different ways and write down what changed. Then send one project out and ask for specific feedback from an engineer you respect.
The people who make a living doing this are not the ones with the best gear. They are the ones who have heard a lot of music, fixed a lot of mixes, and never got too attached to their own decisions.