To make short video clips from a song, pick the 15 to 30 seconds of audio that best represents the track, drop it on a timeline in a video editor, lay your footage or stills over it, cut every shot on a beat or a lyric, then export a 1080×1920 vertical file and upload it. Budget 30 to 60 minutes for the first one.
This query means three different things, so it is worth saying which one you are here for. Mostly it is about taking a song you own and turning it into a batch of short clips. Sometimes it is about cutting a highlight out of a long video you already shot. And sometimes it is about adding a song you do not own to footage you already have. The first two are covered below. The third gets its own short section near the end, because the copyright rules are different.
Everything here works with free software. CapCut on a phone and DaVinci Resolve on a computer both do the whole job, including beat detection.
Table of Contents
- What You Need
- Step-by-Step: How to Make Short Video Clips From a Song
- Common Mistakes and Easy Fixes
- Frequently Asked Questions
- How long should a short video clip from a song be?
- What is the best video editor for making music video clips?
- Can I use a snippet of a song I do not own in my clip?
- Do I need captions on a music video clip?
- What aspect ratio should I export for TikTok, Reels and Shorts?
- Can AI tools make a music video from my song?
- Conclusion
What You Need
A short-form music clip is a 15-to-60-second vertical video built around one memorable section of a track, cut to the beat and posted to TikTok, Instagram Reels or YouTube Shorts. Making one needs four things, and only one of them costs money.
- Your audio. A WAV export straight out of your DAW is best. MP3 works fine. Whatever you have, listen to it once on headphones before you cut, because compression artifacts you cannot hear in your studio will show up in a phone speaker.
- Visuals. Phone footage, live performance clips, studio process shots, your cover art, or a single still image with slow movement on it. All of these work. Fifteen seconds does not need a narrative.
- An editor. Free options: CapCut, DaVinci Resolve, iMovie, InShot, Kdenlive. Paid: Premiere Pro, Final Cut Pro, Filmora. AI generators such as Runway, Kling and Pika are a different workflow, covered further down.
- Captions. Most people watch short clips muted. CapCut, Premiere Pro and Capella all have auto-caption features, or you can type them yourself in about two minutes.
- A target format. Decide where the clip is going before you edit, not after. Vertical for Reels, TikTok and Shorts; square for feed posts; horizontal only for YouTube.
Which editor to pick
| Method | Cost | Learning curve | Beat-sync control | Best for |
|---|---|---|---|---|
| CapCut (phone and desktop) | Free, paid tier optional | Very low | Automatic, adjustable | Beginners posting the same day |
| DaVinci Resolve | Free | Medium | Manual, with beat markers you place yourself | Precise edits and anyone who will grow into it |
| InShot / iMovie | Free, InShot has a paid tier | Very low | Limited | One clip, one phone, no fuss |
| Adobe Premiere Pro | Paid subscription | High | AutoCut plus Essential Graphics | Editors who already live in it |
| AI music video generators | Free tier with limits, then credits | Low | Automatic but not editable | Abstract visuals, not story or performance footage |
Step-by-Step: How to Make Short Video Clips From a Song
The workflow runs from the audio outward. Decide which part of the song you are using, choose the format and a visual idea, gather footage, build a rough cut on the beat, add text and branding, check it on a phone, then export the version the platform actually wants.
1. Choose the Best Part of the Song
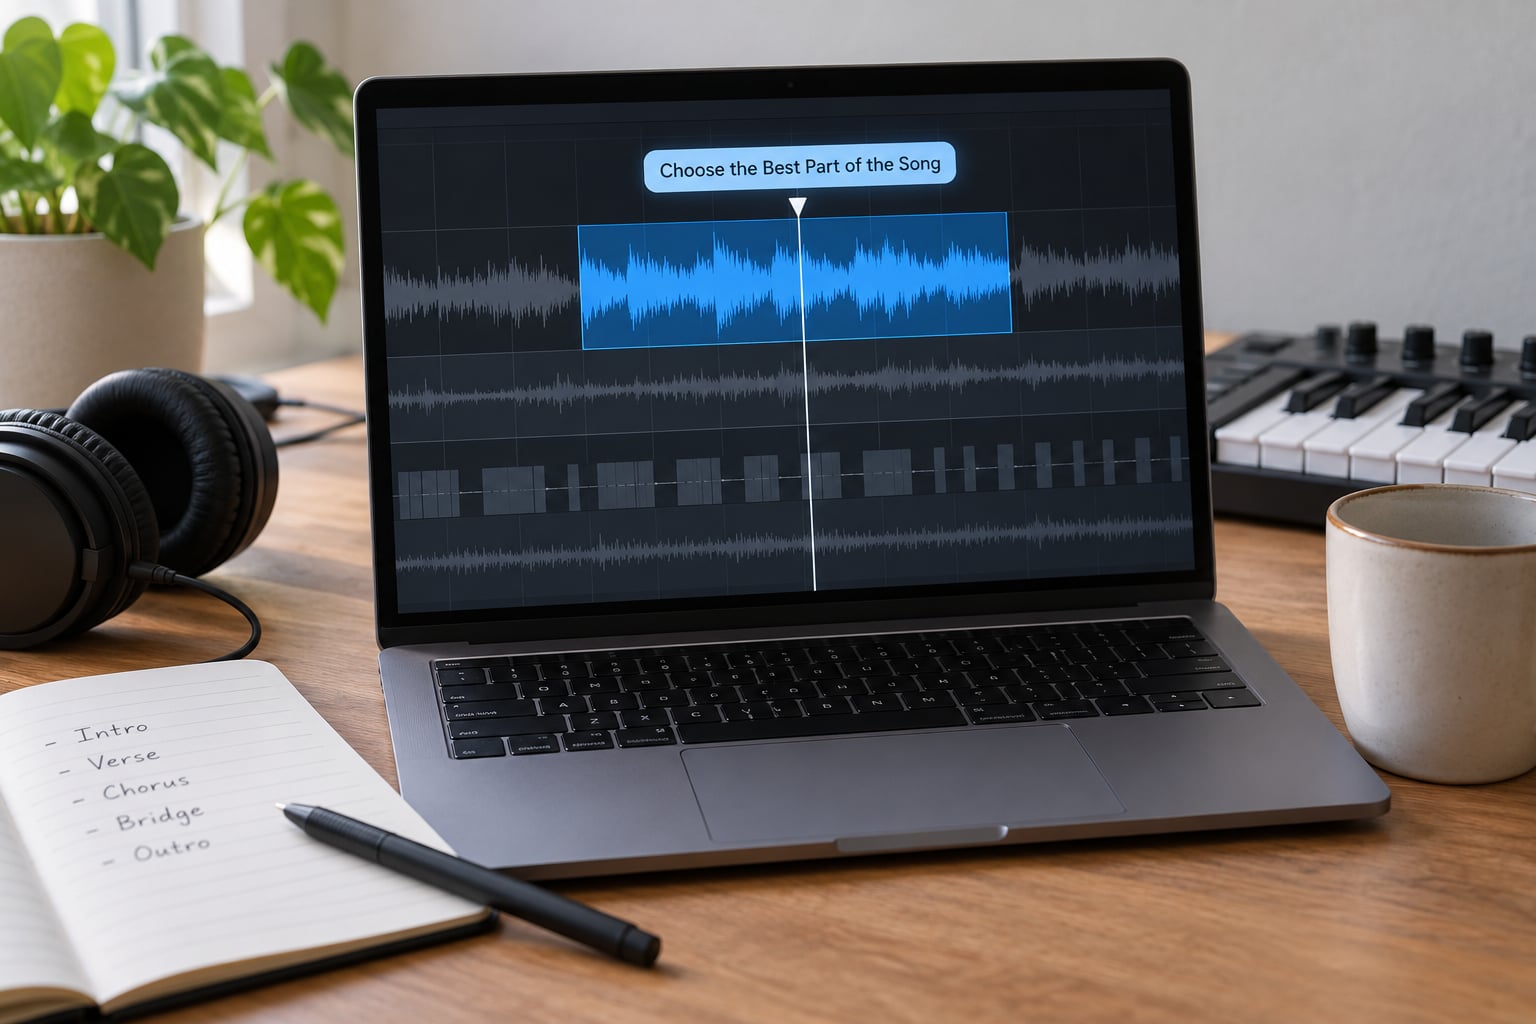
Pick the section before you open any software. This is the decision that decides whether the clip works, and it takes two minutes with a pen.
Listen through the full track and mark every moment that would survive on its own: the hook, the chorus, the drop, a bridge that flips the mood, or the instrumental break. A good hook clip is usually 15 to 30 seconds of the part someone would hum after hearing it once.
Skip the intro unless the intro is the identity of the song. The first seconds of a clip decide whether someone keeps watching, and most intros are built to sound good in context rather than cold.
One trap: cutting on the beat is not the same as cutting on the phrasing. If a line lands slightly ahead of or behind the grid because the vocalist pushed it, cutting on the grid makes the edit feel stiff. Cut where the voice goes.
A useful second pass: play your candidate section twice in a row as one loop. If it still holds your attention on the second pass, it will hold a stranger’s on the first.
2. Decide the Video Format and Concept
Format follows destination. 9:16 vertical for TikTok, Reels and Shorts. 1:1 square for feed posts and some carousel slots. 16:9 horizontal for YouTube previews and embedded players.
Vertical is the default choice for music promotion, because those feeds are watched full screen on a phone held upright. Shooting horizontal and then cropping it to vertical usually means half your frame disappears, so shoot vertical unless you already have the footage.
The concept is one sentence: what is the viewer watching? Four that work reliably are performance footage, a lyric video, the studio or writing process, and a short story about the track. Pick one and stick to it for the length of the clip.
Mixing two concepts in fifteen seconds reads as indecision. The best-performing music clips I have seen are often the simplest: one person, one camera angle, a strong hook.
3. Create or Gather Visual Footage
Record more than you think you need. Fifteen seconds at 30 fps is 450 frames, and if you cut every two seconds you will use seven or eight shots. Shoot twenty seconds of material and you have room to be wrong.
Keep each shot between one and three seconds. Longer shots feel static on a phone screen, and the fastest-scrolling feeds punish anything that holds without movement.
For performance footage, shoot slightly wider than the performer so you have crop room, and get at least one clean take of the hook with no talking over it. For process footage, the boring middle of a session is usually the good part: tuning a mic, punching in, scrolling a playlist.
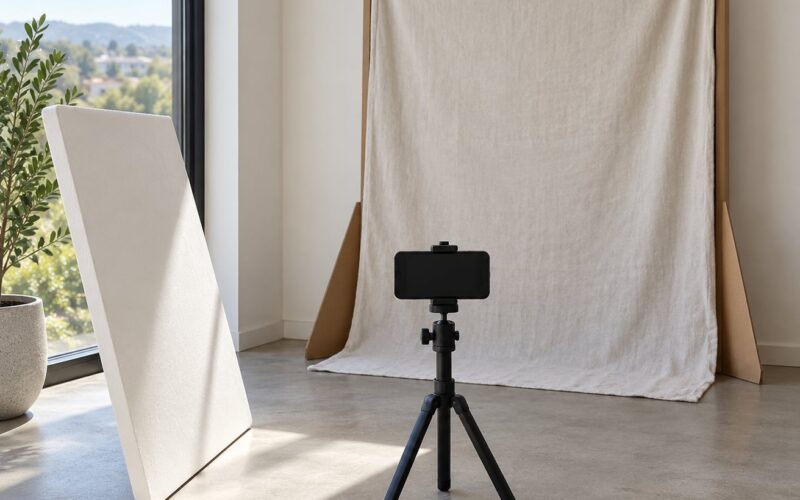
Lighting matters more than camera. A phone near a window, pointed at the subject, will beat an expensive camera in a dark room every time.
4. Build the First Edit
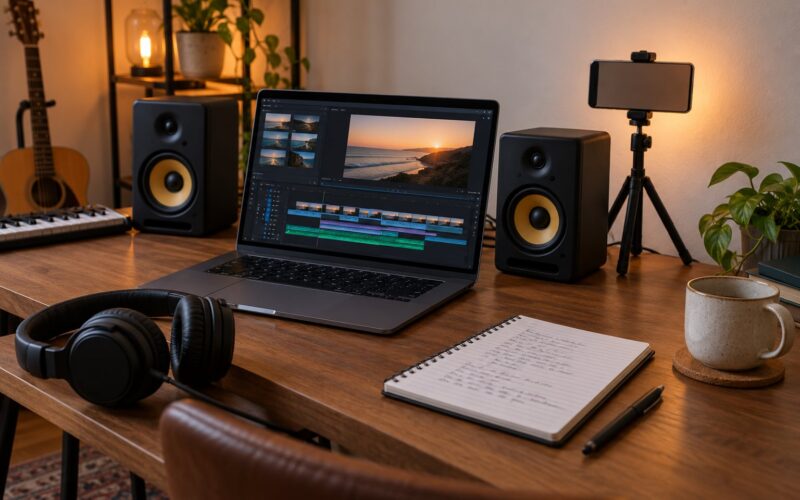
Drop your chosen audio onto the timeline first, then the footage. Most people do it the other way round and end up fighting the music.
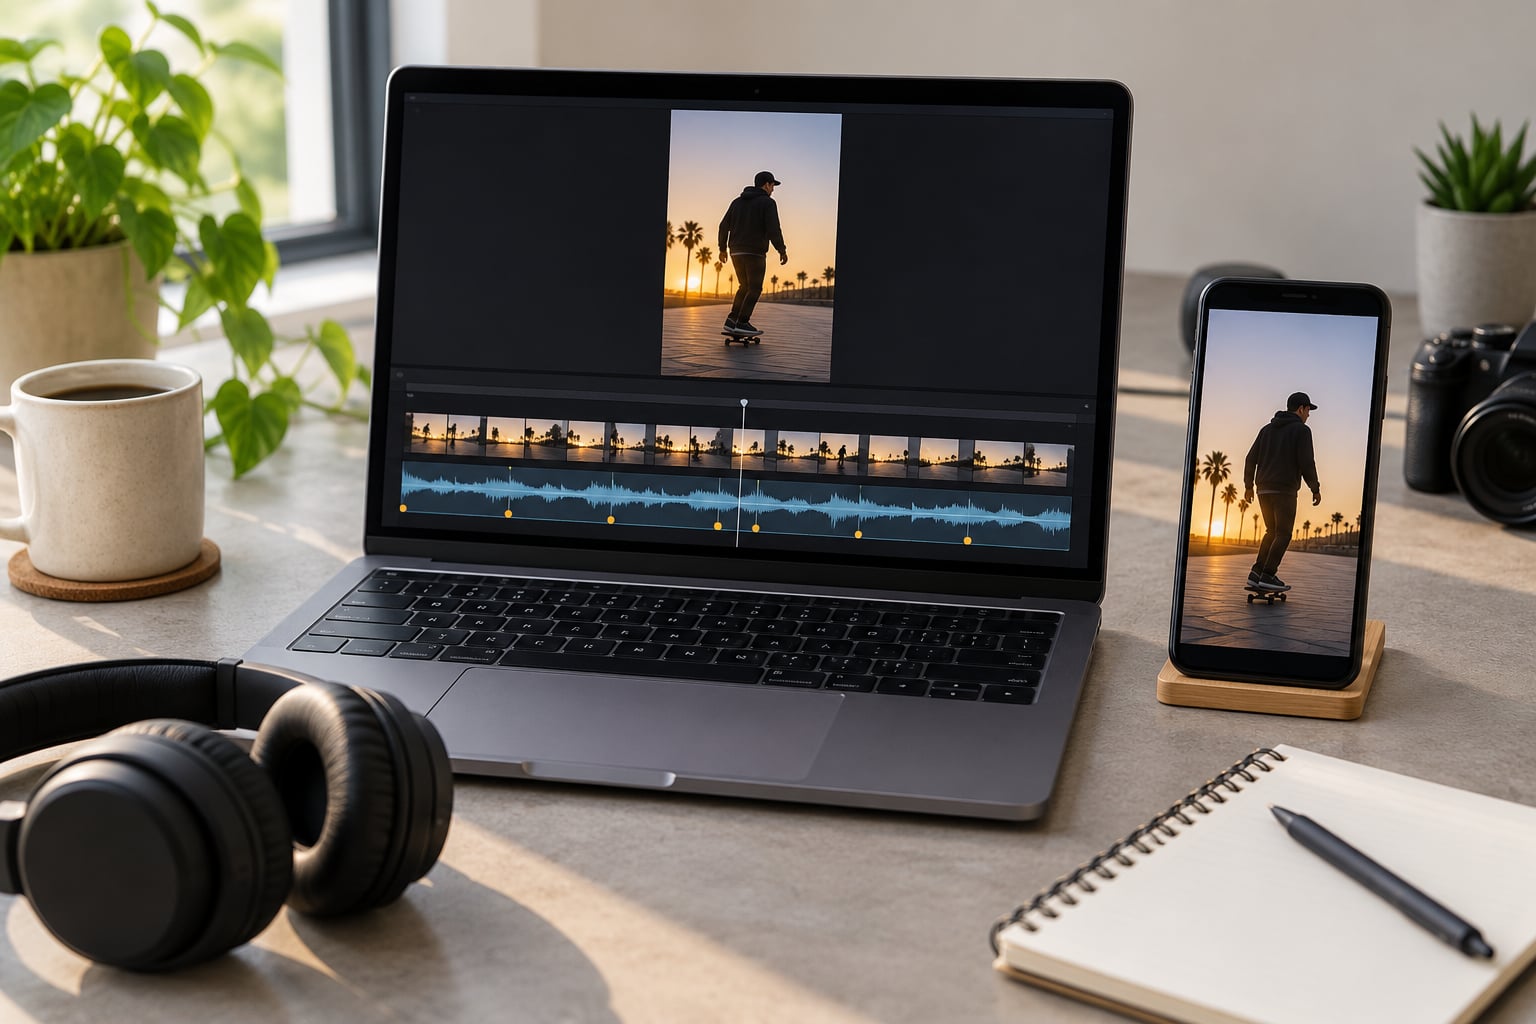
Run the editor’s beat detection. CapCut has beat sync built into the clip tool, DaVinci Resolve can place beat markers on the audio clip in the Inspector, and Premiere Pro has auto-cut that detects silence and transients. Each one drops a marker on a beat or a percussive hit.
Cut your video so each shot change lands on one of those markers. That is the whole trick, and it is why clips cut to music feel better than clips that merely have music under them.
A beginner in a DaVinci Resolve thread put it better than most tutorials: edit to the music with straight cuts first, then only add flash. Effects added before the cut is right hide a bad edit rather than fix it.
Use straight cuts for the first pass. Hard cuts, no dissolves, no spinning transitions. Once the edit works without decoration, add a transition only where the music needs a lift, usually on the drop.
Keep the strongest visual in the first two seconds. Not the best-looking shot, the most interesting one: a face, a hand on a fader, a surprise. Everything after that is the payoff.
5. Add Captions, Branding, and Sound Effects
Captions are close to mandatory, since a large share of short-form views start muted. One or two words on screen at a time, matched to the lyric or the section name, and never more than eight words in one card.
Type them yourself for anything you care about. Auto-caption tools get proper nouns wrong, and a misspelled song title in your own promo is the kind of detail people notice.
Branding should be small and constant: a handle in one corner, or a logo that appears for the last two seconds. Keep it out of the lower and upper edges of the frame, where the platform UI covers it.
Sound effects are optional and easy to overuse. A single whoosh on a transition is plenty. If you are ducking music under a voiceover, drop the music by about 6 to 9 dB rather than to silence, which sounds abrupt on phone speakers.
6. Check the Clip on Mobile
Send the file to your phone and watch it there. Every error I have shipped came from reviewing on a laptop screen.
Check five things: is the text readable at arm’s length, is the audio balanced with the voice or the mix, do the cuts land on the beat after compression, is anything important hidden behind the platform interface, and does it still read with the sound off.
Also watch it twice. The second time is when you notice the shot you will regret at second four.
If something is cropped differently on the phone than in your editor, fix it in the editor now rather than trusting the platform crop to be kind to you.
7. Export and Publish the Right Version
Export separately for each platform instead of uploading the same file everywhere. The file sizes and safe areas differ, and re-cropping in the app usually costs quality.
| Platform | Max length | Aspect ratio | Resolution | What to watch |
|---|---|---|---|---|
| TikTok | Up to 10 minutes | 9:16 vertical | 1080×1920 | Interface covers roughly the top 250 pixels and the lower 350 pixels of a 1080×1920 frame; keep captions out of both |
| Instagram Reels | Up to 3 minutes | 9:16 vertical | 1080×1920 | Bottom band is covered by the caption and audio buttons, so keep text above it |
| YouTube Shorts | Up to 3 minutes | 9:16 vertical | 1080×1920 | Title overlays the lower area, so leave a gap before the end of the clip |
Export settings most short-form platforms handle well: H.264, 1080×1920, 30 fps, around 10 to 16 Mbps bitrate. Music video shots with a lot of film grain can go higher without looking bad.
Post a 15 to 30 second clip as one upload. Some creators stitch several clips into a single post, which is fine, but each clip still needs its own hook in its opening seconds, or the first one carries the whole post.
Upload with the song title and a direct call to action in the caption. Platforms do surface original sound to listeners more reliably when the audio is attached to the post rather than imported from a separate library.
Make more than one. A finished three-minute track will yield a dozen or more clips across its sections, and posting them across a fortnight matters far more than the quality of any single edit.
Beyond clipping: adding a song you do not own
Different job, different rules. When you add someone else’s recording to footage, most platforms give you a licensed library of audio cleared for use inside their own app. TikTok’s Commercial Music Library and YouTube’s Audio Library both work that way: you search inside the platform, use the track there, and the licence covers that platform’s use.
Uploading your own audio file with someone else’s song in it is a different situation, and it can be matched by Content ID even when you use only a few seconds. The rights holders’ system fingerprints audio and compares it to registered recordings.
Short is not a loophole. It is a copyright question with jurisdiction, contract and fair-use arguments attached, and it is decided by rights holders and platforms rather than by you. For anything commercial, use a library cleared for it, or get written permission.
One more case worth naming: cutting highlights out of a long video. Same toolset as above, but you are choosing shots instead of choosing a song section, and the audio usually comes with the footage.
Common Mistakes and Easy Fixes
Choosing a weak section of the song. The clip is technically fine and nobody finishes it. Test three candidates side by side, keep the one that still holds on repeat.
Starting too slowly. A logo card or a slow fade at the top of a 15-second clip is a third of the runtime spent on nothing. Open on motion.
Using horizontal footage in a vertical frame. Cropping in post leaves a small, awkward subject. Crop before you record, or shoot vertical.
Too many effects. Three transitions in a 15-second clip is three too many. Straight cuts, then one accent on the drop.
Clipped or buried audio. If the master is loud, the peak can clip on export and the platform will compress it further. Leave a little headroom and check on a phone speaker.
Relying on auto-captions. They mangle names and titles. Use them for placement, then correct the words.
Text under the interface. Anything in the bottom fifth of a vertical frame can be covered by buttons. Move it up.
Ignoring the copyright question. Assuming a few seconds is free is the most expensive mistake on this list, because the claim can land months later. Check the platform library rules before you upload.
One clip instead of a batch. Finishing the first edit usually takes an hour. The next five take twenty minutes each, because the setup is already there.
Frequently Asked Questions
How long should a short video clip from a song be?
For TikTok, Instagram Reels and YouTube Shorts, 15 to 30 seconds is the most useful range for music. It fits inside a single scroll without losing attention, and it usually contains one hook or one chorus. Longer clips work for storytelling or live performance edits, up to the platform limits. Shorter clips under 10 seconds work best as teasers that point to the full release. If you can only edit one length well, do 20 seconds.
What is the best video editor for making music video clips?
CapCut is the lowest-friction choice: it runs on a phone, has automatic beat sync, and needs no subscription for the core work. DaVinci Resolve is free on desktop and gives you precise control if you want manual beat markers and proper audio control. Adobe Premiere Pro is the strongest option if you already know it, since AutoCut and Essential Graphics speed up assembly. Pick based on the device you already edit on rather than on feature lists.
Can I use a snippet of a song I do not own in my clip?
Using a few seconds of someone else’s recording is still a copyright question, and short length is not an automatic exception. The safer route is to search inside the platform for a track in its licensed audio library, since the licence covers use on that platform. Uploading your own file containing their recording can be matched by Content ID. For commercial or monetised use, get written permission or use audio that is licensed for it.
Do I need captions on a music video clip?
Yes, because a large share of short-form viewing starts muted, and the on-screen words are what hold a viewer when the sound is off. Keep captions short, matching the lyric or section name, and place them away from the top and bottom of a vertical frame where the platform interface covers them. Type them yourself rather than trusting auto-captions, which regularly misspell names and titles.
What aspect ratio should I export for TikTok, Reels and Shorts?
Export 9:16 vertical at 1080×1920 for all three, at 30 fps, in H.264 at roughly 10 to 16 Mbps. Horizontal 16:9 material cropped to vertical loses most of its frame, so record vertical in the first place. Keep captions out of the top and lower fifth of the frame, where the platform buttons and caption overlay sit. Export a separate file per platform rather than re-cropping inside the app.
Can AI tools make a music video from my song?
Yes, and they are useful for abstract visuals, lyric motion and quick style tests. The trade-off is control: most generators produce results you cannot edit frame by frame, and characters and styles often shift between scenes on anything longer than 30 seconds. For performance footage, a story, or anything where timing matters, a manual editor beats an AI generator. A common workflow is generating visuals with AI, then cutting the final clip by hand to the beat.
Conclusion
Three things to do first, in this order. Listen through the track and pick the 15 to 30 seconds you would play for a stranger. Decide the format and the one-sentence visual concept before you open any software. Then build a straight-cut edit with every shot change landing on a beat, and check it on a phone before adding anything else.
Captions and branding come after that. Once the first clip works, keep going: one song carries a dozen clips, and a fortnight of steady posting beats a single perfect edit every time.