Preparing for your first studio session means finishing every decision that would otherwise eat your paid recording hours: settling the song arrangement, learning your part until it is boring, choosing reference tracks, packing what you need, and getting your voice and body ready. Do that work at home and the room becomes a place where you perform instead of a place where you figure things out.
It takes about a week of honest rehearsal for most first-timers, spread across evenings rather than crammed into one weekend. The hardest part is not the gear or the paperwork. It is making the decisions in advance so you are not making them at the microphone, on a clock, with an engineer waiting.
Table of Contents
- What You Need Before Your First Studio Session
- Step-by-Step
- Common Mistakes
- Frequently Asked Questions
- How long should I practice before going into the studio?
- What should I do before recording vocals?
- What should I record first when tracking a song?
- How do I stay calm in the studio when the red light goes on?
- What does a recording studio usually provide?
- How do I work with a recording engineer as a beginner?
What You Need Before Your First Studio Session
You need very little to walk in prepared: one clear goal for the session, a song you have rehearsed, printed lyrics or charts, two or three reference tracks, identification and your session paperwork, and a way to back up any files you bring.
| Item | Why you need it |
|---|---|
| One written goal for the session | Polished demo, vocals for one song, or a beat exploration. Without it you will record six songs badly instead of one well. |
| Settled arrangement | Structure, tempo, key, and what each part does. Settling this in rehearsal is the cheapest time you will ever spend. |
| Printed lyrics and charts | Paper is faster than scrolling, and you stop guessing at structure in the booth. |
| Two or three reference tracks | They explain what you want far better than adjectives. More than three and you get indecision instead of direction. |
| Photo ID and session paperwork | Most studios require it before you enter the control room. Confirm the rate, the block length, and the overtime rate before the date, not on it. |
| Two backups of every file | One on a labeled drive, one in cloud storage. A failed drive on session day is not a small problem. |
Ask the studio directly what the room already has. Microphones, stands, cables, mic clips, backline, a tuner and pop filters are standard in most rooms. Picks, fresh strings, drumsticks, a rehearsal amp, water and snacks are usually yours to provide.
Leave new gear at home. A pedal you bought last week, a new string set you have not played with, a preamp you have never heard a sound through — these are variables nobody needs on a first date. Bring the guitar, interface or mic you already trust, because familiarity is the whole point.
Step-by-Step
Step 1: Define What You Want to Record
Decide what a successful session looks like before you decide anything else. A first booking is usually one of three things: a polished demo of a single song, vocals recorded over a finished beat, or a set of beat variations for comparison.
Write it on one line. “Record final vocals for one song, three takes each, printed and bounced by session two” is a goal. “Work on some music” is not, and it is how people burn four hours and leave with nothing usable.
Your readiness check is simple: you could describe the finished result to a stranger in one sentence, and you know which songs are in and which are out. Everything you bring should trace back to that sentence.
Step 2: Organize and Rehearse Your Material
Pick the songs you are actually recording and lock the arrangement for each one. Structure, tempo, key, entry points, who sings the last chorus, where the drums drop out. Write the changes down.
Then rehearse. The advice that repeats most on recording forums is unglamorous and correct: woodshed until the song is second nature, so paid hours are not spent sorting out basics. On the Music StackExchange thread about practicing before a session, that is exactly the argument people make — practice time is the cheapest substitute for studio time.
Rehearsing too long is its own failure mode. If you rehearse a song two hundred times, you stop making decisions in the room and start reciting a memory, and the take goes flat. Sixty solid repetitions with a rehearsal amp and a recorder is plenty.
Your readiness check: you can play or sing the whole song without stopping, and you can name the section where the arrangement changes. Put a marker on the last chorus so nobody has to guess where to come in.
Step 3: Prepare Your Files, Gear, and Reference Tracks
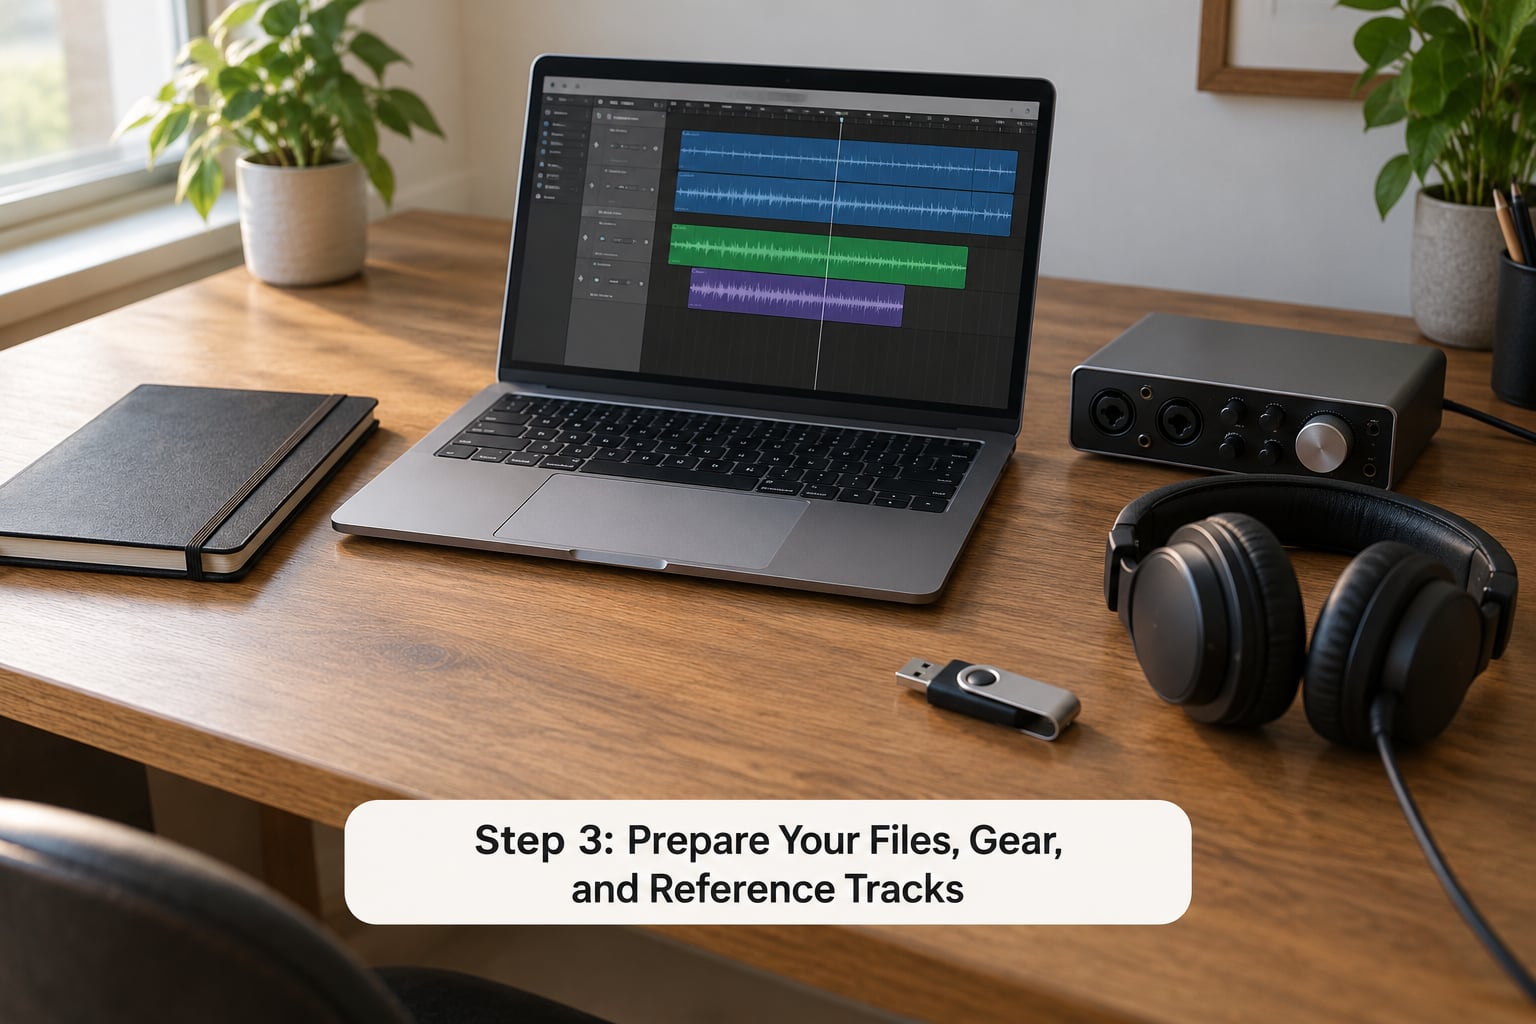
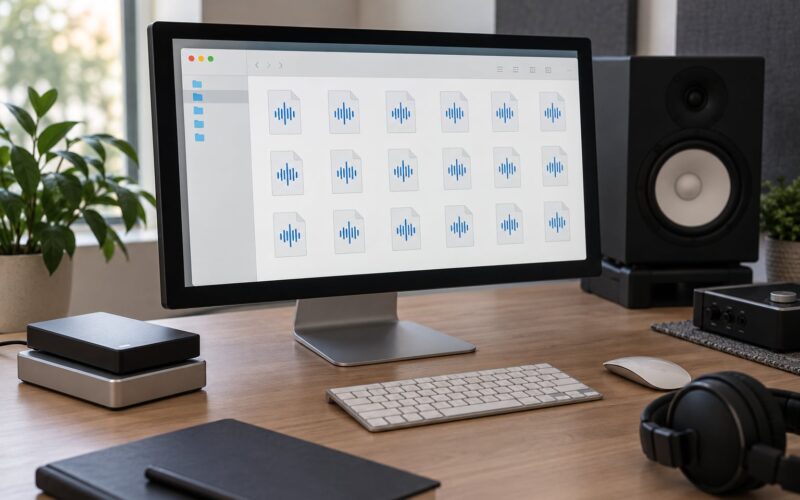
Build one clean folder for the session and put everything inside it. Name files the same way every time: song title, then version, then date. Bounce your reference demo, your beats or stems, your lyrics as a PDF, and your arrangement notes.
Copy that folder to a labeled flash drive and upload it to cloud storage before you go. Two copies, different places. Recording yourself at home first is also worth the hour — vocalists who do this consistently say it takes the fear out of the first take, because you already know what the microphone sounds like on your voice.
Reference tracks do the job that adjectives cannot. Pick two or three and note what you want from each: one for vocal tone, one for the drum sound, one for the arrangement or the mix feel. On the GearSpace thread about a first artist session, engineers stress that arriving with something specific to listen to saves an hour of guessing.
Your readiness check: every file opens, every track plays, and you can name the two minutes of music the finished thing should resemble.
Step 4: Know the Studio Routine and Studio Etiquette
Know who the room belongs to before you walk in. The engineer runs the session technically and decides nothing about the music unless a producer is present. The producer makes creative calls. You make the ones about your performance. Beginners who freeze in the booth usually freeze because they assume the engineer is judging them; he is watching levels.
Sessions are booked in blocks, usually two or three hours, and the first twenty minutes go to setup: microphones placed, levels set, talkback and the headphone mix built, a line check if anyone is playing live. Engineers set up the session in the DAW and prepare the headphone mix with talkback before the artist arrives, so the room is calm when you get there.
Etiquette for beginners is unglamorous and easy. Arrive fifteen minutes early. Silence your phone. Take calls outside. Do not drink anything on the microphone. Ask permission before touching cables, stands or gear you do not own. If you need to hear something louder, ask for a monitoring level change rather than standing on your toes. Bands: keep still between takes, and remember fabric rustles more than you expect — jeans or slacks beat loose trousers.
Your readiness check: you know the session start and end time, the overtime rate, and where to park. Nobody has ever regretted arriving ten minutes early.
Step 5: Record With a Professional Mindset
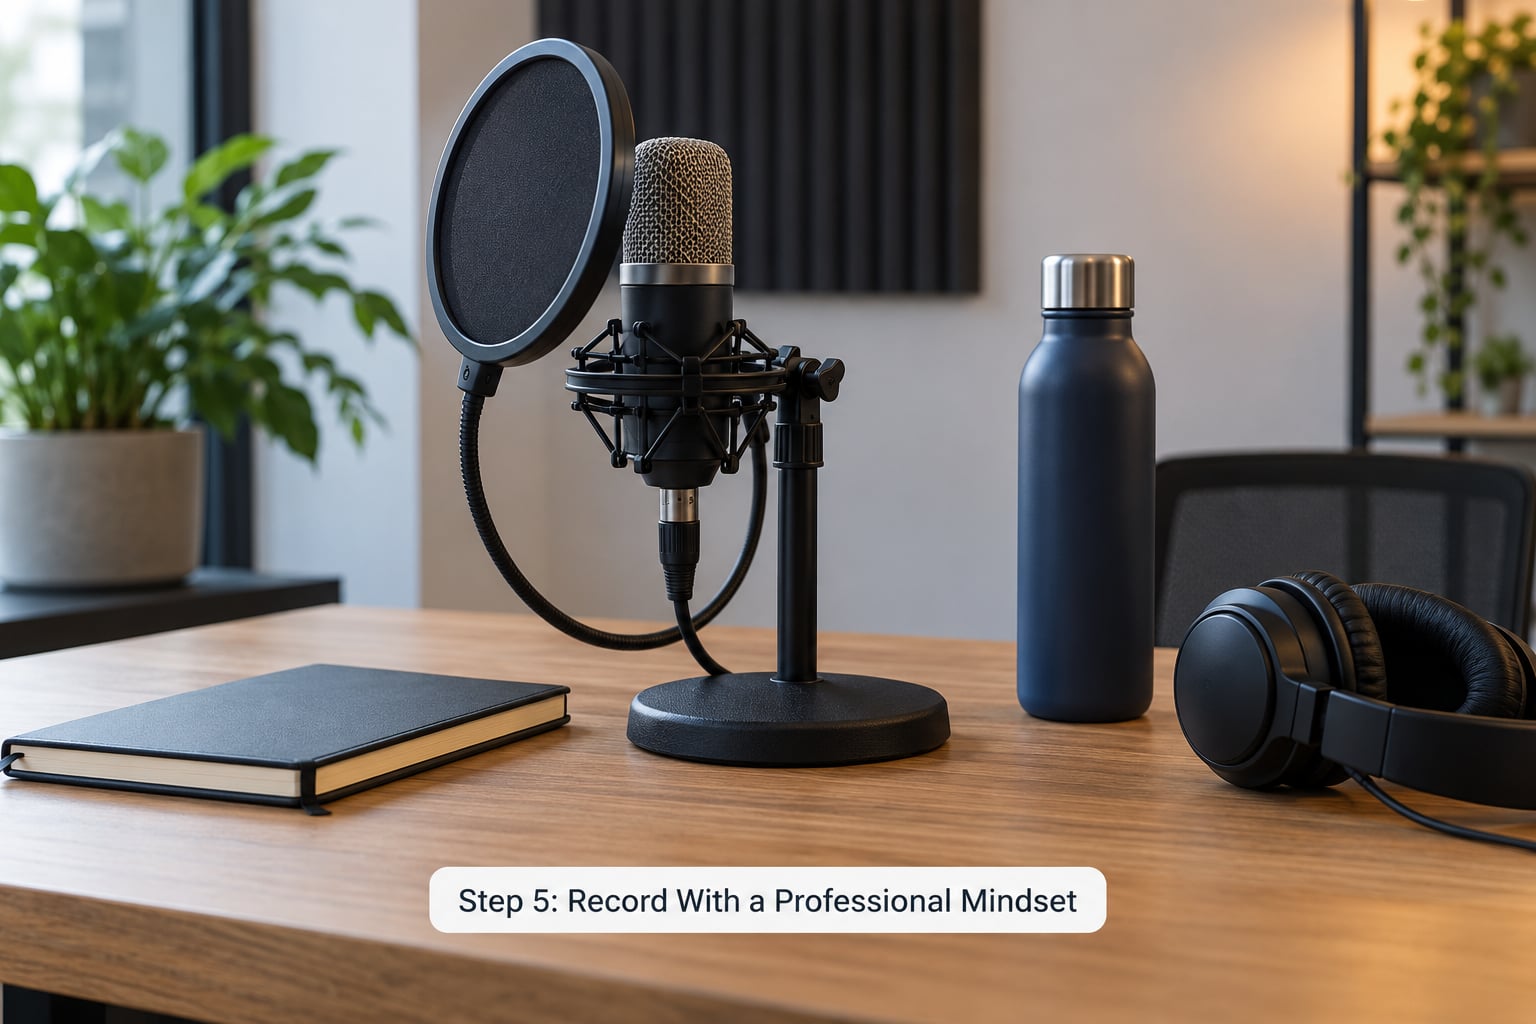
Warm up before the red light comes on, not after. Singers: aim for roughly twenty minutes of humming, gentle lip trills, scales and a few siren slides on the way in, and keep water at hand at room temperature. Drink steadily through the session rather than downing a bottle at once. Get a full night’s sleep beforehand if you can, eat normally, and skip dairy, alcohol and heavy meals on the day.
Then focus on one take at a time rather than the whole song. Nobody has ever recorded a great take by listening to themselves critically the entire way through. Listen back once, decide what to fix, fix that thing.
Accept that take one will be rough. That is expected, not a warning sign. Three to five takes per section is plenty, and you can always comp the best parts later. If you are still not happy after take five, stop and talk to the engineer about the setup, because the problem is usually technical and it is cheaper to fix now than at the last minute.
When you freeze, say it out loud. Most engineers have heard it a hundred times and will simply count you in again or turn the talkback on. A short break every hour or two keeps your voice and your attention in better shape than one long push.
Step 6: Review, Back Up, and Finish the Session
Do not walk out at the buzzer. Ask for the key recordings reviewed before you pack up: play back your lead vocal, your main guitar part, or the final take on the song you came in for. Catching a problem while the performer is still in the room is the single most valuable thing you can do with the last fifteen minutes of a booking.
Ask what happens next. Most engineers will send a rough mix or a rough bounce within a few days, and it is normal and useful to write notes on it — specific, timestamped notes are far easier to act on than “the vocals feel buried.” Confirm where your files land, when you will have them, and what session two would need.
Before you leave, make sure you have your own copy of the files and your notes. Take a photo of your session settings on paper if they matter. Then eat something and say nothing about the session for a day.
Common Mistakes
Arriving without a plan. The fix is one sentence on paper. Everything else in the session gets measured against it.
Bringing too many unfinished ideas. Half-finished tracks turn a focused session into a brainstorming session, which is cheaper to do at home. Bring the songs that are ready, and a shortlist of the ones that might be.
Forgetting files, paperwork or ID. Check the night before, not the morning of. Print a second copy of your lyrics as well, because printers fail at exactly the wrong moment.
Recording too loudly. Beginners push monitor levels and sing harder than they would anywhere else, and the take ends up unusable. Ask the engineer for a comfortable level and play quieter than feels natural. Distance from the microphone works better than volume.
Chasing perfection past take five. If five takes of a section have not produced something usable, more takes rarely help. Talk to the engineer about mic position, room sound or monitoring instead.
Leaving without a backup or a review. Confirm your files exist in two places before you drive away, and play back the main performance while you still have the chance to fix it.
One last piece of advice for first-timers: write down what you wish you had known after each session, and keep the note. Almost everyone ends up back in a studio for a second date, and the second one is dramatically cheaper in both hours and nerves.
Frequently Asked Questions
How long should I practice before going into the studio?
Practice until the song is boring, not until you are exhausted. For a first session, a solid week of rehearsal in short daily blocks beats one marathon weekend. You should be able to perform the whole arrangement without stopping, name every section change, and sing or play along to a click at the target tempo. If you can already do that, more practice adds little. If you cannot, extra hours in the room will cost you more than they save.
What should I do before recording vocals?
Sleep a full eight hours the night before, hydrate through the day, and eat normally with no dairy, alcohol or heavy or spicy food in the few hours before the session. Reduce talking the day before if your voice feels strained. On the day, warm up for about twenty minutes with humming, gentle trills, scales and siren slides before the red light goes on, and keep drinking water at room temperature throughout. Wear clothes you can move and breathe in.
What should I record first when tracking a song?
Most engineers start with the hardest, highest-stakes part while everyone is fresh, often drums or a scratch lead vocal, then build overdubs around it. The arrangement and tempo need to be locked before anything else is captured, because a tempo change later means redoing everything. Come in with the structure settled on paper so tracking order can follow the song rather than the clock. Ask the engineer what order they plan and let them work around your weakest part.
How do I stay calm in the studio when the red light goes on?
Treat the first take as a warm-up rather than an audition, because that is what it is. Record yourself at home first if you can, so the microphone is a familiar sound rather than a surprise. Know your part cold, keep your eyes open to reduce dizziness, play or sing quieter than feels right, and focus on one section at a time instead of the whole song. If you freeze, tell the engineer out loud; a second take with the talkback on usually fixes it.
What does a recording studio usually provide?
Almost every room provides microphones, stands, cables, mic clips, pop filters, a tuner, a playback system, and usually a rehearsal amp or backline and a drum kit. Most also have water and a small kitchen area. You typically provide your own instrument, picks, strings, sticks, cables if you want a specific one, snacks, and your own headphones if you prefer them. Ask the studio for a list before the session so nothing important is missing on the day.
How do I work with a recording engineer as a beginner?
Remember the roles: the engineer runs the technical side and watches levels, a producer makes creative calls, and you own your performance. Tell the engineer what you are trying for before pressing record, ask questions freely, and follow their count-in and talkback cues without overthinking them. Report a problem the moment you hear it rather than singing another take around it. And never ask for ten changes at once; one note at a time keeps the session moving.
Start smaller than feels satisfying. Choose one track, settle its arrangement, rehearse it until you can play it without thinking, and build one clean folder with two copies of everything. That single session, done properly, teaches you more than any amount of planning on paper — and the second one is always easier.