To stack adlibs, record each layer as its own pass, keep the lead vocal in the center, set every other layer below it in level, and place the layers across the stereo field before you add any processing. Three separate takes — lead, harmony, ad-libs — will get you further than a dozen duplicated copies of the same recording.
The reason is physical. Your microphone hears one voice at a time, and a recording only contains one performance. Everything wider or fuller than that has to be built by layering, and the difference between a thick stack and a muddy pile is down to timing, level and space.
If you have ever heard a vocal wall of sound and wondered how it was made, the answer is boring and repeatable. That is good news. Here is the workflow I use, roughly six steps, and it works the same whether you are in FL Studio, Ableton Live, Logic Pro or Pro Tools.
What You Need
Stacking adlibs needs far less gear than most people assume. The expensive part of vocal layering is done at the recording stage, not in the plugin shop.
- Clean lead vocal take. Comped, in tune as much as it is going to get, and free of effects. This is the reference everything else sits behind.
- Separate takes for each layer. One pass for harmony, one for responses and ad-libs, ideally one more for texture. Record them after the lead is finished, never at the same time.
- A DAW. Any of them. The workflow below is the same in every major DAW because it is based on gain and panning, not on a specific feature.
- Headphones, and monitors if you have them. Headphones for tracking, monitors for judging balance. Mixing a vocal stack entirely on headphones is how stacks end up too loud.
- A gain plugin. Stock volume faders work fine. Most DAWs also ship a dedicated utility or gain plugin that can trim in precise fractions of a decibel.
- Compression, EQ, delay and reverb. Every DAW includes all four. You do not need anything else to build a professional stack.
Pitch correction is optional. It matters for melodic rap and harmonies, and it does very little for rhythmic responses that never sit on a long note.
Here is the short version of the settings you will land on. The numbers are starting points, not rules.
| Layer | Pan | High-pass filter | Notes |
|---|---|---|---|
| Lead vocal | Center | 80 to 100 Hz | Reference layer, never move it |
| Harmony | Hard left or hard right | 150 to 200 Hz | Doubles every harmony note |
| Ad-libs and responses | Opposite side or slight spread | 150 to 200 Hz | Keep sibilance, cut the low end |
| Gang vocals and texture | Wide or center, depending | 200 Hz and up | Two or three of these already count as a crowd |
Step-by-Step: How to Stack Adlibs
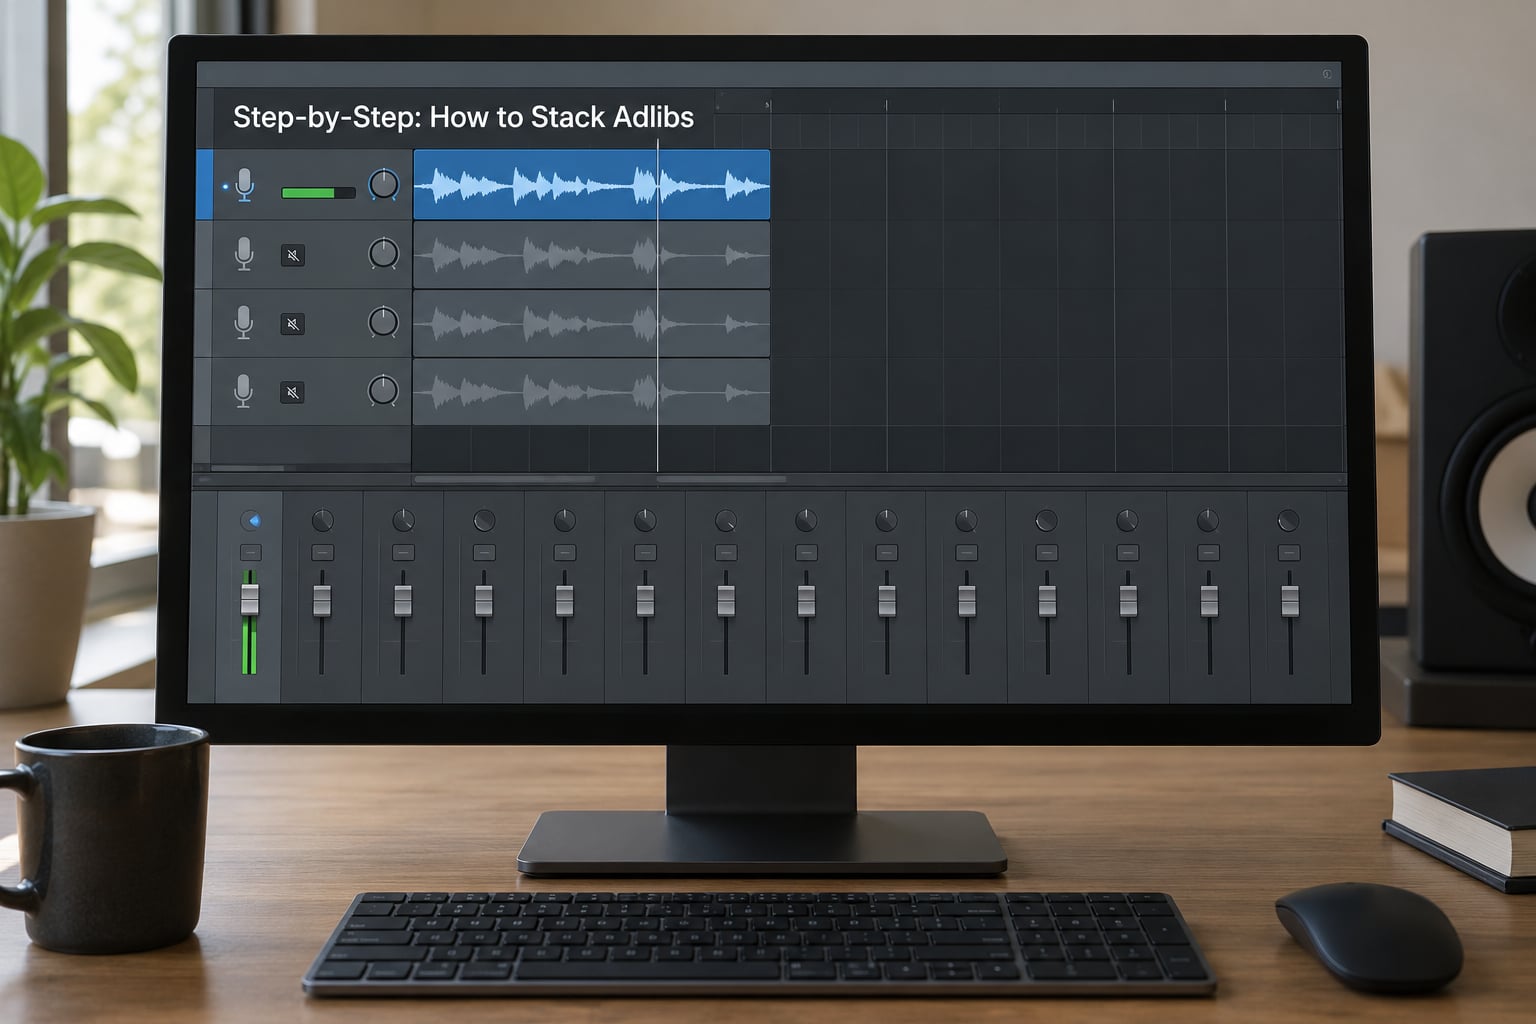
1. Choose the Vocal Roles
Decide what each layer is for before you record anything, because a role that has no job usually ends up fighting the lead. Most stacks are built from four or five distinct jobs.
Responses are the short answers that come after a line. They are the most common ad-lib, and they work because they answer something the lead just said. Keep them brief and let the lead line breathe before the response lands.
Doubles are a second pass of the same words, sung close to the original. Their job is weight and consistency, not width. One double is usually enough for a verse; two makes a chorus.
Harmonies sit on the same melody at a different interval. Record every note of the hook, not just the words you like, or the stack falls apart halfway through. Two of the same harmony and one an octave up is a classic three-layer shape.
Gang vocals are thick stacks of the same part, usually four to six takes. Record them with slightly different timing, which is what makes them read as a crowd instead of a copy. Engineers on Gearspace have long argued that you need real takes, not duplicates, for anything you want to sound wide.
Texture is anything that is not a word: a hummed melody, a shout, a chant, a stacked echo of a single syllable. Texture layers are the cheapest way to make a sparse chorus feel like a moment.
Layer count depends on genre, and the difference is real rather than cosmetic. A boom bap verse usually lives happily with two to four layers. Melodic rap and R&B handle four to six. Trap choruses are where six to eight layers start to make sense, and where most beginners first overcook the stack.
Assign roles to sections, not to the whole song. A verse needs one response layer and a double. A hook needs the harmony and the gang. A bridge needs texture. Giving every section the same stack is the fastest route to fatigue.
2. Edit the Takes for Clean Timing Before You Stack Adlibs
Timing is what separates a thick stack from a phasey one, and it is fixed before a single fader moves. Duplicate tracks of the same take share every waveform peak, so they partially cancel at certain frequencies. Separate takes drift from each other naturally, and that drift is the width you actually want.
Trim the silence at the head and tail of every clip. Long pauses between takes carry noise, room tone and hum, and stacking four layers of that noise is four times as much hiss.
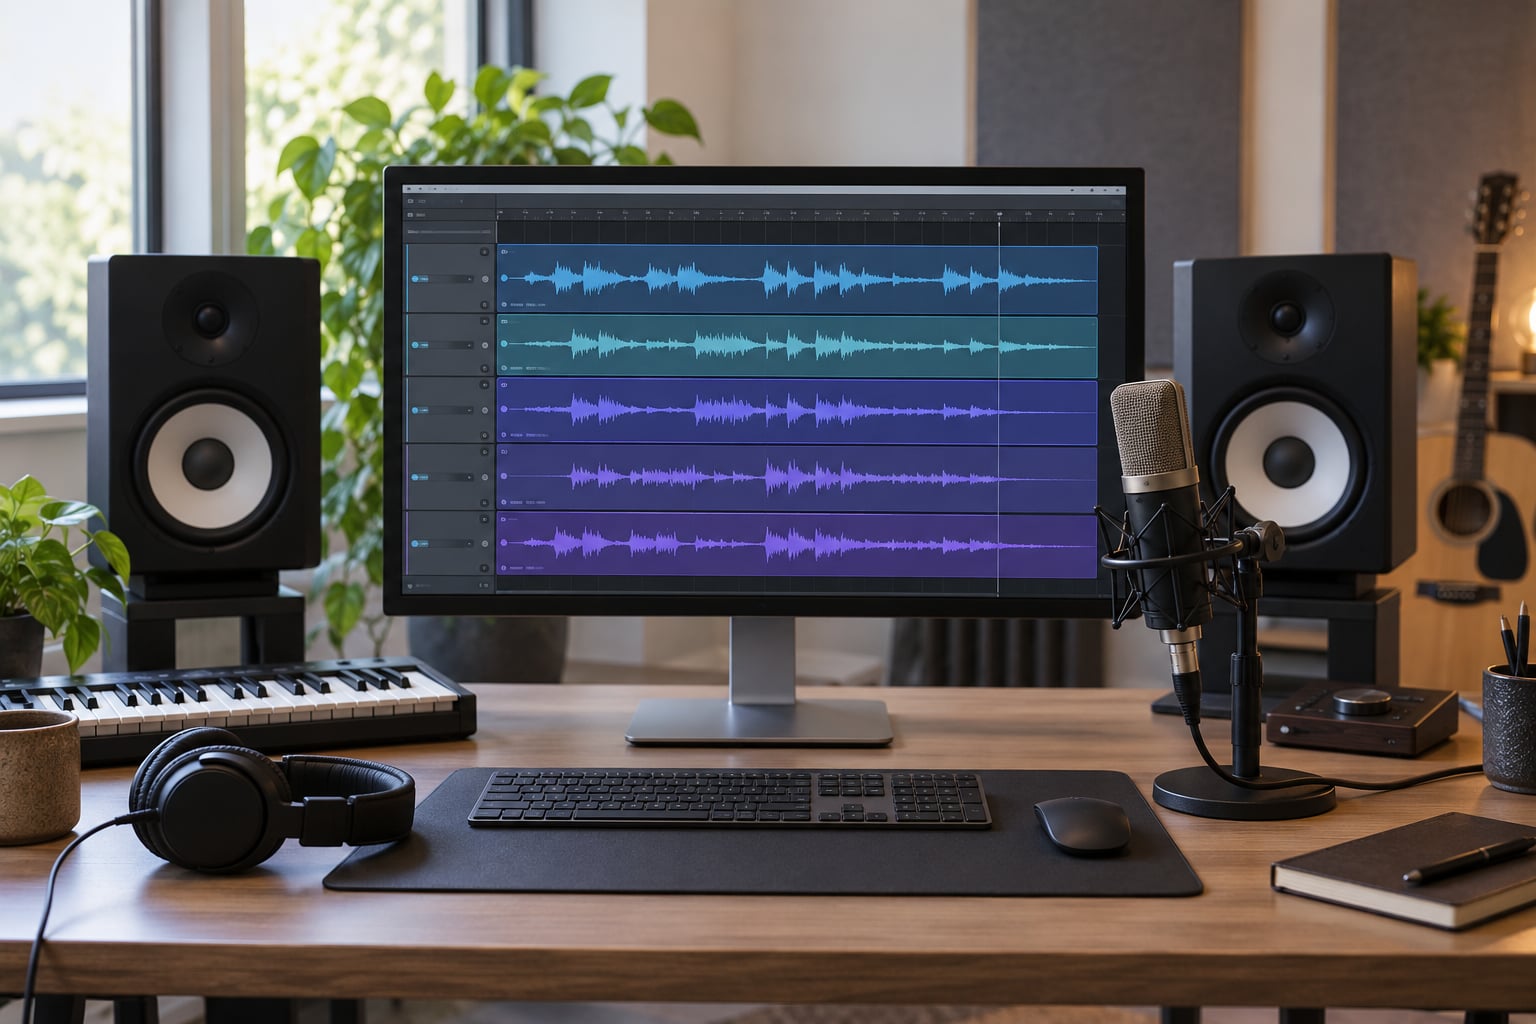
Then align the transients. Look at the first consonant of a word, usually the sharpest spike in the waveform, and slide the take until that spike sits on the same pixel as the lead. Nudge in small increments and listen to the change, because your eyes will lie to you about timing that is already correct.
Split long phrases into word blocks rather than leaving them as one clip. Short blocks let you nudge individual words, trim the lazy tail off the end of a phrase, and crossfade into the next take. A 5 to 20 millisecond crossfade on the edit removes the click without thinning the vocal.
Leave air around the words that matter. If an ad-lib lands on the same syllable as a hook line, nudge the ad-lib later by a few milliseconds or drop its level until the lyric is legible. The lyric is the priority, always.
On sibilance, compare what you are about to stack. If a backing take has a sharper S than the lead, thin it out or de-ess that layer only. Four takes of harsh sibilance stacked together is genuinely painful at high volume.
3. Set Relative Vocal Levels
Levels are relative, and the fastest way to build a stack is to work in decibels below the lead rather than reaching for an absolute number. Most sessions land in a predictable range: the lead at 0, doubles around 3 to 6 dB down, harmonies and ad-libs 6 to 12 dB down, texture the same or quieter.
Start every layer well below where you think it should be, then pull up. Beginners pull down instead, hear that the layer vanished, and push it back up until it competes with the lead. That is backwards.
Trim the gain on each individual track rather than riding the fader if your DAW allows it. It keeps the faders in a readable range and stops you accidentally automating the wrong thing later.
Watch the combined level going into your vocal bus, not the individual tracks. If that sum clips or the meters sit near the top for long stretches, pull layers down until you have at least 3 to 6 dB of headroom. You want room for bus compression later, and a distorted sum cannot be fixed downstream.
Check the balance in context, not solo. An ad-lib that sounds huge in isolation is usually the right size. Play three bars of the full arrangement, then check whether you can still hear every word of the lead without straining.
4. Place Layers in the Stereo Field
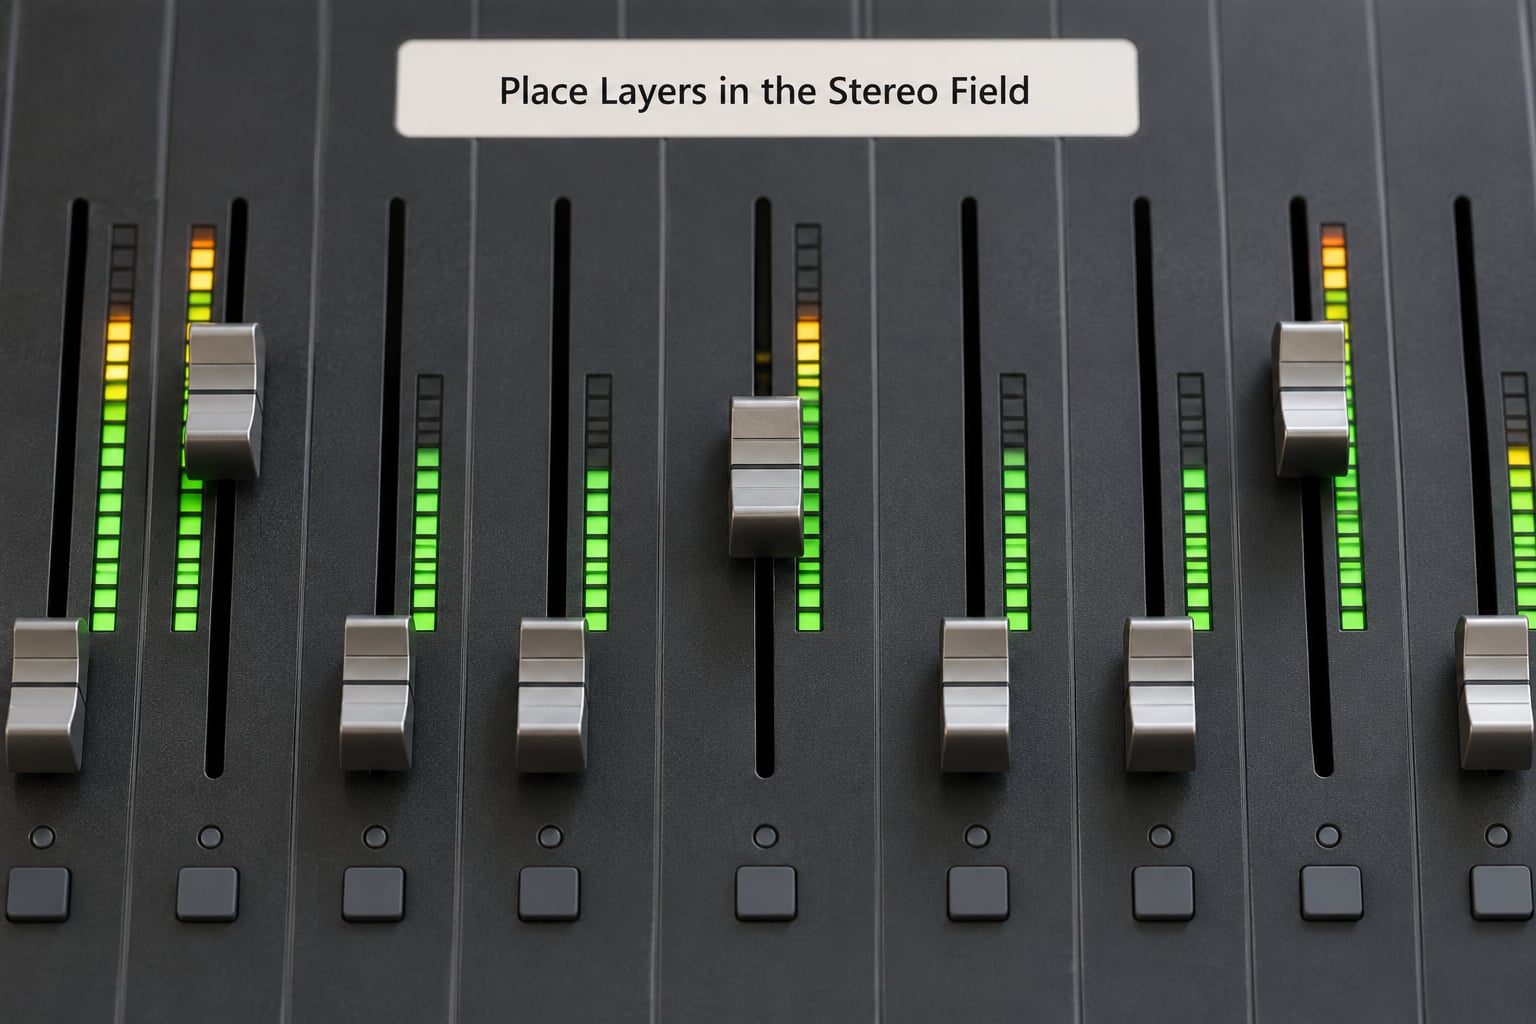
Panning is the step that makes a stack feel finished. The classic trap arrangement is lead center, harmony hard left, ad-libs hard right, and that layout works because each layer gets its own space.
Center is for the lead, and for anything that reinforces the melody line so closely that panning it would pull the tune apart. A harmony doubled tight in the center adds weight without adding width.
Partially panned means maybe 20 to 30 percent off center, which is right for short responses and rhythmic ad-libs. A response spread slightly left and right keeps the low end clear and still sits with the beat.
Hard panned is for sustained harmony, gang vocals and shout layers. Anything that holds for more than a beat or two can take the full left or full right position without leaving a hole in the middle.
Check mono compatibility before you call it done. Most listeners, car stereos and phone speakers fold the stereo image to one channel. If a layer disappears in mono, the wide version was an illusion, so pull those layers closer to center or add a short slap-back delay to give them something to fill the gap with.
If you are forced to duplicate a track rather than record a second take, detune the copy by 7 to 10 cents, hard pan it, and make sure the two versions are not sample-aligned to a fraction of a millisecond. That combination still sounds acceptable, though it will never be as solid as a genuine second pass.
Automate the panner as the arrangement moves. A chorus can open up to full width while a verse sits mostly center, and that contrast is often worth more than any extra layer.
5. Add Processing Without Blurring the Stack
Once the stack is balanced, the processing goes on the bus rather than on each layer, and the order matters. Reach for EQ, compression, pitch, delay and reverb in that sequence, and stop as soon as the lyric stays clear.
High-pass the backing layers, not the lead. Setting the lead around 80 to 100 Hz keeps its body while removing rumble; setting the harmony and ad-libs between 150 and 200 Hz opens up the low-mid range where mud lives, so the lead keeps that space to itself.
Carve a little presence out of the layers you want behind. A gentle dip of 1 to 3 dB around 2 to 4 kHz on a busy response layer keeps it from competing with the consonants in the lead. Narrow cuts in a dynamic EQ, triggered on that layer alone, do this without dulling the whole mix.
Compress the stack at roughly 4:1 with a moderate threshold and a medium attack, so it evens out rather than squashes. Then try parallel compression: send a copy at 6 to 10 dB down into a second compressor and blend it back. That adds density without the pumping you get from squeezing the main path.
Apply pitch correction selectively. Melodic rap and harmony parts benefit, and a slow retune speed keeps the character. Rhythmic responses and shouted textures rarely need it, and tuning those layers just makes the stack more uniform and less interesting.
Reach for a slap-back delay between roughly 80 and 120 milliseconds, timed to the tempo, before you add reverb. A short delay gives a response its own space in the mix and reads as clearer than a plate on the same clip. Save longer reverb sends for sustained gang vocals and background washes, and keep them well under the level of the dry signal.
A light touch of saturation or overdrive on a texture layer adds harmonics that cut through a dense mix. Keep it subtle, and keep it off the lead unless you have tested the whole track at volume afterwards.
6. Automate and Print the Stack
Automate entrances so the ad-libs do not appear for a whole section. Most stacks work best when a response layer sits silent through the first two bars of a verse and then comes in for the last two. A level change of a few dB is often enough to make the listener notice without being able to say what changed.
Bounce or print the stack once it is sitting right. Printed layers behave like real tracks, they level consistently, and they keep their settings when you close the session and come back to it a month later.
Leave headroom on the vocal bus. The mastering stage will add its own compression and EQ, and a stack already hitting the ceiling leaves nothing to work with.
Play the whole song at the volume your listener will use, not at the level where the stack sounds impressive. This is the final test, and it is the one most often skipped.
Common Mistakes
Duplicating one take instead of recording new ones. This is the most frequent problem, and it produces a thin, phasey sound no amount of processing can fix. Record a real second pass.
Stacking every take you have. Six versions of the same response is a wall of mush. Ask each layer what it is doing for the section, and delete the ones with no job.
Letting the ad-libs land on top of important words. A response that fights a hook line makes both harder to hear. Delay the ad-lib a few milliseconds or lower it.
Leaving low frequencies untouched on backing layers. Stacking five layers of 200 Hz build-up is what mud sounds like. High-pass the backing layers and let the lead own the bottom.
Pushing the width too far. Hard-panning every layer leaves a hole in the middle and an unstable mono image. Check in mono and bring the problem layers back toward center.
Over-processing before balancing. Reverb, delay, saturation and heavy compression applied before the levels are right only hide the problem. Get the balance first, then decorate.
Giving every section the same stack. A verse and a chorus built identically means the chorus has nowhere to go. Save your loudest, widest stack for the moment that needs it.
A quick test I use: pull the ad-libs up, then down again. If the difference is dramatic, they were buried too far. If it is small, they were nearly fighting the lead. Somewhere in between is the spot where the track feels fuller and the words still land.
Frequently Asked Questions
How many adlibs should I stack in a verse?
One response layer plus one double is a solid verse. That gives the line some weight and answers the hook without crowding it. Boom bap usually stops at two or three layers total, while melodic rap handles four to six. Save the six to eight layer stacks for choruses, where the energy is supposed to swell. Add layers only when you can name the job each one is doing.
Should adlibs be panned left and right?
Yes for the layers that hold, no for everything. Keep the lead center, then hard pan a harmony or gang vocal to one side and the ad-libs to the other. Short rhythmic responses usually sit better partially panned, around 20 to 30 percent off center. Check the whole stack in mono before you finish, because anything that vanishes there was only ever an illusion of width.
What is the difference between doubling vocals and adding harmonies?
A double repeats the same line at the same pitch, usually by a second pass close to the original, and its job is weight and consistency. A harmony sings the same melody at a different interval, so it changes the tune. Doubles belong under the lead nearly every time. Harmonies need room in the arrangement and usually want the outer positions in the stereo field.
How do I keep stacked adlibs from muddying the lead vocal?
High-pass the backing layers between 150 and 200 Hz and leave the lead lower, around 80 to 100 Hz, so the lead keeps the low-mid space to itself. Then carve 1 to 3 dB around 2 to 4 kHz on the busiest layer and sit each one 6 to 12 dB below the lead. Finally, check that every word of the lyric is still intelligible at your normal listening volume.
Should I use reverb or delay on adlibs?
Delay, most of the time. A short slap-back delay timed to the tempo, usually 80 to 120 milliseconds, gives a response space and depth while keeping the word intelligible, which is why most rap mixes lean on it. Reverb works better on sustained gang vocals, hums and background washes. Use a long reverb on a short rhythmic ad-lib and it will mostly blur the lyric.
Can I stack adlibs in mono?
Yes, and mono is a good discipline for beginners because it exposes muddy low frequencies that a wide mix can hide. Build the stack centered, get the balance and the timing right, then widen the finished layers at the end. If you widen first, you tend to reach for more layers to fix problems that were really frequency and level issues all along.
Conclusion
A convincing vocal stack comes from a few ordinary decisions made in the right order: separate takes, clean timing, levels set below the lead, layers placed across the stereo field, then processing kept light. None of it requires a plugin you do not own.
Start with one well-timed response layer. Set it in context until it sits comfortably under the lead, and only then think about adding a harmony, a gang or a texture layer. If you build that way, the track gets fuller with every pass and the words still land.