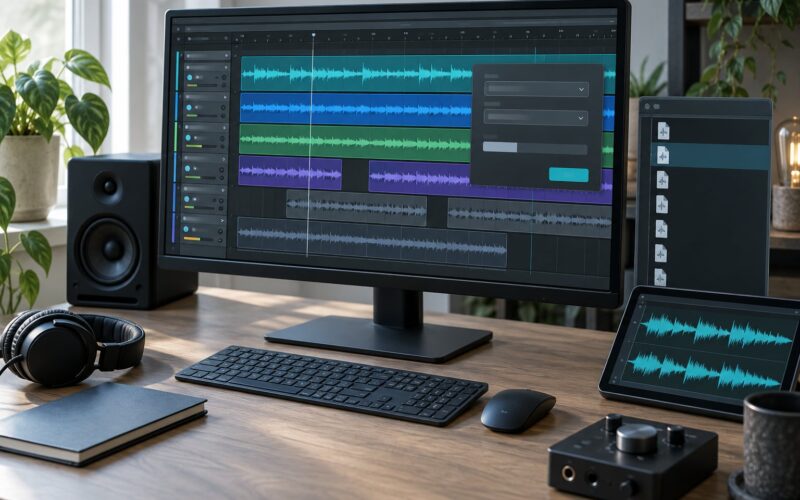
To layer vocals like a pro, record one clean lead, tune it lightly, then add layers that each have a single job: a wide double, a harmony a third up, an octave for brightness, and short delay and reverb for depth. Seven to twelve tracks covers most home sessions, and the balance between them matters far more than the number.
Vocal layering is simply recording the same performance more than once and arranging those takes into a stack. Each layer does something different. The lead carries the melody and has to stay intelligible, doubles make it wider and thicker, harmonies add colour, octaves add weight or sparkle, and texture layers such as whispers and ad-libs fill the gaps.
The part most people get wrong is treating layering as a volume contest. A stack that is simply summed louder gets quieter in the low-mids, because energy in the same frequency range from several sources cancels itself out. Producers call that mud. The fix is never louder, it is narrower on each layer, cleaner in the middle, and dumber about how many tracks you use.
Here is the workflow I use. It works in Logic Pro, Ableton Live, FL Studio or anything else, and every step has a quick test so you know it worked before you move on. Last reviewed and kept current for 2026.
What You Need
None of this is exotic, and if you have tracked a vocal at all, you already own most of it. A four-figure microphone will not rescue a stack that is panned badly or tuned hard, so buy nothing until you have heard your existing takes in context.
- An audio interface with a preamp that lets you set gain to roughly -12 dBFS peaks on a sustained syllable. That headroom is what stops the doubles clipping later when you sum them.
- A condenser microphone if the room is treated. In an untreated bedroom a dynamic mic used well beats a condenser used badly, because room reflections are the real enemy, not mic colour.
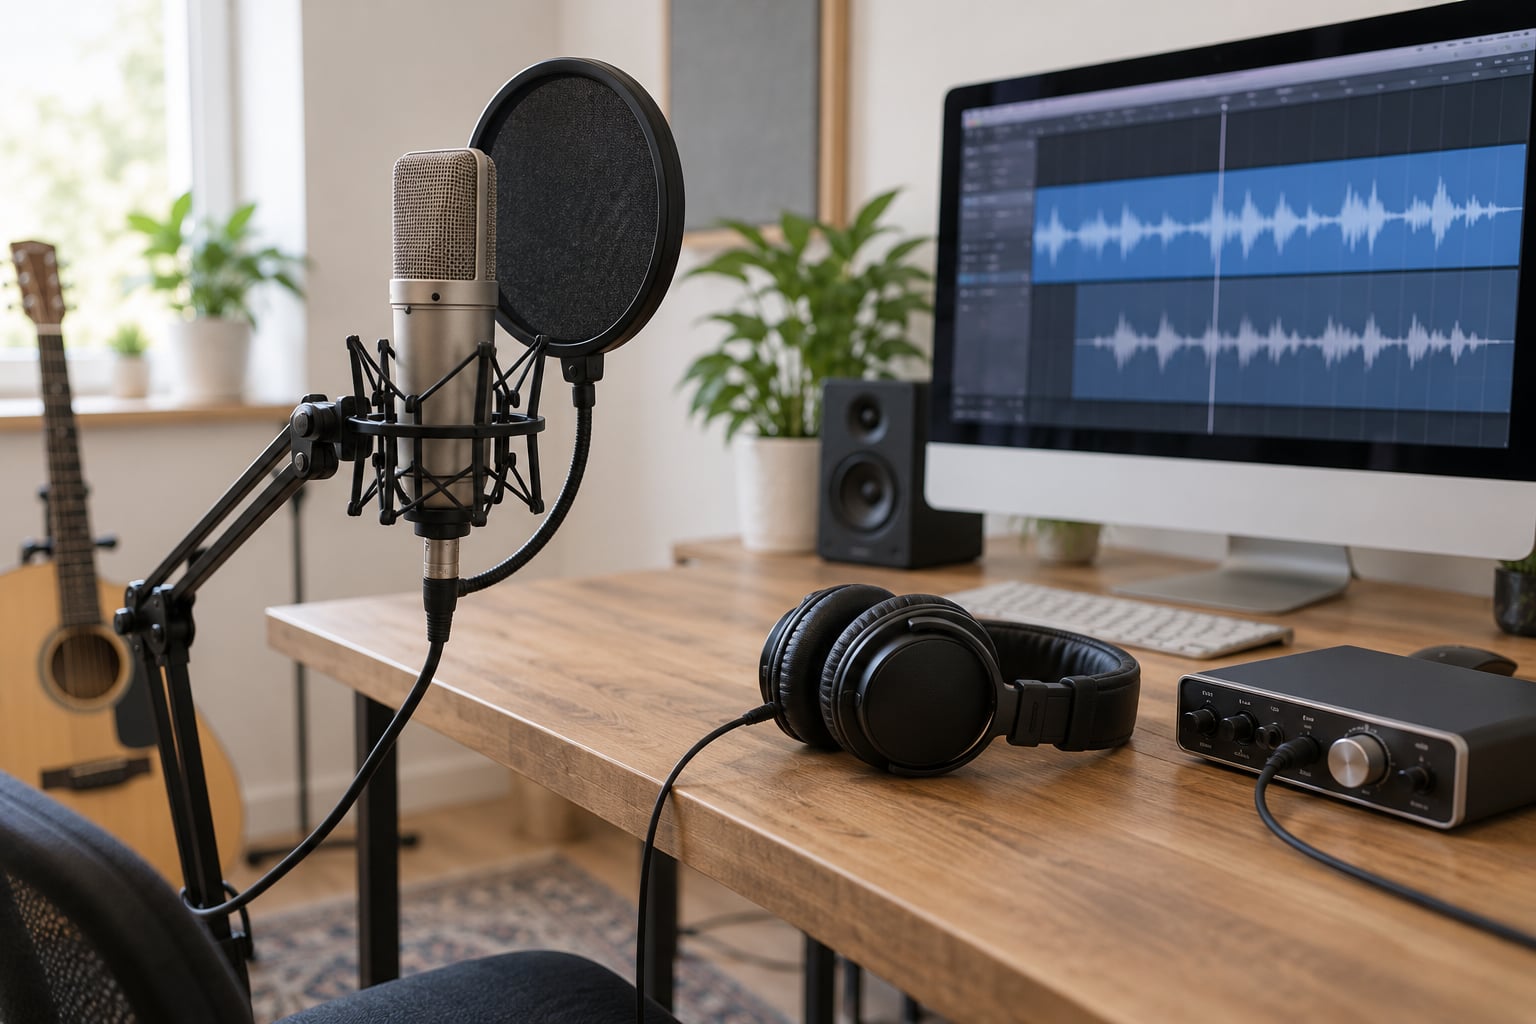
- A pop filter placed about 10 cm from the capsule, not against it. Singer plus filter plus mic should total roughly 20 cm.
- Closed-back headphones for tracking, so you are not fighting bleed into the next take.
- A DAW with comping, pitch correction, EQ, compression, delay and reverb. Every DAW ships all of these. You do not need a third-party bundle to do this properly.
- An alignment tool for doubles, if your DAW has one built in. Revoice and VocalAlign are the two names you will hear most often; Logic also has timing detection in its Vocal Doubler, and Ableton’s Utility handles level and pan matching.
Two optional pieces help. A small reflection filter or a heavily treated corner gives you a more consistent tone between takes, which matters more than anything else when stacking. A second mic is not needed for most layers, though a matched pair makes width easier on gang vocals.
Step-by-Step: How to Layer Vocals Like a Pro
Step 1: Record a Clean Main Vocal
Everything downstream depends on this take, so spend the time here. Stand about 20 cm from the mic with the pop filter just in front of it, sing across the mic rather than straight into it, and keep a consistent distance whether you are whispering or pushing. A singer who drifts from 15 cm to 30 cm between lines gives you a lead that sounds like several singers, which you cannot fix later.
Set gain so the loudest word peaks near -12 dBFS and never touches 0. Track a few seconds of silence at the top of the take, because the noise profile you capture there feeds every de-breath and de-click decision you make in Step 2.
How do you know it worked: play the raw take back loud and the vocal should be the loudest thing in the track with no room noise, plosives or mouth clicks. If it fails, fix the room or the mic distance and record again. There is no processing trick that replaces a clean take.
Step 2: Edit and Prepare the Vocal
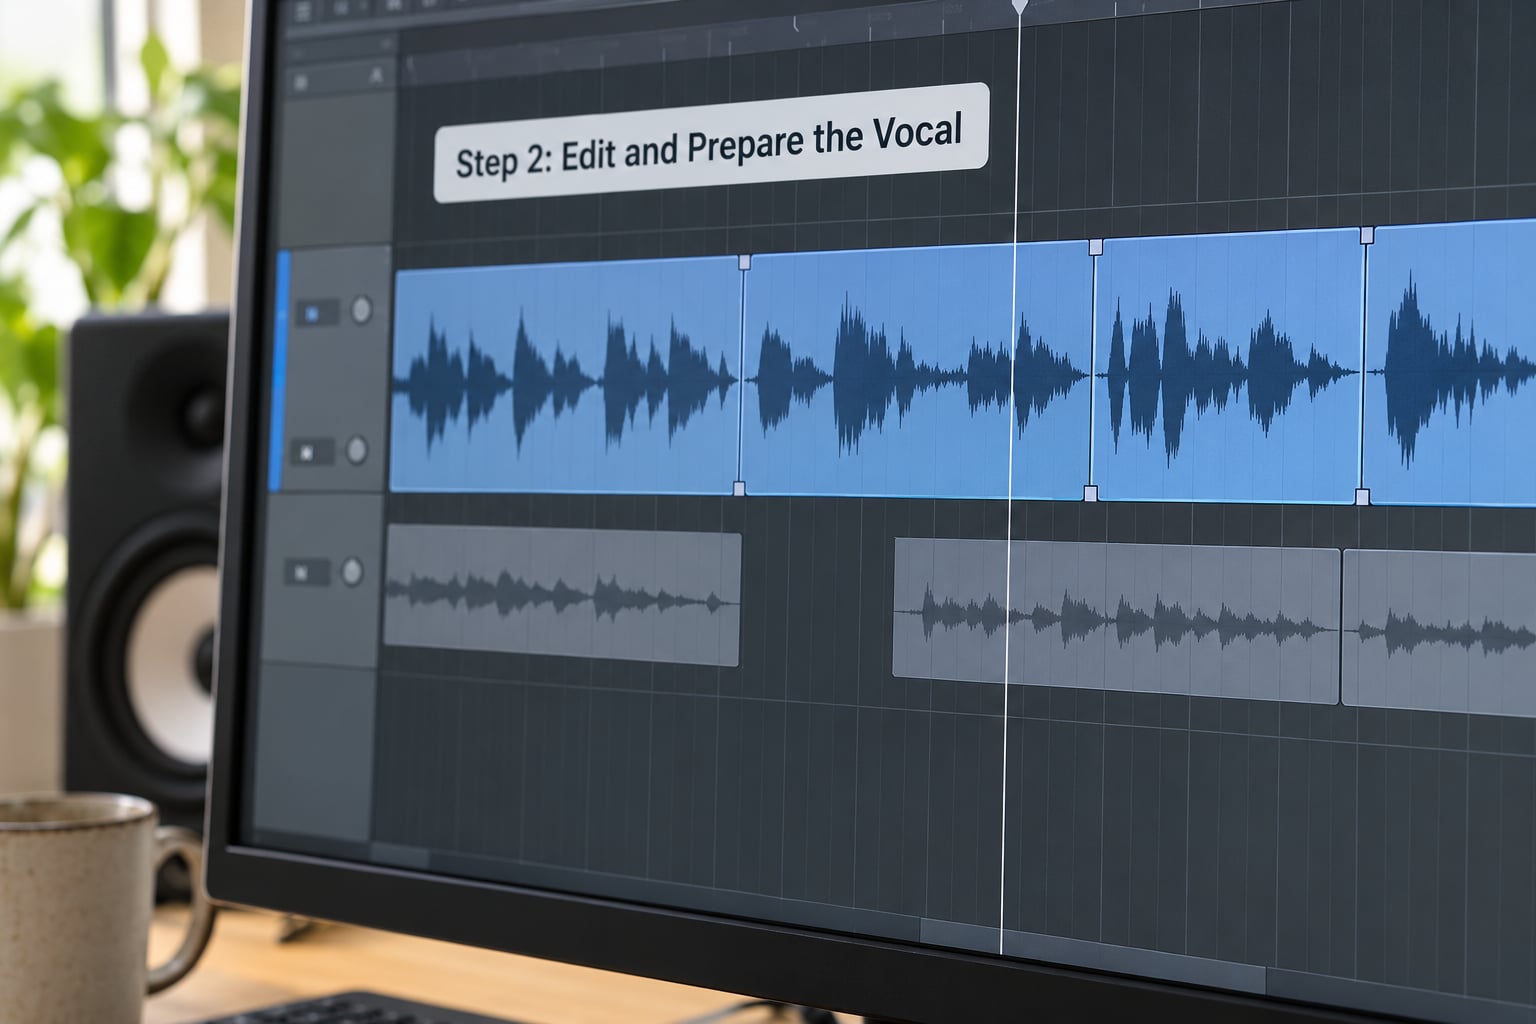
Do all of this before you record a single extra layer, because editing multiplies by the number of tracks. Build a comp from your takes: three or four good takes of the same section is plenty, and comp phrase by phrase rather than line by line so the tone stays consistent.
Then cut the silence between phrases back to a natural breath, and run de-breath and de-click passes using the noise print from the top of the take. Two or three de-esser passes and a de-plosive are enough. Over-processing here gets louder with every layer you add later, so stop while it still sounds natural in mono.
Rough gain match every take so the loudest word on each sits within about 2 dB of the others. Add a 2 to 3 ms fade at every cut and a longer one at the ends. How do you know it worked: the comp should sound like one continuous performance with no level jumps between lines and no gaps that feel edited.
Step 3: Tune Without Losing Character
Tune the lead before you layer it, not after, so every stack member starts from the same pitch reference. Set the correction to a slow speed with a moderate or high amount of stretch, which fixes the out-of-tunes without snapping the expressive notes toward a grid.
Bypass the plugin and listen for the notes it did not correct. Those are the bends, scoops and blue notes that make the performance feel human, and they should stay exactly as they were sung. Pitch-shifted layers always sound worse than corrected ones, so a clean reference pays off twice.
How do you know it worked: on headphones, A and B the corrected and natural versions. The correction should fix errors you could point to on a piano and nothing else.
Step 4: Add a Controlled Double Layer
Doubles are the one layer most professional vocal sessions always have, and they are where most home sessions fall apart. They are not a second singer. They are the same performance reinforced, so timing and tone have to match closely or they fight.
Record two or three more lead takes in the same session, same mic position, same distance. Then align them. Manual nudging works for a couple of tracks and becomes misery at six, so use the DAW’s timing detection or a dedicated alignment tool, then fine-tune by ear. A well-aligned double usually needs a correction of tens of milliseconds, not hundreds.
Now the balance. Pan the doubles roughly 30% to each side, keep the original lead centred, and pull the doubled pair down until you feel a widening rather than hear a second voice. A useful check is a low centre double sitting well below the sides, which is a trick that appears constantly in producer threads because it adds body without touching the centre image.
How do you know it worked: check in mono. If the track collapses and sounds thin or hollow, the takes are cancelling. Move to the phase section below before adding anything else.
Step 5: Build Harmonies and Supporting Layers
Harmonies add new musical information rather than reinforcement, so they can be a single track without falling apart. Third above for lift, fifth for a hollow, haunting colour, seventh for tension that resolves into a third, octave up for brightness and octave down for weight. Octaves need filtering, because the added body stacks directly on top of the lead’s low-mids.
You do not need the harmony everywhere. Doubling only the last phrase of each verse, or only the hook line, gives a bigger result for less work than singing harmony through the whole song. Decide which sections get harmony before you record, and write it on the lyric sheet.
Give each layer its own position. Pan harmonies wider than the doubles, around 60% each side, and keep them further back, which is usually just a lower level plus more reverb send. If you do not have a second singer, a pitch-shifted copy works as a temporary reference but should sit behind real takes, never in front of them.
How do you know it worked: the melody must still be the first thing you hear. If you are following the harmony, pull it down 3 dB and try again.
Step 6: Add Controlled Depth and Movement
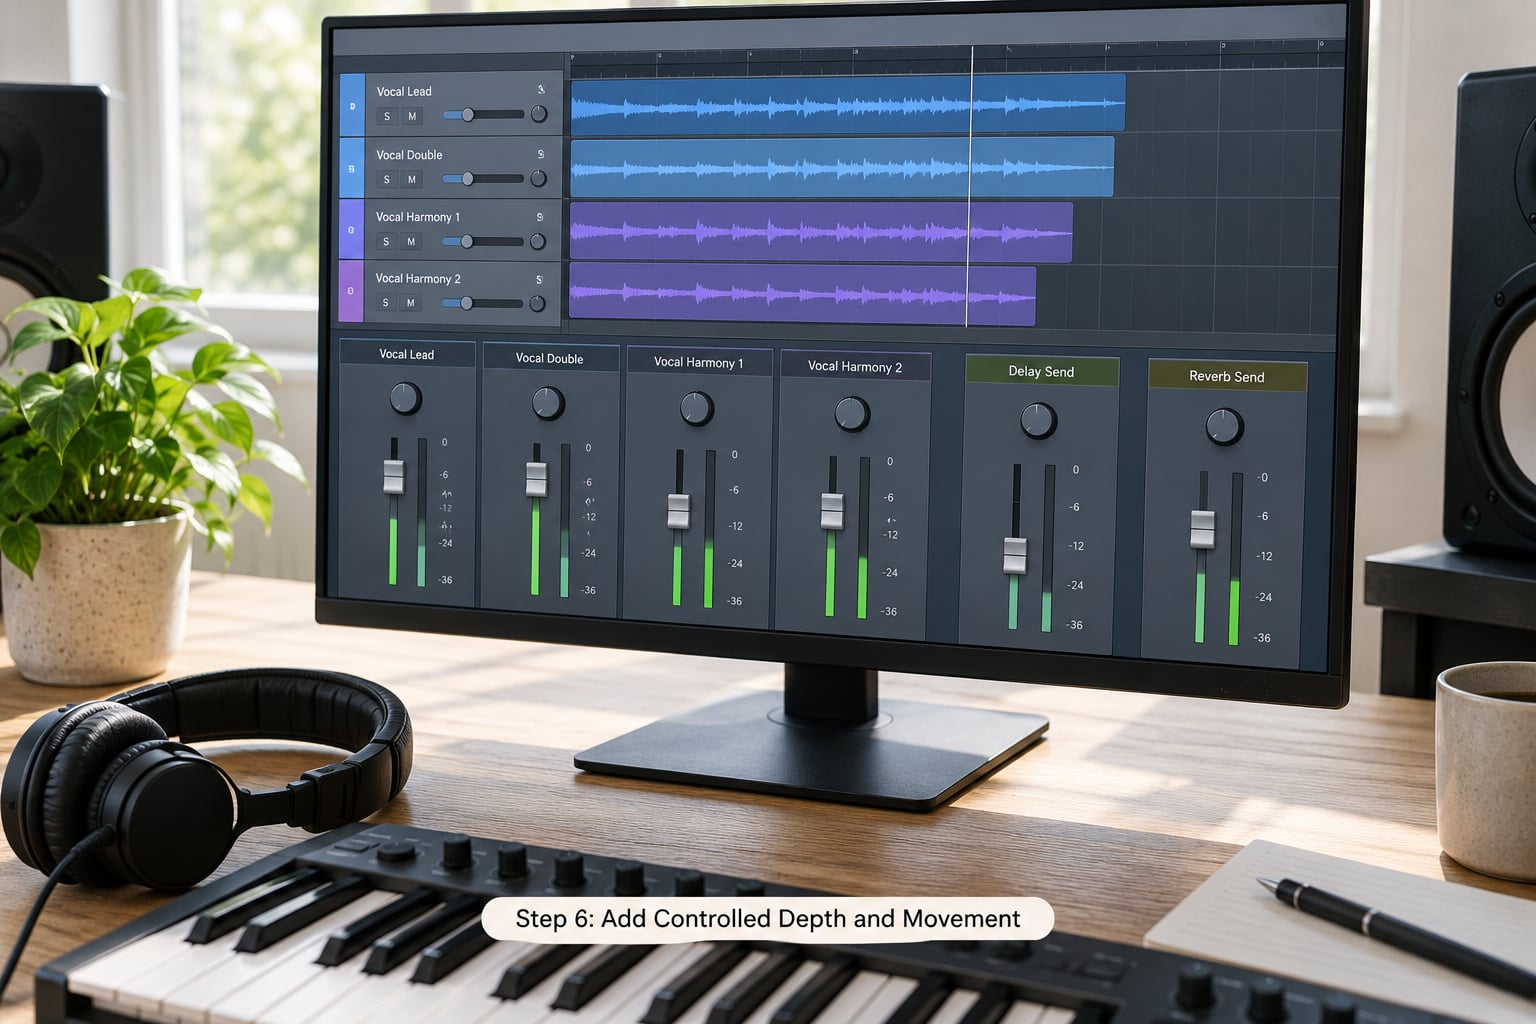
Depth comes from sends, not from inserting a different reverb on every track. Build one shared reverb bus and one shared delay bus, then set per-track send levels. Everything in the stack then sounds like it was recorded in one room, which is most of what listeners read as expensive.
For movement, a short delay on the hard-panned layers works well. An eighth-note delay synced to a tempo under about 80 BPM is the usual starting point, with the feedback kept low enough that a third repeat is the last one you clearly hear. For slapback effect on lead lines, shorter and quieter works better than a big echoing tail.
Keep the reverb return modest. Fifteen to twenty percent of the return level as a starting point leaves the vocal audible, and much more than that washes the words out. High-pass the reverb and delay returns around 300 to 400 Hz so the effects do not add to the low-mid pile-up, and high-pass the background layers themselves around 200 to 300 Hz to carve space for the lead.
How do you know it worked: the lyric stays clear on a phone speaker in a noisy room. That is the real intelligibility test, and it is much harsher than your studio monitors.
Step 7: Automate, Balance, and Bounce the Stack
Most of the balance work is automation, not fader positions. Push the stack up 1 to 2 dB into the chorus, pull it back for the second verse, and bring the octave or harmony in for the last line of a section rather than for the whole section.
Then do the checks. Solo each layer and listen to it alone, so you know what it is actually contributing. Check the whole stack in mono for cancellation. Look at the vocal bus peak: keep it near -6 dBFS or below so a limiter on the master has something to work with instead of slamming already-clipped peaks.
Bounce the stack at your session sample rate, print it with no dither if you are staying in the session, and then listen once more away from the session window. Distance is the cheapest mixing tool there is, and most balance problems disappear after an hour away from the file.
Common Mistakes
Almost every layering problem traces back to one of four things, and each has a fix you can test in five minutes.
Over-Layering and Muddy Low-End
Mud is energy between roughly 200 and 500 Hz piling up from too many sources. It is also the most common beginner mistake, because the instinct is to add a track when the mix feels thin. Going from one take to two is the biggest single improvement you will hear. Past that, the returns flatten quickly, and doubling from four takes to eight can sound worse than two.
Budget layers by section instead of by song: a verse usually needs lead plus two or three doubles, a pre-chorus can add one harmony, a chorus can carry the full stack with octaves and gang vocals, and a bridge often works best stripped back to the lead and a whisper layer. High-pass the background layers and cut 200 to 400 Hz on anything that is not the lead.
Phase Cancellation on Doubles
Comb filtering, the hollow or phasey sound you get from doubled vocals, comes from takes recorded at slightly different mic distances or with different timing. The layers partially cancel in the low-mids and the vocal loses its chest. Panning and EQ will not rescue it, and no amount of level tweaking fixes the root cause.
Three fixes, in order. Align the takes properly, then apply a shelf cut of 6 to 8 dB above roughly 1 kHz on one of the doubled tracks to trade a little top end for less cancellation. If it is still wrong, turn one double down and lean on the volume imbalance rather than trying to correct the phase. And if the doubling was tracked from inconsistent positions, record the extra take further back, around 40 to 50 cm, which gives you a naturally different tone and phase instead of fighting a near-duplicate.
Tuning That Erases Character
Fast, hard, grid-quantised tuning turns a singer into a machine and flattens every layer at once, because the layer takes are tuned to the same rigid reference. Slow correction with a moderate amount of stretch fixes the notes that are actually wrong and leaves the scoops, bends and vibrato alone. A good test is whether a musician in the room would still recognise the phrasing as the singer’s own.
Background Layers With No Treatment
Background vocals recorded and left dry always sit in the same space as the lead, and the result feels like a pile. Send them to the shared reverb and delay buses, pan them wider than the doubles, and take 2 to 4 dB off their level relative to the lead. A background layer should register as space and texture, not as another voice you can follow.
One tip worth stealing: on a rough mix, print the whole vocal bus and put it on a phone speaker in another room. You will hear instantly whether the lead is buried, whether the low-mids have turned to soup, or whether the stack is actually working.
Frequently Asked Questions
How many vocal layers should I use?
Most songs need far fewer than people expect. A solid verse is lead plus two or three doubles, a chorus might add a harmony, an octave and three or four gang vocal tracks, giving eight to twelve tracks in the busiest moment. The jump from one take to two is the largest one you will hear. Past that the returns flatten fast, and extra layers that are not doing a specific job only add low-mid mud.
Should I pan every vocal layer differently?
No, and this is the fastest way to create a hole in the middle. Keep the lead centred and dry so it stays in front of the mix, pan the doubles about 30 percent to each side, and push the harmonies wider at roughly 60 percent each side. Panning exists to give each layer a job in the stereo field, not to fill it. If the centre feels empty on mono, you have gone too far.
Can I layer vocals without recording them myself?
Yes, and the tools are decent. Automatic double tracking tools generate a second take from one recording, pitch-shifting a copy an octave up or down adds instant thickness, and a harmoniser plugin can supply thirds and fifths. The honest limitation is tone: pitch-shifted layers sound synthetic, so use them as texture behind real takes or for a demo, not as a replacement for a recorded stack in a finished track.
What is the best way to make layered vocals sound wider?
Width comes from differences between layers, not from a stereo plugin on a mono vocal. Double the lead with a hard-ish pan, pan the harmonies wider than the doubles, and let the delay and reverb returns create depth around them. Keep the lead centred and mostly dry. A short synced delay on the outer layers adds movement, while a high-pass on the returns around 300 to 400 Hz stops the width turning into mush.
How do I layer vocals like a pro without muddying the mix?
Muddy stacks share one cause: too much energy between 200 and 500 Hz from too many sources. Layer by function rather than by count, high-pass every background layer around 200 to 300 Hz, and cut that same range on doubles if the centre starts to fill in. Budget layers per section, so verses stay lean and only the final chorus carries the full stack. Balance beats volume every time.
Conclusion
Start with one clean, edited, lightly tuned lead, then add a single double and check it in mono before you touch anything else. Build from there one layer at a time, giving each one a job and a place in the stereo field, and stop as soon as the stack stops getting bigger. Most of the work is preparation and balance rather than the number of takes.