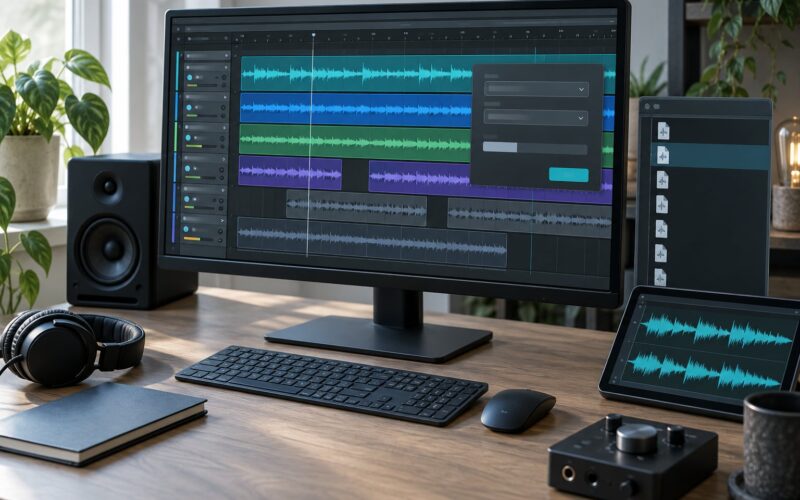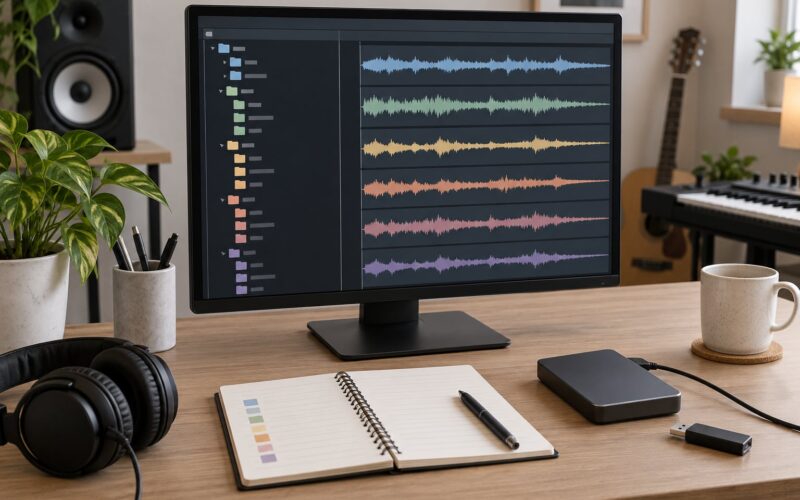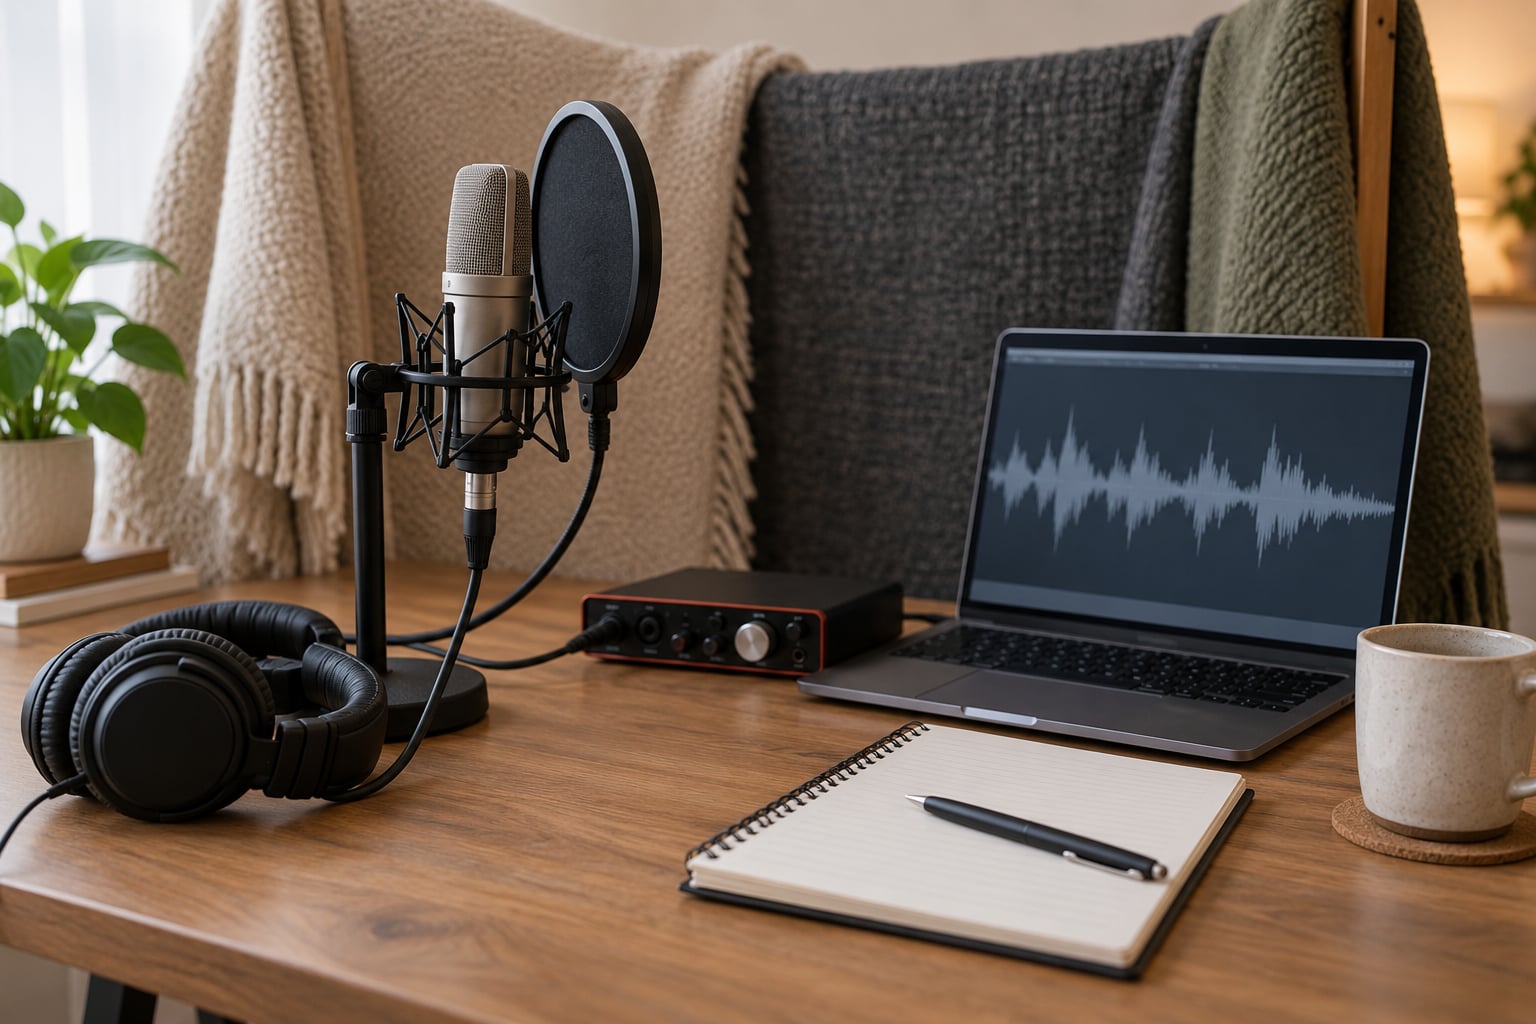
To record a feature verse remotely, you send the artist your song as a rough mix or stems with a written brief, they record their part at home to your exact file specs, and you receive dry vocal WAVs that start at bar one so you can drop them straight into your session. A full file-swap session takes a few days. A live-streamed one takes two hours.
Most of the friction in a remote feature is not musical. It is a take recorded at the wrong gain, a file that starts three seconds late, or a note that says the vocal sounds wrong without saying what to change. Fix those three things and remote features start to feel routine.
The workflow below is the one that holds up: send a written brief, lock one microphone position, record several takes, and return clean dry files with a label you can read at a glance.
Table of Contents
- What You Need
- Step-by-Step: How to Record a Feature Verse Remotely
- Common Mistakes
- Frequently Asked Questions
- How much latency should I expect in a live remote vocal session?
- What file format should I send a feature artist to record against?
- Should the artist record to a rough mix or to stems?
- How do I give feedback on a take without frustrating the artist?
- Do feature verses need a work-for-hire agreement?
- How many takes and revisions should I ask for?
- Conclusion
What You Need
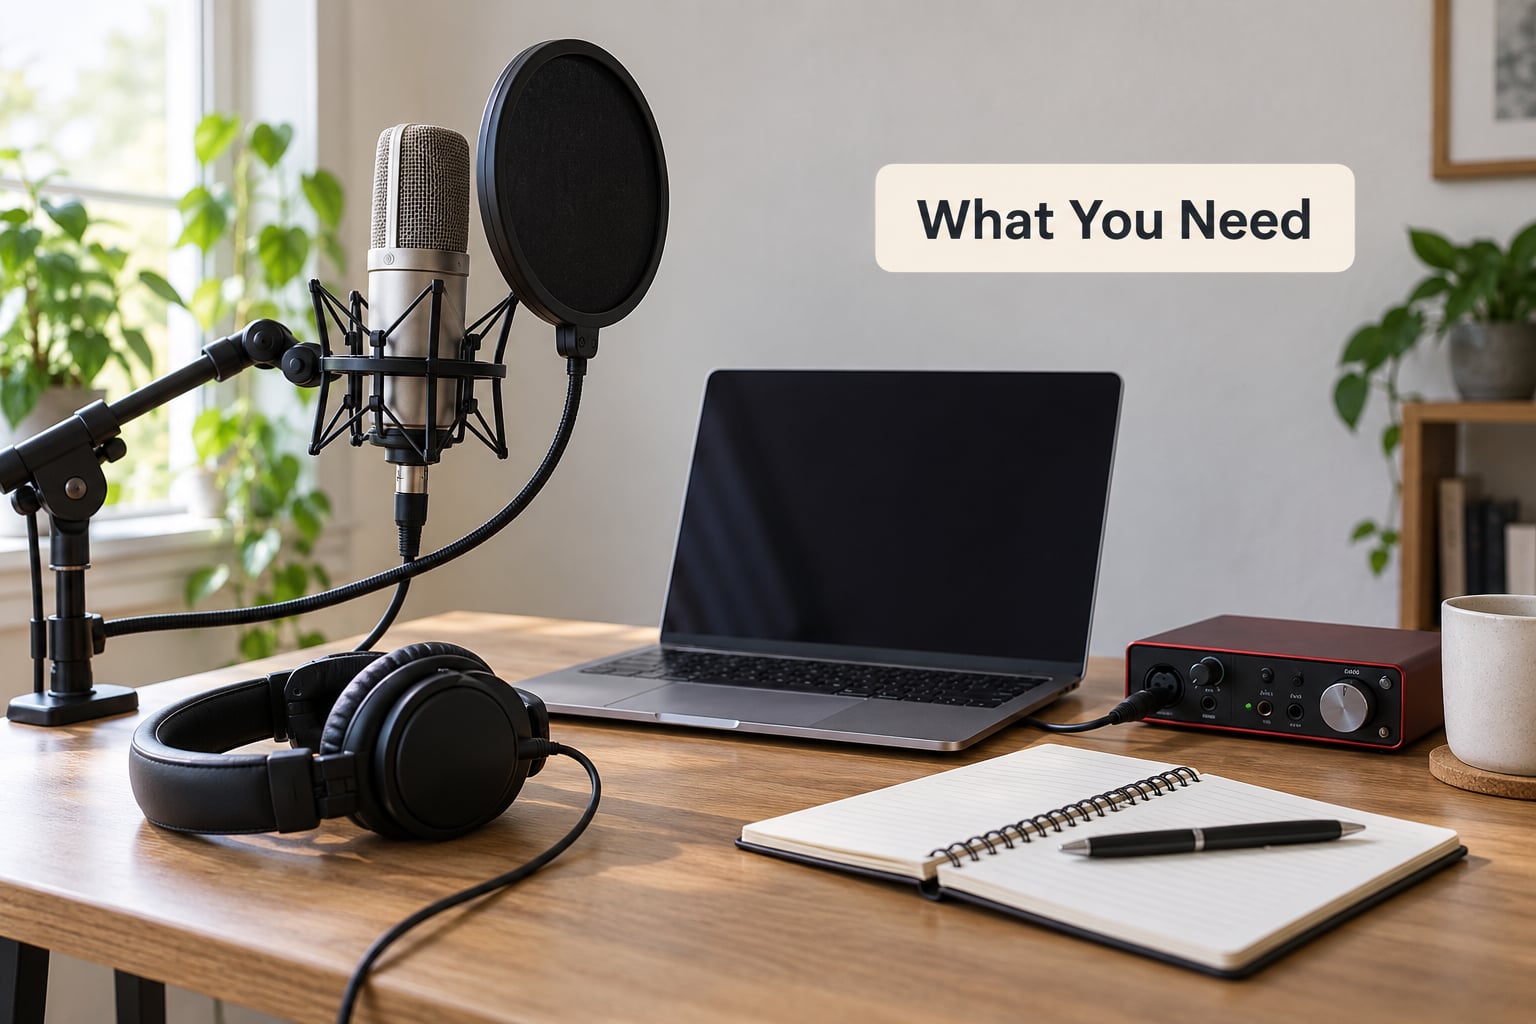
You do not need a treated commercial room or an expensive chain. You need a quiet corner, one microphone that works, wired headphones, and a way to send and receive files both people already have access to.
On the artist side
- A condenser microphone and an audio interface, or a USB condenser if there is no interface in the room. The Rode NT-USB and Blue Snowball class of microphone is enough for a feature take in a treated space, and engineers regularly approve home tracks from that class of setup.
- Wired closed-back headphones. They are not optional. Without them the artist either records through speakers and picks up the beat bleeding into the microphone, or they cannot hear the track at all.
- A pop filter about six inches from the capsule. Plosives are the fastest way to get a take rejected.
- A DAW. Pro Tools and Logic are the industry defaults. GarageBand, Audacity, and DaVinci Resolve all handle a single vocal track well, and BandLab works for a quick phone session.
- Something soft in the room. A duvet over the bed, a heavy curtain on the window, or a corner behind a curtain is real treatment at zero cost.
On your side
- A rough mix that is level balanced, with the lead vocal muted so nobody fights an existing vocal.
- Stems if the artist is doubling or if the rough mix is too busy to sing over.
- Two or three reference tracks that show the tone and phrasing you want. References do more work than any paragraph of notes.
- A shared folder on Google Drive or Dropbox, structured as Instrument, References, and Deliverables.
- File specs in writing: 24-bit, 48kHz, WAV, dry, starting at bar 1 beat 1.
- Money and rights settled before recording. Flat fee, points, publishing split, or a work-for-hire agreement. Agree it in writing before anyone sings, not after the take is good and everyone is emotionally invested.
Step-by-Step: How to Record a Feature Verse Remotely
There are two ways to do this, and the right one depends on how much direction the part needs. Pick this before you send anything.
| Factor | Live-streamed session | File swap |
|---|---|---|
| Best for | Hooks, doubles, anything needing live direction | Full verses, ad-libs, artists across time zones |
| Latency | Noticeable; compensate before recording | None, the track is already on disk |
| Revisions | Awkward, the artist is usually off the clock | Easy, just send another file |
| Tooling | Audiomovers, Source-Connect, Sessionwire, or a video call as backup | Shared folder plus any DAW |
| What it costs in time | One scheduled block | A few days of back and forth |
The pro default is file swap. On the r/audioengineering thread about how working artists actually deliver features, the answer repeated across replies was the same: they record in their own room against a rough mix or stems and return dry vocal files to the producer. Live streaming is for the part where a person has to be coached in real time.
How to prepare the session and confirm the arrangement
Before anything is recorded, put the key, the BPM, and the arrangement decisions in writing so neither side is guessing.
Confirm the tempo and key by sending both as text even though the file already has them. It takes ten seconds and it catches a dragged or altered bounce. Tell the artist whether the part is a single lead vocal, a lead plus a stack, or a lead with a specific harmony underneath, because a double track doubles the session length and the decisions.
Send the reference tracks with one sentence on what you want from each. A vocal reference is for phrasing and attitude, a production reference is for the mix, and a mix reference is for neither. Say which one is which.
Then run one test. Have the artist record a single line, bounce it, drop it into your session, and confirm it lines up on the beat grid with no manual nudge. If that takes ten minutes now, it saves a day later.
How to check the recording chain
Get the chain right once and write down the numbers. A remote artist should be able to set it up identically three weeks later without asking you.
Position matters more than price. Aim the condenser about six inches from the mouth, slightly off axis, with the pop filter between them. Mark the mic stand position with a piece of tape so it cannot drift.
Set gain so the loudest word of the hook peaks around minus 12 to minus 6 dBFS. Hit record and sing the hardest line of the part rather than counting in silence. Peaks on that first pass are your real ceiling, and the meter should never get close to zero.
Check monitoring next. With headphones on, the track should be clear and the microphone should be completely silent. Any faint signal on the mic channel means bleed and the take is ruined, so fix it before rolling.
Record thirty seconds of the quietest room you will get. Play it back and listen with headphones. Whatever you hear there sits under every word of the final take.
How to record the feature verse
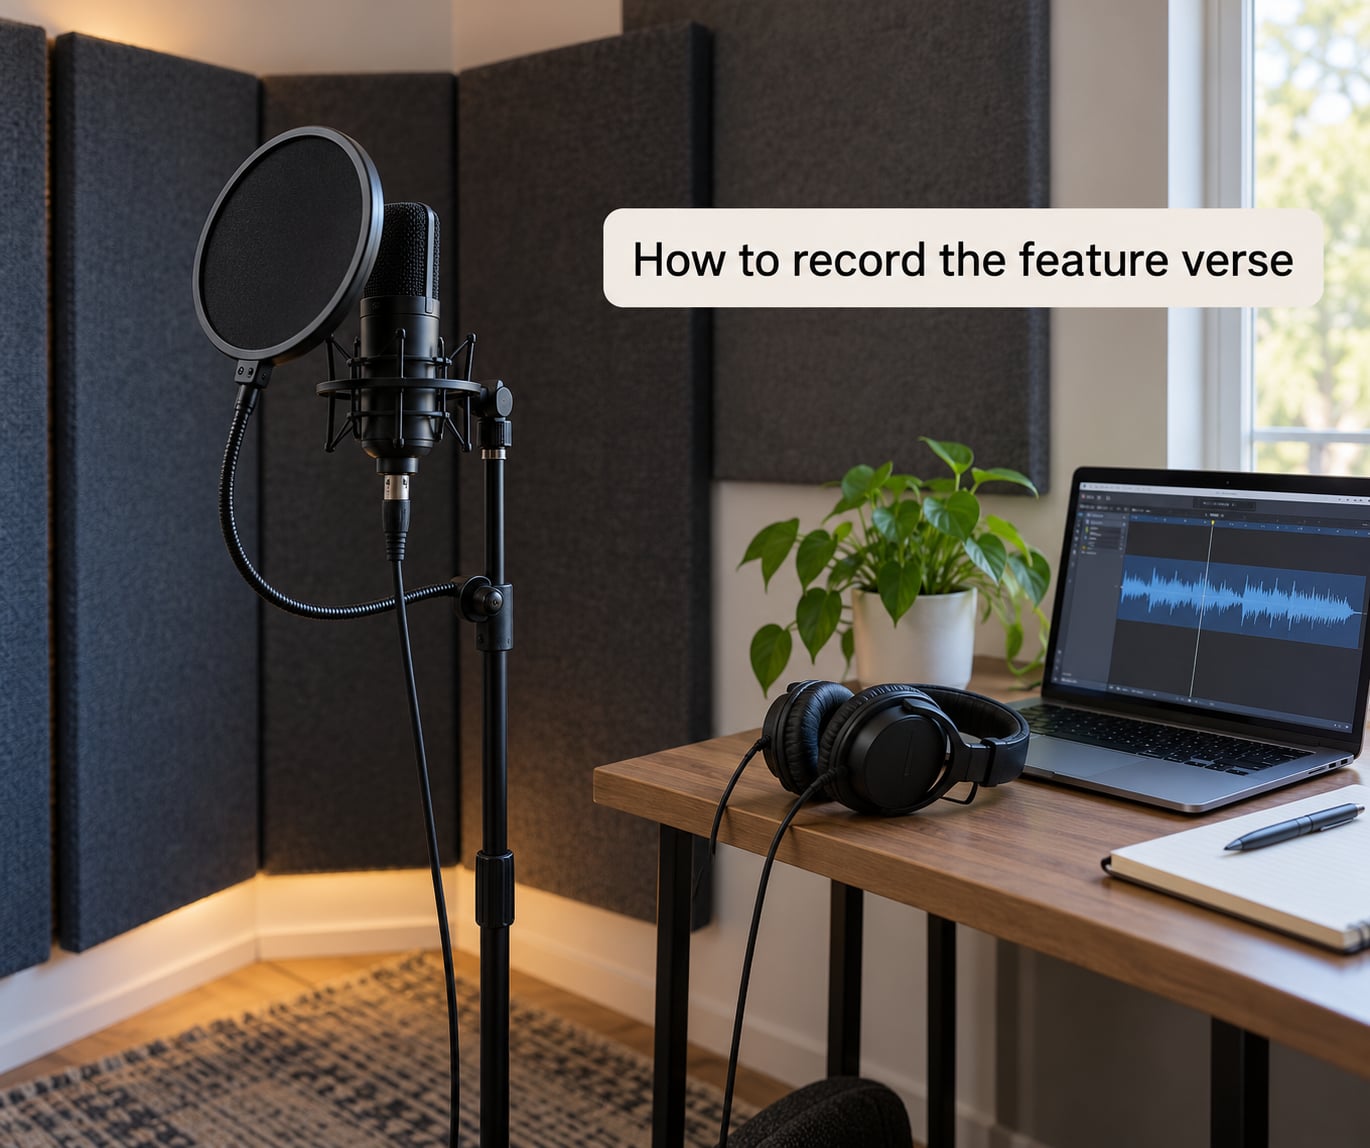
Record more takes than you think you need. Three to five passes of a verse is normal, and ten is fine for a hook.
Keep the microphone, pop filter, gain, and sample rate identical across every pass. Any change in distance or level makes a comp sound like two singers, which is the fastest route to a rejected take.
Stay inside the beat rather than chasing it. Artists who record remotely tend to rush the second half of a bar, so have the artist mark the trouble spots and go again.
Leave the performance alone. Notes like sing it softer will flatten a take that was already good. If you do not like a take, say what happened in the room and ask for another pass, not for the same words with a different emotion.
Name each pass as you go: Artist_Verse_Take01.wav, Take02, and so on. Labeling takes while they are fresh is faster than renaming twenty files after the session.
How to review and select the best takes
Listen for six things in this order: timing, tone, diction, emotion, background noise, and how easy it is to edit.
Timing first because it decides whether the take is usable. Then tone, since a take with the wrong weight will need heavy correction. Diction matters more in rap than in singing, and emotion is the last filter, not the first, because a flat take with clean timing is often fixable.
Background noise is a yes or no question for remote takes. If you can hear a car or a computer fan under the vocal and it follows the performance rather than sitting still, that noise is on the vocal channel and it will print in the master. Ambient room sound in the silence between words can usually be cleaned up.
Editability is the one people forget. A take that needs six splice points across a verse is slower to comp than one that is clean for three lines and loose, so prefer the take that plays in one go.
Write down which takes you want and which lines you plan to pull from where before you start comping.
How to edit and deliver the remote vocal
Import the files, then check the alignment before anything else. A file that does not start at bar 1 beat 1 can be dragged, but you will spend the rest of the session wondering whether it is really in time.
Comping is the art of choosing the best phrase from each pass and stitching them into one performance. Do a first pass for timing, a second for tone, and stop there. Beyond that you start building a verse out of technically perfect fragments that never had a single moment of intent.
Handle noise last. A gentle expander or noise reduction pass at low strength, then manual cleanups on breaths and mouth clicks. Heavy de-essing and aggressive compression applied at the artist end make the take harder to mix, so ask for dry, lightly comped files with no limiter on the master bus.
Export the final file as 24-bit, 48kHz WAV, dry, unmastered, starting at bar 1 beat 1, named with the project, part, and version number. Send it with a short note listing what you changed and what you still want changed.
Common Mistakes
Recording at the wrong gain level
Too little gain means the quietest syllables sit near the noise floor, so any cleanup amplifies hiss along with the vocal. Too much gain means the loudest consonant clips, and a clipped file cannot be repaired because the information is gone.
Record the hardest line first, watch the meter, and aim for peaks between minus 12 and minus 6 dBFS. That headroom costs nothing and gives the mixing engineer room to work.
Changing microphone position between takes
A half-inch of distance changes the low end, and a change of angle changes the presence band. Stack those differences across a comp and the verse develops a subtle step from line to line that no amount of EQ fixes cleanly.
Mark one position with tape on the stand and one note on the mic body. If the artist needs a different placement for a louder passage, make that a separate, clearly labeled pass rather than a mid-session adjustment.
Sending vague vocal directions
Saying the take sounds bad produces a re-record that is also bad, and it burns a revision round. Specify the musical thing instead.
Try this: the second pre-chorus needs a different fill, the last note of the hook should carry more vibrato, the diction on the fast line needs to be clearer, and the intro should be restrained so the hook has somewhere to go. Each line tells the artist exactly what to change and what to leave alone.
Recording in an untreated noisy room
Traffic, a desktop fan, an air conditioner, and a hard reflective wall are the four usual culprits, and they show up differently on every take.
Schedule the session for the quietest hours in your area, which for most people means early morning or late evening rather than the middle of the afternoon. Move to a different room if the beat plays through the walls. Hang a heavy duvet on the wall behind the microphone, stand in a corner where two surfaces meet, and put something soft under the desk. If the noise is a constant mechanical hum from a computer or monitor, move the microphone away from it and add a small amount of high-pass on the vocal channel at mix time, not during recording.
Editing the vocal before the files are organized
Comp straight out of a folder called New Recording Final means an hour is lost deciding which file is which. The same mess becomes expensive when the artist wants one line changed and you cannot prove which pass it came from.
Label every take the moment it is recorded, keep the raw files untouched in a Read Only or archive folder, and duplicate before editing. Name folders by project and date, not by how you feel that afternoon.
Frequently Asked Questions
How much latency should I expect in a live remote vocal session?
A low-latency streaming service usually lands between 10 and 30 milliseconds one way, which is small enough to sing along to but enough to make fast syllables feel loose. Stand-in latency is a larger problem: if the artist is wearing headphones, any delay between the beat they hear and the voice that reaches the producer is unfixable after the fact. Compensate the artist side, keep a buffer around 128 to 256 samples while tracking, and switch to a larger buffer for the comp.
What file format should I send a feature artist to record against?
Send a 24-bit, 48kHz WAV, or an MP3 at 320kbps for reference only. The important part is not the format but the start point: the file must begin at bar 1 beat 1 with silence before the first sound. A take recorded against a file that starts late will be late forever unless the producer drags it back, and that guesswork slows every later session. Include the BPM, key, and a tempo map in the same folder.
Should the artist record to a rough mix or to stems?
Use a rough mix for most parts. It is easier to understand, requires less setup, and gives the artist the balance context they need for phrasing and energy. Send stems when the song is dense, when the artist is doubling and needs the parts separated, or when the rough mix has a lead vocal that has to be muted first. Stems mean every file must share the same start point, which is where alignment problems usually come from.
How do I give feedback on a take without frustrating the artist?
Use time-coded notes instead of a general verdict. Mark the bar and beat, name the musical problem, and suggest a direction. Phrases like try a different fill in the second pre-chorus or more vibrato on the last note of the hook land well because they describe a choice the artist can make. Vague notes such as it sounds off cause a re-record that is equally unusable and usually cost a revision round.
Do feature verses need a work-for-hire agreement?
Not necessarily. A work-for-hire arrangement is clearer when you are paying a flat fee for a one-off session and want full control of the master and the publishing, but a signed agreement has to be in place before the work starts. A royalty split is common when the artist is a collaborator with an ongoing stake. Whichever you choose, put the fee or points, the publishing split, the master ownership, and the credit in writing before anyone records. Rules differ by country and by state, so use a form reviewed by a professional for anything with real money involved.
How many takes and revisions should I ask for?
Ask for three to five raw takes of each section plus any doubles and ad-libs, and name two revision rounds in the brief. Raw takes matter more than a polished comp because they give the editor options later. A finished comp sent in place of raw takes usually means one extra round, since the artist has no idea which version of a phrase was considered final.
Conclusion
Start with three things before the session exists: send files that begin at bar 1 beat 1, write down the gain and microphone position so it can be repeated, and put the fee, credit, and publishing split in writing.
Then hold one rule for the whole process. Every take comes back dry, cleanly labeled, from a fixed position, with no effect chain the editor would have to undo. Remote features are rarely difficult because of the internet. They are difficult because nobody wrote anything down.
Updated for 2026.