The short version: keep three copies of every session, on two different kinds of storage, with one copy somewhere physically off-site. That is the 3-2-1 rule, and it is the whole basis of how to back up your music projects without losing an album’s worth of sessions to a dead drive or a bad system update.
Most producers already know they should back up. Far fewer have a system that survives a real failure, because a copy on the same laptop that holds the only recording is not a backup. It is a duplicate.
Below is the workflow I would hand a friend setting up their first studio: one master folder per song, a dated archive, two independent copies, automatic cloud versioning, and a restore test you run on a schedule. Budget about an hour to set it up properly, then twenty minutes a month to keep it honest. Folder names and menu paths differ between DAWs and operating systems, so treat the exact names as examples and the structure as the rule.
What You Need
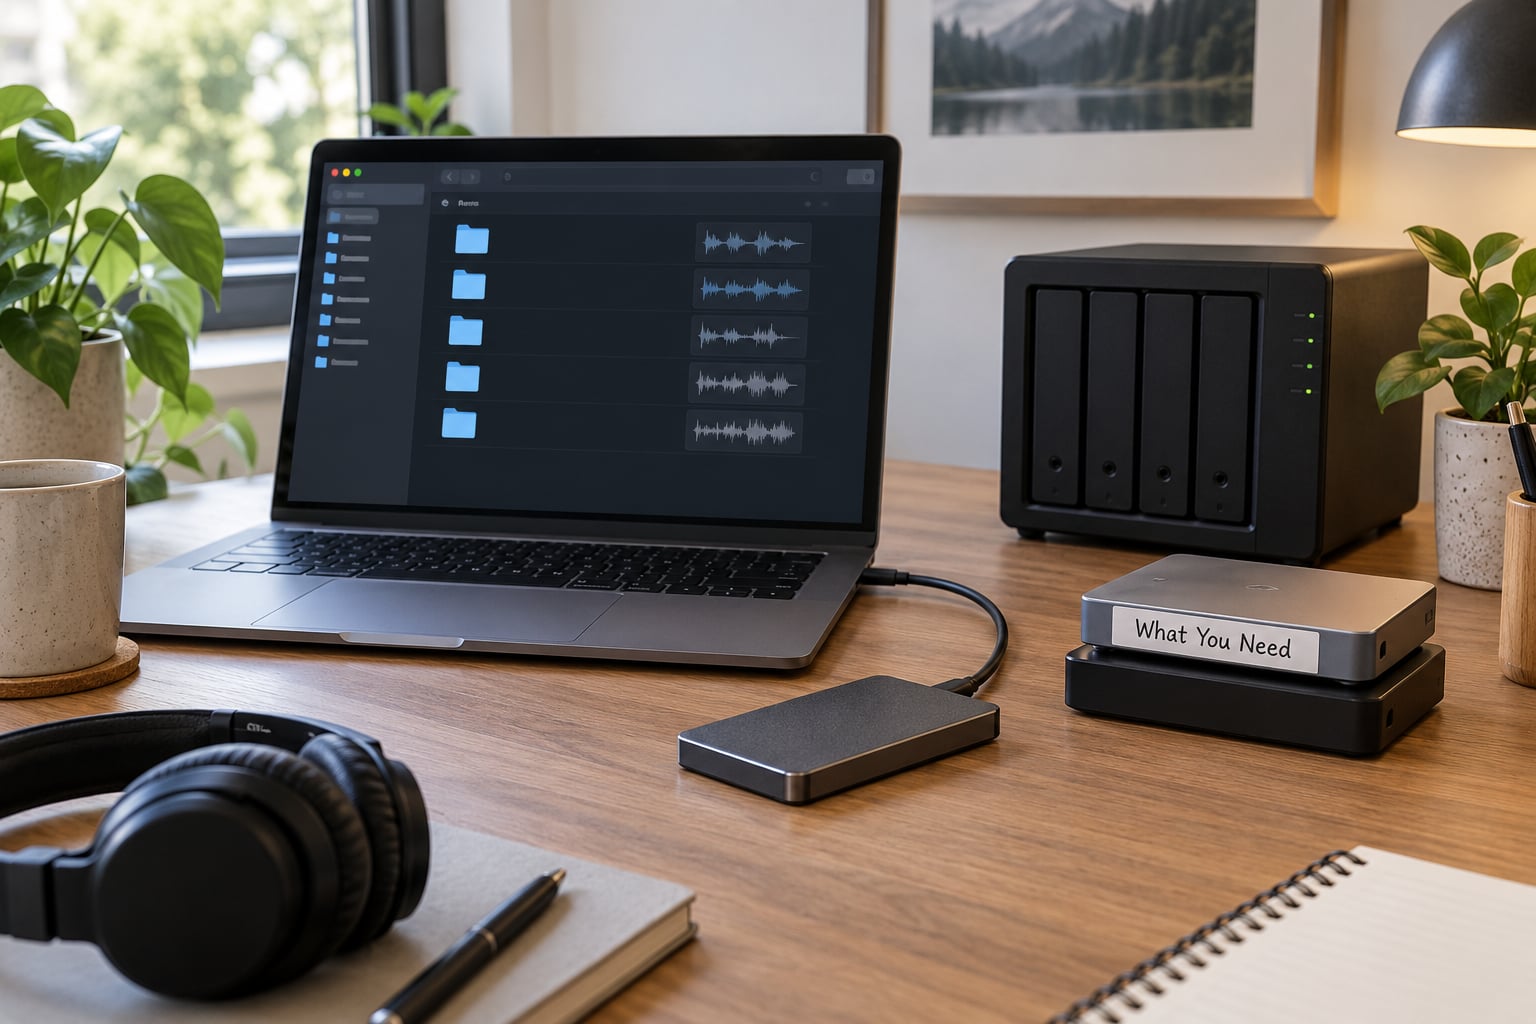
Knowing how to back up your music projects starts with knowing what a project is. A DAW project is a folder, not a single file, and the folder points at things stored elsewhere on your drive. Back up the folder and miss the pointers and the session opens as a grid of silence.
Every session folder typically holds a handful of things:
- The project file itself — the .als, .logicx, .flp, .ptx or .rpp file that stores your tracks, automation, mixer settings and arrangements.
- Recorded audio — the WAV or AIFF takes, including comped and printed passes. This is the part you can never recreate.
- MIDI and virtual instrument data — MIDI files you imported, and the presets that shaped any instrument patches.
- Referenced samples and loops — often pointing at a shared library rather than a folder inside the project.
- Bounces and exports — pre-fader and post-fader stems, rough mixes, references.
Alongside the folder, you need somewhere to put the copies: an external drive for the local copy, cloud storage or a NAS for the off-site one, and a tool that copies on a schedule instead of relying on you to remember. Mac users have Time Machine built in; Windows 11 has File History and a scheduled image tool. Third-party options cover both platforms, and I list the tradeoffs further down.
Step-by-Step: How to Back Up Your Music Projects
1. Create a Project Master Folder
Give every song its own folder, and put everything that belongs to it inside. A workable structure looks like this:
Music/
  2026/
    Artist_Song/
      Session/
      Audio/
      Bounces/
      Reference/
      Notes.txt
Name the project folder after the song, and put the tempo and key in the name when you know them — a format like NeonRain_128bpm_Fm_2026-02-14 sorts itself and tells you what you are looking at two years from now. Put your license details, plug-in versions and the DAW version in a plain text file inside the folder. That note saves an afternoon when you are restoring on a machine you have never used.
The step people skip is hunting down files that live outside the project folder. A session that pulls samples from a shared library has a dependency you will not see unless you look. After you save, use the DAW’s file management view to list every referenced path, and copy anything outside the project folder into the session folder before you archive. In Ableton Live the Browser’s search for unused or missing files helps. Logic Pro has a similar file reference window in the project. FL Studio and Pro Tools both expose sample paths from the sample editor, and Reaper lists media in its Media Explorer.
2. Use Save As and Preserve the Original
Every time you start a meaningful new pass on a song, save a dated version instead of overwriting. Most DAWs have a versioned save command: Save As and Save New Version in Logic Pro, Save As in Ableton Live, Save New Version in FL Studio, Save As and Save Versions in Pro Tools (which can keep a rolling set of session backups in its own folder), and File then Save Project in Reaper, which can also number versions automatically.
Use a naming system that survives sorting, such as Artist_Song_Producer_2026-02-14_v01. The date goes before the version number so a folder view sorts chronologically instead of grouping every v01 together.
Two habits make this work. Point each DAW’s automatic backup folder at a different physical drive than the one you are working on, so the auto-saves are not on the same disk as the session. And turn on auto-save, then leave it on. It costs nothing and it is the difference between a lost afternoon and a lost week.
3. Compress the Complete Project
Compress the finished project folder into a single archive. On Windows, right-click the folder, choose Compress to ZIP file, and name it with the song and date. On macOS, right-click, choose Compress, and pick the archive format you want. Compression keeps the folder tree intact when the archive lands on a drive formatted as exFAT or NTFS, which matters when you move between a Mac and a Windows machine.
Compress the folder, not the individual files. A pile of zipped audio inside a project folder breaks relative paths in several DAWs. And do not leave referenced audio out of the archive — a session with its external takes missing is the exact failure this process exists to prevent.
Keep the archive as a zip or a proprietary session bundle. Pro Tools’ Bounce and Session Archive functions, and Ableton Live’s Save Live Set As with collected samples, produce self-contained bundles that carry their audio inside. Those are convenient for handoff; keep a plain zip as well, so you are not dependent on one DAW version being able to read its own archive years later.
4. Copy the Backup to Two Locations
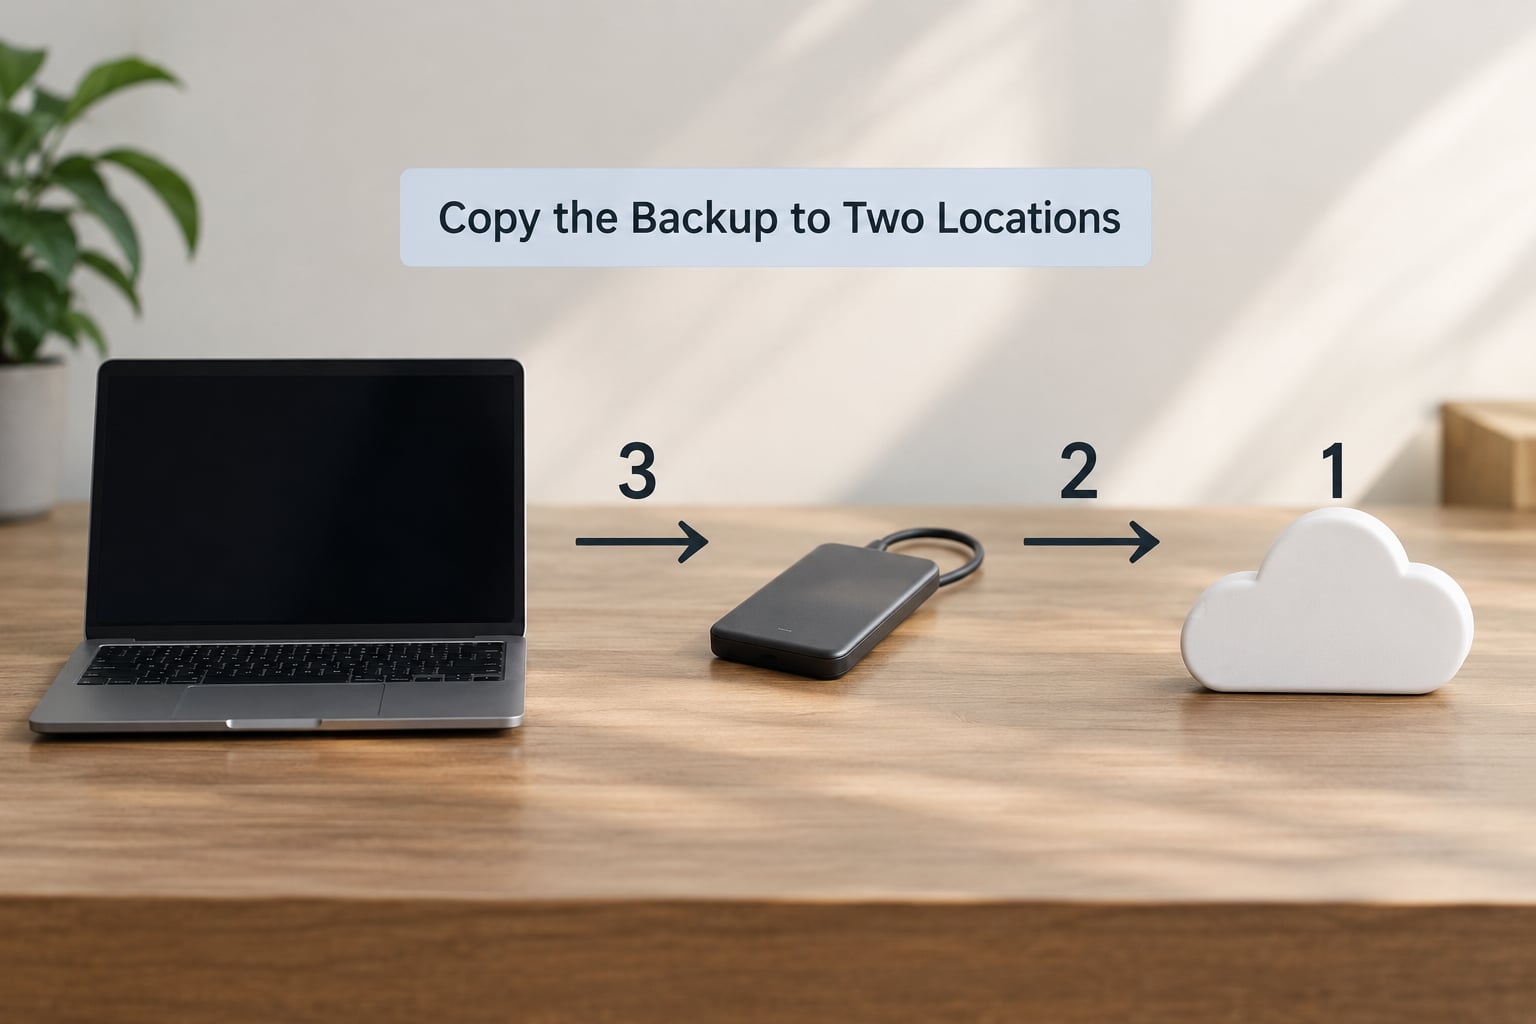
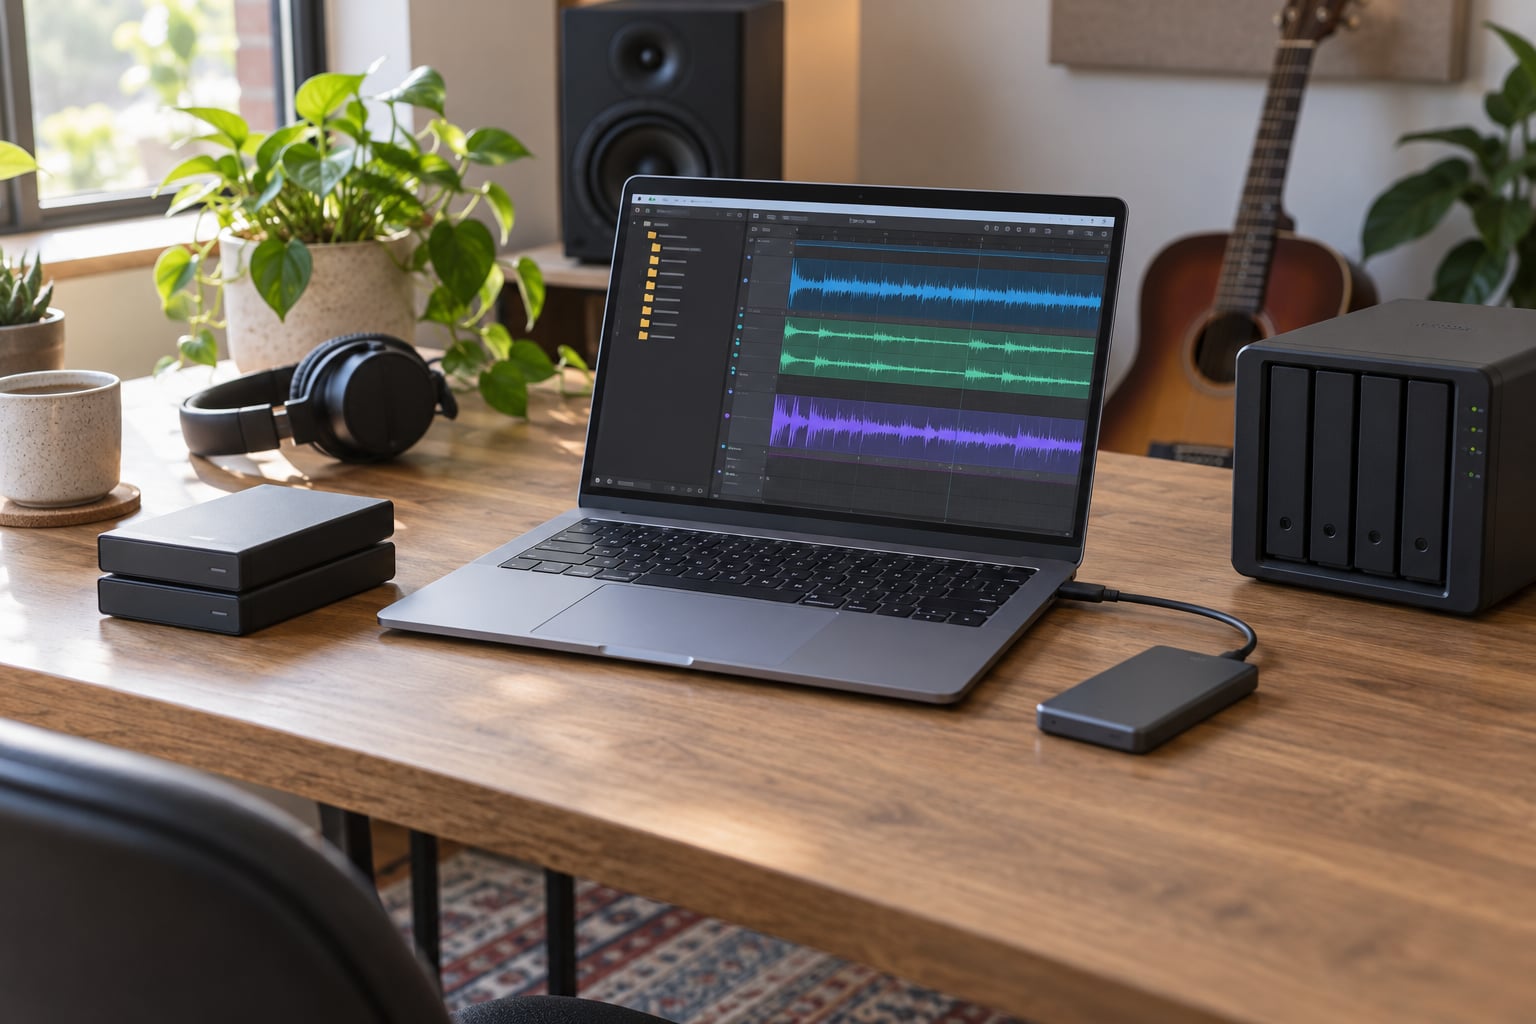
Three copies, two types of media, one copy off-site. The working session on your internal drive counts as copy one. Copy two is an external drive, ideally an SSD, kept somewhere other than the bag the laptop lives in. Copy three is off-site: cloud storage, a NAS at a family member’s house, or a drive you physically move to another building.
Why three copies and not two: a single external backup protects against a failed internal drive, but not against theft, flood, fire, or a coffee spill that takes out the laptop and the drive sitting next to it. The off-site copy covers the disasters that take everything in one room at once.
On sizing, work from what you actually produce. A modest home studio project with tracked audio, comped takes and stems can sit anywhere from a couple of gigabytes to a few hundred depending on session length and how many printed passes you keep. Sample libraries are the space hogs, often tens of gigabytes each. If you own your samples, note the library names in your project notes and re-download them rather than copying them to every drive. Back up the samples you recorded yourself, and anything you made with a soft synth or a sampler preset you cannot recreate.
Schedule the copy overnight when the machine is idle. A multi-terabyte library over a USB 3 connection moves at real-world speeds of a few hundred megabytes a second, so a full backup of that library takes a couple of hours rather than a day. Back up on a schedule, not while a session is open — see the mistakes section for why.
5. Automate Versioned Cloud Backups
The off-site copy should run on its own. On a Mac, Time Machine to an external drive plus a versioned cloud service covers the local and off-site halves. On Windows, File History with a scheduled image backs up the user folders, and OneDrive, Google Drive for Desktop or Dropbox handles the off-site copy.
The distinction that trips people up: sync is not backup. iCloud Drive, Dropbox and Google Drive mirror your folders. If a project file is damaged, deleted, or overwritten by a bad plugin crash while syncing, the same damaged version appears everywhere, because sync propagates the change rather than preserving the earlier one. True cloud backup creates incremental versions with a retention window, so you can roll back to yesterday’s copy. Producers on r/ableton consistently describe Time Machine as a good start and insist it is not sufficient on its own, which matches what I have seen in practice.
Point the sync client at a dedicated Projects folder, not at your live working directory. Keep the versioned backup running on the archive folder from step 3. Dated versions are what save you: NeonRain_v07_2026-03-02.zip tells you which is which without opening anything, and a versioned service gives you a second layer underneath that. Sync alone is also a performance problem — a multi-gigabyte archive uploading in the background while you play back stems is a bad trade.
On a NAS, treat it as the fast local third copy and keep one true off-site copy behind it. A NAS in the same room as the studio is not off-site.
6. Test the Backup and Schedule a Restore
This is the step nobody does, and it is the reason backups quietly fail. A backup that has never been restored is a hope, not a safety net.
Run a ten-minute drill once a quarter. Copy one archived project to a scratch folder on a different machine, or at minimum a different drive. Unzip it and open the session in your DAW. Listen to the audio and check that the tracks are not silent, that the tempo and key are unchanged, and that the sample rate and bit depth match the project. Open a plug-in-heavy track to confirm the software still exists on that machine. Then delete the scratch copy.
Write down what you did and whether it worked. A one-line log with the date, the project name and the result is enough. A backup log is also the only way to answer honestly, years later, whether a given file was ever copied anywhere.
Common Mistakes
Backing up only the DAW file. The .als or .ptx is a set of instructions, not your music. Correction: copy the entire project folder plus every audio file it references. Habit: open a random archived project once a month and confirm the audio is inside it.
Treating one cloud folder as a backup. Sync mirrors whatever happens to the file, including the bad thing. Correction: add a versioned backup service, and keep dated archives so you can always go back. Habit: check whether your cloud tool exposes version history before you trust it.
Running a backup while the project is open. You can archive a half-saved session, and on a sync folder the conflict copy that gets written is often unusable. Correction: save, close the project, quit the DAW, then copy. Habit: make closing the DAW part of the end-of-session routine.
Generic file names. final_final_v3_REAL.als tells you nothing a year later. Correction: artist, song, date, version, in that order. Habit: rename before you archive, not after.
Ignoring sample libraries and plug-ins. A session full of third-party instruments may open as silence on a new machine. Correction: record every library and plug-in you use in the project notes, keep installers and account logins in a password manager, and expect to re-download rather than copy libraries to every drive. Habit: update the notes file whenever you install something new.
Never testing a restore. The silent failure. Correction: the quarterly drill above. Habit: put the drill in your calendar now, before you forget.
A few shorter tips that fit most studios: turn on auto-save and leave it on. Keep the working drive and the backup drive physically separate. Format external drives exFAT if they move between Mac and Windows machines. If you have more than a few terabytes of sessions, a NAS plus one off-site drive is more practical than rotating disks. And if you own a RAID array, treat it as fast storage, not a backup — RAID survives a single drive failure, and it does nothing at all about fire, theft or a bad delete.
Frequently Asked Questions
Can I back up my music library to iCloud?
iCloud Drive syncs your folders, which means it mirrors whatever happens to a file, including corruption or an accidental delete. It works well for storing finished projects and bounces, and it is fine for occasional access from another machine. For sessions you are actively working on, use a versioned backup service instead, and never leave a live project folder inside an iCloud-synced directory.
How do I back up my music library to an external hard drive?
Format the drive exFAT if you use both Mac and Windows, connect it, and create one folder per project containing the session file, all audio, MIDI, bounces and a short notes file. Compress each project folder to a zip, then copy the archive to the drive on a schedule rather than by hand. Schedule it overnight, keep the drive somewhere other than your laptop bag, and open one archived project each quarter to confirm the audio is really there.
How do I back up my music to my Google account?
Google Drive for Desktop is a sync tool, so it mirrors changes rather than preserving history. That makes it useful for storage and sharing but risky as your only copy. Point it at a dedicated archive folder containing dated zipped projects, and pair it with a versioned backup service so a corrupted or deleted file does not propagate everywhere at once.
How often should I back up my music?
Turn on your DAW’s auto-save and leave it enabled. Copy sessions to an external drive at the end of every working session, run the off-site copy overnight on a schedule, and archive a compressed project whenever a song hits a milestone: demo, mix-ready, and delivered. Quarterly, restore one archived project to a different drive and confirm the audio loads. Ten minutes of testing a year is far cheaper than losing a finished album.
What should I do after a storage failure?
Stop writing to the failed drive immediately and disconnect it. If the drive is recognised at all, copy the project folders to a new drive before formatting or repairing anything. If it is not recognised, check your most recent external backup first, then your versioned cloud copy, and pull the newest dated archive. Keep the dead drive unformatted until the project is open and the audio is verified, because a restore attempt can overwrite what is still recoverable.
Conclusion
Start today with three actions: build a dated master folder for the song you are working on right now, compress the whole thing, and copy it to an external drive plus a cloud or off-site location. Then set the copies to run on a schedule instead of on your memory.
The last piece is the one people skip, and it is the one that matters. A backup is only worth what a successful restore proves it is, so open one archived project this week and confirm the audio plays. Do that every quarter and how to back up your music projects stops being something you intend to sort out and becomes something you already do.