Muddiness almost always comes from the same place: the reverb tail is carrying frequencies the dry signal needs. Learning how to use reverb without muddying a mix means filtering the send, sizing the decay to the source, delaying the tail behind the direct sound, and then automating the wet level so reverb supports the track instead of filling it. The whole routine takes about 20 minutes once you have the routing in place.
Below is the workflow I use on every mix that goes cloudy. Each step fixes a different part of the problem, so you can stop as soon as the mud clears.
What You Need
None of this needs expensive hardware. You need a reverb plugin, an EQ, a compressor, and a way to judge levels accurately.
- A reverb plugin. The stock reverb in your DAW is enough to learn this. Algorithmic or convolution, either one works as long as it has a decay control and an EQ section.
- A parametric or channel-strip EQ. You need a high-pass filter and at least one movable band for the 200 to 300 Hz range.
- A compressor. This is for ducking the reverb bus against the dry signal, not for the dry signal itself.
- Faders and meters you can trust. Reverb level mistakes are level mistakes, and you cannot fix what you cannot see.
- A reference track you like. A track in the same genre with a reverb balance you want to borrow. This matters more than most people expect.
- Monitoring you are used to. Headphones and monitors will not agree about reverb, and neither of them agrees with a phone speaker. Pick one and know it.
If you are working in an untreated room, expect the reverb decision to be harder than it should be. Reflections leaking into your recordings already add a smear you cannot EQ out later.
Step-by-Step: How to Use Reverb Without Muddying a Mix
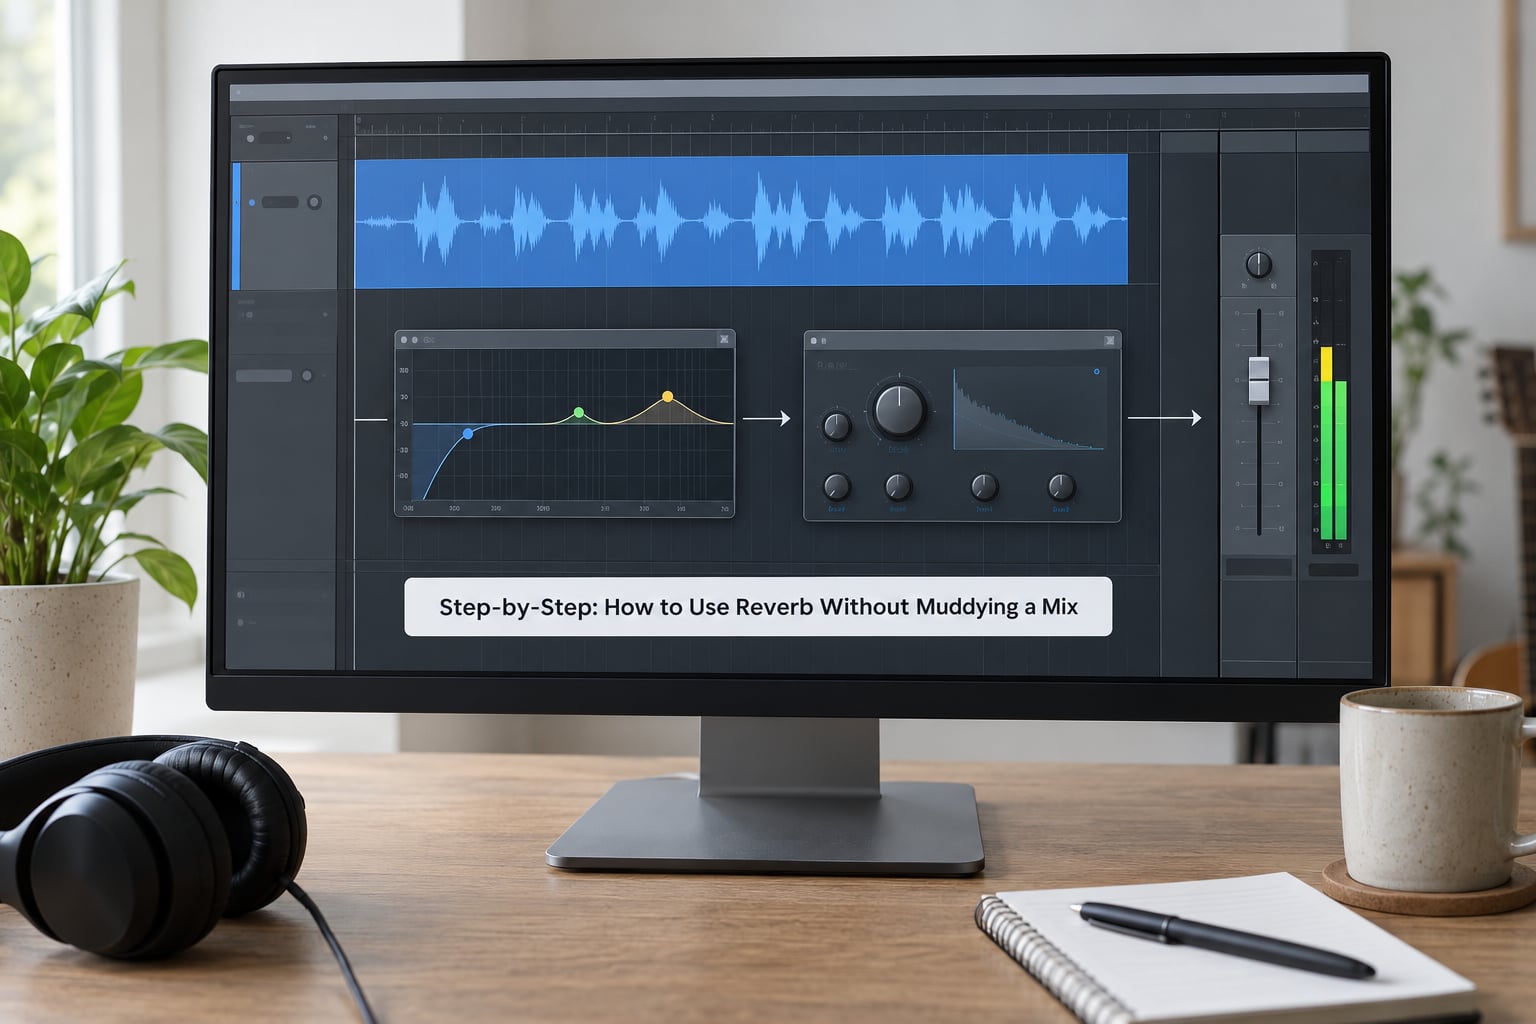
Start With a Reverb Send
Put the reverb on an auxiliary send, not as an insert on every track. When reverb lives on a shared return, you can hear the whole ambience as one thing and fix it once, instead of chasing six private tails.
Set the return to 100 percent wet. If the return carries any dry signal, the effect gets doubled and the mix loses the clean separation between the direct sound and the space around it. Send levels are the only thing you adjust per track.
For the opening pass, pull each send down until you can barely hear it, then bring them up together. Most home mixes I have seen are drowning because every send was dialled in against its own track instead of against the whole mix.
Here is the routing in four steps:
- Insert the reverb on an empty bus.
- Set that bus to 100 percent wet and leave it there.
- Assign aux sends from each source track and set the levels low.
- Raise sends one at a time while listening to the full mix, not the soloed track.
Different reverb types serve different jobs, and choosing the wrong one is a quiet cause of mud.
| Reverb Type | Character | Works Best On |
|---|---|---|
| Plate | Dense, bright, no obvious room size | Lead vocals, snares, short ambience |
| Hall | Long, wide, cinematic tail | Pads, strings, cymbal wash |
| Room | Tight, close, early reflections | Drum bus, acoustic guitar |
| Chamber | Small and woody, sits between room and hall | Drums, close vocals, blues |
Set Decay Time for the Source
RT60 is the time it takes a reverb to fall 60 dB below its starting level. That single number decides whether a source sounds tight or swallowed, so match it to what the instrument is doing in the arrangement.
Kick and bass need almost none. Anything under 400 ms is usually enough, and any low-end energy in the tail is what you should cut anyway. Snares and toms work well between 800 ms and 1.5 s. Lead vocals sit comfortably around 1.5 s to 2.5 s when the song is sparse, and much shorter when the arrangement is busy.
Pads and cymbals can take 3 s and beyond without turning muddy, because they have no transient to hide. The rule is simple: the more percussive and the more important the sound, the shorter the tail.
Tempo-sync your decay so the tail clears before the next phrase. A reverb still ringing through the gap where the singer breathes sounds like a mistake.
A cheat sheet for common genres, using pre-delay, decay, and the reverb type that usually fits:
| Genre | Pre-Delay | Decay | Usual Type |
|---|---|---|---|
| Hip-hop | 40 to 60 ms | 0.8 to 1.2 s | Plate, short and dark |
| Pop | 30 to 50 ms | 1.2 to 2 s | Plate on vocal, room on drums |
| Rock | 20 to 40 ms | 1 to 1.8 s | Room on snare, plate on vocal |
| Electronic | 50 to 80 ms | 2 to 4 s | Hall, tempo-synced |
| Acoustic | 20 to 40 ms | 1 to 2 s | Room or chamber |
Shape the Reverb With EQ
This is the step that solves muddiness faster than anything else, and it is the one beginners skip. Filter the reverb send, not the reverb return alone, and the mud never gets generated.
Put a high-pass filter at 200 to 250 Hz and a low-pass at 6 to 8 kHz on the send. That is the well-known Abbey Road trick. The high-pass removes the low buildup that smears across the entire mix. The low-pass stops the high-frequency wash from competing with the dry signal’s presence and sibilance.
What you are doing is reserving the frequency space where bass, kick, and vocal fundamentals live. The dry signal keeps that space to itself, and the reverb fills everything around it. That reservation is what keeps a dense mix readable at low volume.
You will still want a second pass on the return itself, after the plugin:
- Cut a narrow band at 200 to 300 Hz with a steep slope if the tail is still boomy even after the high-pass.
- Tame 1 to 3 kHz lightly if the reverb smears over consonants and sibilance.
- Roll off above 10 kHz if the tail is harsh on bright instruments.
- Do not boost anything on the return. Exciting reverb in a mix almost always makes the smearing worse.
If you own a spectrum analyzer, set it to a slow-moving average and watch a vocal solo. You will usually see the reverb tail holding energy from 150 Hz upward that has no business being there.
Use Pre-Delay and Early Reflections
Pre-delay is the gap between the dry sound and the onset of the reverb. It is the cheapest clarity trick available, because it moves the tail behind the vocal instead of on top of it.
Start at 30 to 80 ms. More than 100 ms and the reverb stops feeling connected to the source, sounding like a separate effect pasted onto the track. Less than 20 ms and it collapses into the dry signal with no separation at all.
Some plugins separate the initial reflection time from pre-delay, and that is worth using. A short initial reflection with a longer pre-delay gives you a sense of a real space while still protecting the vocal’s attack.
Per-instrument starting points: 20 to 30 ms for snare and percussion, 40 to 60 ms for lead vocal, 60 to 80 ms for guitars and keys, and 10 to 20 ms for drums as a whole since the kit already has its own transients.
Automate the Wet Level
Reverb that sits at one level for the whole song is one of the main reasons mixes feel stuck. A verse does not need the same space as a chorus, and a bridge does not need any.
Write a static line first so you can hear the amount, then move it. Drop the wet level by 2 to 4 dB through the verse and the intro, lift it on the last word of a phrase into the chorus, and bring it down under the sung line during the parts where the lyrics matter most. Pulling the wet down for a key lyric and back up after it is the single most effective automation move in a vocal mix.
In electronic music, automate the reverb fully wet so it vanishes completely between sections. The gap is what makes the drop hit.
Sidechain ducking handles the rest. Put a compressor on the reverb bus and trigger it from the dry signal, so every vocal hit pulls the ambience down and lets it recover in between:
- 3 to 5 dB of gain reduction, enough to feel, not enough to pump.
- Around 250 ms release so the tail fills back in before the next line.
- A fast attack, roughly 1 to 5 ms, so the dip lands on the transient.
- Usually a slower attack around 20 to 30 ms for guitars, which should glide rather than pump.
Engineers on Gearspace and r/audioengineering describe this as the fix that made reverb finally sit still for them, and it holds up. It works without a compressor on the dry vocal at all, which means it fixes the problem without touching the sound you already like.
Bypass automation is the last piece. Drop the reverb to zero under a section where you want total dryness, like an exposed verse or a breakdown.
Check the Mix in Context
Bypass the reverb and listen to the dry mix. If the track feels like it lost nothing important, your wet level is probably too high. If it feels like a hole opened, the balance is right.
Then play the reference track at matched loudness and switch back and forth. You are not copying the plugin, you are copying the distance the reverb sits from the lead vocal. That ratio is the thing that transfers between tracks.
Check the low end in mono. Reverbs often spread the stereo field, and a tail that sounds wide in stereo can collapse into a lump in the center when the low end is summed. If the mud appears in mono, cut more low frequencies on the send.
Finish by playing the mix at a low level and at normal volume. Mud lives mostly in the low-level check, because that is where you stop noticing the tail and start hearing the whole picture.
Common Mistakes
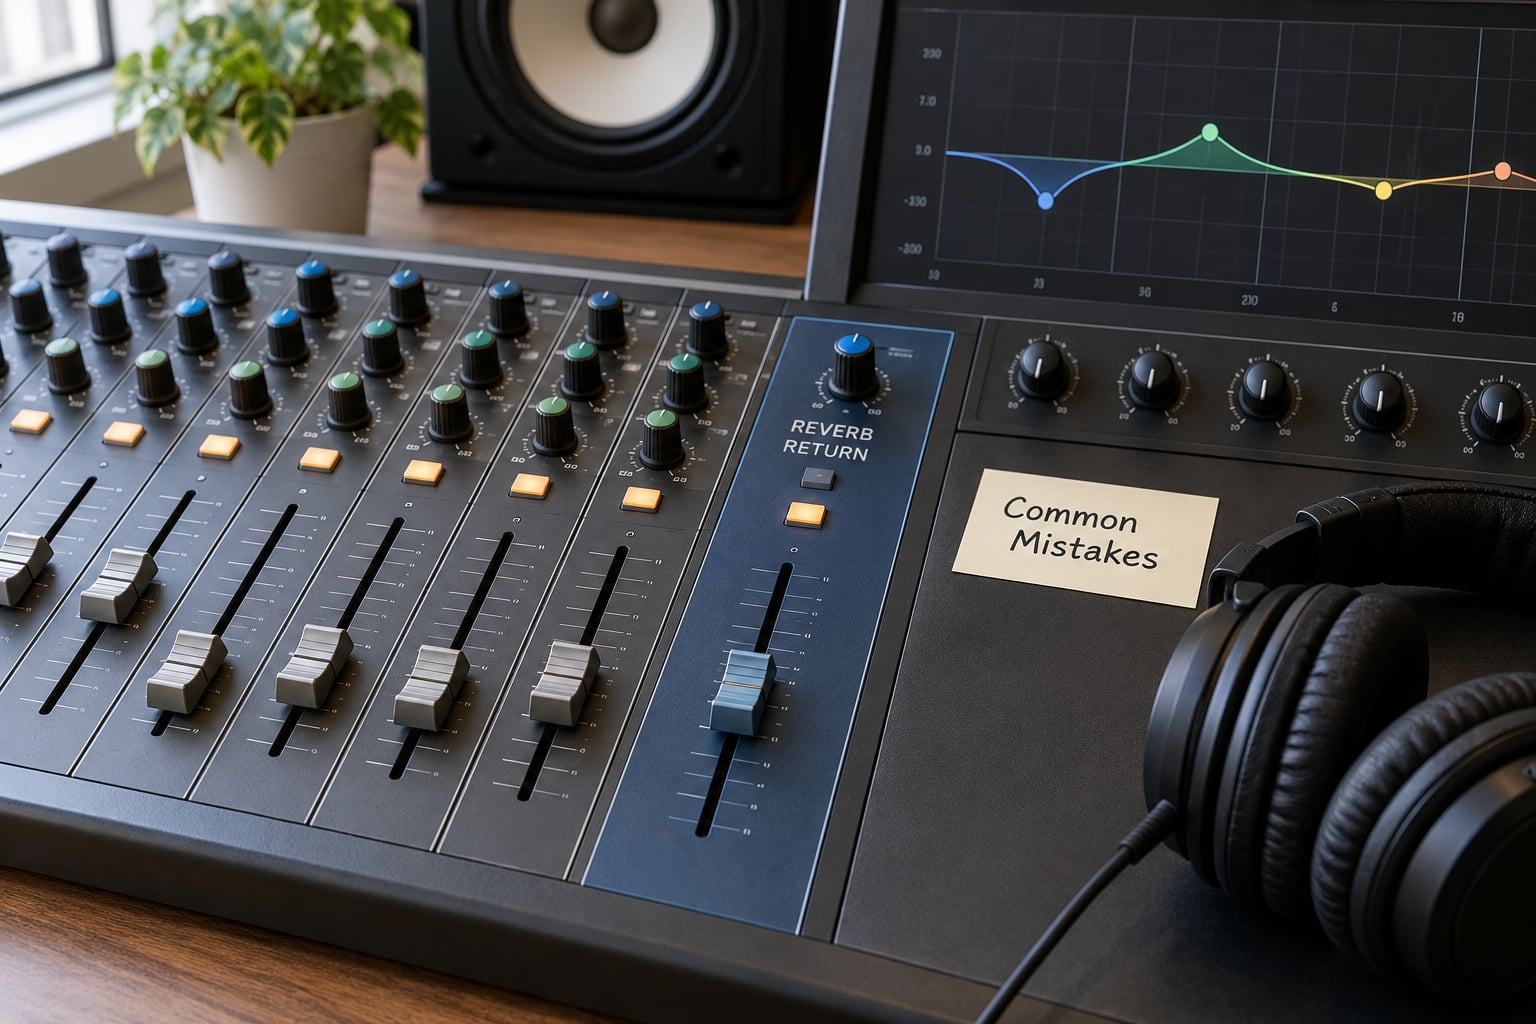
Every muddy reverb I have diagnosed came from one of the causes below. The symptom usually tells you which one you have.
| Symptom | Likely Cause | Fix |
|---|---|---|
| Whole mix sounds smeared | No high-pass on the send | High-pass at 200 to 250 Hz |
| Vocal loses its consonants | Pre-delay at zero | Raise pre-delay to 40 to 60 ms |
| Reverb swamps the dry vocal | Send level set by soloing | Set sends while listening to the full mix |
| Reverb fills the gaps between words | Decay longer than the phrasing | Shorten the tail and tempo-sync it |
| Tail sounds harsh or fizzy | Bright reverb into a bright mix | Low-pass the send at 6 to 8 kHz |
| Everything dips together | Compressor on the dry vocal already crushing | Fix the dry compression first |
| Reverb disappears on speakers | Too much reverb in the stereo field | Check it in mono |
| Rings through the next lyric | No automation on the wet level | Duck the wet level under the vocal |
The ten mistakes I see most often, each with the fix:
- Inserting reverb on every track. Use one shared return so the ambience is one decision instead of twelve.
- Leaving the return at less than 100 percent wet. The dry bleed doubles the source and thickens everything.
- Skipping the high-pass filter. Start at 200 Hz, listen, and only raise it if the mud persists.
- Copying a long decay because the plugin default sounds nice soloed. Decay is a relationship to the arrangement, not an absolute number.
- Setting pre-delay to zero. Even 30 ms buys you a lot of vocal clarity for no CPU cost.
- Boosting the reverb return to make it audible. If you need a boost to hear it, the send is too low, not the return.
- Adding reverb to a source that is already too busy. Busy arrangements want short tails, or none.
- Using the same reverb for everything. A plate for the vocal and a room for the drums sits better than one setting for both.
- Forgetting that low frequencies do not need space. Nobody misses reverb below 200 Hz.
- Never checking in mono. A tail that collapses into a lump in the center is the giveaway that low end is still leaking in.
Three habits speed this up. First, pick your reference track before you touch a plugin, so you are always moving toward something. Second, make one change at a time and bypass after each, because two changes at once can fool you into a fix that is not really working. Third, trust your ears over the plugin’s meter, since a tail can read as acceptable and still be too long for the lyric underneath it.
Frequently Asked Questions
Which is better, reverb or delay?
They do different jobs, so the better one depends on the part. Delay repeats the sound, which adds width and depth in a way the ear reads as space and size. Reverb generates reflections, which is what makes a room sound like a room. A vocal usually wants a short plate plus a slap delay. Drums and pads usually want reverb only.
Where should reverb go in the signal chain?
On an auxiliary send and return rather than as an insert, because a shared return lets you hear and fix the whole ambience at once. Keep the return at 100 percent wet. The send should come after the source’s compression and EQ so the reverb receives a clean, shaped signal instead of whatever garbage the channel is producing.
What does reverb add to a sound?
It adds reflections, which the ear reads as space around the source. That sense of distance and size is what separates a dry, close recording from a track that feels like it lives somewhere. It also connects separate sounds into one space, which is why a snare and a vocal with the same reverb sound like they belong on the same track.
How much reverb is too much on a mix?
More than you think, almost always. Bypass the reverb and listen to the dry mix. If you can still play the song start to finish and nothing feels missing, the wet level is too high. A good rule is that you should notice reverb when it disappears, not when it is present.
Is pre-delay the same as decay time?
No. Pre-delay is the gap between the dry sound and the start of the reverb, measured in milliseconds, and it controls clarity. Decay time, or RT60, is how long the tail takes to fade, measured in seconds, and it controls size. Raising pre-delay keeps a vocal clear without changing how big the space sounds.
How do I make a vocal reverb sound less muddy?
High-pass the reverb send at 200 to 250 Hz, add 40 to 60 ms of pre-delay, and pull the return down 3 to 5 dB with a compressor keyed to the dry vocal with a release near 250 ms. If it is still boomy, cut a narrow band at 200 to 300 Hz on the return. Check the result in mono as well, since a wide tail can collapse into a lump in the center.
Conclusion
Start with the high-pass filter. Put a 200 to 250 Hz filter on the reverb send, drop the return to 100 percent wet, and listen again. Most of the mud disappears right there, and everything after it is refinement rather than rescue.
Then work the loop in order: route through a send, size the decay to the source, add 30 to 80 ms of pre-delay, shape the tail with EQ, and automate the wet level. Check the result in mono and against a reference track. Go through that cycle twice and the clarity will hold up on any system you play it back on in 2026.