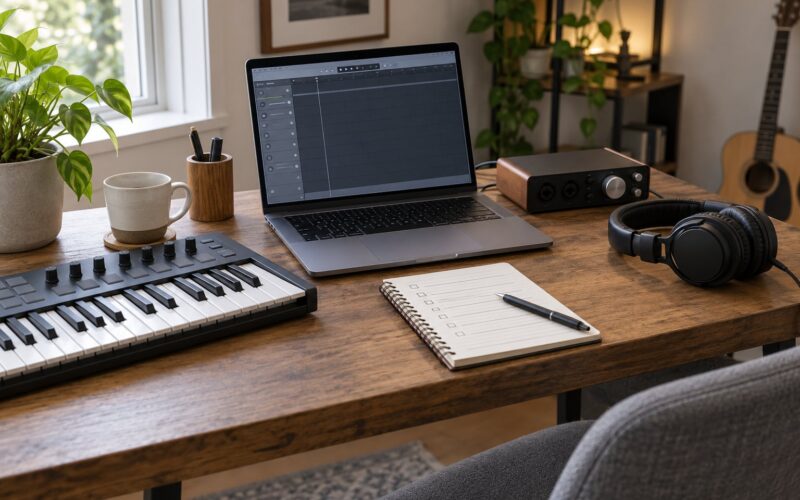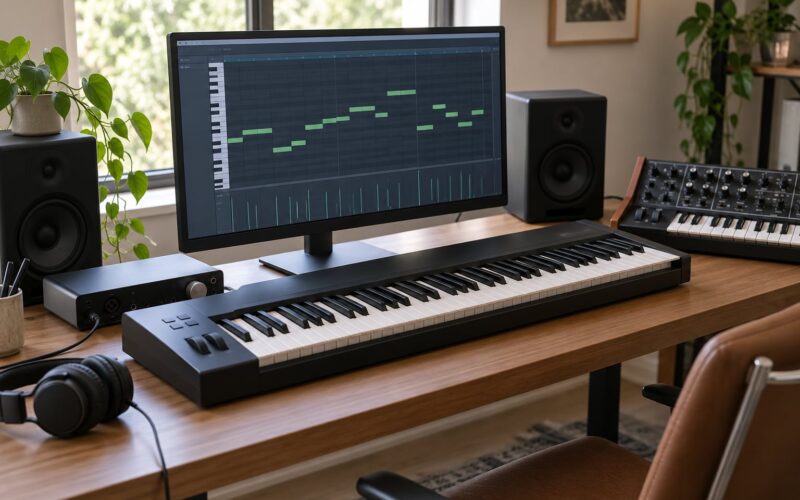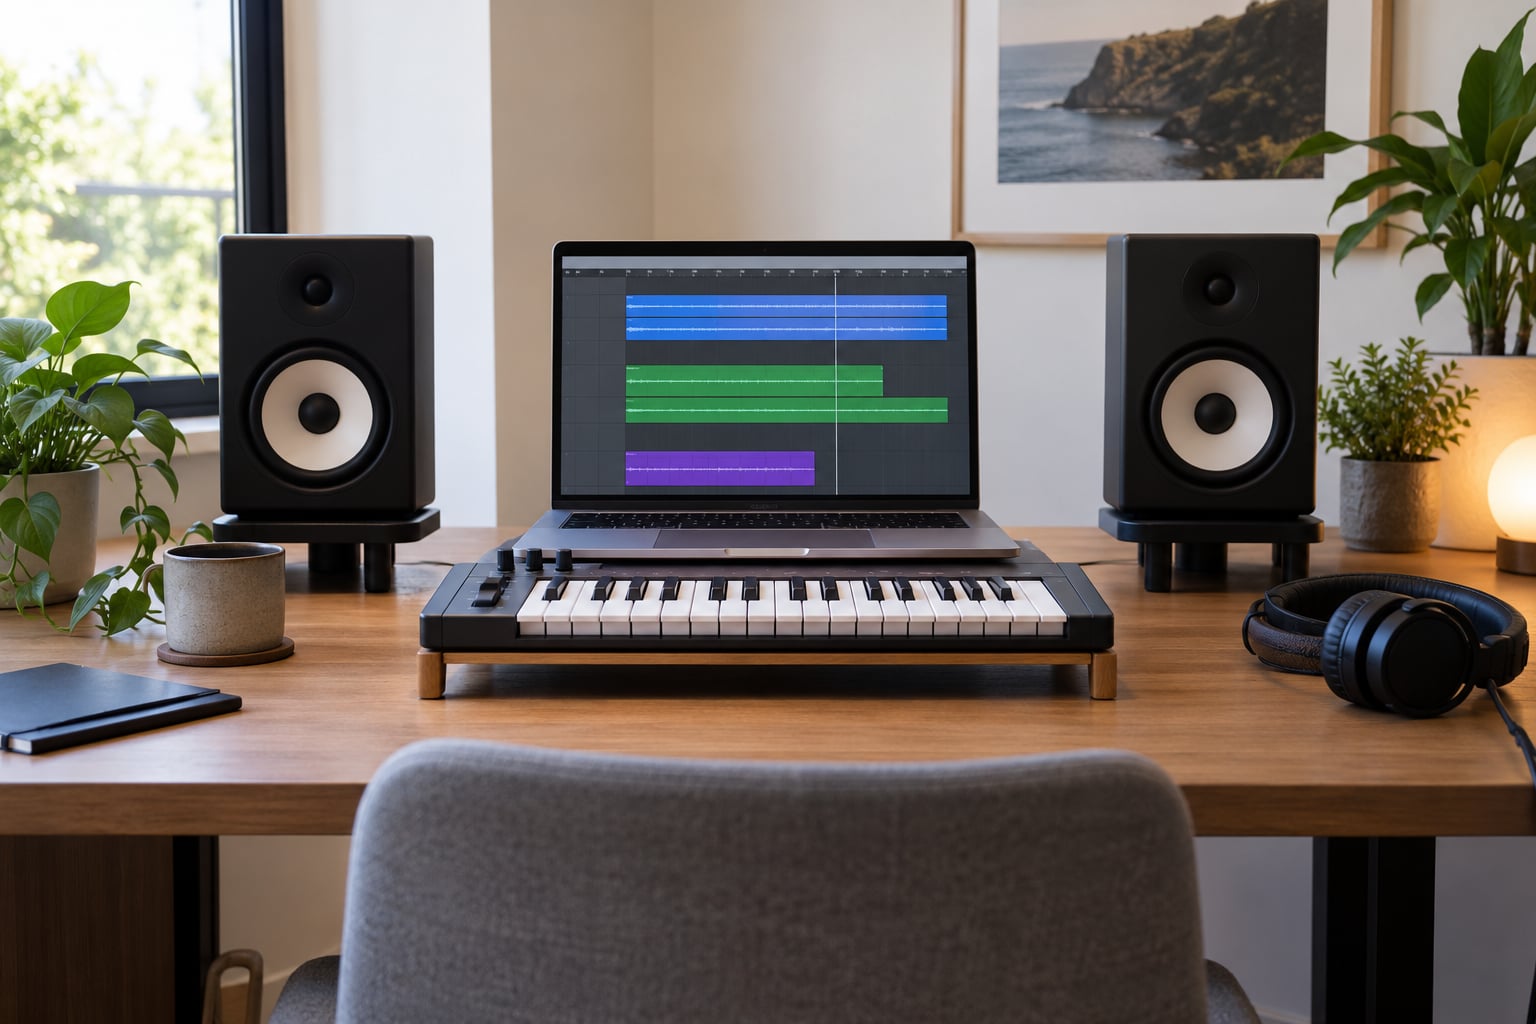
A virtual instrument is a software plug-in that generates musical sound inside your DAW, either by synthesizing it from oscillators like a hardware synth or by playing back recorded samples through a sampler engine. Both are controlled by MIDI data from a keyboard or controller, and both are shaped as much by how you play and arrange them as by the preset they ship with.
Learning how to use virtual instruments effectively comes down to a handful of repeatable habits: pick an instrument that fits the job, keep the signal chain clean, play with real expression instead of flat MIDI, process with restraint, and arrange so the part supports the song. Most of the producers I know who get good results do none of this dramatically. They just do it in the same order every time, which is what this guide walks through.
Table of Contents
- What You Need
- How to Use Virtual Instruments Effectively: Step-by-Step
- Common Mistakes
- Frequently Asked Questions
- Are virtual instruments better than real hardware for beginners?
- How do I stop a virtual instrument from sounding too artificial?
- Do virtual instruments require a MIDI keyboard?
- How do I choose the right virtual instrument for my DAW?
- Why does my virtual instrument sound different in the mix?
- How much CPU should I leave for virtual instruments?
- Conclusion
What You Need
You need far less than most people assume. Here is the honest list.
- A DAW. Logic Pro, Ableton Live, FL Studio, Pro Tools, Reaper and Cubase all host virtual instruments well. Pick the one you already own and learn its instrument track properly.
- A plug-in your DAW can load. VST3 runs on Windows and Mac and is the most portable format. AU only works inside Apple software. AAX runs in Pro Tools and nowhere else.
- A controller, if you plan to perform. A 25- or 37-key MIDI keyboard with velocity sensitivity is enough to start. Audio-to-MIDI software is a fallback if you play no keyboard at all.
- Headphones or nearfield monitors, plus an interface with low-latency monitoring. Direct monitoring bypasses most of the delay while you are tracking.
- At least one good sound source. A sampler engine and one subtractive synth cover a surprising amount of ground.
That is the whole setup. Nobody starts with all of it, and most finished tracks in the world were made with less.
How to Use Virtual Instruments Effectively: Step-by-Step
1. Choose a Virtual Instrument for the Job
Match the engine to the role before you browse presets. A synth plugin is generated from oscillators and filters, which makes it endlessly resynthesizable, light on CPU and forgiving when you tweak it. A sample-based instrument plays back recordings, so it sounds closer to a real player but costs more CPU and RAM and expects realistic MIDI to sound good.
That difference decides what you should learn first. If you are writing beats and want movement, learn a synth. If you are mocking up strings, brass or a live drummer, learn a sampler engine and its keyswitch system, because those libraries only sound convincing when you feed them believable input.
| Instrument type | How it makes sound | CPU cost | Best for |
|---|---|---|---|
| Subtractive or FM synth | Oscillators shaped by filters and envelopes | Light | Bass, pads, leads, EDM, sound design |
| Sampler engine | Triggered recordings of real instruments | Heavy | Piano, orchestral mockups, realism |
| Hybrid | Sampled layers blended with synthesis | Medium to heavy | Modern pop, hybrid textures |
| Drum machine | Pattern-based kits with per-hit editing | Medium | Beatmaking, trap, electronic music |
Ignore preset count while you audition. Two well-made instruments you fully understand beat a folder of 800 that all sound the same and load slowly.
2. Set Up a Focused Signal Chain
Load the plug-in on its own instrument track and pick your MIDI input before you touch a single knob. In your DAW the route is always the same: controller to MIDI input, plug-in as the instrument on the track, track output to an audio interface channel you can hear.
Then set monitoring properly. In Logic Pro, Ableton Live, Reaper and Cubase this is a monitor button or a monitoring selector on the audio track; in Pro Tools it is a combination of the input path and Record Monitor mode. Monitoring the plug-in rather than the raw MIDI input is what lets you hear expression and keyswitches while you play.
Turn the monitor up until it is comfortably loud, then back it down. A fader set too quiet is the reason beginners think their interface is broken. Keep the first signal chain empty, too. No reverb, no EQ, no compressor on a new track means you are always comparing the instrument to itself rather than to a processed version of itself.
3. Program a Strong Performance
This is where most lifeless virtual instrument parts come from, and it is the part no preset can fix for you.
Velocity is the loudest and most underused signal in MIDI. Every factory patch ships with a velocity curve, and if you play everything at 100 you only ever hear one part of the range. Play the same phrase at 45, 70 and 115 and listen to how much the tone opens up. Deep-sampled libraries respond to velocity with volume, brightness and even different sample choices.
Timing matters just as much. Nudge notes a few milliseconds earlier or later in a repeating pattern and a machine-accurate part starts to breathe. Vary note length, too. Legato note-offs give a different result from short detached ones, and many libraries have a separate legato sound.
Expression beyond notes is worth wiring up early. Aftertouch, the mod wheel and pitch bend are all MIDI, so they map to the same controls on your virtual instrument as on a hardware one. MIDI learn, or a controller with endless rotary encoders, lets you assign them without memorizing CC numbers. Check the plugin’s MIDI channel too, since a controller on the wrong channel produces no response at all.
Keyswitches are the other half of realism in orchestral libraries. Low keys on a piano or strings library switch between short, sustained, staccato, legato and other articulations, and they display as zones in the key range. Load a preset, look at the keyswitch zone, and use a controller that can send low notes, or map articulation changes to pads. A string part played entirely on the sustain articulation is the single clearest giveaway that nobody played it.
4. Shape the Sound Without Losing Definition
Do the minimum first. Gain stage the track so its level matches the others in rough balance, since every processor after that point works relative to what it receives. Cut before you boost: a high-pass filter below the instrument’s lowest useful frequency clears room for the bass and the kick.
Use EQ subtractively. Cutting a resonant frequency around 200 to 400 Hz or a boxy band in the low mids does more than adding brightness ever will. Compression should glue a part that pumps too much rather than rescue a part that was recorded badly. Saturation adds harmonic content for density, which is useful when the arrangement sounds thin.
Reach for reverb and delay last, and send to them rather than inserting them. A pad and a snare can share one reverb send at different levels and still sound like two different rooms. Producers on gearspace and audiosex keep repeating the same point: subtractive EQ and arrangement do more for realism than any plugin swap.
When you are finished with the sound design, freeze or commit the instrument track. It keeps CPU free, stops random preset recall from ruining your mix, and lets you print your processing decisions where you can see them.
5. Arrange for Emotional Impact
A part can sound excellent alone and still weaken the song. Watch register: doubling an instrument a third or an octave up adds presence without more parts. Use dynamics instead of volume as a default, since a section that gets quieter in the mix reads as receding and one that gets louder reads as pushing forward.
Rests are the underrated tool. Cutting a sixteenth out of an otherwise repeating line creates more tension than adding an instrument does. Vary a repeating phrase by changing velocity, adding an octave layer every fourth pass, or filtering the top end on some repeats only. Layering works best when the layers have different roles, so a low octave body plus a high melodic layer beats two copies of the same sound.
Most of the time, less is the answer. If a track has seven layers and you cannot name what each one is doing, remove two.
6. Review, Refine, and Export
Play the part back in context rather than soloed. A string pad that sounds fat in isolation is often a wall of mud under a vocal, and you will never hear that from the solo button.
Automate transitions: filter openings, volume rides and articulation changes at the point in the song where energy should shift. Then strip distractions, including stray notes, doubled MIDI in the same range and any parameter move you made while auditioning. When you export, commit to the highest-quality option your format allows, bounce from the master with no limiter on the print so you have headroom for mastering.
| Format | Where it runs | Use it when |
|---|---|---|
| VST3 | Windows and Mac, most DAWs | You want one plug-in purchase to travel across hosts |
| AU | Mac, Apple hosts such as Logic Pro | You work in Logic and want Audio Units support |
| AAX | Pro Tools only | Your session lives in Pro Tools and reliability at a show matters |
Common Mistakes
Using too many presets on one track. A different preset on every eight bars sounds like a demo reel, not a record. Pick one sound, then earn variation through velocity, filter movement and arrangement.
Overprocessing. Five effects on a part that already sounds good hide the thing you liked. Start with the plugin alone and add processing only when you can hear what it fixed.
Ignoring MIDI timing. Notes recorded at dead-on tempo grid feel sterile over time. Nudge duplicates a few milliseconds off the grid, in a pattern you repeat rather than a random one.
Layering without a job description. Ask what each added layer does before adding it. If the answer is nothing, delete it and keep the CPU.
Skipping level checks. Set your monitor to a consistent level and match track levels before you touch a compressor. Half of all mixing problems are a level problem that got mistaken for a tone problem.
Automating everything. Every fader move is a distraction. Automate filter cutoff, one or two instrument parameters and the transitions, then leave the rest alone.
Stuck notes and silent tracks. If a note hangs when you switch instruments or change routing, send All Notes Off from the controller, check that pitch bend and mod wheel return to center on release, and confirm the plug-in sits on the same MIDI channel as your controller. For a track that is silent on solo but audible in the mix, check the track’s monitor and record-enable state before touching anything else. Producers on r/VSTi and r/WeAreTheMusicMakers hit these same two problems constantly.
Ignoring CPU headroom. At a 48 kHz sample rate, a 256-sample buffer is about 5.3 ms of round-trip latency and 512 samples is around 10.7 ms, which is the usual target for tracking audio while instruments play. Small buffers demand more CPU, so if your session stutters, drop the buffer before you start unloading plugins.
One habit that saves more time than any other: capture dry, process later. Record the instrument with no effects on the track, and decide on reverb and compression once the arrangement is finished.
Frequently Asked Questions
Are virtual instruments better than real hardware for beginners?
For learning arrangement, timing and sound design, yes, and by a wide margin. Virtual instruments cost little, load instantly, and give instant access to sounds a hardware rig cannot cover. Hardware teaches you signal flow and hands-on sound design in a way software does not. Most working producers use both, and plenty have shipped records using nothing but a laptop.
How do I stop a virtual instrument from sounding too artificial?
Play real expression rather than flat MIDI. Vary velocity across a wide range, avoid every note at the same timing, and use the articulations your library provides instead of leaving everything on the sustain keyswitch. Keep parts in a sensible register, leave room for the lyrics, and automate filter and volume across sections.
Do virtual instruments require a MIDI keyboard?
No. A DAW lets you draw MIDI in the piano roll editor, and audio-to-MIDI software converts a played instrument into MIDI notes you can edit. Controllers with pads and knobs work too. A velocity-sensitive keyboard is simply the fastest way to get the expression step right, especially for sample-based libraries.
How do I choose the right virtual instrument for my DAW?
Check the plug-in format first. VST3 runs on Windows and Mac in most hosts, AU is for Apple hosts, and AAX runs only in Pro Tools. Then match the engine to your genre: a synth for bass, pads and electronic music, a sampler for realistic orchestral mockups, a drum machine for beatmaking.
Why does my virtual instrument sound different in the mix?
It is usually context and level, not the plug-in. A part that sounds full on its own is fighting the rest of the arrangement, or its level is well above the tracks around it. Solo nothing, judge it beside the vocal and drums, and match levels before reaching for EQ.
How much CPU should I leave for virtual instruments?
Keep roughly a third of your machine free during a session. Sample-based libraries stream audio and spikes hard when chords stack, so a 512-sample buffer at a 48 kHz sample rate is a comfortable recording default, dropping to 256 samples for playing along. If audio crackles, raise the buffer before unloading anything.
Conclusion
Start with one instrument, one role and a short arrangement. Program it with velocity and timing you actually feel, keep the processing to a minimum, judge it beside the rest of the session rather than solo, and only then refine. Repeat that on the next part, and you will be using virtual instruments effectively without thinking about it.