Latency is the delay between the moment you do something and the moment the result reaches you. Press a key and the note arrives late, speak into a microphone and your own voice comes back behind you, click in a game and the character reacts a beat after. Answering what is latency and how to reduce it comes down to one idea: every stage in the chain between your action and its result adds time, and most of those stages are adjustable.
The numbers that matter are small. A millisecond is a thousandth of a second, and light covers about 186 miles in that time, so physical distance is rarely the culprit inside a studio. What actually eats the delay is conversion hardware, a buffer that holds samples while the computer thinks, and the plugins sitting in the middle. In music production that delay is audible and it will wreck your timing if you ignore it, so it is worth understanding where each millisecond comes from before you start changing settings.
Table of Contents
- What Is Latency?
- How Is Latency Measured?
- What Causes High Latency?
- How to Reduce Audio Latency in Music Production
- How to Reduce Latency in Live Performance
- How to Reduce Latency in Video Calls, Streaming, and Gaming
- What Is the Difference Between Latency, Buffering, and Jitter?
- How to Test Latency at Home
- How to Reduce Latency Without Creating New Problems
- Frequently Asked Questions
- Conclusion
What Is Latency?
Latency is the time between an action and its response. In audio it is the gap between the moment a sound reaches your instrument’s input and the moment you hear that same sound back in your monitors or headphones. That trip is called round-trip latency, and it includes analog-to-digital conversion, the computer’s buffer, the DAW’s processing, and digital-to-analog conversion on the way out.
It is also not the same thing as bandwidth, which is how much data moves at once. A fiber connection can have enormous bandwidth and still feel sluggish, because each packet has to hop through several servers before it arrives.
Buffering is related. The computer cannot process audio sample by sample, so it grabs a chunk, works on the chunk, then hands it to the sound card. The size of that chunk is the buffer size, and it is the single biggest latency lever you have in a studio.
Here are the forms of latency you will run into:
- Input latency – time from a sound entering the interface to the DAW receiving it as samples.
- Output latency – time from the DAW sending samples to the sound leaving your monitors.
- Round-trip latency – input plus output plus everything the computer added in between. This is the number that decides whether you can play along with what you hear.
- Plugin latency – delay added by processors that need to look ahead, such as linear-phase EQ, lookahead compressors, noise reduction, and convolution reverbs.
- MIDI latency – the gap between your keystroke and the sample that plays, which includes both the buffer and the interface’s own timing.
- Network latency – travel time for data across a network, measured with a ping test.
Why do a few milliseconds matter so much? Because playing an instrument is a feedback loop. You play, you hear yourself, you adjust. Above roughly 10 milliseconds most players start compensating, either rushing or dragging. Past 20 milliseconds the music starts to feel stiff, and around 75 milliseconds the delay is plainly obvious even in speech.
How Is Latency Measured?
Latency gets reported in different units depending on where you are looking, which is half the confusion. A DAW shows samples, an interface shows milliseconds, a network tool shows a ping number, and a video app shows a frame count. They all describe delay, just at different scales.
| Term | What it measures | Unit | Worked example |
|---|---|---|---|
| Round-trip latency | Play a sound, hear it back | Milliseconds | 12 ms means a 12 ms gap between pluck and monitor |
| One-way latency | Input to DAW, or DAW to output | Milliseconds | 6 ms each way gives roughly 12 ms round trip |
| Buffer size | Chunk of audio the computer processes at once | Samples | 128 samples at 48 kHz is about 2.7 ms |
| Buffer time | That same chunk expressed as time | Milliseconds | 512 samples at 44.1 kHz is about 11.6 ms |
| Sample rate | Samples captured per second | kHz | 48 kHz means 48,000 samples every second |
| Frame time | Delay in video, one frame at a time | Milliseconds | 30 fps is about 33.3 ms per frame |
| Ping | Network round trip to a server | Milliseconds | 28 ms ping means 28 ms of dead time per action |
The conversion is simple: divide samples by the sample rate, then multiply by 1000. That is why interfaces that only show samples leave so many people stuck, and why a buffer that looks tiny can still add up to a noticeable delay.
What Causes High Latency?
On the audio side, the usual culprits stack up. A large buffer is the biggest one. So are plugins that need lookahead, particularly convolution reverbs, linear-phase EQ, and some noise reduction plugins. A busy CPU is another, because when the DAW cannot keep up it may silently increase the buffer, and you did not change anything at all. That explains the common complaint that latency seems to spike in the middle of a session.
Interfaces add their own delay through A/D and D/A conversion, and some models add a hidden USB safety buffer on top of whatever you set. Manufacturer spec sheets tend to quote the optimistic one-way figure, so the real round trip is regularly higher than the number on the box.
There is also the monitoring path. If you are hearing yourself through plugins and virtual instruments rather than a direct hardware monitor, the full software chain sits between you and the sound. Forum threads on music production and audio engineering forums are full of players who set a 32-sample buffer and still felt lag, only to find the culprit was a monitoring route or a plugin, not the buffer.
On the network side, the causes are different: physical distance to the server, the number of hops a packet crosses, congested links, background uploads from cloud sync or streaming apps, and a router doing bufferbloat, where a large download makes everything else wait. A fast connection can still have high latency, which is why good bandwidth does not guarantee a responsive link.
How to Reduce Audio Latency in Music Production
Work through this in order. Each step is cheap, and the first four solve most cases.
1. Switch to the native driver. On Windows, use ASIO or ASIO4ALL rather than MME or WASAPI. On Mac, use Core Audio rather than Audio MIDI Setup or an aggregate device. Generic drivers add a large safety buffer because they are designed to never glitch, and that buffer is pure latency.
2. Set the buffer size for the job. Halve it, play along, and listen for dropouts, clicks, or pops. Back off one step if the audio stutters. Here is what the common sizes actually cost you in time:
| Buffer size | At 44.1 kHz | At 48 kHz | At 96 kHz | Typical use |
|---|---|---|---|---|
| 64 | 1.5 ms | 1.3 ms | 0.7 ms | Tracking with demanding guitar amps |
| 128 | 2.9 ms | 2.7 ms | 1.3 ms | Good default for vocals and guitar |
| 256 | 5.8 ms | 5.3 ms | 2.7 ms | Comfortable for most tracking |
| 512 | 11.6 ms | 10.7 ms | 5.3 ms | Fine for mixing, tight for performers |
| 1024 | 23.2 ms | 21.3 ms | 10.7 ms | Mixing with heavy plugins loaded |
| 2048 | 46.4 ms | 42.7 ms | 21.3 ms | Drafting ideas, not playing along |
3. Fix the monitor path. If your interface has direct or hardware monitoring, use it while tracking. It routes the signal before it reaches the computer, so latency drops dramatically. The catch, and it catches people constantly, is that a purely direct path means plugins and virtual instruments are not in your headphones. Use a mix of direct monitoring plus whatever software you actually need to hear.
4. Freeze or bounce CPU-heavy tracks before tracking. Piano, orchestral libraries, and amp sims are the usual offenders. Bouncing them to audio removes the instrument from the live session entirely, which frees CPU for a buffer small enough to play against. This is standard practice in bigger studios and it is the single most overlooked fix in home setups.
5. Know your DAW’s menu path. The setting is almost always in the audio preferences:
- Pro Tools: Setup > Playback Engine, Buffer Size
- Logic Pro: Audio > Configure Audio > I/O Buffer Size
- Ableton Live: Audio > Latency, then Compensation toggle
- Reaper: Options > Preferences > Audio > Device, Buffering
- Studio One: Audio Device Settings > Buffering, and Monitor Modes for direct monitoring
- Cubase: Studio > Audio Setup > Buffer Size
- FL Studio: Options > Audio Settings > Buffering, and ASIO panel for the driver
6. Clear the system. Close cloud sync clients, video calls, and streaming apps before a session. A browser with forty tabs will happily eat the CPU headroom you were counting on. On a laptop, check power settings first, since battery mode throttles the processor and changes your latency without warning.
7. Look at the hardware last. A faster interface helps, but on a modern machine the driver, buffer, and plugin load usually matter more than the converter inside. Buying first and tuning later is the most common and most expensive mistake.
How to Reduce Latency in Live Performance
On stage the same physics apply, and the tolerance is lower because there is no safety net. In-ear monitors help more than anything else, because they cut out the room, which removes the acoustic delay the performer was unconsciously playing against. Many players are not reacting to monitor latency at all, they are reacting to the room.
Keep the signal path as short as possible. A direct cable from the interface to the amp or mixer beats going through a long snake, and balanced connections over long runs cut out the interference that tempts you to raise gain and add noise.
Gain staging matters more than people expect. If your preamp gain is cranked and you are trimming volume later, the signal-to-noise ratio suffers and the level may behave unpredictably through the chain. Set sensible levels once and stop touching them.
Wireless systems are where you have to accept limits. Even good ones add delay in the tens of milliseconds because the audio is encoded, transmitted, and decoded. Record a redundant local track on the interface if you cannot risk a dropout, and learn to play with the delay rather than fighting it. Players who have internalized the delay of a specific system usually play tighter than those who fight it every night.
How to Reduce Latency in Video Calls, Streaming, and Gaming
The audio lessons transfer, but the levers are different because the network is usually the bottleneck rather than your machine.
- Use a wired connection. A single Ethernet or USB run with a short cable usually beats Wi-Fi in the same room, because wireless adds a negotiation and retry delay that no amount of bandwidth removes.
- Lower your video settings. Frame rate and resolution drive the bitrate, and a busy uplink causes buffering. Dropping from 1080p to 720p frees bandwidth for the audio and the response time.
- Move closer to the server. Physical distance to the data center is real latency that you cannot optimize away. A server in another continent adds time no router setting will recover.
- Close everything that is uploading. Cloud backups, file syncing, and large game downloads cause bufferbloat, where other traffic waits in line behind them. Pause them.
- Keep the audio buffer small. Games and streaming apps expose a buffer or packet-size setting. Lowering it shortens the delay; if the audio starts to stutter, step it back up.
- Check the microphone path. Bluetooth headsets add a surprising amount of delay on top of everything else. A USB microphone plugged straight into the machine is quicker and sounds better.
What Is the Difference Between Latency, Buffering, and Jitter?
These three get used interchangeably, and they describe different problems with different fixes.
| Term | What it is | What causes it | Changes over time? | Most useful fix |
|---|---|---|---|---|
| Latency | Total delay from action to response | Distance, hops, buffers, processing | Only if the system changes | Shorten the path and the buffer |
| Buffering | Waiting for a full chunk of data before playing it | Slow processing or low buffer capacity | Yes, as load changes | Larger buffers smooth it, smaller ones cut delay |
| Jitter | Variation in the timing between packets | Congestion, cheap clocks, poor routing | Yes, constantly | A steadier, less congested link |
The practical difference shows up when something feels wrong but the average ping looks fine. An average of 30 ms with jitter swinging between 5 ms and 90 ms feels far worse than a rock-steady 35 ms, because the delay itself keeps moving under you. If your ping graph shows spikes rather than a flat line, you have a jitter problem, and the fix is network stability rather than a lower number.
How to Test Latency at Home
You do not need to trust a spec sheet. Four tests will tell you what your actual number is.
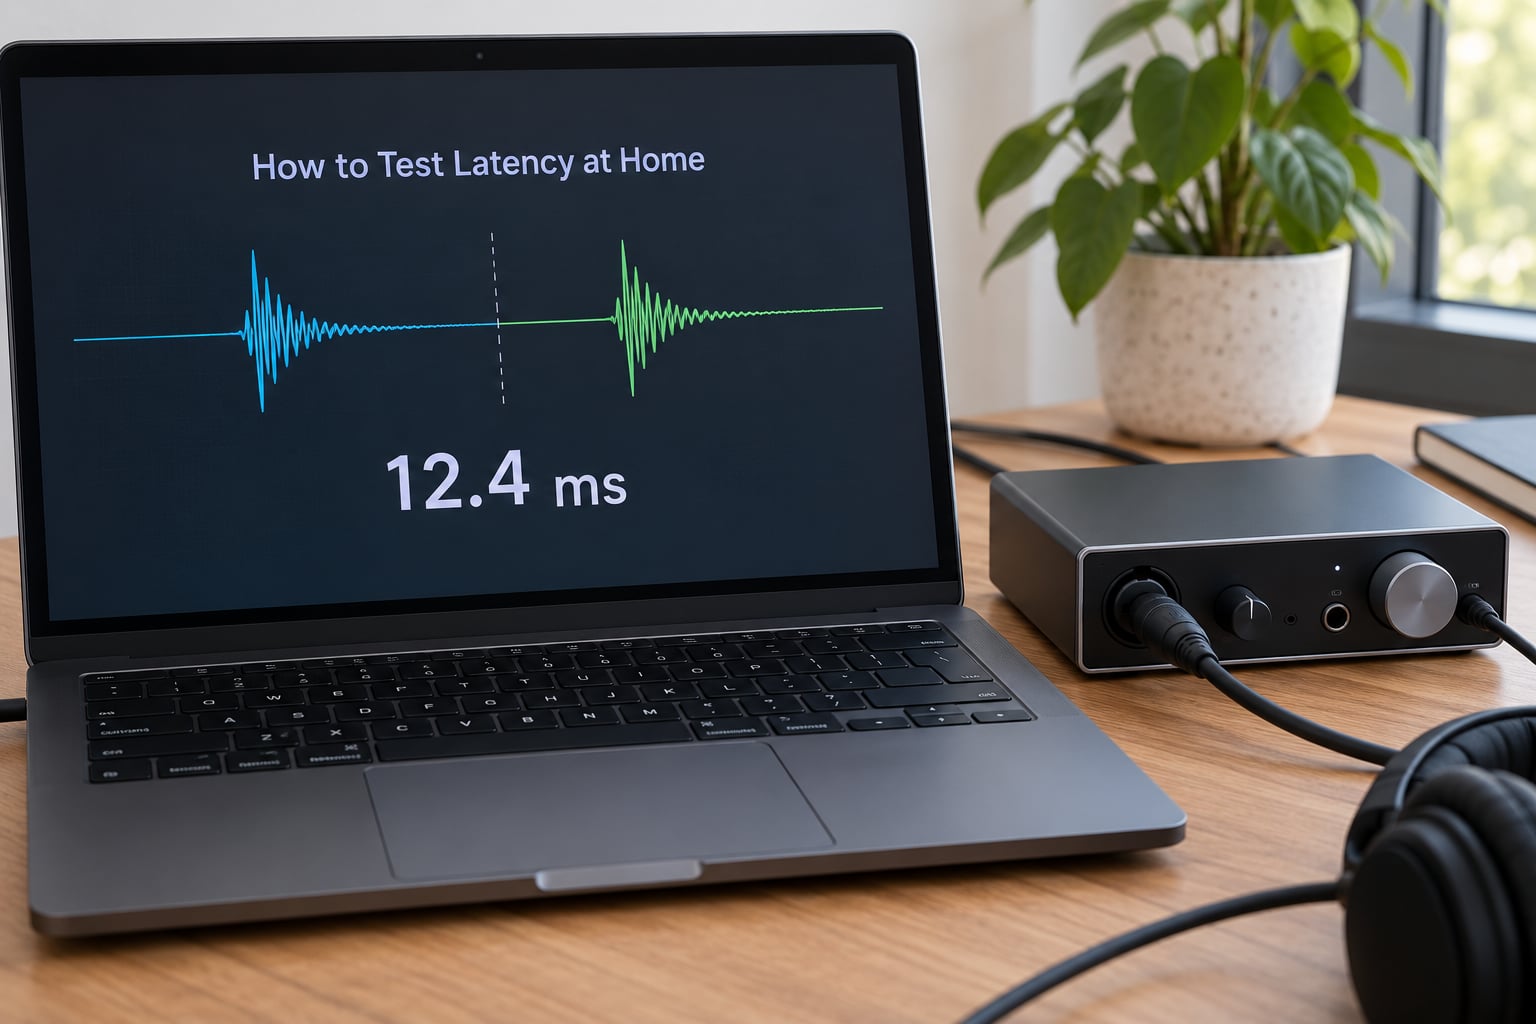
Loopback test for round-trip audio. Route a click or a short tone from your DAW into an input on the same interface, record it back, and measure the gap between the original and the returned peak. Most DAWs have this built in as a loopback record and a click track alignment test. Report the number as round trip, since that is the one that affects playing.
Use a latency meter plugin. Several free meters generate a signal and analyze the returned audio to display round-trip milliseconds directly. They are more accurate than eyeballing a waveform and take a couple of minutes to set up.
Read the DAW’s own totals. Most DAWs show input and output latency in their audio preferences or a performance meter. Add those two numbers plus the buffer, and you have your budget. Watch the meter while you play, because a sudden jump means the CPU or the driver changed something.
Test the network separately. Run a ping test to the specific server your game or app uses, ten times in a row. Look at the minimum, the average, and the spread. The minimum shows the best the link can do, the spread tells you about jitter, and a large difference between them means something else on the network is competing.
Be honest about what these tests prove. A loopback test measures the audio path but tells you nothing about how a wireless stage system will behave on a crowded night, and a ping test cannot see a slow server on the other end. Numbers are a starting point, not a verdict.
How to Reduce Latency Without Creating New Problems
The goal is the smallest buffer that stays stable, not the smallest number you can type. Push below what your CPU can sustain and you trade latency for dropouts, clicks, and pops, which are far more damaging to a take than a few milliseconds of delay.
Match the setting to the task instead of using one number for everything. Track at 128 or 256 samples, mix at 512 or 1024 when the session is heavy, and drop back down when you need to perform. Most home setups land somewhere in the 128 to 256 range for tracking and 512 or above for mixing, and that is a perfectly reasonable place to live.
Three myths cost people real time. The first is that raising the sample rate fixes latency. It halves the milliseconds for the same sample count, which looks great on a table, but it also doubles the processing work, and your round trip still includes the same converter delays. The second is that buffer size affects audio quality. It does not. Lower buffers change how fast your computer works, not what it captures. The third is that a faster interface is step one. For most setups, it is step four.
When something still feels wrong, work from the symptom rather than the settings:
| Symptom | Likely cause | Fix |
|---|---|---|
| Delay persists at a 32 or 64 buffer | Software monitor path or a plugin | Enable direct or hardware monitoring, bypass plugins |
| Latency jumps mid-session | CPU overload or driver safety buffer | Freeze or bounce heavy tracks, close background apps |
| Recorded tracks drift against the click | Latency compensation off or set wrongly | Enable the DAW’s compensation option and re-align |
| Clicks and pops when tracking | Buffer below what the CPU can sustain | Double the buffer size and try again |
| Interface number looks better than reality | Spec sheet quotes one-way, not round trip | Measure with a loopback test instead |
| Can’t hear virtual instruments while tracking | Direct monitoring bypasses the computer | Use a blended monitor mix, or raise the buffer |
One last piece of machinery worth understanding is latency compensation. Your DAW knows it takes time to get audio in and out, so it shifts recorded tracks to match, which is why a take with a heavy plugin chain still lines up with the click later. If tracks drift, that feature is usually switched off or was disabled when you changed buffer size. Turn it back on before you re-record anything.
Frequently Asked Questions
What is a good latency for music production?
For tracking vocals and guitar, under 10 milliseconds of round-trip latency feels immediate, and 10 to 20 milliseconds is still workable for most players. Guitar and bass playing with amp sims prefer under 15 milliseconds because the low end is where delay reads as mush. MIDI and virtual instruments want as little as you can get, ideally under 5 milliseconds. For mixing there is no target at all, since nobody is playing along.
Is 128 samples a good buffer size?
Yes. At 48 kHz, 128 samples is about 2.7 milliseconds, which most musicians do not notice while playing. It is the sweet spot for tracking vocals, acoustic guitar, and light guitar amp sims on a modern computer. If you hear dropouts, clicks, or pops, double it to 256. If you have plenty of CPU headroom and play fast lead guitar, 64 samples is roughly 1.3 milliseconds.
Does Bluetooth cause audio latency?
It does, considerably. Bluetooth codecs buffer and recombine packets to keep a stable wireless stream, which typically adds anywhere from 100 to 300 milliseconds. That is enough to make monitoring a backing track impossible and makes video calls feel like arguments. Use a wired headset or a USB microphone and microphone interface instead if latency matters at all.
Should I increase the sample rate to reduce latency?
Rarely. Raising the sample rate halves the milliseconds for a given sample count, so 256 samples at 96 kHz is about 2.7 milliseconds instead of 5.3. But it also doubles the processing load, and the converter and hardware delays stay the same, so the real-world gain is much smaller than the table suggests. Match your session rate to your project and stop there.
Why does latency change when I open more effects?
Some plugins need to look ahead before they can process audio, and that lookahead is added to your chain. Linear-phase EQ, lookahead compressors, noise reduction, and convolution reverbs are the usual ones. When the chain gets deep enough, your CPU cannot finish in time and the driver quietly raises the buffer. Bypass plugins one at a time to find the culprit, then freeze or bounce that track before you keep tracking.
Is latency the same thing as audio quality?
No. Latency is delay, quality is fidelity, and they are independent. A recording made at a 32-sample buffer sounds exactly the same as one made at 2048 samples, because the same number of samples is captured either way. What a tiny buffer can damage is the take itself, through dropouts and glitches, not the file. Latency changes timing, not tone.
Conclusion
Start with the driver and the buffer size, because those two account for most of the delay in a studio. Set the buffer to the smallest number that stays stable, switch to direct monitoring if your interface offers it, and freeze the heavy virtual instruments before you track. If latency still feels high, measure your real round trip with a loopback test rather than trusting the number on the box.