The fastest way to choose a DAW as a beginner is to filter in a fixed order: your operating system, the kind of music you want to make, your budget and licensing preference, and the hardware you already own. Then trial two finalists and build the same short test project in each one. The DAW you keep is the one you can operate without fighting.
Most of the paralysis in this decision comes from reading ranked lists of ten options and trying to find the winner. There isn’t one. A DAW is a workbench, and the right one is the workbench that fits your hands, your computer and the music you actually want to make.
One more thing worth saying early, because it comes up constantly in beginner threads: cheap and beginner-friendly are not the same thing. A low-cost program can have a dense interface that takes months to feel natural, and an expensive one can bury you in features you will never touch. Experienced users on the Sound On Sound forum make this point constantly: interface and workflow matter more than the sticker price.
Table of Contents
- What You Need
- Step-by-Step
- 1. Decide What Kind of Music You Want to Make
- 2. Check Your Computer and Operating System
- 3. Separate Recording Features from Production Features
- 4. Compare the Workflow Instead of the Feature List
- 5. Look for Beginner-Friendly Learning Resources
- 6. Check the Total Cost and Upgrade Path
- 7. Make a Trial Project Before You Commit
- Common Mistakes
- Frequently Asked Questions
- Is it better for a beginner to choose a free DAW or a paid DAW?
- Can I switch DAWs later without losing my music?
- Should beginners choose a Mac or Windows computer for music production?
- Do I need an audio interface to use a DAW?
- Is a MIDI keyboard necessary when choosing my first DAW?
- What is the easiest DAW for a complete beginner?
- Conclusion
What You Need
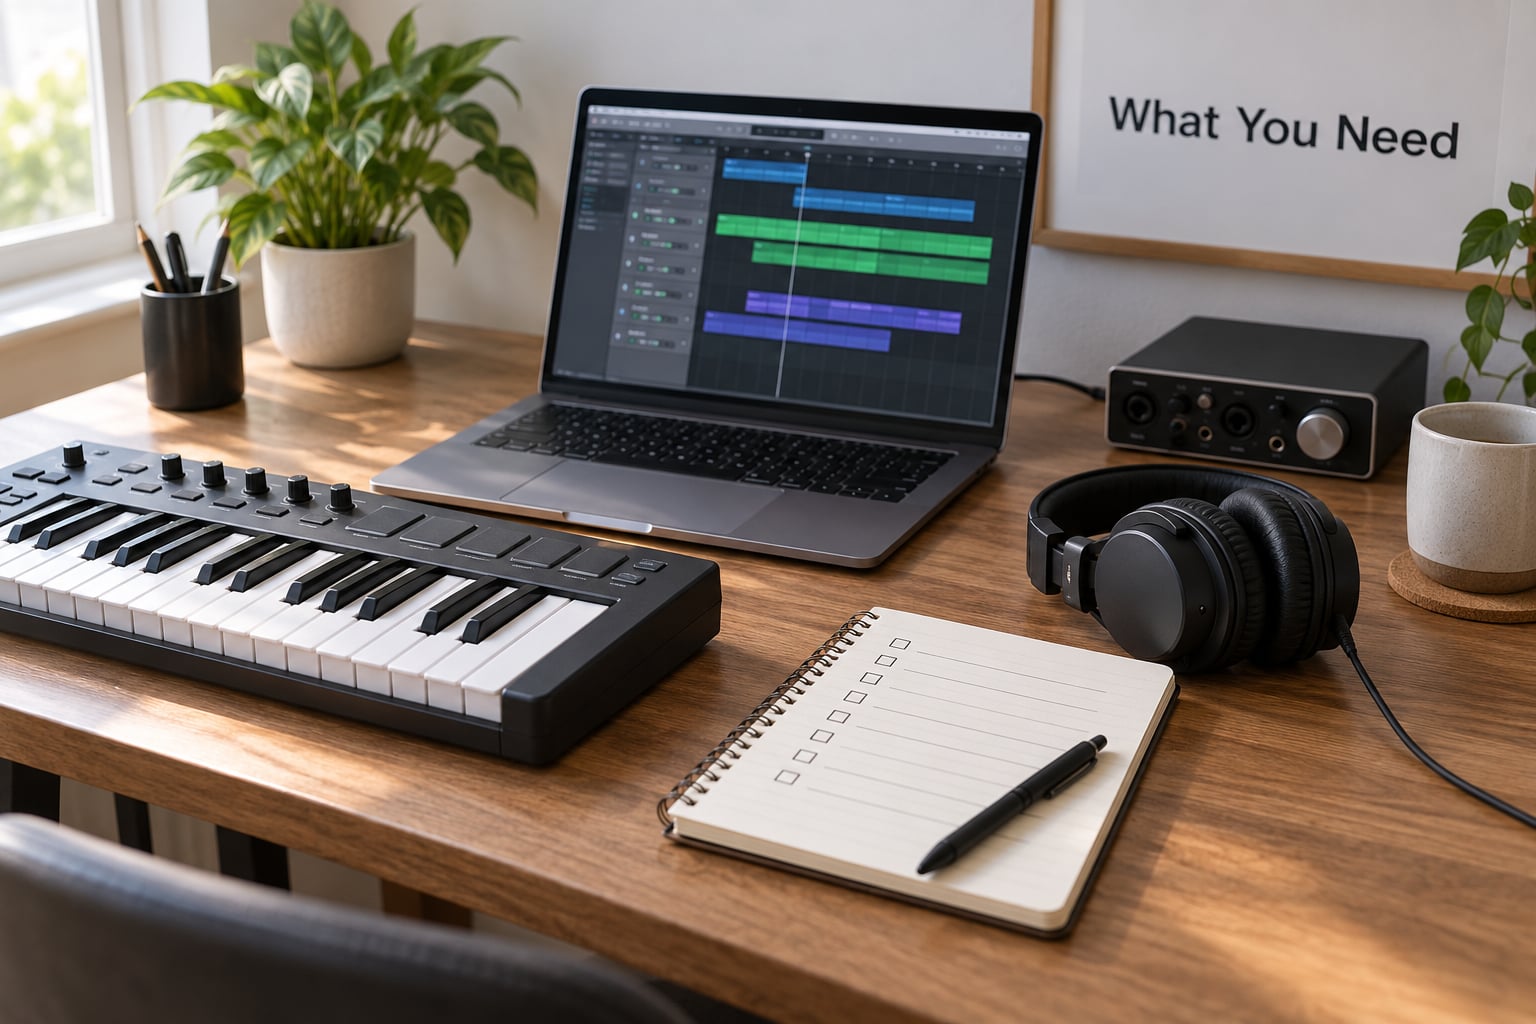
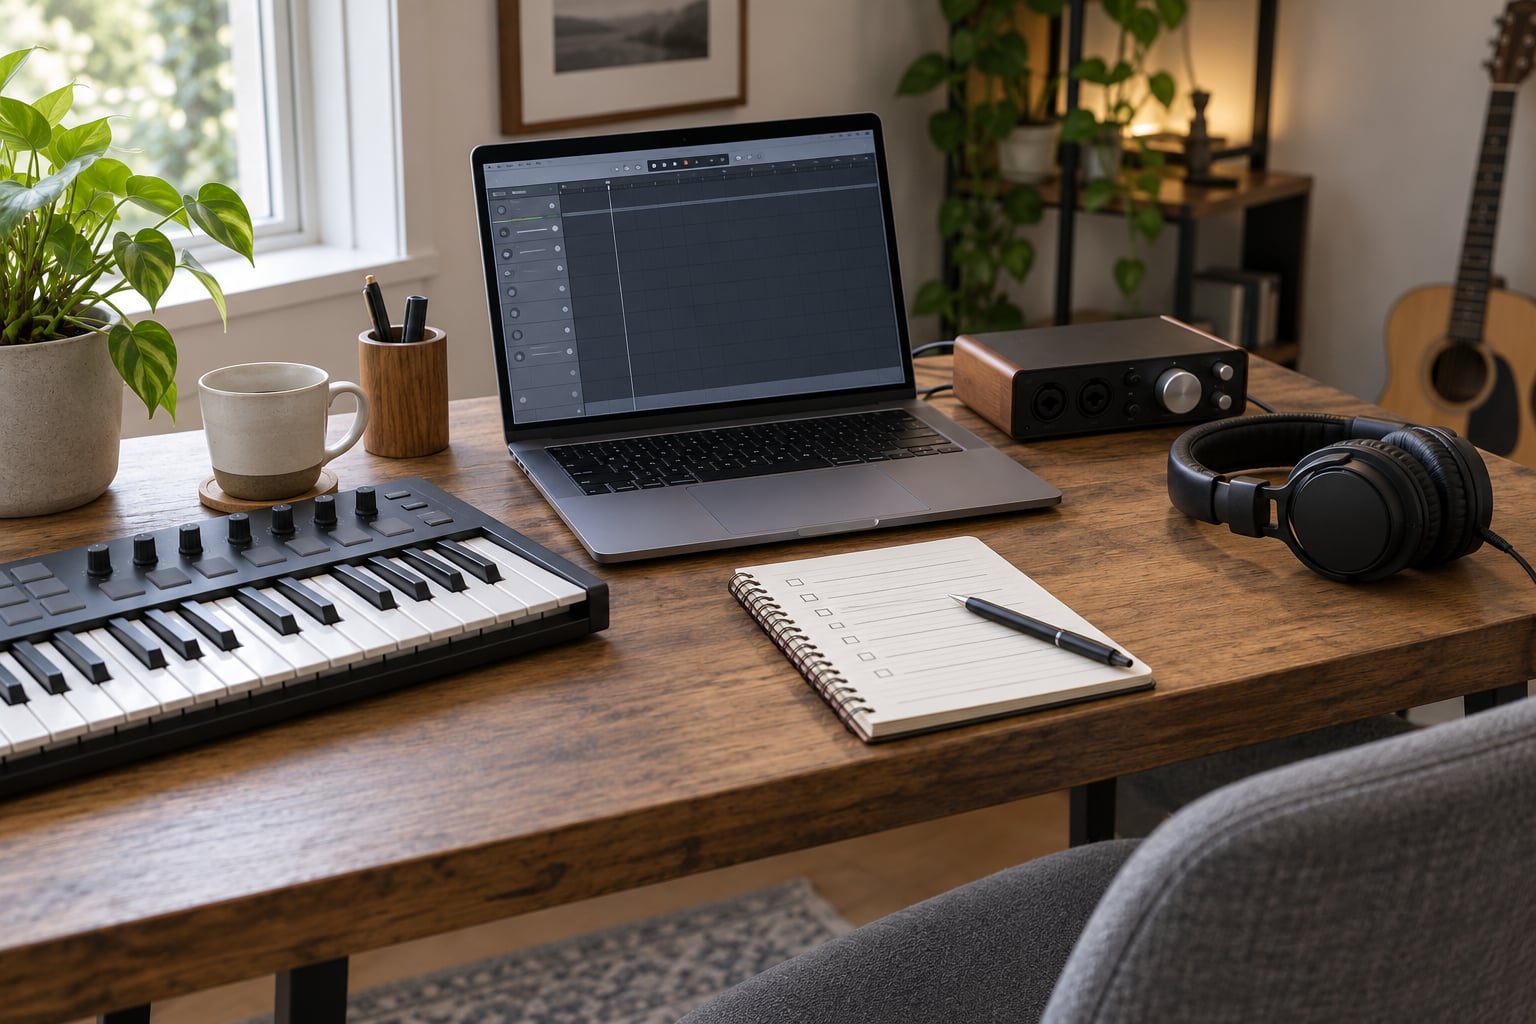
Before you compare software, get clear on what already sits on your desk. Choosing a DAW starts from your machine, not from a feature grid, and the checklist below takes about ten minutes.
Computer and operating system. Some DAWs run only on macOS or only on Windows, so this filter comes first. Check the developer’s system requirements page, not a forum post from three years ago.
Audio interface. A DAW records audio through hardware, and a two-channel USB interface is the usual first purchase. Some people buy the interface first and then find out it ships with a DAW edition they already had to buy.
Headphones or monitors. Headphones are enough to start. Nearfield monitors matter later, not now.
MIDI controller. Optional at the beginning. You can click notes into a piano roll with the mouse, or use the on-screen keyboard most DAWs ship with.
Storage. Sample libraries eat disk space fast. Leave room for projects, bounced audio and a sample folder you can grow into.
Goals and budget. Write down what you want to finish in three months: a beat, a podcast, one full song, or just a finished demo. Also decide what you are willing to spend per year on software.
That list separates essentials from nice-to-haves. Essential: a compatible computer, an interface if you want to record sound, and a DAW that runs your operating system. Optional: controllers, third-party plugins, advanced mastering tools, anything advertised as professional. A beginner who records software instruments and owns no microphone can produce a finished track this month.
Step-by-Step
1. Decide What Kind of Music You Want to Make
Start from the output you want, not from features. Recording vocals or an instrument needs reliable multitrack audio recording. Beat making needs a step sequencer, a piano roll and a deep drum and sample library. Mixing needs a mixer you understand. Podcasting needs editing and loudness control more than it needs virtual instruments.
Film scoring and game audio pull toward MIDI sequencing, articulation handling and sample management. Live performance preparation points toward a clip-launch grid where you can trigger sections live.
The honest answer to “which DAW is right for me” is that the best DAW is the one supporting the workflow you will repeat every week. Someone making two-minute beats all day has different needs from someone tracking a five-piece band.
2. Check Your Computer and Operating System
Confirm platform support, memory and storage before anything else. Look for the developer’s current system requirements, then check whether a review mentions performance problems on your specific model.
Any DAW that runs natively on your system is a candidate. macOS-only tools such as Logic Pro and GarageBand close off Windows users entirely, and Windows-only tools close off Mac users. Cross-platform options give you more room to switch hardware later.
Menu paths and feature names differ by operating system and by version, so screenshots in tutorials may not match what you see. That is normal, not a sign you installed something wrong.
3. Separate Recording Features from Production Features
Core functions worth comparing are multitrack audio recording, MIDI sequencing, virtual instruments, audio editing, mixing and export. Most DAWs do all six; the difference is how comfortable each one feels.
A DAW that supports recording still needs hardware. Without an interface and a microphone or instrument, the audio track stays empty no matter which program you open. This is the single most common early disappointment.
MIDI is different: notes are instructions, not sound, so you can sequence them with the mouse alone. That makes MIDI-only production the cheapest path from nothing to a finished idea.
4. Compare the Workflow Instead of the Feature List
Test what you will do daily: arrange clips, name tracks, record an overdub, edit audio, adjust levels, use the controller. Notice whether the layout stays out of your way.
Three workflow models cover most DAWs. A linear timeline arranges audio left to right like a video editor and suits recording and band production. A clip-launch grid triggers chunks of audio in a matrix and suits electronic music, looping and live play. A rack-based or node view routes sound through processors and suits sound design and experimental work.
Clean interfaces, useful keyboard shortcuts, readable meters and steady project navigation matter more than a long feature list. A dense layout that hides what you need costs you hours a session, and that compounds fast. Beginners on Reddit often describe wanting the one that “doesn’t look intimidating,” and that is a legitimate criterion, not a cop-out.
5. Look for Beginner-Friendly Learning Resources
Every serious DAW has free official documentation, and the difference in beginner support is really about community size. A large user base means more YouTube tutorials, more forum answers and more people who have already solved your exact problem.
Preset libraries, bundled instrument packs and structured beginner courses save the first month of hunting for sounds. Check whether the program ships a usable set of sounds, because starting with an empty library is a rough first week.
The practical test: build the same small project in two DAWs and time yourself. Can you record, edit and export without a tutorial? Whichever one you finish first is probably the one you will keep using.
6. Check the Total Cost and Upgrade Path
A good inexpensive DAW is one that covers multitrack recording, MIDI, editing and export without a subscription you cannot sustain. Free options such as GarageBand, BandLab and Tracktion Waveform Free clear that bar for a lot of beginners, and several paid programs sell a heavily reduced edition rather than the full product.
Licensing comes in three shapes. A perpetual license is a one-time purchase you own. A subscription is a recurring fee with access to updates while you pay. A free tier or reduced edition limits something: track counts, export quality, or a feature that suddenly matters on your fourth project.
Before buying, find out three things. What exactly does the free version restrict? Does a project saved in the free version open cleanly once you upgrade? And what happens to your files if you stop paying, or if the developer retires the product?
Bundled editions are the sneakiest trap. A Lite or Elements version that ships with an interface or controller is genuinely useful, and plenty of pros use reduced editions forever. But confirm what it omits: track limits, missing instrument libraries, disabled export, or a missing mixer feature you will want by month two. One commenter in a Gearnews thread put it plainly, beginners keep mistaking a bundled edition for the full product.
Check plugin formats too. VST3 and CLAP are the cross-platform standards, AU is Apple-only, and AAX is tied to one company’s hardware and software. A DAW that supports VST3 and CLAP keeps more third-party instruments and effects available to you later.
7. Make a Trial Project Before You Commit
Time-box the trial to 30 to 60 minutes and run one fixed script, in this order: create a new project, record one audio track, add one MIDI part with a virtual instrument, cut and move a section, set levels and pan, draw one automation move, then export a finished file and open it somewhere else.
That script tests the whole chain in minutes. While you run it, watch for stability under load, playback glitching when the project grows, export quality, and whether the program makes you want to open it again tomorrow.
Motivation is a real criterion. The best DAW for a beginner is not the most capable one, it is the one they will still be using in three months. Write down the friction you hit, then test the second finalist with the identical script and compare the notes.
Common Mistakes
Choosing by brand popularity or pro endorsement. The DAW your favorite engineer uses may be a career choice for them and a distraction for you. Big names are worth considering for tutorial depth, not for authority.
Buying before testing. Trials and refund windows exist for this exact moment. Every stage of buying a full version before a hands-on hour is money spent on a guess.
Ignoring operating system compatibility. Check the platform before you fall in love with the interface. It is the cheapest filter and the hardest to undo.
Confusing feature count with ease of use. A feature nobody uses adds clutter. A DAW that hides complexity behind a clean layout will help you finish more songs.
Buying the audio interface first. Bundled DAW editions are often why. Read what comes in the box before assuming you need to buy the software separately later.
Overlooking storage and hardware limits. A large sample library on a small drive causes stuttering and crashes mid-session, which is the fastest way to lose momentum.
Treating a free trial as a finished production system. Trials limit tracks, disable saving or watermark exports. Use them to evaluate the interface, not to finish a project.
Starting with the full version when a free one fits. Free DAWs handle complete songs. Upgrade when a specific limit blocks a real project, not before.
If you take one shortcut, take this one: write down your goal, your operating system and your budget, shortlist two candidates, then run the same test script in each. Everything else on this page is detail supporting that decision.
Frequently Asked Questions
Is it better for a beginner to choose a free DAW or a paid DAW?
Start free. Several free DAWs handle multitrack recording, MIDI, editing and export well enough to finish a complete song, and learning one costs you nothing. Move to a paid version the moment a specific limit blocks you, such as a track cap or a disabled export. Buying first is the most common beginner mistake, because you meet the interface before you know whether you like working in it.
Can I switch DAWs later without losing my music?
Yes, as long as you keep audio files. Your project files are usually locked to one program, but you can bounce every track to individual audio files and import them into any other DAW. You lose plug-in settings and automation unless you print those too. Recording and exporting stems occasionally keeps your options open for the whole life of your catalog.
Should beginners choose a Mac or Windows computer for music production?
Both work. macOS-only software such as Logic Pro and GarageBand closes off Windows, and Windows-only tools close off Mac users, while several DAWs run on both. Check your DAW shortlist first and buy the computer that supports it. If you already own a working machine, keep it. Storage space and memory matter more for audio work than the badge on the case.
Do I need an audio interface to use a DAW?
Only if you want to record sound. A DAW runs fine on a laptop with no interface, and you can sequence MIDI and use software instruments straight away. Capturing vocals, guitar or live drums needs an interface, since it converts the analog signal into digital audio for the computer. Many interfaces bundle a reduced DAW edition, so check the box before buying software separately.
Is a MIDI keyboard necessary when choosing my first DAW?
No. Every DAW lets you enter notes with the mouse in a piano roll or use the on-screen keyboard it ships with, which is enough to learn sequencing. A controller pays off once you want to play parts in with both hands and feel velocity. Choose a DAW that works fine with the mouse first, then add hardware when it becomes the bottleneck.
What is the easiest DAW for a complete beginner?
Ease depends on your workflow, but two models suit beginners best: a simple linear timeline with familiar recording controls for anyone starting with vocals or instruments, and a clip-launch grid with a large sound library for beat makers. Download both free, build the same short project in each, and keep the one you finished first. Tutorial depth matters as much as the interface.
Conclusion
Pick your first DAW in three moves. Write down what you want to make, check that your operating system supports the candidates, and run one short test project in the two or three that survive those filters. Give each a fair 30 to 60 minutes with the same script rather than a cursory look.
Then choose the one you can operate and pay for consistently, and spend the next month learning its recording and editing workflow instead of shopping. The interface you understand beats the interface on the magazine cover every time.