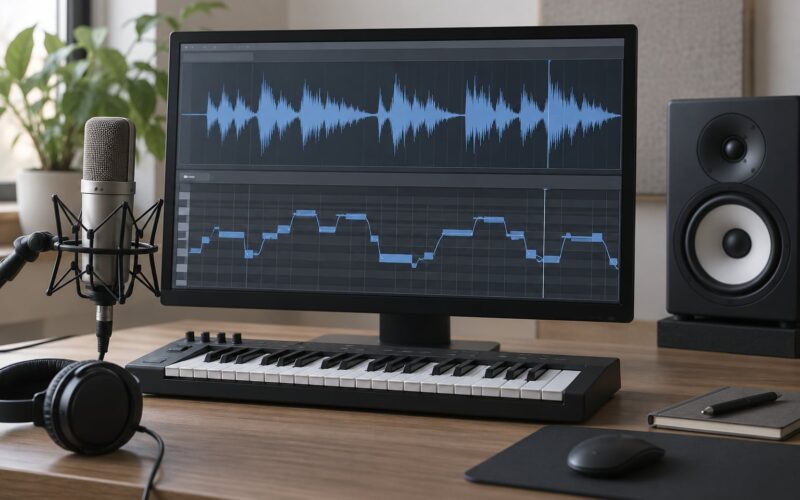
Using Auto-Tune as an effect means running your lead vocal through Antares pitch correction with a very fast correction rate and a matching key and scale, so every note snaps instantly to the nearest note in that scale instead of drifting. Set the input type to the right voice range, choose the song’s key, pull Retune Speed down toward 0 to 20 ms, and keep Humanize low. That combination produces the hard, stepped, T-Pain-style vocal. Leave Retune Speed at 40 to 80 ms with more Humanize and the same plugin gives you gentle correction instead.
The confusing part for most home producers is that there is no intensity dial labelled “amount of Auto-Tune.” What you hear is decided mostly by how fast the plugin moves the note, and by how close the singer already was to the right pitch. Get those two things right and the rest is small adjustments.
What You Need

A home setup is enough. You need a vocal take, somewhere to process it, and a way to hear the result clearly.
- A DAW — Logic Pro, Ableton Live, Pro Tools, FL Studio or Studio One all run Antares Auto-Tune as a plug-in, and all of them ship their own pitch tools (Logic has Pitch Correction, Flex Pitch and Pitch Shifter built in).
- Pitch correction software — Auto-Tune EFX is the entry point, Auto-Tune Pro adds Graph mode and MIDI-controlled target pitch, Auto-Tune Live is the lower-latency build for tracking live, and Auto-Tune Flex is the pitch-shifting sibling rather than a tuner.
- Free options — MAutoPitch (free pitch shifter and corrector), Graillon 2 (free edition with a real Retune control), Voloco and Tonal (iOS apps). Graillon 2 in particular gets you a hard-tune sound without spending anything.
- An audio interface with enough gain to hit roughly -12 dBFS peaks on your loudest phrase. That headroom stops the converter clipping before you touch a plug-in.
- A microphone and pop filter at roughly 15 to 20 cm, close enough for a low noise floor.
- Headphones for tracking. Speakers are fine for mixing the finished line, but you cannot trust monitors for setting a subtle correction level.
Decide between two workflows early. The DAW route means you record dry, edit and comp, then insert the plug-in. The hardware route means a live tuner pedal sits between the mic and the interface and you hear the effect while singing. Most people start with the DAW because you can undo, audition alternatives and print variations.
Step-by-Step: How to Use Auto-Tune as an Effect
1. Record a Clean Dry Vocal
Record a dry, unprocessed lead vocal first and never tune before comping. The plugin’s pitch detector reads everything on the track, so mouth clicks, lip smacks and chair creaks become notes it tries to place.
Set gain so the loudest word peaks around -12 dBFS and leave the rest of the signal alone. Keep the mic about a fist to a hand’s width away with a pop filter between you and the capsule. You are listening for a dry vocal with no obvious noise floor and no clipped consonants.
Comp and edit the take as a separate step: punch in on the bad spots, trim breaths, leave a clean gap before and after each note. Then print or commit that as your dry master so the original performance is never overwritten.
2. Choose Vocal Mode or Hard-Tune Mode to Use Auto-Tune as an Effect
Pick the operating mode that matches the sound you are after. Auto-Tune’s main page usually offers a natural correction mode and a hard-tune or T-Pain mode, and choosing the wrong one is the usual reason the default preset sounds fake.
Natural correction mode listens for pitch that sits meaningfully off the target and leaves it mostly alone. Hard-tune mode pulls every note onto the nearest scale note with no tolerance. If you want invisible cleanup, stay in natural mode and work the speed and Humanize controls. If you want the stepped robotic vocal heard on 2000s R&B and trap records, switch to hard-tune mode.
One warning worth knowing: the Auto preset is programmed to be obvious. For a subtle result, skip it and set the parameters yourself.
3. Set the Key and Scale Correctly
The key and scale tell the plugin which notes are legal. Get this wrong and even a perfectly performed phrase gets dragged toward a pitch that was never in the song.
Find the key with a tuner or key-analyser app on your instrumental, or read it off the chords. Then pick the scale that matches: major, minor, natural minor, harmonic minor, pentatonic, blues or chromatic. For material that uses a handful of notes, a pentatonic scale gives a stable, obviously-correct result and is a good safety net for beginners.
Set the key selector to the song’s root note (for example C, D or F) and choose the matching scale type. If the song modulates between sections, either build a custom scale with only the notes the track actually uses, or switch the scale when the chorus changes. Bypassing and re-engaging the plug-in for the new section is the simplest version of this.
4. Adjust Retune Speed and Humanize
Retune speed, called Response in Logic’s Pitch Correction, is the correction rate in milliseconds: how long the plugin takes to move a note from where you sang it to where it should be. That is the single most important control in the whole process.
| Sound you want | Retune speed / Response | Humanize | Flex-Tune / Tolerance | Natural vibrato |
|---|---|---|---|---|
| Transparent cleanup | 60-90 ms | High | High | On |
| Polished pop / R&B hook | 30-50 ms | Medium | Medium-high | On |
| Noticeable but musical tuning | 15-30 ms | Low-medium | Low | Off or low |
| Hard tune / T-Pain | 0-20 ms | Off | Off (zero tolerance) | Off |
| Extreme robotic / vocaloid-adjacent | 0 ms | Off | Off | Off |
Humanize controls how much random variation is added back so repeated notes do not sound machine-identical. Leave it off for the hardest sound and raise it for anything you want to survive a full mix without distracting the listener.
Tolerance, in Logic’s Pitch Correction, works the other way round: it is the pitch deviation allowed before correction starts. Lower tolerance means more correction. Reach for it when a vocal is jumping between two adjacent scale notes and retune speed alone is not fixing the choice.
5. Shape the Vocal Sound
Once the pitch is behaving, adjust tone and movement sparingly. Every extra control costs you a little of the singer’s character.
- Formant shifts the vocal resonances without changing pitch. A small amount thins a heavy voice; a large amount produces a chipmunk or vocoder character. Small moves only.
- Natural Vibrato preserves the singer’s own vibrato instead of flattening it into the quantised grid. On for anything musical, off for the hardest tune.
- Pitch drift controls how much the plugin lets a note slide before locking. Lower values tighten the grid.
- Transition timing controls how the plugin moves between notes. Slower transitions keep pitch slides and scoops; fast transitions give the stair-step sound.
- Detune (in Logic’s Pitch Correction) spreads a vocal slightly off pitch for a chorus or unison thickening effect. Keep it under about 10 cents.
Auto mode picks a sensible target note for you. Graph mode draws the pitch curve and lets you drag each note onto the exact scale degree, which is the right choice when the plugin keeps choosing the neighbour note or when you want a specific melodic interval.
Track, listen and print a dry reference underneath for a few seconds. If the corrected line sounds worse than the dry vocal, the setting is wrong, not the singer.
6. Automate and Print the Effect
Tuning a whole record identically is the giveaway that a record was auto-corrected end to end. Automate the effect instead: a natural verse, a hard-tuned chorus, a hard-tuned hook over a straight verse.
Draw automation on the plug-in’s bypass or mix control in your DAW, or on the retune speed parameter where the plug-in exposes it. Ramp down over about half a bar at the start of a chorus and back up as it ends. That transition is less noticeable than any setting.
Print to a new track so your dry recording survives. Bounce the processed vocal, compare it against the dry alongside the instrumental, and keep both for now. If you ever want to change the key later, only the dry file can be re-tuned.
Genre preset recipes
| Genre | Retune speed | Humanize | Extra moves |
|---|---|---|---|
| Trap hook | 0-20 ms | Off | Layer with 10-20 ms of delay for fake double tracking |
| Hyperpop / glitch | 0 ms | Off | Slice the retuned vocal into pitched stabs; stack two instances an octave apart |
| R&B / pop | 20-40 ms | Low | Natural Vibrato on; automate from light verse to hard chorus |
| Rock / metal | 15-25 ms | Off | Zero tolerance; quantise tightly to the riff |
| Acoustic / singer-songwriter | 70-100 ms | High | Correction only; keep the natural vibrato, automate the wet level rather than the speed |
Common Mistakes
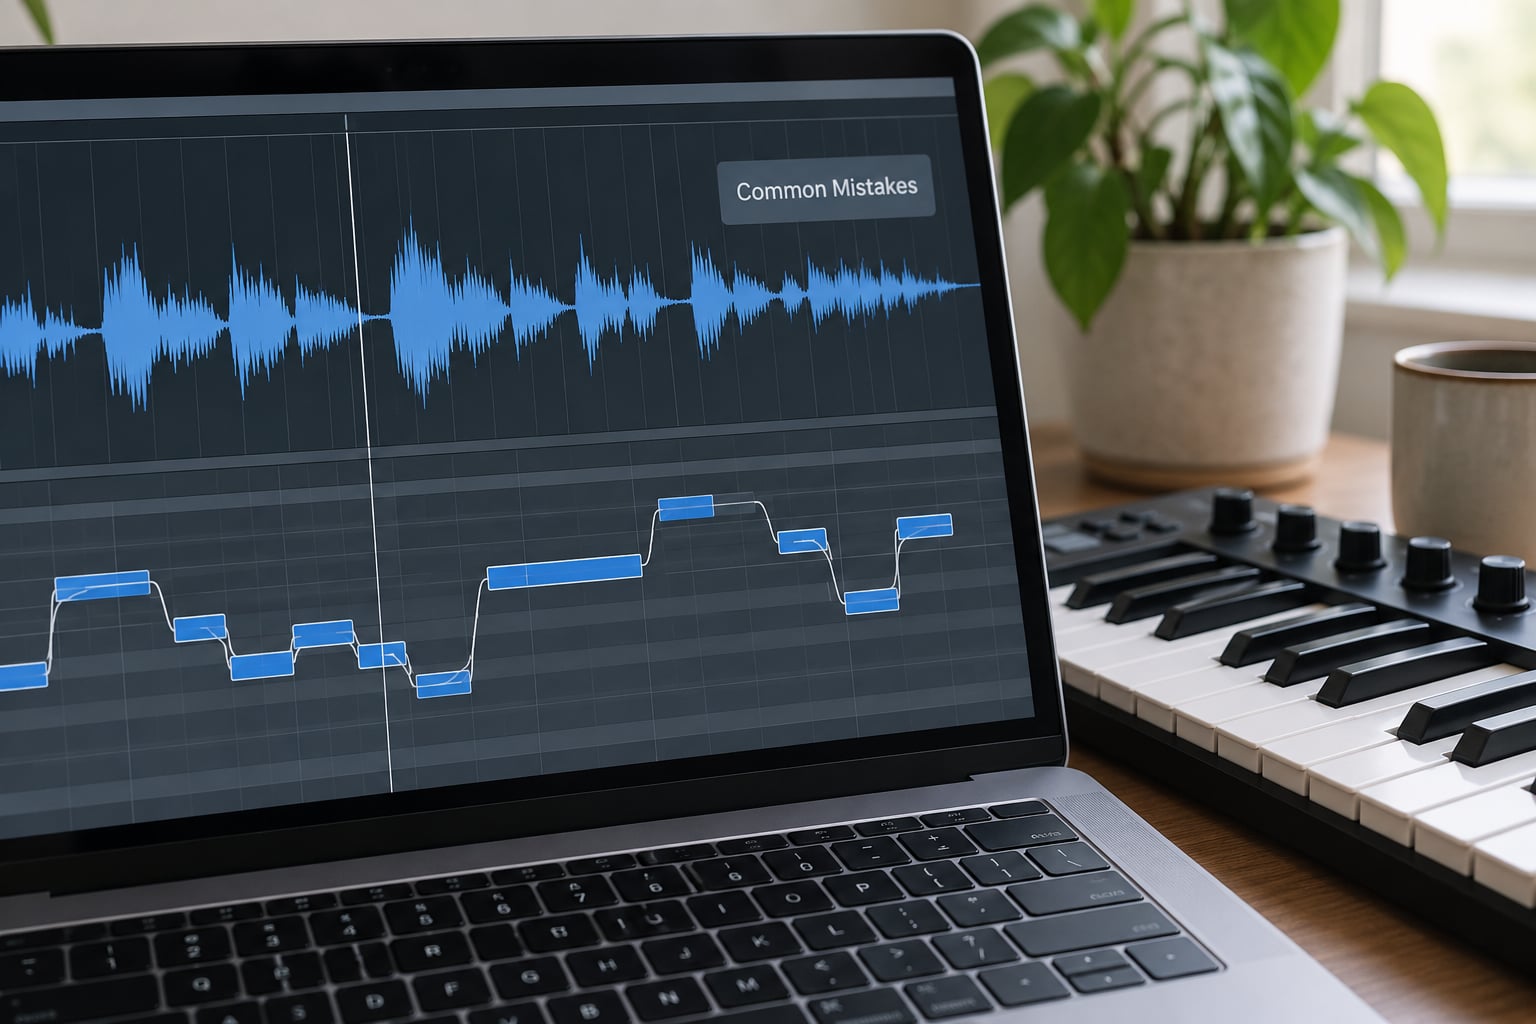
Almost every bad tuned vocal traces back to one of the same handful of causes, and they are always worth fixing in this order.
Wrong key or scale. If the vocal snaps to pitches outside the song, or a phrase resolves to an unexpected note, the key selector or scale type is wrong. Re-check the root note against your instrumental. This one causes more problems than any other setting.
Input type set to the wrong vocal range. Choosing a soprano input for a tenor voice narrows the octaves the detector focuses on and makes tracking unreliable. Set it to match the singer: soprano, alto or tenor, low male, or instrument for anything that is not a voice.
Response or retune speed far too fast. When a note jumps more than a step or two, the detector grabs the wrong neighbour note and you get the warble, glitch or snap people describe. Pull the retune speed back toward 30 to 50 ms and raise Tolerance. A fast retune combined with relaxed tracking is a workable hard-tune recipe, but only when the performance is already near the notes.
Tolerance set too low on a natural treatment. If a polished vocal suddenly sounds robotic, Tolerance is probably at zero. Raise it and let small deviations pass through.
Tuning before comping. Correction applied to an unedited take smears breaths and clicks into the grid. Fix the performance first, then tune.
Over-correcting a bad take. No setting rescues a vocal recorded with clipping, too much room noise or a singer fighting the key. Re-record.
One setting across the whole record. If the effect is identical in every section, listeners hear the tool rather than the song. Automate it.
A quick diagnostic order: key, input type, retune speed, Tolerance, then the recording itself. Work down that list and most problems disappear.
Frequently Asked Questions
Can Auto-Tune as an effect work on an acoustic vocal?
Yes, and acoustic recordings are where a hard tune can sound most striking, because the raw performance wobbles more. Expect to fight the instrument bleeding into the vocal track, because pitch detection picks up guitar harmonics as well as the voice. Record the acoustic with a close mic technique, set the input type to match the singer, keep tolerance low and start the retune speed around 20 to 30 ms before dropping it further.
What Auto-Tune settings sound natural on a pop vocal?
For a natural result, set the retune speed between 60 and 90 ms, raise Humanize, keep Natural Vibrato on and leave Tolerance generous. That combination corrects the notes that are genuinely out while leaving scoops, slides and vibrato intact. Corrective work in Logic uses the same idea: Response controls speed and Tolerance controls how much deviation is allowed before correction begins.
Does the microphone you record with matter for this effect?
More than most people expect. A noisy or distant recording gives the pitch detector an unreliable signal, and a fast retune speed turns that unreliability into glitches on consonants. A condenser microphone a hand’s width from the singer with a pop filter in front gives the cleanest result. Headphones matter too: you cannot judge a subtle correction level on monitors at low volume.
What retune speed gives the T-Pain sound?
Roughly 0 to 20 milliseconds, with Humanize and vibrato off and Tolerance near zero. That makes the plugin jump straight onto the nearest note in the scale instead of gliding toward it. The stepped result also depends on the performance: the harder the tune, the closer the singer needs to already be to the target notes.
Is using Auto-Tune as a creative effect cheating?
No. It is a production tool used the same way a compressor or an EQ is used. The line people draw is intent and disclosure: using it as an audible stylistic effect in a track that is billed as a produced record is standard practice, while presenting a heavily corrected vocal as unprocessed acoustic singing is not. Listeners react badly when they feel misled, not when they hear a pitch tool.
Conclusion
Start with one clean, comped, dry vocal. Find the key, set the scale, choose the matching input type, then open the retune speed to around 40 ms with medium Humanize and listen before you change anything else. Once that sounds right, drop the speed toward 20 ms for a harder tune, automate the wet level so the verse stays open, and push it further only after you have checked the result against the instrumental. The singer brings the notes close; the plugin decides what happens next.
Updated for 2026.