How to install VST plugins is simpler than it looks: run the developer’s installer, let it place the files in your VST folder, then rescan plugins inside your DAW so it picks them up. Most “my plugin is missing” problems come down to one of three things — the wrong folder, a skipped rescan, or a plugin built for a different platform.
VST stands for Virtual Studio Technology, a plugin standard originally developed by Steinberg that lets software instruments and effects run inside a digital audio workstation. Once a plugin is installed correctly, it appears in your DAW’s plugin browser and can be dropped onto any track like a native effect.
The whole job usually takes five to ten minutes on a first install, and almost no technical skill. This guide covers both the easy route (running an installer) and the manual route for plugins that ship as bare files, plus the folder paths, DAW-by-DAW scanning menus, and the fixes for the errors beginners hit most often.
Table of Contents
- What You Need
- Default VST Folder Locations on Windows and Mac
- Step-by-Step: How to Install VST Plugins
- VST2 vs VST3: Which One Should You Install?
- Using VST Plugins on Mac, External Drives, and Logic Pro
- Frequently Asked Questions
- What is the difference between VST2 and VST3 plugins?
- Where should I install VST plugins on Windows?
- Why can’t my DAW find a VST plugin after installation?
- Do I need to install a VST plugin on macOS the same way?
- Are free VST plugins safe to download and install?
- How do I uninstall a VST plugin completely?
- Conclusion
What You Need
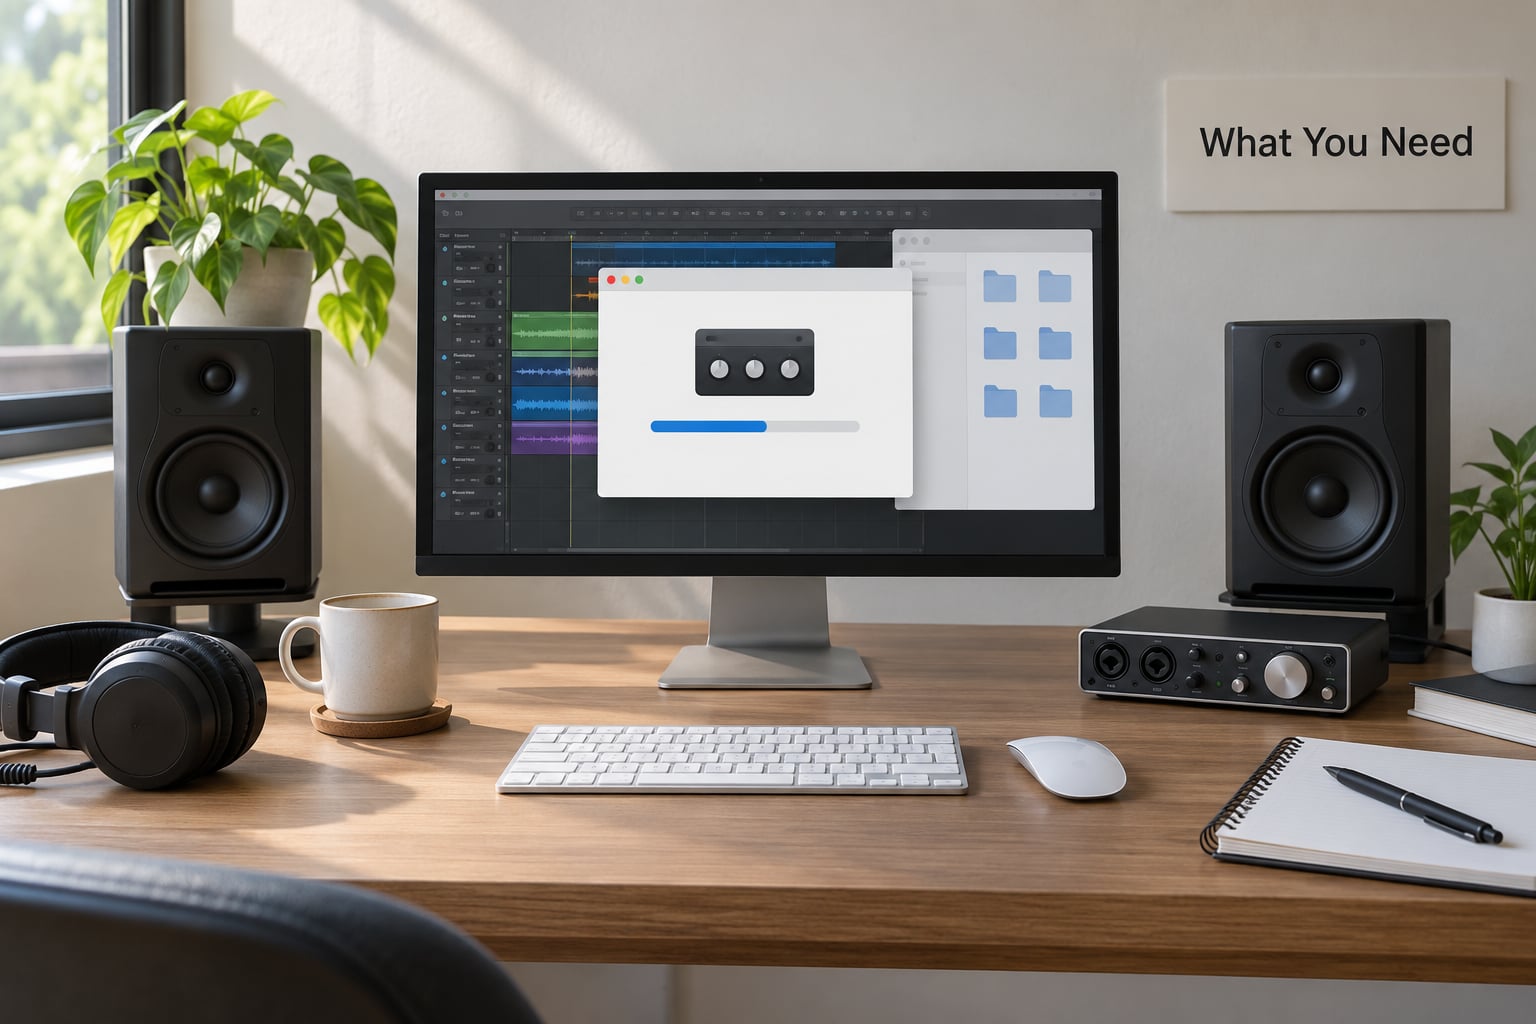
Get these four things sorted before you download anything, and most problems never happen.
- Your DAW name and version. Every workstation stores and scans plugins differently, so knowing whether you run Cubase, Logic Pro, Ableton Live, FL Studio, Reaper, Studio One, or Reason decides which instructions you follow later.
- The plugin format. Check the product page for VST2, VST3, AAX, Audio Units, or CLAP. A VST3 plugin will not load in a DAW that only reads AAX, and Logic Pro needs Audio Units.
- Administrator access on Windows or your Mac user password on macOS. Both systems block writes into system plug-in folders without it, and a half-finished install is worse than no install.
- The installer or the raw files from the developer’s own website, plus the license key or account login the product needs.
Decide on your VST folder too. Windows and macOS each ship with default locations, and you can also point your DAW at a custom folder of your own. Knowing which one you use early saves an hour of hunting later.
Default VST Folder Locations on Windows and Mac
These are the standard folders installers drop files into. Copy the path exactly, because a stray space or a wrong drive letter is a common reason a scan finds nothing.
| Operating system | VST2 location | VST3 location |
|---|---|---|
| Windows | C:Program FilesVSTPlugins | C:Program FilesCommon FilesVST3 |
| Windows (user-writable) | C:Program FilesVSTPlugins | C:UsersYourNameAppDataLocalProgramsCommonVST3 |
| macOS (all users) | /Library/Audio/Plug-ins/VST | /Library/Audio/Plug-ins/VST3 |
| macOS (current user only) | ~/Library/Audio/Plug-ins/VST | ~/Library/Audio/Plug-ins/VST3 |
The system-level /Library folder on Mac holds plugins for every user account, and the tilde folder ~/Library holds plugins for you alone. On Mac, Finder hides the Library folder by default, so press Shift plus Command plus Period to reveal it.
On Windows, Program Files is write-protected by design. When a manual copy fails with an access denied error, that protection is doing its job, and you should either run the copy as administrator or use the user-writable VST3 path in the second row.
Step-by-Step: How to Install VST Plugins
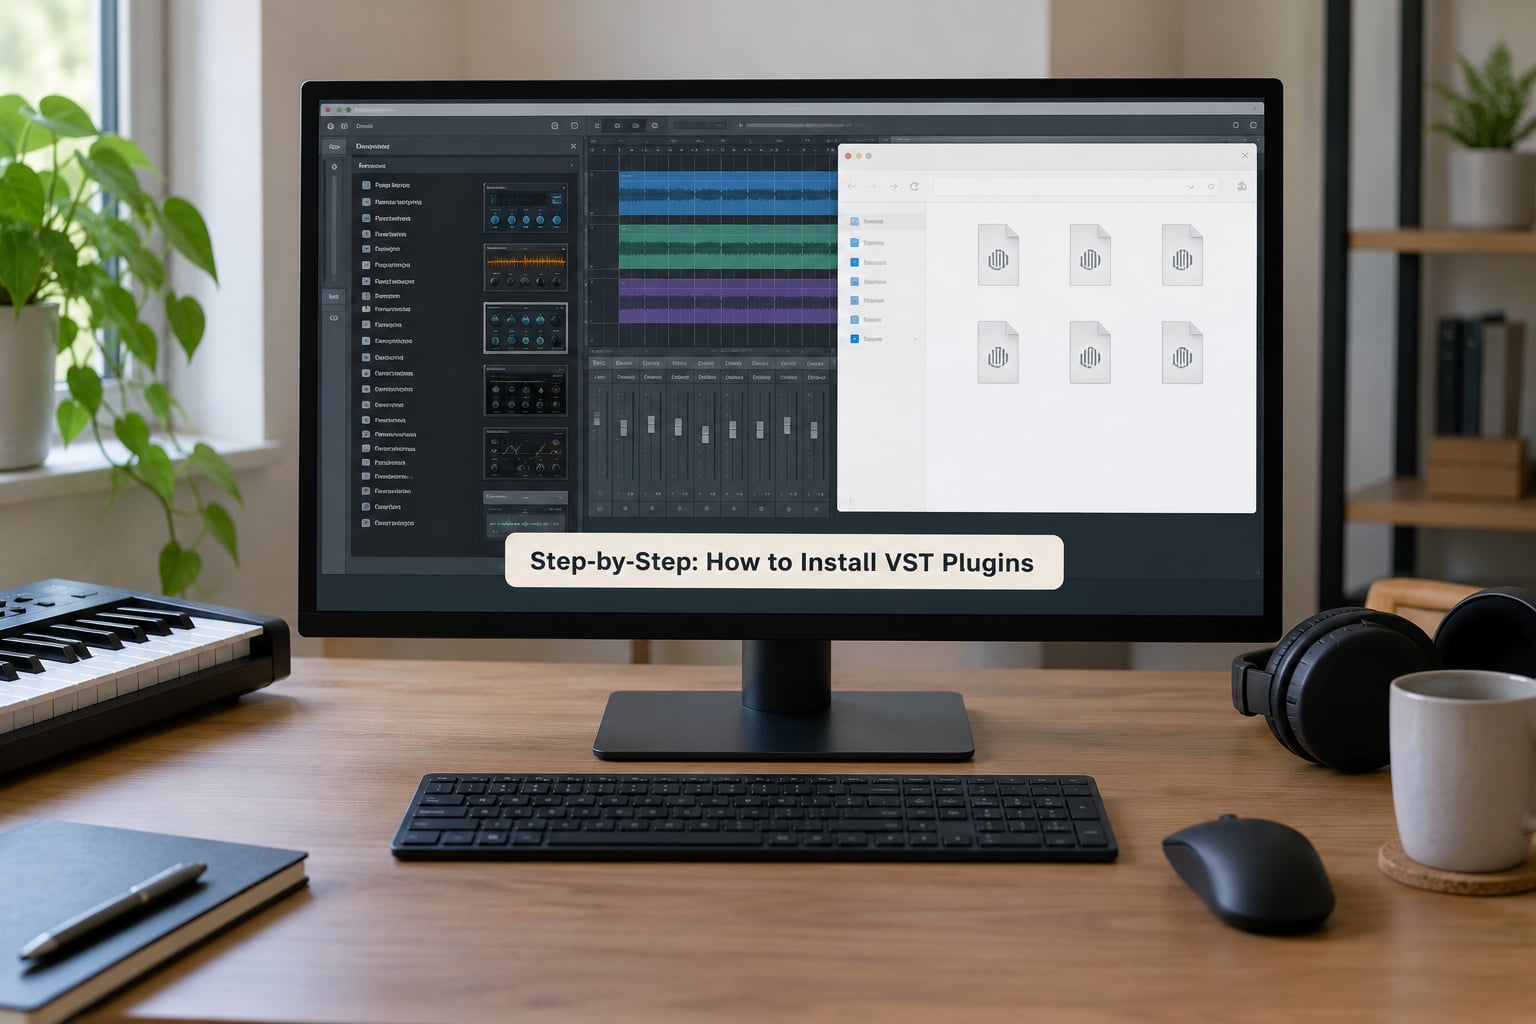
Step 1: Check the Plugin and DAW Compatibility
Compatibility failures produce the least obvious symptoms, so check this first. Confirm your operating system, then confirm the installer matches your processor architecture: x64 on Intel Macs and Windows PCs, ARM or Apple Silicon on M-series Macs. Most developers now ship a universal binary that covers both.
Then match the format to the DAW. Cubase, Nuendo, Reason, Reaper, Studio One, Ableton Live, and FL Studio all read VST2 and VST3. Pro Tools uses AAX exclusively. Logic Pro reads Audio Units, and CLAP is a newer open format that a growing number of DAWs now support.
As for bit depth, install the 64-bit version whenever one exists. Modern DAWs are 64-bit only, so a 32-bit plugin will either refuse to load or force a bridging setup that adds CPU cost and instability.
Step 2: Download the Plugin From the Official Source
Download from the developer’s website or an authorized distributor listed on that site. Files floating around on file-locking sites and share threads are a well-known source of malware, and an infected plugin DLL loads with full permissions every time you open your DAW.
Check what the archive contains before you run anything. You should see one installer per supported platform, plus a readme and license text. If a single .exe arrives with no documentation, that is worth a second look.
Extract zip or dmg archives fully before installing. Half-extracted folders are a frequent reason a plugin appears to install but then vanishes on the next launch.
Some plugins ship as a bare file with no installer at all. When that happens, how to install VST plugins comes down to a copy: drop the .vst3, .dll, or .component into the matching folder from the table above, then jump to Step 4 and rescan.
Step 3: Run the Installer and Choose the VST Folder
On Windows, right-click the .exe or .msi and choose Run as administrator, then approve the User Account Control prompt. On macOS, open the .dmg, drag the component or bundle to Applications, then launch it and confirm when asked.
Most installers offer a destination field with several checkboxes: program files, VST folder, presets, and audio library. Keep the VST folder checked unless the developer explicitly tells you not to. Content, presets, and libraries usually live in separate folders from the plugin binary itself, so skipping those checkboxes is how you end up with a working plugin and an empty preset list.
Note the difference between the two destination types: the program files location holds the standalone application and settings, while the VST plug-in folder holds the file your DAW actually scans. They are not interchangeable.
macOS may stop the installer with a Gatekeeper message saying the developer cannot be verified. Open System Settings, go to Privacy and Security, scroll to the blocked section, and click Open Anyway. The same fix applies to unsigned plug-ins from smaller free developers, which is most of them.
Step 4: Scan or Rescan Plugins in the DAW
Close and reopen your DAW first, since most workstations only rescan on launch. If the plugin is still missing, run a manual rescan from the preferences menu. The exact path varies by workstation and version, so here is where it lives in the major ones.
- Ableton Live: Preferences (Ctrl or Cmd plus comma), then Plug-ins tab. Turn on Use VST Plug-In Custom Folder if you use a custom location, and click Rescan.
- Logic Pro: Preferences, Plug-ins, Audio Units and VSTs, then rescan. Only Audio Units are listed here natively.
- FL Studio: Options, Manage Plugins, then Refresh in the plugin list panel. In newer versions the filter bar lets you hide unused plugins and check which folder each one came from.
- Cubase: Studio, Plug-in Manager, and the Steinberg Hub handles the scan. Anything greyed out is blocked or failed validation.
- Reaper: Options, Preferences, Plug-ins, VST. Add extra paths there to point at a custom or external drive folder.
- Studio One: The plugin browser sits on the left, and a rescan happens from its own menu.
- Reason: Preferences, Plug-ins, where custom VST folders are defined directly.
Give the scan a minute or two with large libraries, and expect your DAW to stutter or briefly freeze while it validates each file. A deep scan reads everything and takes longer; a fast or filtered scan is fine for a normal check.
Step 5: Authorize, Load, and Test the Plugin
Insert the plugin on a track to trigger activation. If it opens showing a licence screen, sign in with the account you registered with or paste the key from your email receipt. Some developers run a separate authorisation manager before the plugin will load at all.
Then check that it actually processes audio. Drop it on a silent or test track, play a few seconds, and look for the level meter to move. A plugin that opens fine but stays silent is usually a routing or bus problem, not an install problem.
Save a throwaway project with the plugin in it. If your DAW asks to locate missing files next time you open that project, you know immediately that the install did not stick.
Common Mistakes
Almost every failure has a short, boring fix. Work down this list in order.
- Wrong format installed. A VST3 plugin in a VST2 folder, or an AAX plugin dropped into a VST folder. Move it to the correct folder or install the correct version from the developer.
- Custom folder not enabled. Ableton Live in particular ignores a custom VST folder unless the toggle is switched on in Preferences.
- No rescan after install. Restart the DAW, then rescan manually if the plugin is still absent.
- Blocked by macOS Gatekeeper. Right-click the file, choose Open, then Open Anyway, or approve it in Privacy and Security settings.
- Installer needed administrator rights. Run as administrator on Windows; on macOS, hold Option while opening the installer to enter an administrator account.
- Black screen or crash on open. The plugin is for the wrong bit depth or CPU, or it is colliding with another plug-in. Try loading it with every other plug-in disabled.
- Presets missing though the plugin loads. The content folder was not installed. Re-run the installer and select the content and library checkboxes.
- Plugins vanish after an operating system update. Back up your VST folders before major updates, since a system migration can reset paths and permissions.
VST2 vs VST3: Which One Should You Install?
When a developer offers both, install the VST3 version. VST3 added sandboxing, better multi-threaded processing, and support for modules that handle MIDI separately from audio, and it is the format nearly every DAW treats as the default now. Keep the VST2 file only if an older plug-in host you still use requires it.
| Detail | VST2 | VST3 |
|---|---|---|
| Windows file | .dll | .vst3 |
| Mac format | .vst bundle | .vst3 bundle |
| Threading | Single instance | Multi-instance, multi-threaded |
| Safety | Runs in the DAW process | Can run sandboxed in its own process |
| MIDI | Shared with audio | Separate event output |
| Current status | Legacy, still widely supported | Current standard |
One wrinkle worth knowing: preset files live in a different location from the plug-in itself, and VST3 preset folders are separate per plug-in. Moving the plug-in file to a new drive does not move its presets, which is why a reinstall often seems to bring back old settings.
Using VST Plugins on Mac, External Drives, and Logic Pro
A few setups deserve their own explanation, because they are where most remaining confusion sits.
Apple Silicon and native versus Rosetta
On M-series Macs, a universal binary plugin runs natively with no penalty. An Intel-only plug-in still runs through Rosetta 2, which Apple installs on first use, and it works, but it uses more memory and processes audio slightly slower. If a developer offers an Apple Silicon build or a universal binary, take it.
Logic Pro and VST plug-ins
Logic Pro does not load VST plug-ins natively. It reads Audio Units, which use the .component file format, and it also reads AUv3 plug-ins. If you own a VST-only plug-in, you need a wrapper host that presents it as an Audio Unit, and the two widely recommended options are Element, which is free, and Blue Cat’s PatchWork, which is paid and more flexible.
Install the wrapper first, then add your VST plug-ins inside the wrapper, and the wrapped version shows up in Logic as an Audio Unit on your channel strip.
Installing plug-ins on an external drive
Large sample instruments and drum libraries outgrow an internal SSD quickly, and putting the plug-in binary on an external drive works fine. Create a folder such as VST3 on the drive, copy your plug-ins in, then add that folder as an extra scan path in your DAW, which Reaper, Cubase, Logic, and Ableton all support.
Connect the drive before you launch the DAW. Plug-ins on a disconnected drive get greyed out, and scanning a slow external drive lengthens every startup. On macOS, also set the disk to allow apps downloaded from other users in Disk Utility’s Sharing settings, or the plug-in will silently fail to open.
Frequently Asked Questions
What is the difference between VST2 and VST3 plugins?
VST2 and VST3 are two versions of the same plugin standard. VST2 plug-ins load as .dll files on Windows and are single-threaded, while VST3 plug-ins use the .vst3 format, support multiple instances and multi-threaded processing, and can run sandboxed away from the DAW process. VST3 is the current standard and loads faster. Install the VST3 version when a developer offers both, and keep VST2 only for older hosts.
Where should I install VST plugins on Windows?
Most installers handle this for you, but the standard destinations are C:u005cProgram Filesu005cVSTPlugins for VST2 and C:u005cProgram Filesu005cCommon Filesu005cVST3 for VST3. If you lack administrator rights, use the per-user VST3 folder inside AppData, then add it as an extra scan path in your DAW. Program Files is write-protected on purpose, so a manual copy there needs administrator rights.
Why can’t my DAW find a VST plugin after installation?
The usual reasons are a wrong folder, a skipped rescan, or the wrong format. Check that the file sits in a folder your DAW actually scans, then restart the DAW and run a manual rescan from its preferences menu. In Ableton Live, confirm Use VST Plug-In Custom Folder is switched on. On macOS, approve the plug-in in Privacy and Security settings if Gatekeeper blocked it.
Do I need to install a VST plugin on macOS the same way?
Not quite. Instead of a Windows installer executable, macOS usually ships a .dmg or .pkg that you open and drag into Applications or the Audio Plug-ins folder. VST3 files land in /Library/Audio/Plug-ins/VST3 for all users or ~/Library/Audio/Plug-ins/VST3 for your account alone. macOS also blocks unsigned plug-ins, so use Open Anyway the first time you launch one.
Are free VST plugins safe to download and install?
Free plug-ins from reputable developers are generally safe. The risk comes from download sites that bundle a legitimate plug-in with adware or keyloggers, and from cracked paid plug-ins, which are a well-known malware vector. Download free plug-ins from the developer’s own site or a recognised distributor, read what is inside the archive before running it, and keep your operating system and security software current.
How do I uninstall a VST plugin completely?
Run the developer’s uninstaller first if one came with the plug-in, then delete any leftovers in your VST folder. Remove the licence from the vendor’s account page or authorisation manager, delete the content and preset folders, and empty the recycle bin. Finally rescan or restart your DAW so the plug-in disappears from the browser. Leaving an authorisation entry behind can block a reinstall later.
Conclusion
Start here: confirm the format and architecture match your DAW, download from the developer’s own site, run the installer as administrator with the VST folder checkbox ticked, then restart your workstation and rescan. Insert the plug-in on a test track, authorise it, and save a small project so you know the install holds.
Most of the trouble people report on producer forums traces back to the same handful of causes — a plug-in in a folder the DAW never scans, a rescan that was skipped, or Gatekeeper quietly blocking the file on a Mac. Check those three things before reinstalling anything, and how to install VST plugins stops being a problem at all.