Switching DAWs without losing your workflow comes down to documenting your habits first, then transferring audio, MIDI, tempo data and plug-ins in that order. Do the small test project before the big one, and rebuild your shortcuts and templates inside the new program rather than hunting for them mid-session.
Most people don’t lose their music when they switch. They lose their shortcuts, their routing habits, their naming conventions and about three weeks of momentum. That part is recoverable, but only if you plan it.
I’ve watched producers quit a project entirely because the move felt like starting from zero. It isn’t. The audio, the MIDI, the tempo map and the mix decisions all travel. What doesn’t travel automatically is the muscle memory, and that’s exactly what this guide is built around. It’s the practical version of the advice that usually gets scattered across forum threads and DAW-specific tutorials.
What You Need
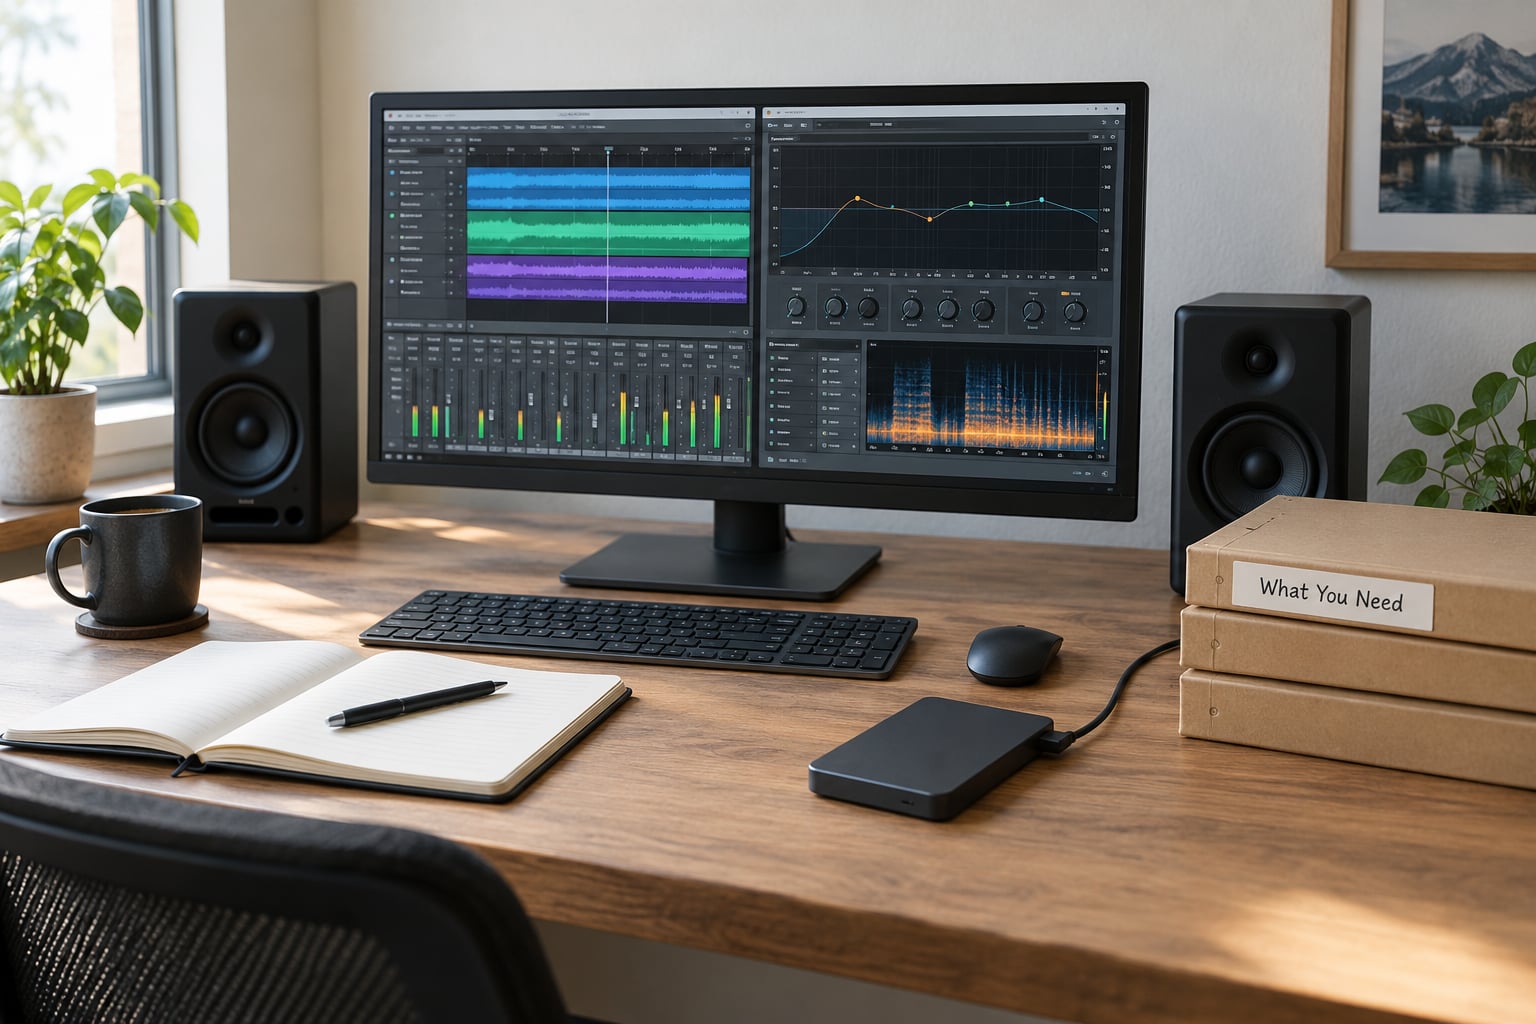
You need a working copy of your current project, a clean install of the destination DAW, and enough drive space to hold two full sessions plus stems. Everything else is documentation.
Current and destination versions. Note the exact build of the DAW you’re leaving. Session files from older releases often open with a conversion prompt, and converting twice is how people end up with a project that won’t load anywhere.
An active project copy. Pick one real session, not your most polished one. A rough session with messy routing shows you the problems that will actually bite you.
Session notes. A plain document or a photo of your notebook is enough. Write down what each bus is for, what the naming convention is, and which plug-in chain you rebuild by memory.
Plug-in and hardware inventory. List every plug-in you use, and note its format. VST3 and AU are Mac-friendly, VST2 is increasingly scarce on Apple Silicon, and AAX only runs inside Pro Tools. Controllers matter too. Write down whether anything depends on a MIDI map, a control surface layout or a hardware insert.
Storage space. Audio files plus bounce copies add up fast. A 90-minute band session with 64 tracks can be well over 100 GB once you count consolidated audio and stems.
Export settings. Write down your sample rate and bit depth before you touch anything. Matching the destination project to your originals avoids resampling on import, which is hard to undo cleanly.
A backup method you actually use. Two copies, one on the machine and one elsewhere. During migration, an external drive is not a backup if it’s plugged into the same computer that just corrupted the file.
Step-by-Step: How to Switch DAWs Without Losing Your Workflow
The migration below runs in six stages. Each one ends with a check you can pass or fail, so you stop before the damage compounds.
1. Audit Your Existing DAW Workflow
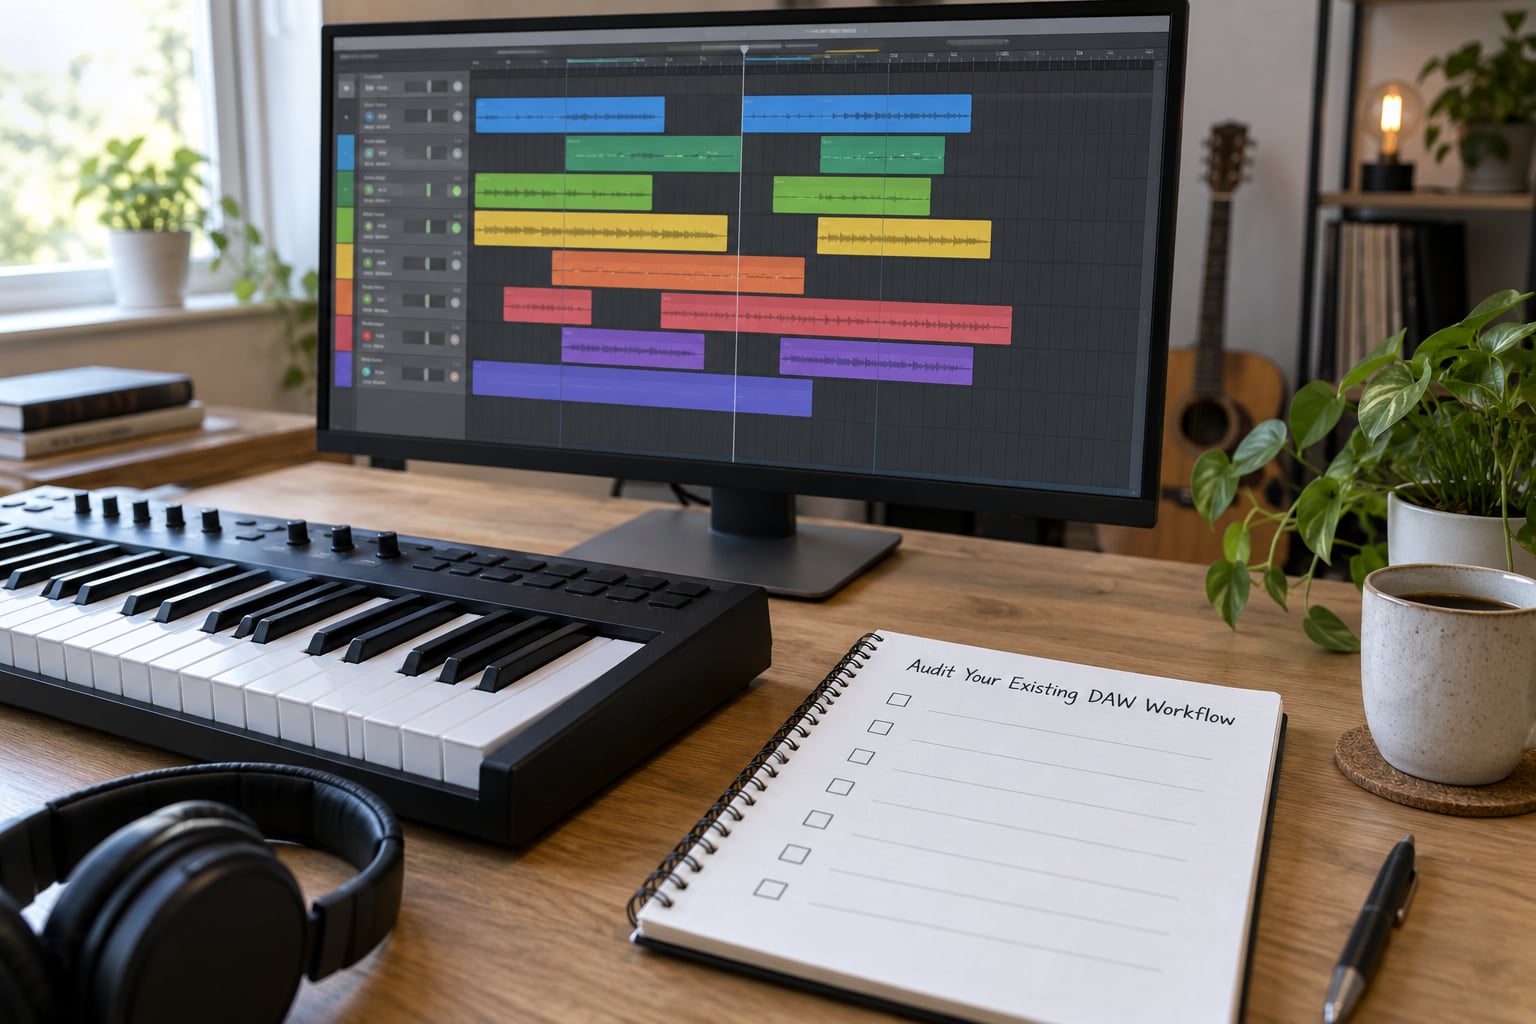
Document everything you do by reflex. That list is your actual workflow, and it’s the part that usually goes missing in a move.
Go through your session and write down your session templates, your routing and bus structure, your track and folder naming pattern, your editing habits, your keyboard shortcuts, your default plug-in chain, your automation moves and your export presets.
Also write down the collaboration routines. If you normally drop a folder of 24-bit WAVs with a naming convention and a marker map on a mix engineer, that’s part of your workflow too.
Screenshot your key command list if the old DAW lets you export it. Some DAWs ship with a printable key map, and it’s worth having the PDF before you uninstall anything.
2. Build a Complete Project Inventory for the DAW Switch
Build an inventory of every asset in one active project so nothing surfaces as a missing file halfway through the transfer.
That means every audio file, every MIDI region, every virtual instrument patch, every sample library and its content path, every plug-in instance, every saved preset, the tempo map, every automation lane, and every linked file or video.
Store it as a folder, not a document. Drag the session’s audio into one folder, presets into another, and put a text file listing plug-ins and their formats beside them. When something is missing later, you want it in one place rather than scattered across the project.
Pay attention to cross-fades and merged regions. Export the full audio as well as the arrangement, because the arrangement alone will not include edits buried inside a merged region.
3. Test-Convert a Small but Representative Project
Test the destination DAW with a short project that contains drums, recorded audio, MIDI, buses, automation, a tempo change and your essential plug-ins. Ten minutes of music is plenty.
If this project converts cleanly, the format route works. If it doesn’t, you’ve found the problem while the stakes are low.
Try two routes on the test project. First, audio stems, which always work but lose MIDI and edit detail. Second, the session interchange format your destination DAW supports, which preserves more but relies on both programs agreeing on what the data means.
Count what’s missing on each route. AAF is a published interchange standard developed through the AMWA and carries audio, MIDI and markers well, but plug-in settings are not standard. Open Media Framework goes further back in time and covers MIDI and basic structure. DAWproject, an open session format backed by Bitwig and PreSonus, goes furthest because it stores the actual project data rather than a translation of it, but support is still limited to participating applications.
4. Transfer the Project and Rebuild Its Structure
Import the converted data, then rebuild the session by hand rather than trusting the import to place everything correctly. Expect to do this even when the conversion technically succeeded.
Work through the list: track order, track names, routing, buses and aux returns, markers and regions, tempo and meter, sample rate, bit depth, and your folder structure.
Audio imports most reliably when you copy the files into the destination’s audio folder before importing, then point at them. Dragging from an external drive invites the program to remember the original path, and that path won’t exist on another machine.
Decide your naming convention on day one in the new program. Write it into your notes so the mix engineer who receives the folder can follow it without asking.
Set the session’s sample rate and bit depth to match your source files before you import anything. Importing 24-bit material into a 32-bit session plays back fine and confuses you later when playback sounds different in the new template.
5. Recreate Automation, Shortcuts, and Templates
Rebuild your key commands in the first week, while you’re still looking things up. This is the step that keeps productivity from collapsing.
Every major DAW can remap its keyboard. Open the key command editor, load the old mapping if the destination DAW ships one, then work through your own list from memory rather than from scratch. If you spent years in Pro Tools, set the locate, zoom and edit commands to match. If you came from a piano-roll-centric program, keep those shortcuts.
Recreate your track and bus templates next. A drum bus with its compression chain, a vocal chain and a music template save you from rebuilding the same thirty steps every session.
Save your plug-in chains as presets rather than as pictures of a screen. Where the destination DAW can’t load the original preset, note the settings in plain text on the track, the way people do on KVR when a format won’t travel.
Export presets live in their own folder, separate from the project. If a plug-in has a preset manager, point its library at that folder so both DAWs read the same files.
6. Validate the Mix and Keep a Safe Project Backup
Bounce a reference of the finished mix from the old DAW, then compare it against the same section in the new session. Listen on the same monitors at the same level, and check sync, level and phase before you judge anything else.
Work through a fixed list. Every audio file plays and is in sync. Every plug-in loaded without error. Every automation move behaves. Every marker and tempo change is in place. Every linked file resolves.
If something is missing, fix it now while the old session is still open. Once you close the source project and start editing, you lose the easy comparison.
Then archive. Save the new project, its export settings, the shared preset folder and a short change log describing anything you rebuilt by hand. Put one copy on the machine and one somewhere else.
Leave the old session untouched for at least a month. If you find a problem you didn’t catch, you want the original.
Common Mistakes
Converting before documenting. You end up rebuilding from memory and getting it subtly wrong. Fix: write the audit first, even if it’s a rough list.
Testing only an empty project. A new session proves the DAW launches. It proves nothing about your plug-ins, your routing or your tempo changes. Fix: test with a real, short project.
Ignoring plug-ins that won’t load. The missing plug-in is usually one plug-in, not the whole chain. Fix: check formats before you install anything, and find substitutes or wrappers early.
Flattening MIDI and audio too early. Once a track is audio, comping and re-editing get harder and every change becomes destructive. Fix: keep the MIDI and the pre-bounce audio side by side until the new session is signed off.
Abandoning your naming conventions. Track names like Audio 12 make the mix unfinishable. Fix: write your pattern into the project notes and apply it on import.
Trusting the migration without a reference playback. A converted session that looks right can still be subtly wrong. Fix: bounce a reference before moving and compare section by section.
One more that shows up constantly: expecting productivity to return immediately. Most producers lose real speed for a few weeks after a switch, and the honest fix is to keep both DAWs installed for a while. Finish a real project in the old one if you’re near a deadline.
If you’re moving to a professional studio environment, a Pro Tools setup may be waiting for you regardless of preference. That’s the situation where learning the session-transfer route properly pays for itself immediately.
Frequently Asked Questions
Can I switch DAWs without losing my workflow?
Yes. Start by recording your templates, shortcuts, routing, naming conventions, automation habits and export settings. Test-convert a small project, recreate the structure rather than relying on a blind import, and rebuild your key commands in the first week. Your audio, MIDI and tempo data travel intact. The habit layer is the part that needs deliberate work, and it comes back faster once it is written down.
What is the best way to transfer a music project between DAWs?
Use the destination’s supported AAF, OMF, MIDI or stem import workflow when possible, but expect to rebuild routing, automation and editing detail by hand. Audio stems are the most reliable route and lose nothing you have already bounced. AAF preserves audio, MIDI and markers across applications. DAWproject stores the actual session file, so it loses the least, but only participating applications can open it.
What should I do if a plug-in is not available in the new DAW?
Choose the closest compatible substitute, use a format-native equivalent, or print only the affected audio to a track. Do not flatten the entire mix because one plug-in is missing. Plugin hosts such as Blue Cat PatchWork or DDMF MetaPlugin can bridge format gaps on the same machine. For anything expensive, render the affected stem before the switch and keep the settings written down as text.
How long does it take to switch from one DAW to another?
A simple electronic or drum-focused session may take several hours to transfer and organize. A complex recording with heavy editing and automation can take several days, and getting comfortable with the editing and routing takes longer still. Budget an extra two to three weeks before your speed returns to normal, and keep your current DAW installed until you have finished a full project in the new one.
Can you use two DAWs at the same time?
Yes, and plenty of producers do. Run one for composing and another for mixing, or keep both open with an audio interface routing between them. Ableton Link handles tempo sync for supported applications, virtual routing cables can send signal between programs, and a small summing mixer keeps levels sane. Just remember that ReWire is discontinued, so anything that relied on it needs a current replacement.
Do DAWs actually sound different?
On the same project with the same plug-ins and the same settings, the difference is small enough that most listeners will not notice in a blind test. What changes more is the workflow and the defaults. Different DAWs handle gain staging, tempo and automation differently, so mixes can drift apart even when the tools are identical. Judge a new DAW on your own work over several sessions, not on the first song.
Conclusion
The safest order is the same every time: audit your workflow, inventory one real project, test-convert a small one, transfer the audio and MIDI, rebuild the structure, restore your shortcuts and templates, then compare against a reference bounce before you archive anything.
Start today with the audit of one active session. It takes an hour, and it is the step that decides whether the switch costs you a weekend or a season.