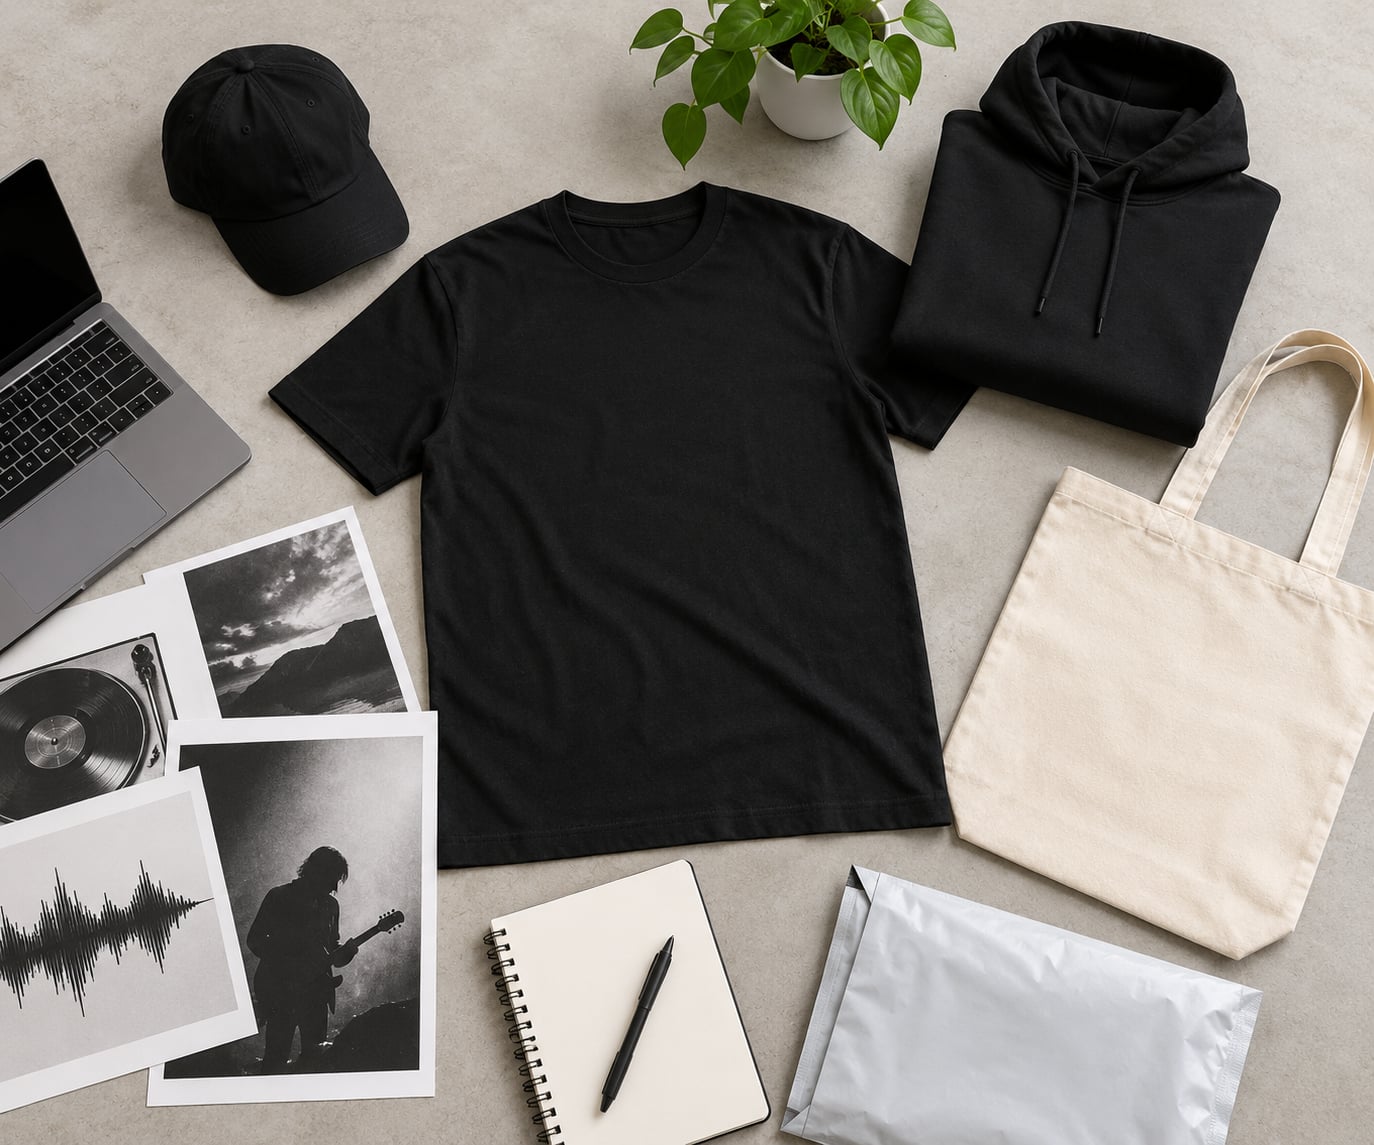
To get merchandise made without holding inventory, you sell first and produce second. A customer buys a T-shirt, and only then does a printing partner or fulfillment service make that shirt and send it straight to the buyer, so you never pay for a stack of blanks sitting in a closet. The whole thing runs on three models: print on demand, dropshipping, and small-batch production.
For an independent musician or a small brand, this flips the risk. The usual way to start a merch line is to commit cash months before anyone sees the design, guess how many of each size you need, and hope. No-inventory models let you test five designs in an afternoon instead of one in a season.
Table of Contents
- What You Need
- Step-by-Step: How to Get Merchandise Made Without Holding Inventory
- Common Mistakes
- Frequently Asked Questions
- Which no-inventory fulfillment model is the safest for a first release?
- How much do you really need to start a print-on-demand merch line?
- Is print on demand good enough for tour merch and limited releases?
- Who owns the artwork and the inventory in a no-inventory setup?
- How do you handle returns when you do not hold any stock?
- Conclusion
What You Need
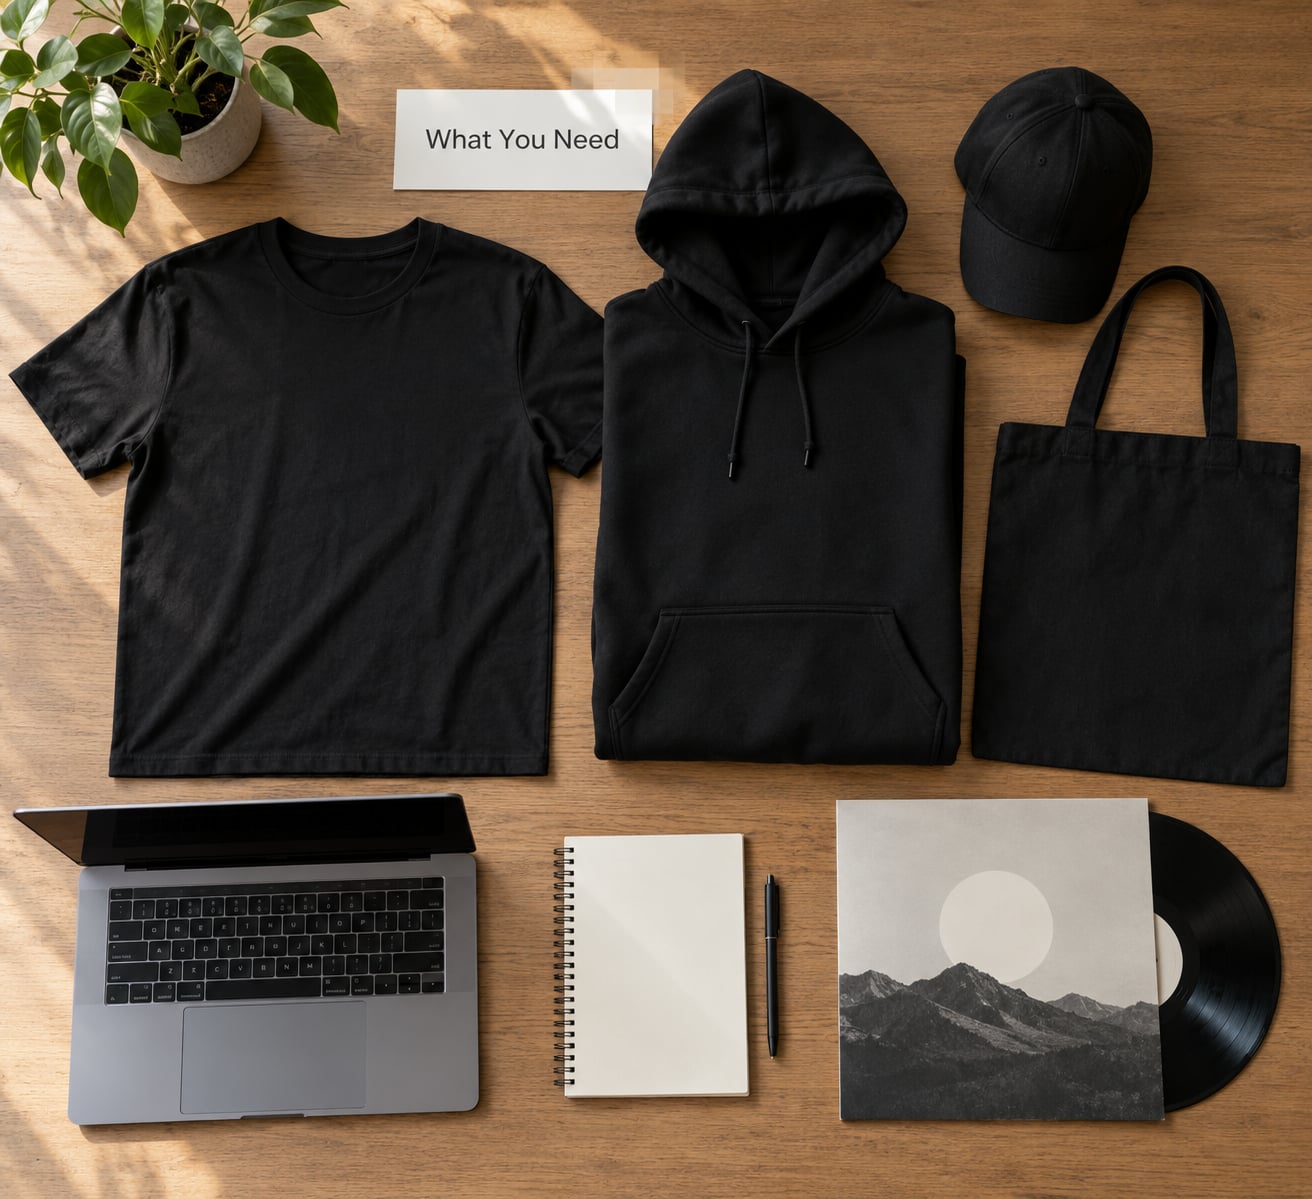
Six things have to be settled before you pick a supplier: your real starting budget, which product format fits your audience, finished artwork, who you are selling to, how fast you need to deliver, and the quality bar you will accept.
Budget. Not the money you wish you had, the money you can lose. With print on demand your risk is mostly design time and sample orders. With small-batch production you are committing real units, so decide the number you could sell at a loss and still walk away from.
Product format. A tour tee behaves nothing like a sticker sheet. Apparel needs sizing charts and returns handling. Stickers and posters need flat artwork and almost no shipping weight. Pick two formats to start, not nine.
Artwork. You need a finished design file, not a photo. More on that in Step 2.
Audience. Where do these people already hang out, and what do they already wear? A band with 4,000 followers on video is a different merch business than a streetwear name with a mailing list.
Timeline. Some models print in days. A small screen-print run can take weeks of press time. Know which one you are choosing before you promise a release date to anyone.
Quality bar. Write down what “good enough” means to you. Blank weight, print method, packaging. Without a written bar, every supplier looks fine until a customer complains.
The three models, in plain terms
Print on demand means a company holds blank garments and prints your design onto one after a customer orders. You supply artwork, they handle production and shipping. This is the lowest-commitment path and the one most artists start with.
Dropshipping is broader. A supplier lists finished goods, you list them on your store, and when an order comes in you buy the product from the supplier and they ship it to your customer. You can dropship printed products, unprinted blanks with your own printing partner, or generic accessories.
Small-batch production means you order a limited number of units yourself, often 25 to 100, and store them. You own the inventory, but the production cost per unit drops and you control packing and inserts.
A minimum viable starting budget is smaller than most people assume. If you skip samples entirely you might spend almost nothing and learn almost nothing. A realistic first outlay covers two or three sample units, one small run or a handful of sample POD orders, a simple store, and enough cushion to absorb a reprint if a print comes back wrong.
Step-by-Step: How to Get Merchandise Made Without Holding Inventory
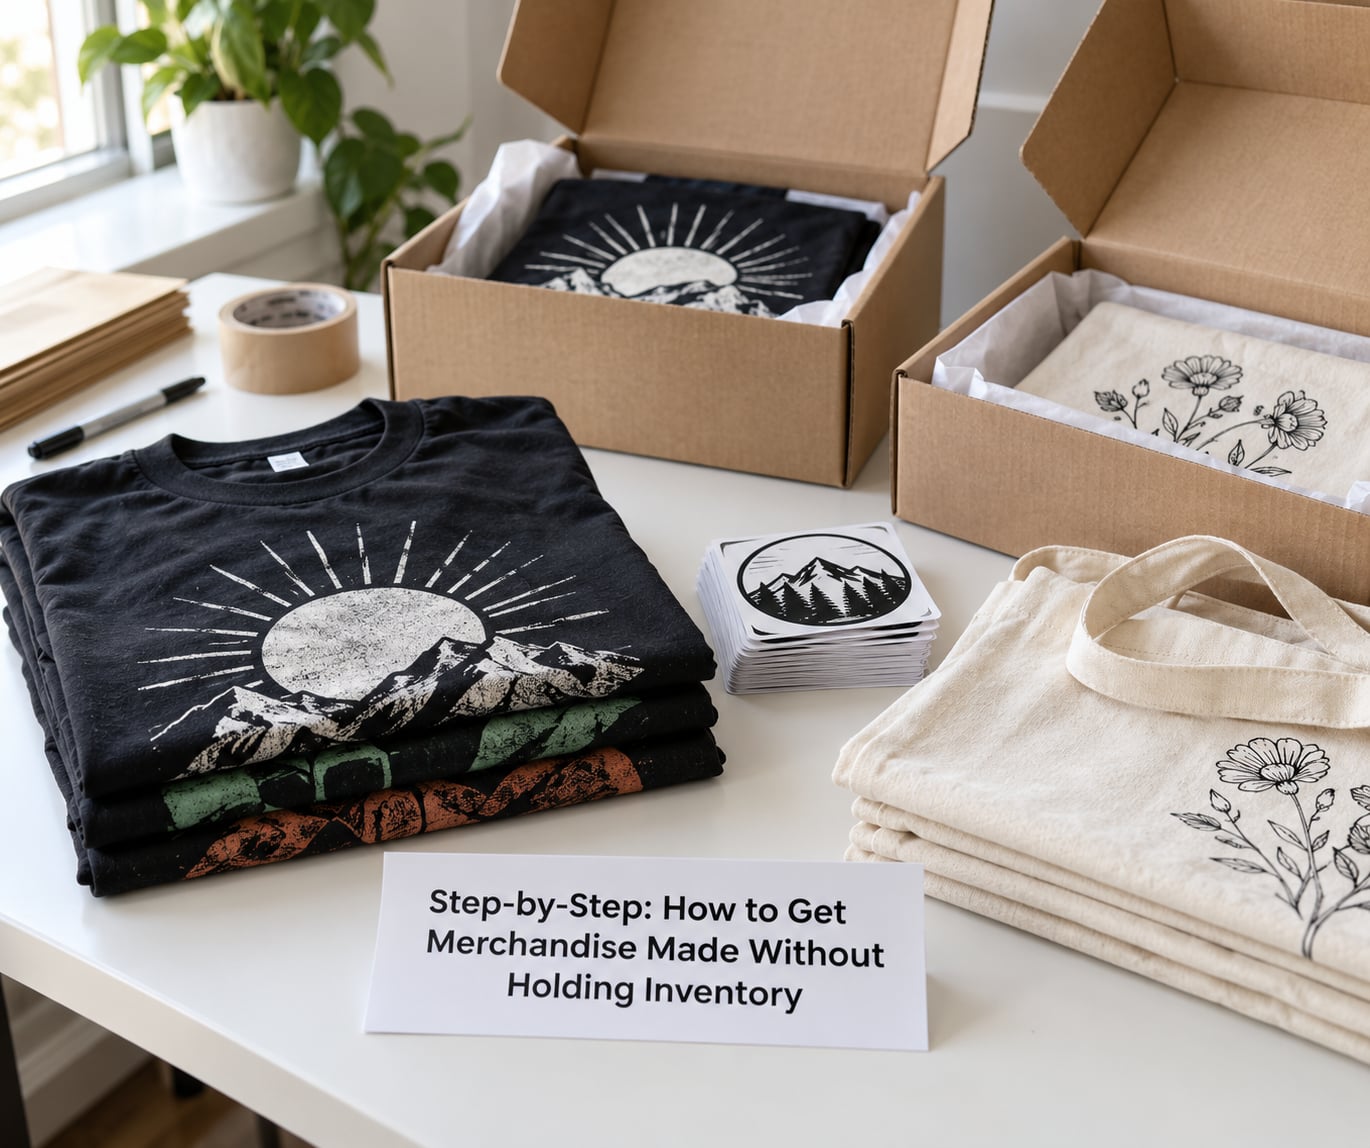
The process has six steps: choose one product, prepare artwork that prints cleanly, compare the three fulfillment models, inspect samples, set pricing and shipping rules, then run a small controlled launch and scale only what works.
Step 1: Choose a merchandise product
Start with the format that costs least to test and survives the trip to the customer. Shipping weight kills margins faster than markup does, and production complexity is where first-time sellers waste weeks.
| Product | Production complexity | Shipping weight | Artwork fit | Best for testing with |
|---|---|---|---|---|
| T-shirts | Medium, sizing and blanks vary | Heavy | Front or back placement | Established fans who already know you |
| Hoodies | Higher, blanks cost more | Heaviest | Large single graphic | Higher-margin dropshippers |
| Stickers | Low, no sizing | Very light | Bold, simple shapes | First-time sellers |
| Posters and prints | Low | Light, needs rigid mailer | Full-bleed artwork | Visual artists and photographers |
| Caps and totes | Low to medium, embroidery adds cost | Light | Simplified, one-color reads best | Merch tables and giveaways |
| Enamel pins and accessories | Low | Tiny | Simple shapes at small scale | Add-on items that lift order value |
For most music projects the sensible first test is stickers plus one apparel item. Stickers are cheap to try, they survive a bad print without much loss, and people who buy stickers tend to engage with the artist behind them.
Step 2: Create production-ready artwork
Artwork causes more failed prints than bad suppliers do. A design that looks fine on a laptop screen can print muddy, get cropped, or lose a thin line entirely.
The rules are short. Supply vector artwork such as SVG, EPS, or AI when the print shop asks for it, because vectors scale to any garment size without softening. When you only have a raster file, export at 300 DPI at the final print size, not at screen size.
Use RGB color mode for anything digital-to-garment. Ask for a transparent background so the garment color shows through in negative space, unless you want a printed white box around your logo. Leave a bleed of a few millimeters on anything that touches the edge, and keep text and faces clear of the print area’s safe margin.
One more thing that saves money: mockups. A mockup generator drops your design onto a blank template so you can preview placement before ordering a sample. Designers on freelance marketplaces will also make a handful of alternate placements from the same file, which is cheaper than paying for six separate samples.
Step 3: Compare low-inventory fulfillment models
The three models differ in one fundamental way: who owns the goods before a customer pays. That single fact drives your cost, your branding control, and your customer experience.
| Criterion | Print on demand | Dropshipping | Small-batch production |
|---|---|---|---|
| Who holds inventory | The print partner | The supplier | You |
| Who fulfills orders | The print partner | The supplier | You or a 3PL |
| Typical cost structure | Per-unit base plus shipping | Wholesale price plus shipping | Bulk production plus storage |
| Packaging and inserts | Supplier’s default | Often supplier’s default | Yours |
| Quality control | Sample checks only | Sample checks only | Inspect the batch |
| Best use | Ongoing catalog, evergreen designs | Wide catalogs, trend products | Tour drops, special releases |
Print on demand wins when your design catalog is broad and steady. Your per-unit cost runs higher than bulk, but you can list a design today and let it sell for years without a reprint decision.
Dropshipping wins when you want a wide catalog of non-printed goods alongside apparel, or when you work with a supplier who offers white-label packing. The trade-off is thinner control over how the item looks when it arrives.
Small-batch production wins for anything time-bound. If you have a tour with a known audience in specific cities, holding 60 tees of your own is cheaper per unit and lets you add a hand-numbered insert, a thank-you card, or your own sticker on top.
Step 4: Request samples and test the full order
A sample is the cheapest quality control you will ever buy. Order one unit from the supplier you are considering, in the color and size most of your buyers will pick, and go through it with a checklist.
| Inspect | What to look for |
|---|---|
| Print placement | Centered, high enough on the chest, not drifting left |
| Color accuracy | Matches your design file, not a shifted or duller version |
| Fabric weight and hand | Matches what you wrote in your quality bar |
| Print feel | Not plastic, not cracking at the edges when stretched |
| Sizing | Compare against a garment you already own and like |
| Packaging | Folded neatly, no ink transfer, no stray polybag |
| Arrival experience | How long it took, what the tracking showed, damage in transit |
Then place one real test order to yourself or a friend and watch the tracking the whole way. Merch buyers talk about delivery experience more than they talk about print quality, and a delayed first order colors their whole opinion of your release.
Step 5: Set pricing, margins, and shipping rules
Price from your costs upward, not from what similar shirts cost. Build the stack for one unit: blank or wholesale cost, printing or personalization fee, packaging, payment processing, platform fees, and your share of shipping.
Then subtract the returns allowance. Apparel returns run several percent of orders in most stores, and a single reprinted shirt plus a second shipment eats that margin quickly. Adding a small buffer per order is cheaper than discovering the hole later.
Decide your shipping rule before launch. Three common approaches: fold shipping into the product price and advertise free delivery, charge a flat rate regardless of order size, or charge cost plus a handling fee. The first two are simpler to explain. The third protects you on large orders but pushes buyers toward single-item purchases.
Write the margin number down per product and check it before every new listing. If a design earns less than a couple of dollars per order, it is not worth your design time, no matter how popular the artwork is.
Step 6: Publish the store and run a controlled launch
Launch small. Put up three to five products, not thirty, and promote one drop rather than a permanent catalog on day one.
Product pages should state the material, the fit, the print method, and the realistic delivery window in plain language. Vague listings generate refund requests that cost you margin and account health on marketplaces.
Collect customer information from the first order onward. An email list is the one asset you build that no supplier can take away, and it is how you announce the next drop without paying for reach.
Track three numbers per product: conversion rate on the listing, time from order to delivery, and how many messages you answer about it. After a few dozen orders you will know which designs to push and which to retire.
Scale in this order: more traffic to the winners, then more designs in the winning style, then your own small batch of the top seller. Holding inventory should be a reward for proven demand, not a bet made at the start.
Common Mistakes
Nearly every failed no-inventory launch traces back to one of a handful of avoidable mistakes.
Skipping samples. You save a small amount and learn nothing until fifty customers see the same flaw. Fix: order one sample per supplier you are seriously considering, and test the garment you actually sell.
Picking a supplier purely on cost. The cheapest base price often means the thinnest blank or the cheapest print method. Fix: compare landed cost at the same quality bar, not the headline price.
Uploading low-resolution artwork. A 72-pixel logo looks fine on screen and prints as a blur. Fix: vector files, or 300 DPI at final print size.
Underpricing shipping. Absorbing the full delivery cost on every order quietly destroys margin. Fix: build shipping into the price or charge it explicitly from day one.
Promising dates you cannot control. When a partner is running late, your promise is the one that breaks. Fix: state a realistic window on the listing and give yourself slack for the holiday rush.
Launching too many designs at once. Nothing tells you which one worked. Fix: release three, read the numbers, then repeat the pattern.
Ignoring intellectual property. Trademarked slogans, album art you do not own, and celebrity likenesses get accounts closed. Fix: search the phrase before you design around it and register your own mark once the line is real.
Forgetting returns and customer care. Every model needs a written returns policy that matches how the product actually ships. Fix: write it before launch, when you are still calm.
Treating print on demand as the final destination. It works well as a testing ground and a steady catalog, but premium positioning usually needs your own production run. Fix: plan the transition when a design proves itself.
Two habits help more than the rest. Buy your sample before you promise anything to your audience, and price the full cost stack including returns before you publish a number.
Frequently Asked Questions
Which no-inventory fulfillment model is the safest for a first release?
Print on demand is the safest first model because the print partner holds the blanks and only produces after you sell. Your downside is limited to design time and a few samples. Dropshipping carries a little more risk since you buy from a supplier on each order, and small-batch production commits real money to units you have not sold yet. Start with print on demand, learn which designs move, then move winners to a small run.
How much do you really need to start a print-on-demand merch line?
Less than most people expect, but not zero. Budget for two or three sample units, a handful of test orders through your chosen partner, a simple storefront and registration fees, and a cushion for one reprint if a print arrives wrong. Treat design time as part of the cost. If the number feels uncomfortable, launch with one product format instead of four and reinvest the savings once sales justify it.
Is print on demand good enough for tour merch and limited releases?
Usually not for the headlining run. Print on demand works best for an evergreen catalog, because unit cost stays flat whether you sell five shirts or five hundred. Tour merch has a known audience in a known place on a known date, which is exactly where holding a small batch pays off. A common path is print on demand year round, then a short run of 50 to 100 units per city for the dates that matter.
Who owns the artwork and the inventory in a no-inventory setup?
You keep ownership of your artwork; the supplier never claims it, but you should register copyright and trademark where it matters before scaling. Inventory is different. In print on demand and dropshipping the supplier owns the physical goods and only produces against orders, while in small-batch production you own every unit you paid for. This is why returns and quality claims follow different paths in each model, so read the terms before you launch.
How do you handle returns when you do not hold any stock?
You cannot inspect a returned item and resell it, so treat returns as a cost line rather than a recovery. In print on demand, most partners will reprint a faulty product or refund it, so check whether reprinting counts against a monthly limit. Publish a short returns window, exclude change-of-mind on discounted items, and state clearly whether return shipping is on the buyer. Track the rate monthly and raise prices a little if it climbs.
Conclusion
To get merchandise made without holding inventory, you sell first and produce second, and you prove the model with one product before you build a catalog.
Pick a single product format, compare the three models against the quality bar you wrote down, and order a sample from every supplier still on your list. Prepare vector artwork with a bleed and a safe margin so the sample you approve is the sample that ships. Then calculate the full landed cost per order, including a returns allowance, and set a price that still works after fees.
Launch three products, promote one drop, and read the numbers before you add a fourth. When a design sells consistently, that is the moment to hold inventory for it, not before.