Room echo happens because your voice or instrument hits hard, flat surfaces and bounces back into the microphone a fraction of a second later, so the mic hears both copies at once. You stop it by putting soft, absorbent material on those surfaces, breaking up parallel walls and ceilings, and getting the mic close enough to your source that the direct sound wins.
Most of the work is physical and free, and you can hear whether it worked in under a minute. This is the order I use for how to stop room echo when recording in a bedroom or a spare office, cheapest fix first.
Table of Contents
- What You Need
- Step-by-Step
- How to Stop Room Echo When Recording by Changing the Microphone Position
- How to Stop Room Echo When Recording With Soft Room Surfaces
- How to Stop Room Echo When Recording With Acoustic Panels
- How to Stop Room Echo When Recording During Voice and Instrument Takes
- How to Stop Room Echo When Recording: Test the Result
- Common Mistakes
- Frequently Asked Questions
What You Need
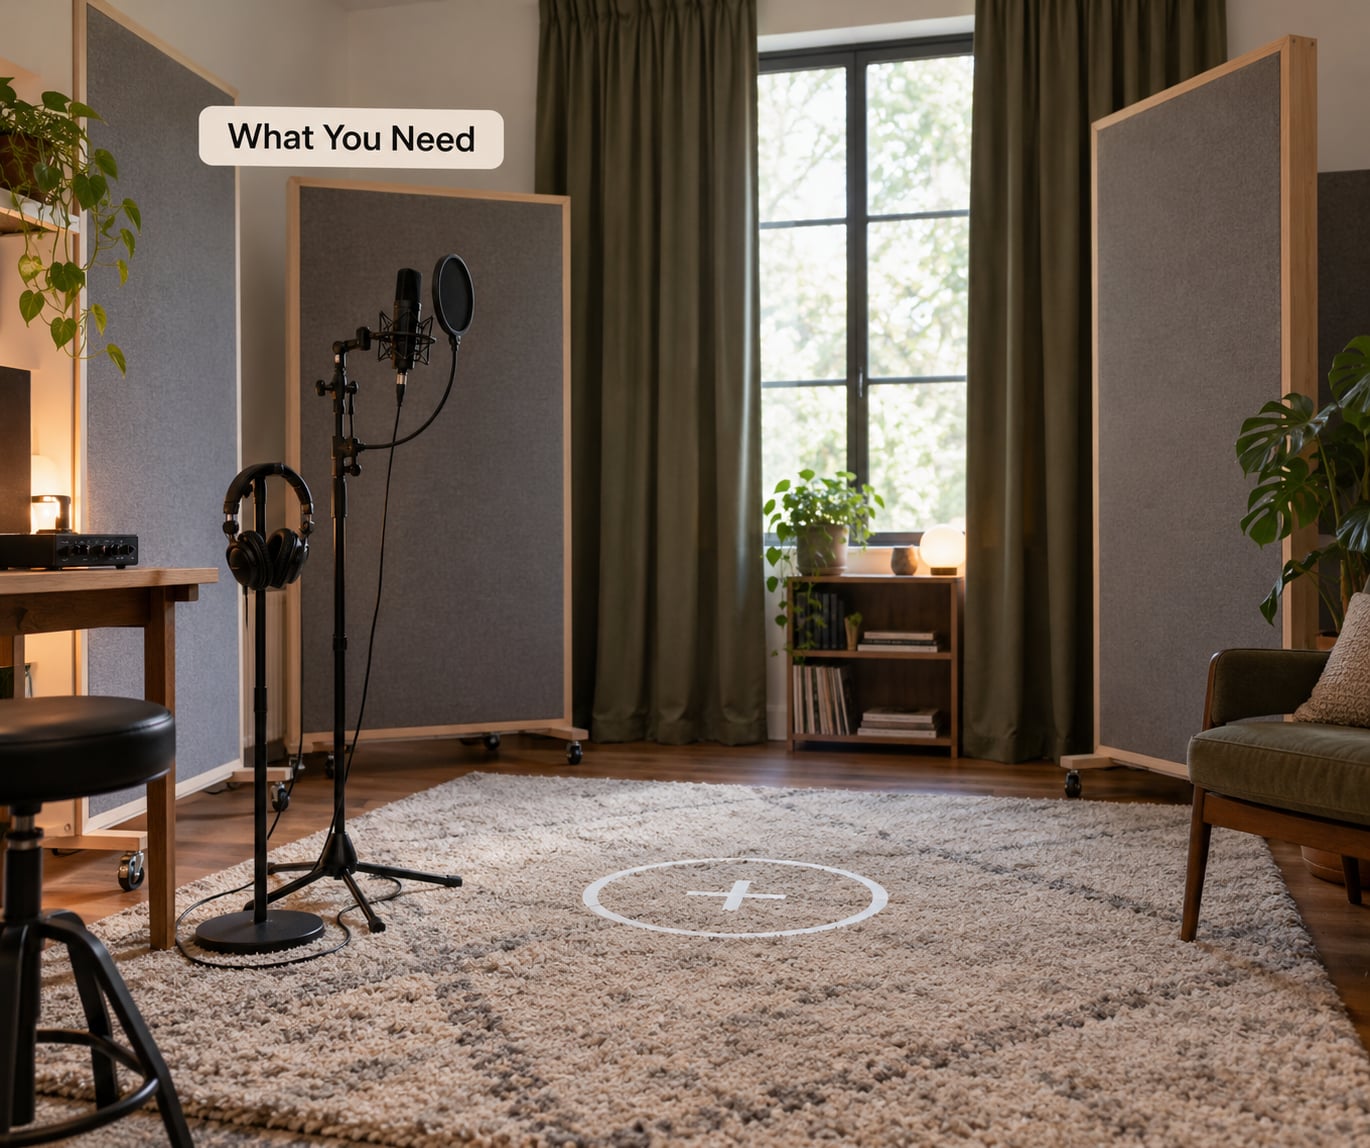
None of this is a shopping list. It is a checklist of what tends to be sitting in a room already, so you can see what you have before you treat anything.
- A listening position. Mark where you sit with tape on the floor, because you will move it, and you need to come back to the same spot to compare honestly.
- A microphone plus headphones. Closed-back headphones for tracking, so you are not monitoring through the room you are trying to fix.
- Movable absorbers. Moving blankets, duvets, thick curtains, or foam panels you can reposition between takes.
- Bass traps, if you own them. Thick absorbers for the corners, which is where low-end energy piles up.
- Soft surfaces. A thick rug with a rug pad, bedding, an upholstered sofa or chairs, and filled bookshelves.
- A measurement tool, optional. A free room acoustics app on your phone gives you a rough RT60 reading. Useful, not essential.
The hand-clap test is the fastest diagnostic in the list. Stand in your listening position and clap once, sharply. A good small room gives a tight, fast-decaying slap. A bad one keeps ringing, rattles, or slaps back noticeably later, and any flutter you hear between the direct sound and the return means you have two parallel surfaces facing each other.
Step-by-Step
The sequence below runs from free to more involved. Do them in order and stop as soon as the room sounds right, because over-treating a room is a real failure mode and not everyone wants a dead box.
- Clap in the listening position and write down what you hear.
- Move the microphone closer to the source, then re-clap and record a test.
- Move the performer to a different spot in the room.
- Put soft material on the first reflection points.
- Absorb the low end in the corners with thicker traps.
- Record a short test take and compare it against your original position.
- Adjust panels on the wall behind and in front, then the ceiling.
- Add or swap absorbers for the frequency band that still rings.
- Confirm the room sounds clear, not dead.
How to Stop Room Echo When Recording by Changing the Microphone Position
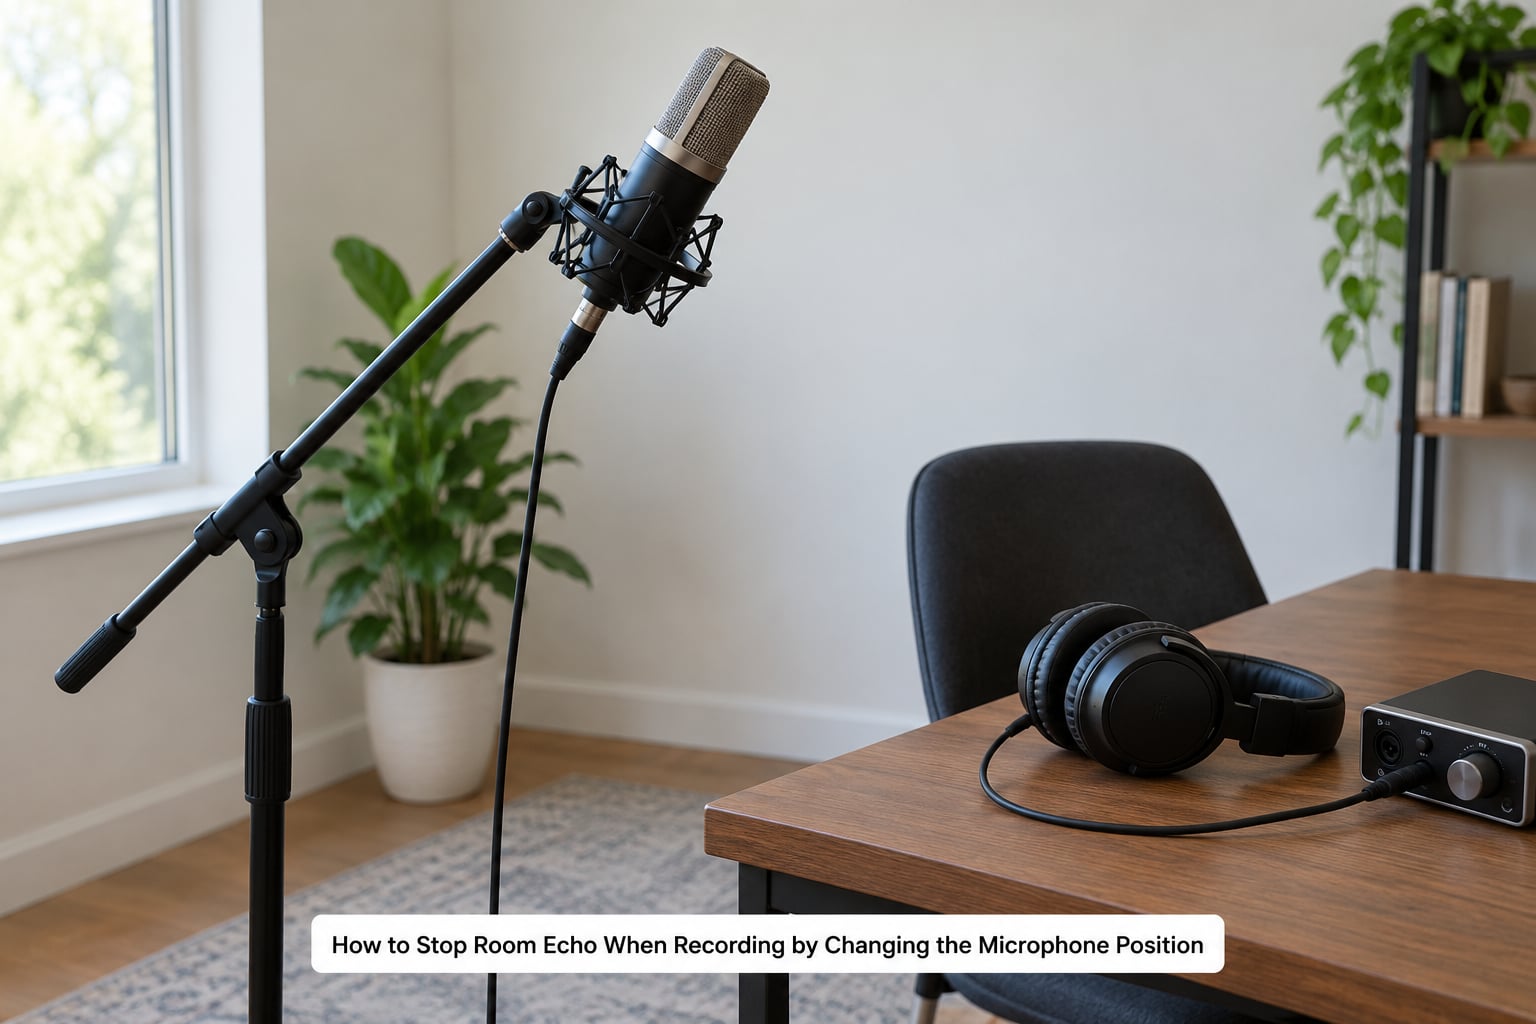
Position and distance do more than any panel. A large-diaphragm condenser is famously sensitive, which is why it also picks up every reflection in the room, so moving it changes the ratio between direct sound and room sound faster than anything else you own.
Get the mic within about 4 to 6 inches of the source for vocals, spoken word, and most instruments. At that distance the direct sound is loud enough that the reflections sit underneath it. Push the same mic out to 18 inches or more and the room takes over, which is why distant-mic recordings sound distant and are also nearly impossible to repair afterward.
Then aim it. A cardioid microphone hears mostly from the front, so point the front toward the source and point the back toward the worst surface in the room. Tilting it slightly off-axis toward a soft, absorbent part of the room also works, since the null at the back of a cardioid pattern will not pick up the wall behind you.
For acoustic guitar, aim the mic at the point where the neck meets the body, roughly the 12th fret, and move it in a slow arc to find the least boomy spot. For spoken word and podcasting, keep the pop filter on a small stand between you and the mic, close enough to protect the capsule without becoming a wall of its own, and stay on the marked listening position so your vocal level stays consistent between takes.
How to Stop Room Echo When Recording With Soft Room Surfaces
Soft materials are the cheapest fix and the one that works in every room. A rug, a heavy curtain, a duvet, a sofa, a bed, a curtain over a glass door. These materials are porous, so they turn reflected energy into a small amount of heat instead of bouncing it back.
Placement matters more than the material. Every point on a hard surface that sits at a mirror angle between your source and the mic is a first reflection point, and those early reflections arrive roughly 30 to 200 milliseconds after the direct sound. That is fast enough to smear the attack of a consonant or a guitar pick, and it is why a voice sounds like it is being read through a bathroom wall rather than simply heard too loudly.
So do not drape a blanket over the wall behind the performer and call it done if the problem is the wall in front. Put material on the reflection points you actually have. The simplest way to find them is to sit at the mic, clap, and listen for the direction of the return, then place the soft material roughly where your ear points.
Filled bookshelves count, and they are underrated. Books are dense, irregular and full of small air gaps, so a full shelf behaves like a thick absorber. Empty shelves do the opposite: they are flat, hard and slightly concave, which focuses sound and makes it worse.
How to Stop Room Echo When Recording With Acoustic Panels
Panels are what you reach for once soft furnishings are in place and the reflections that remain sit in a specific band. Broadband panels handle mids and highs, the range that makes voices sound boxy and plosives sound splashy. Bass traps, thicker and usually placed in corners, handle the low end that keeps booming long after everything else has settled.
Work down this order and stop when the echo is gone:
- The wall behind the performer, which reflects the loudest early reflection straight back into the mic.
- The wall in front of the performer, which sends the voice straight into a hard surface and back.
- The ceiling above the mic, the source of a very audible overhead slap in rooms with hard floors.
- The desk or table surface, where a reflection can bounce right under the mic capsule.
- Corners for bass traps, after the four above, since low frequencies accumulate there last in the chain.
| Surface | Best fix | Effort |
|---|---|---|
| Bare wall | Broadband panel or heavy blanket | Minutes |
| Hard floor | Thick rug with a rug pad | Minutes |
| Window | Heavy blackout curtain, hung with air behind it | Minutes |
| Ceiling | Cloud panel or duvet on a light frame | About an hour |
| Desk | Towel or small panel under the mic stand base | Minutes |
| Corners | Bass trap, thickest material you can fit | An afternoon |
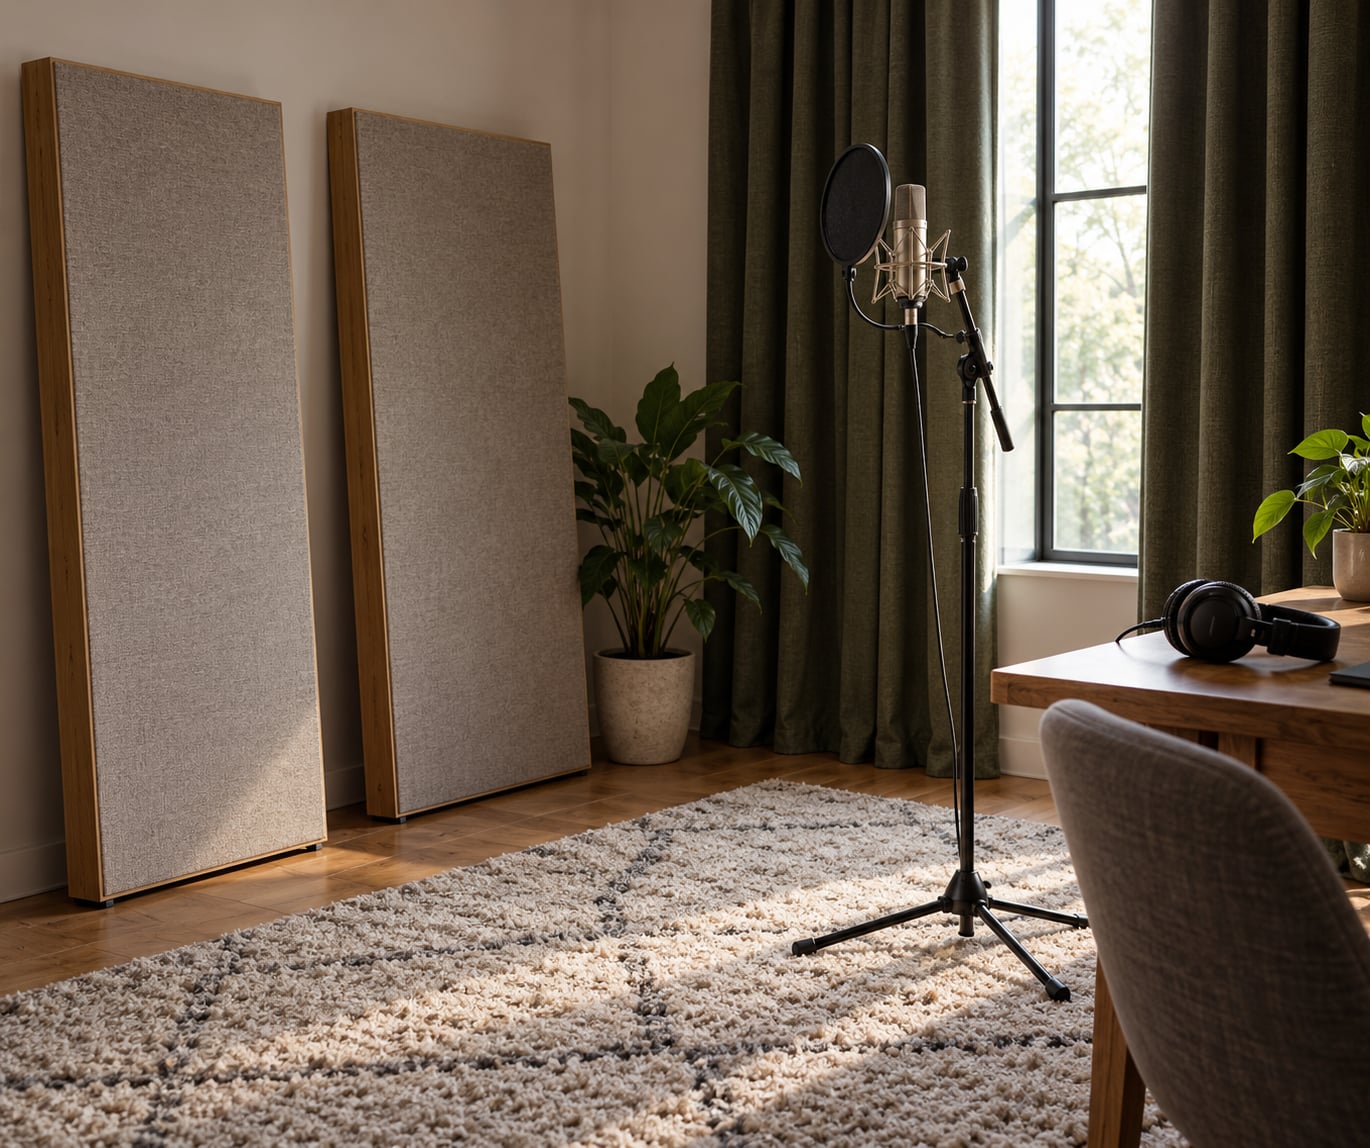
Thickness and air gap both change what a panel absorbs. Thin, one or two inch foam looks expensive and mostly does nothing below about 1 kHz, which is exactly where the boom lives, so it is the single most common money-waster in home studios. Four inches or more does real broadband work, and leaving an air gap between the panel and the wall makes it noticeably better than pushing it flat against the surface.
You do not need anything custom-built. A heavy duvet over a folding frame, thick moving blankets hung from a tension rod, or mineral wool in a fabric frame all work as temporary broadband panels. Move them around between takes and let your ears decide.
How to Stop Room Echo When Recording During Voice and Instrument Takes
Some rooms fight you and some do not. Kitchens, bathrooms, garages with bare drywall and empty offices with tile or glass are close to hopeless without real treatment, because every surface is hard and parallel. A furnished living room with carpet, curtains and a sofa is often fine within an hour of setting up.
The single best trick for bedrooms is the closet. Clothes hanging on both sides and a full row of shoes and blankets give you an absorbent enclosure you did not have to build. Record inside the closet, then open the door and step about two feet out, still facing into it. You keep the clothes absorbing behind you while avoiding the boxy, near-field sound you get with your face 8 inches from hanging fabric.
Track one sound source at a time. Recording guitar and voice simultaneously in a small room captures two sources plus every reflection from both, and no amount of editing separates that cleanly.
Two more things belong on this list because they sound like echo but are not. Turning off HVAC, fans and refrigerators lowers the steady noise floor, often by 15 dBA, and leaves far more headroom for de-reverb and noise reduction later. And if you hear yourself in your headphones during a take, that is monitor bleed, not room echo, and it is fixed with headphones and a cardioid mic, not with panels.
One last diagnostic before you record: the 38% rule says to divide the shortest room dimension by two, then use that number as a long dimension for the room, its depth, or its height. A 10 by 12 foot room has a 6 foot target. Rooms that roughly follow this ratio scatter reflections more evenly, while long thin rooms with unbroken parallel surfaces stack flutter echo between the two ends.
How to Stop Room Echo When Recording: Test the Result
Record 30 seconds of the same phrase, or the same chord, from your new position. Play it back on headphones, since speakers put their own reflections into the room and muddy the comparison, and listen for the tail after each word stops.
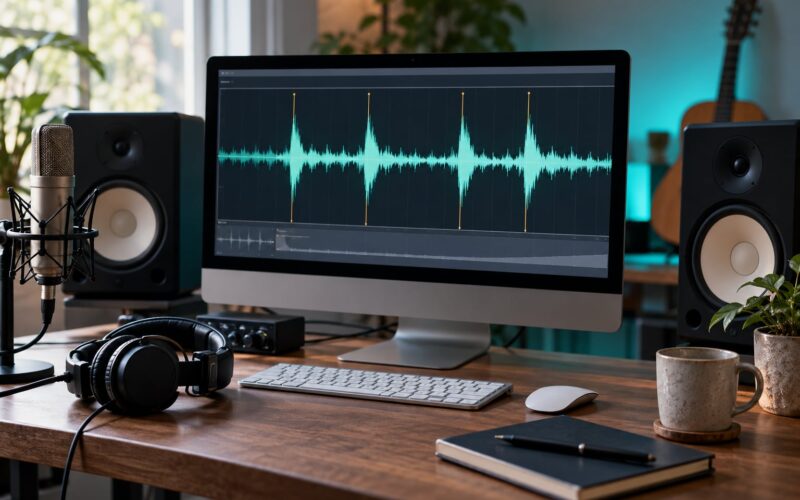
Look at the waveform as well as the waveform from your old position. Room echo shows up visually as a smeared tail that never quite reaches zero between phrases. In a spectrogram, a boomy room shows a persistent low-mid band that decays slowly, while a bright, splashy room shows a tail extending well up into the highs.
Then compare positions properly. Record 60 seconds with the blanket off the wall behind you, add the blanket, record another 60 seconds, and switch between the two files without touching anything else. Most people hear the difference instantly, and it settles the argument about whether treatment is worth doing.
Aim for clear, not dead. If the room has no reflection at all, vocalists sound nasal and boxy, acoustic guitar loses its natural bloom, and it becomes hard to judge reverb on anything else. When the tail is short but still present, you are in the right place.
Common Mistakes
Almost every echo problem I see comes down to one of these. Read the list against your own setup before you buy anything.
- Recording too close to a wall. A bare wall behind you is a mirror pointed at the mic. Fix: put absorption on that wall, or move to the middle of the room and face a soft surface.
- Thinking a pop filter fixes echo. A pop filter handles plosives and airflow only. Fix: keep it for what it does, then deal with reflections separately.
- Treating the wrong surfaces. Panels on every wall except the two that actually matter waste both cash and coverage. Fix: find the first reflection points first, then treat those.
- Covering the microphone. Wrapping a mic in foam or a blanket inside a pop filter smears the highs and behaves like anechoic foam at the wrong frequencies. Fix: treat around the mic, never over it.
- Using too little absorption overall. Two small panels in a fully hard room barely move the needle. Fix: cover the biggest hard surfaces you can, starting with floor and first reflection points.
- Buying expensive gear before testing the room. A better microphone records the room more faithfully, echo included. Fix: clap in the room, fix what the clap tells you, then upgrade.
- Relying on noise reduction to remove echo. This is the mistake that makes things worse. Noise reduction is designed to remove steady sound, and pushing it hard on a reverberant recording creates metallic, underwater artifacts and often makes the echo more obvious.
- Going too far the other way. An over-absorbed room sounds harsh and lifeless. Fix: keep some reflection alive, especially around 1 to 3 kHz.
If the recording is already done and you cannot go back to the room, repair the file in this order. Duplicate the track so you always have the original, apply modest noise reduction using a noise profile from a silent section, add a noise gate between phrases, high-pass and EQ to clear the boom, then reach for a dereverb or speech-enhancement tool last in that chain. Compress after the dereverb, and normalize loudness at the very end. The results will sound processed, which is why treating the room first always wins.
Frequently Asked Questions
How do I stop echo while recording?
Move the microphone within about 4 to 6 inches of the source, put soft absorbent material on the first reflection points, and break up any two parallel hard surfaces facing each other. Start with a rug, heavy curtains and a duvet before buying panels. Clap in your listening position to confirm the change, then record a 30-second test to check it.
What is the best way to reduce echo in a room?
Cover the hard surfaces with porous material and reduce the distance between mic and source. In practice that means a thick rug on the floor, heavy curtains on windows, absorption on the wall behind and in front of you, and a mic close to your mouth or instrument. Soft furnishings first, panels second, since most rooms need both.
How can I remove room echo from audio?
Treat the room before you treat the file. If you already have the take, duplicate the track, apply modest noise reduction from a silent noise profile, add a gate, high-pass and EQ out the low-mid boom, then run a dereverb or speech-enhancement tool last before compression and loudness normalization. Heavy noise reduction makes echo worse, so keep it gentle.
How do I stop mic echo in the same room?
If you hear your voice in your headphones during a take, that is monitor bleed rather than room echo. Use closed-back headphones instead of speakers, keep a cardioid microphone with its back toward the speakers, and keep the mic about 6 inches from the wall behind the speakers. Room panels will not fix bleed.
What is the 38% rule in room acoustics?
The 38% rule is a room-proportion guideline. Divide the shortest dimension of your room by two, and use that number as a target for the room’s length, width or height. A 10 by 12 foot room therefore aims for a 6 foot third dimension. Proportions near this ratio scatter reflections evenly instead of stacking them into flutter.
Do acoustic foam panels actually work for voice recording?
They do, as long as they are thick enough and placed on the right surfaces. Panels 1 to 2 inches thick mostly absorb above about 1 kHz, which is not where vocal boom lives, so thin foam often changes little. Four-inch broadband panels or thick bass traps in the corners, with an air gap behind them, make a clear difference in a treated room.
Start with the two free moves: put the mic 4 to 6 inches from the source and clap in the listening position to find the surfaces echoing back. Then add soft material on those surfaces, one at a time, and stop as soon as the tail sounds short rather than gone.