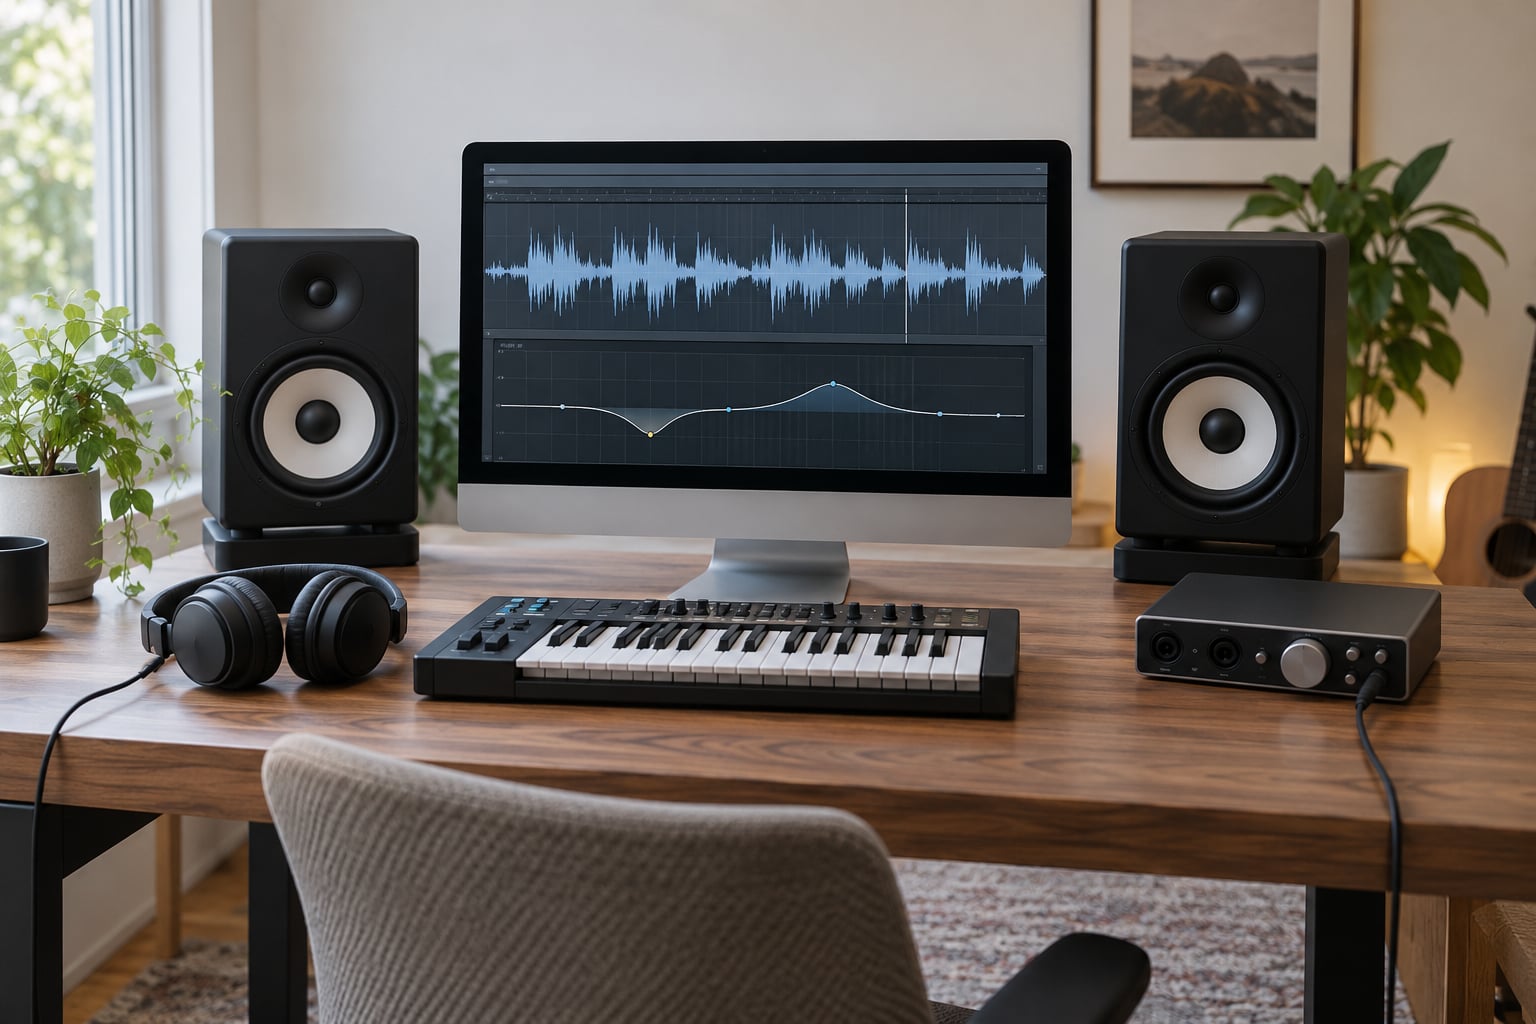
To EQ vocals, start with a high-pass filter around 80 to 120 Hz to clear rumble, cut the low-mid resonances that make a voice sound muddy or boxy, then add small boosts for presence and air. That clean, tame, enhance order is the whole method. Every move should be one you can actually hear, not one you found on a preset list.
It takes about 20 minutes the first few times and less once you stop guessing. The hard part was never the knobs. It was knowing which problem you are fixing.
Here is the full spectrum in one view. Keep it next to your DAW while you work through the steps below.
| Band | What it controls | Too much sounds like | Too little sounds like | Move to start with |
|---|---|---|---|---|
| 20 to 80 Hz | Handling noise, room rumble, mic stand bumps | Nothing you can hear, just wasted headroom | Nothing | High-pass at 80 to 120 Hz |
| 100 to 250 Hz | Chest, body, weight of the voice | Boomy, chesty, thumpy | Thin, reedy, no weight | Leave it alone first, then judge |
| 250 to 400 Hz | Warmth, lower body, some muddiness | Muddy, muffled, under water | Paper-thin, brittle | Bell cut of 2 to 4 dB |
| 400 to 800 Hz | Boxiness and hollow chest resonance | Boxy, hollow, cardboard | Papery, exposed | Narrow bell cut, listen first |
| 800 Hz to 1.5 kHz | Nasal and honky resonances | Nasal, honky, pinched | Flat, lifeless | Find it, cut 1 to 3 dB |
| 1.5 to 5 kHz | Presence, intelligibility, edge | Harsh, piercing, tiring | Far away, unintelligible | Boost 1 to 2 dB, no more |
| 5 to 8 kHz | Sibilance, S and T sounds | Spitting, lispy | Sibilance, no detail | Hand off to a de-esser |
| 8 to 12 kHz | Sparkle, consonant detail | Brittle, edgy | Dull, lifeless | Wide bell boost 1 to 2 dB |
| 12 kHz and up | Air, openness, breath | Hissy, sibilant again | Flat, closed-in | High shelf 1 to 3 dB |
What You Need
You need a solo vocal recording, the other tracks from the session so you can judge it in context, and a DAW with a parametric or graphic EQ. Every major DAW ships with one that will do this job fine.
Headphones help for spotting problems, but calibrated studio monitors decide whether the vocal actually sits in the mix. Mixing on headphones alone is how EQ ends up sounding great solo and invisible in the track.
Also export a reference of the dry vocal, or set a bypass on the EQ so you can flip between the processed and unprocessed signal in one click. Half of good EQ is comparison, and you cannot compare what you did not record.
Step-by-Step
1. Gain Stage the Vocal Track
Set the vocal level so you can compare it against the full mix without clipping, and so its loudness roughly matches what the listener will hear.
Pull the fader down until the peaks sit comfortably below clipping, then raise it only if the track is still hitting. If you cannot hear a change you make, the change is not being evaluated, it is just being made.
2. Listen for Problem Areas
Solo the vocal and play the whole take before touching anything. Write down what you hear in plain words: boomy, muffled, boxy, nasal, tinny, harsh, hissy, or just dull.
Now loop four seconds of the roughest line. That is your audition loop, and it is the single most useful habit in vocal EQ. Make a small change, hit play, listen, keep it or undo it.
You can also open a spectrum analyzer and switch the display to a decaying peak view, so the shape of the track is visible while it plays. Use it to confirm what your ears already told you, not to hunt for a spot on a curve.
3. Cut High-Pass Rumble First
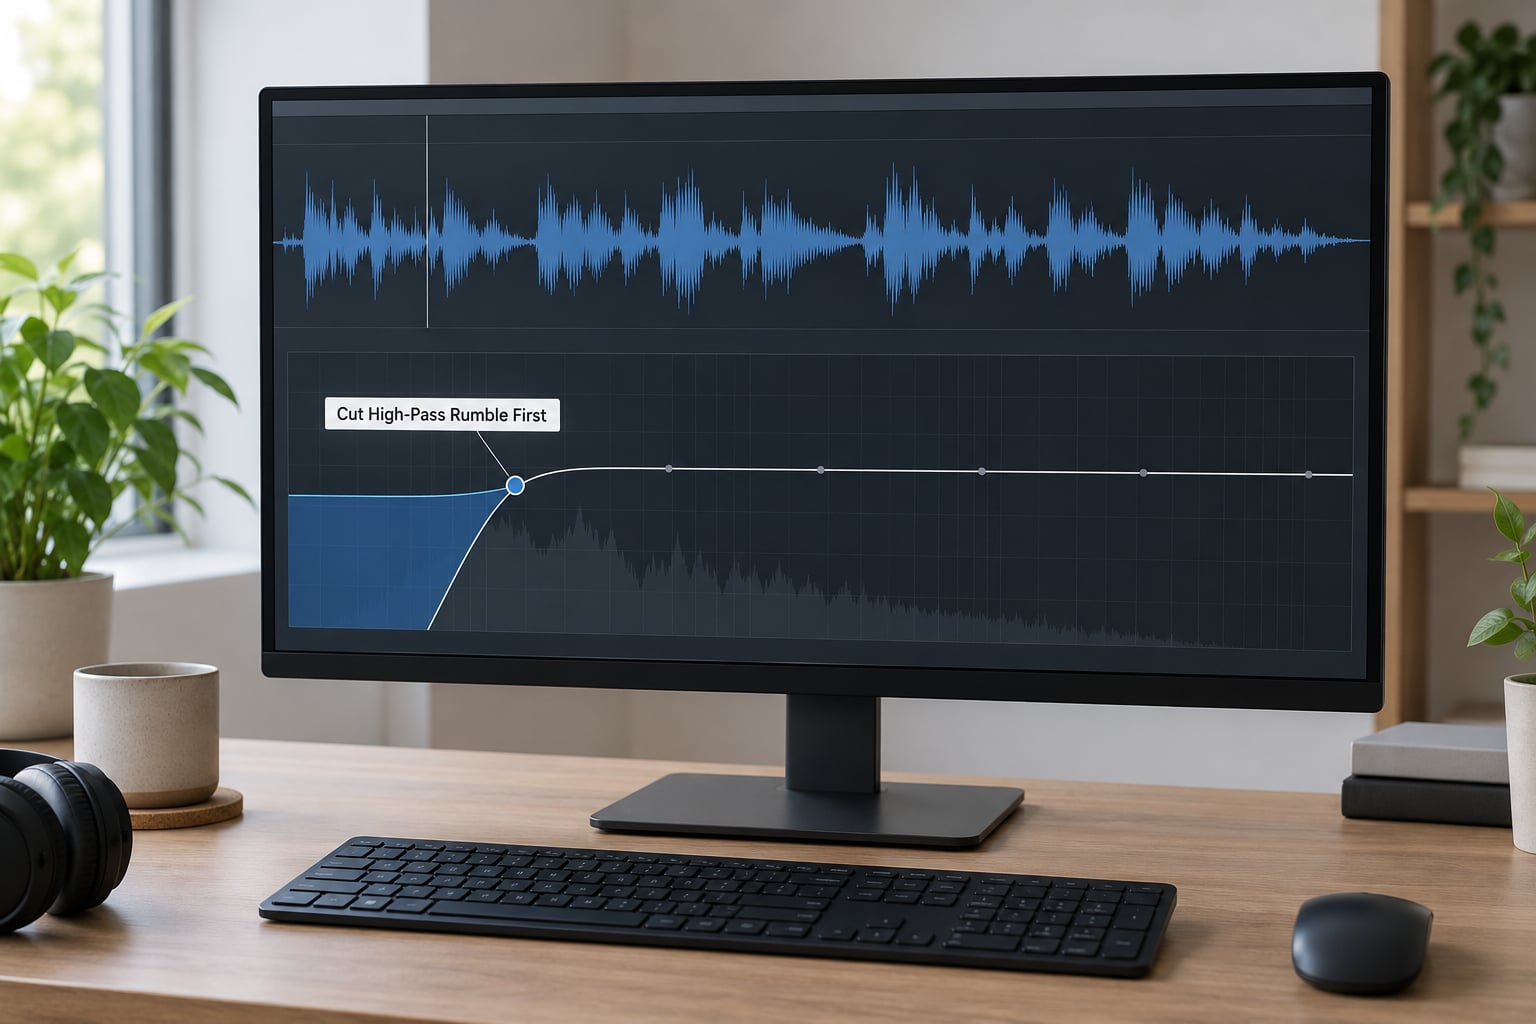
Start the high-pass at 20 Hz, then sweep it up slowly until you just start to hear the vocal change, and back off a little from there. For most singers that lands somewhere between 80 and 120 Hz.
Use a 12 to 24 dB per octave slope. A steeper 24 or 48 dB per octave slope is fine if the mic picked up a lot of room rumble or handling noise, or if you are working in a dense mix where the bass already owns that space.
Do not sweep up until the voice starts to thin out. Low male fundamentals can sit near 100 Hz, and a high-pass that removes the fundamental is how a vocal ends up reedy and lifeless no matter what you do above it. One user on r/audioengineering described cutting the low end hard in pursuit of clarity and ending up with a worse problem. The fix was never down there.
4. Reduce Muddiness and Boxiness
Two areas cause most of the complaints I hear. Muddiness usually lives between 200 and 400 Hz. Boxiness and hollowness usually live between 400 and 800 Hz.
Add a bell filter in the area that matches what you heard, then pull it down 2 to 4 dB with a narrow to medium Q. Q is width. A narrow Q touches fewer neighbouring frequencies and is right for a specific resonance. A wide Q blankets a whole chunk of the midrange and is how a vocal ends up sounding scooped.
Solo the band to confirm you are on the problem and not just on a frequency number from a blog post. Then listen in the full mix, because a cut that sounds right alone can hollow out the vocal once the guitars open up. This is the trap the forums keep describing: cutting 200 to 400 Hz, then 400 to 800 Hz, then 800 Hz to 1.5 kHz all at once, and wondering why the voice turned thin and reedy. Cut one, listen, cut another only if the problem is still there.
5. Tame Harshness, Honk, and Nasal Tones
Stop guessing frequencies. Set a bell filter with a fairly narrow Q to a boost of about 6 dB, then sweep it slowly from roughly 800 Hz up to 1.5 kHz while the vocal plays.
When the boosted band makes the voice sound obviously worse, that is your resonance. Drop the same band to a cut of 1 to 3 dB and compare. This is the boost and sweep method, and it is faster than scrolling through a list of preset numbers, because it finds the frequency that is actually causing the problem in your recording.
Harshness in the 2 to 5 kHz range is different. The long-standing advice from home recording circles is to cut between 2 and 3 kHz to smooth a harsh vocal, and a r/protools regular puts it more simply: boost 1 to 3k for cut-through, tame harshness with a band around 3 to 6k. The point is that one region cannot serve both goals. Cut the edge, then get your clarity from clearing the low-mids instead.
6. Control Sibilance Without dulling the Vocal
Sibilance lives around 5 to 8 kHz. Cutting that band with a static EQ dulls the whole vocal, because the dulling is applied to every note, not just the S and T sounds that actually need it.
Use a dynamic EQ or a dedicated de-esser instead. Both watch the band and only pull it down when the level crosses a threshold you set. Start the threshold where the sibilant consonants begin to stand out, and keep the range fairly wide so you are not filtering a moving part of the vocal.
One caution that gets repeated constantly in forums: go too far and the vocal develops a lisp. If the S sounds start sounding like sh, the threshold is too aggressive. Dynamic EQ also handles the case where a vocal only turns harsh in the loud sections, which a static cut cannot touch without dulling the verses.
7. Shape Tone and Check the Full Mix
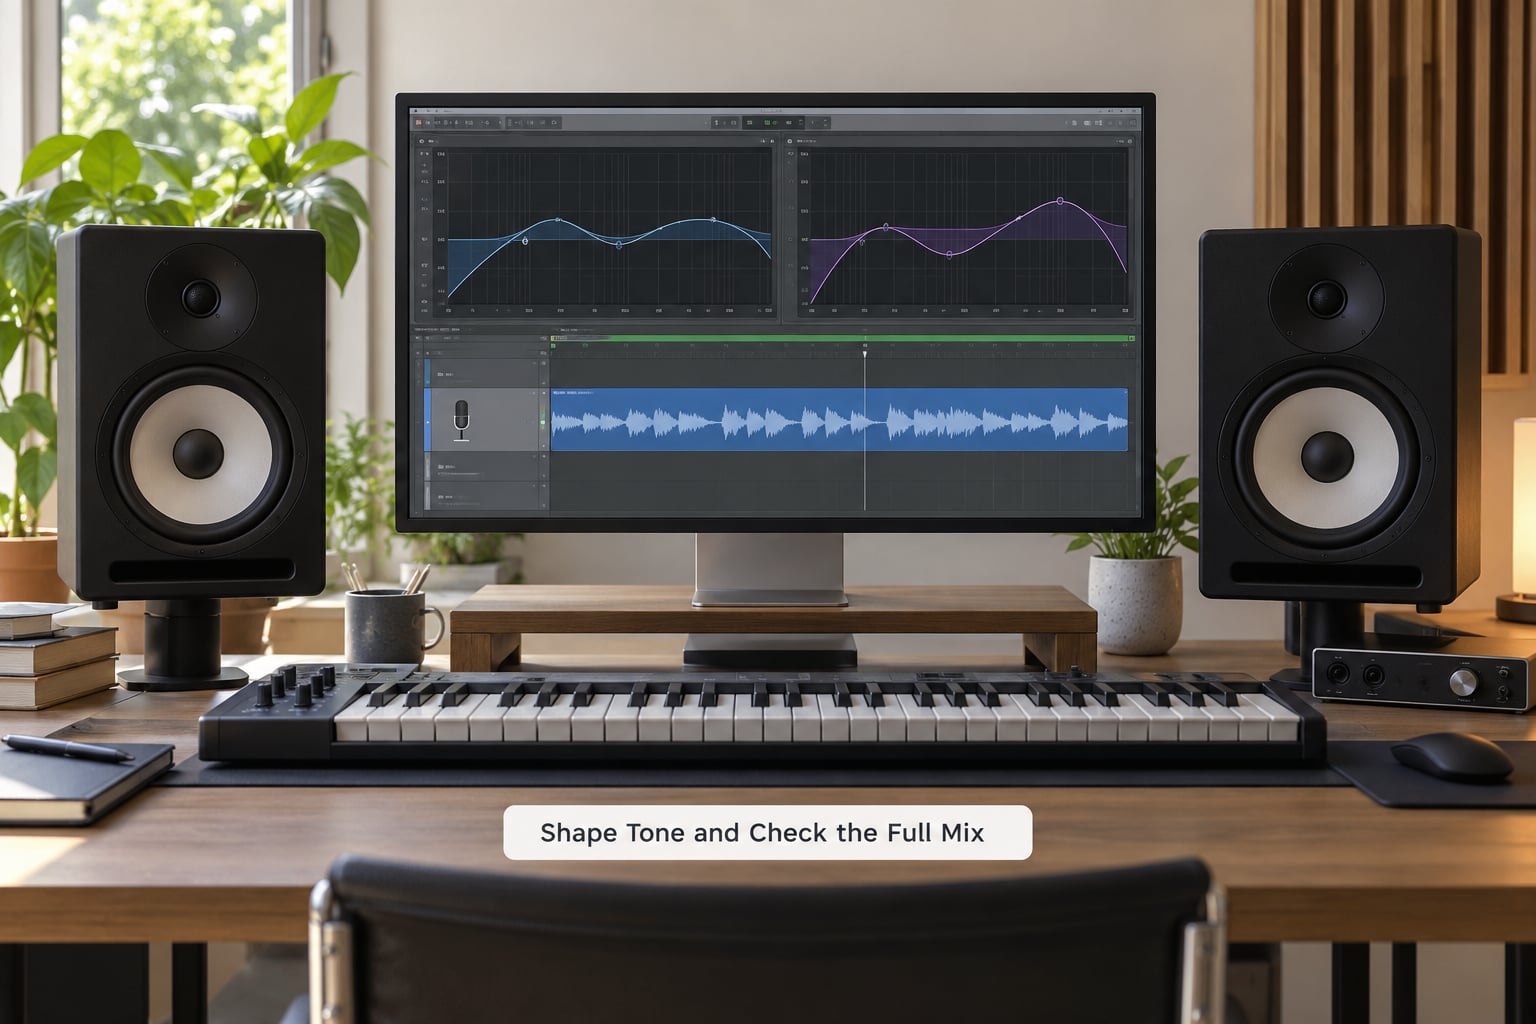
Now add character, and this is where restraint matters. A small boost of 1 to 2 dB around 2 to 4 kHz adds presence and helps the words cut through. Keep it at 1 to 2 dB, because the ear is most sensitive in that region and it is the fastest route to a piercing vocal.
A gentle bell boost of 1 to 2 dB with a wide Q around 8 to 12 kHz adds sparkle. A high shelf of 1 to 3 dB starting at 12 kHz adds air. If the source recording is dark, start the shelf higher, around 16 kHz, so you are not pulling up a band with no content in it.
Before you keep any change, run four checks. Confirm the vocal is still mono, because a cut that is not can pull it off centre. Level-match the before and after so the louder version is not winning. Turn the volume down, because ear fatigue makes every cut too deep and every boost too hot. Then play the full mix at the level the track will actually be heard.
Bypass the whole EQ and bring it back. If the difference is hard to hear, the move was not doing anything. If the difference is dramatic, you went too far. You want somewhere in between, where the problem is gone and the voice still sounds like the person who sang it.
8. Automate the Changes That Move
Automatic EQ happens on every take. A quiet verse and a loud chorus will not want the same settings, and a static curve has to compromise between them.
Draw automation on the problem frequency and only move it during the phrases where the resonance shows up. Automate the filter gain up slightly on those lines and back to neutral elsewhere. It takes a minute per song and it fixes problems a static curve can only average out.
Small volume rides work the same way. If some lines sit a decibel or two under the rest, ride the fader instead of reaching for a broadband boost, because a volume change fixes level without changing tone.
Common Mistakes
Cutting before you have identified the problem. If you cannot name what you hear, you cannot tell whether the EQ helped. Write the word down first.
Cutting three adjacent low-mid bands at once. This is the most common beginner move and the fastest way to a thin vocal. One cut at a time.
Boosting 2 to 5 kHz hard for clarity. A couple of decibels helps. More than that is where the fatigue and the piercing edge come from.
Using a Q that is too wide on a bell. Wide bells on narrow problems empty out the neighbouring frequencies and leave a hole that sounds worse than the resonance did.
Judging at too loud a level. At high volume everything sounds harsh and thin, so your cuts go too deep. Turn it down for the evaluation pass.
Forgetting to bypass. A new setting always sounds different, and different is not the same as better.
Changing several things before listening. One move, one audition loop, one decision.
Treating the vocal EQ as an isolated job. GearSpace users make the same point about guitars: the right low end depends on what the kick and bass are already doing. A vocal EQ decided without the beat is a guess.
Quick Preset Starting Points
These are listening starting points, not rules. Every voice, mic and room lands differently, and the same number that fixes one vocal will do nothing for another.
| Vocal type or problem | Start here | Filter | Amount to try first |
|---|---|---|---|
| Deep male vocal, boomy | High-pass at 100 to 120 Hz | 12 to 24 dB per octave | Cut everything below, do not cut a bell here |
| Bright female vocal, piercing | Cut 3 to 5 kHz, check 8 to 10 kHz | Medium Q bell | Minus 2 to 3 dB |
| Bassy, thick voice | High-pass at 80 to 100 Hz, then look at 200 to 350 Hz | Bell, narrow to medium Q | Minus 2 to 4 dB |
| Boxy or hollow | 400 to 800 Hz | Narrow Q bell | Minus 2 to 4 dB, one band only |
| Harsh or piercing | 2 to 4 kHz | Medium Q bell | Minus 1 to 3 dB, then add air higher up instead |
| Sibilant | 5 to 8 kHz | Dynamic EQ or de-esser | Set the threshold, keep it light |
DAW EQ Control Names and Shortcuts
Plugin choice matters far less than technique. The EQ already in your DAW has every filter type this process needs. These are the names the controls actually go by in current versions.
| DAW | EQ to use | High-pass | Bell | High shelf |
|---|---|---|---|---|
| Logic Pro | Channel EQ on the audio track | First band, set its type to High Pass | Any middle band set to Bell | Last band set to High Shelf |
| Pro Tools | EQ3 in the channel strip, or EQ3 7-Band on an insert | Low Pass filter on band 1 | Bell curve, band frequency and Q under the curve | High Shelf on the last band |
| Ableton Live | EQ Eight on an audio track, or Auto Filter for two filters and an LFO | Band 1 set to High Pass, slope menu in the Frequency section | Add a band, choose Bell, drag its dot | Band 8, set its type to High Shelf |
| FL Studio | Fruity Parametric EQ 2, or Maxima on the mixer insert | Drag the low corner down below the cutoff | Pick a peak band and drag it up or down | Drag the high corner up above the cutoff |
| Studio One | Channel EQ, or the Tone Control for a quick starting curve | First band, Filter type set to High Pass | Middle band, Filter type Bell | Last band, Filter type High Shelf |
| Reaper | ReaEQ, free and included | Band type HP, set the frequency in the band | Band type Peak | Band type High Shelf |
| GarageBand | Channel EQ on the track | Low Cut toggle, with a frequency slider | Parametric section, enable a band and drag it | High Cut and tone controls in the same panel |
For a clean before and after in any of these, leave the plugin bypass button on your mouse or keyboard modifier, or put the EQ on a send and mute the dry path. On Logic, Pro Tools and Studio One, the standard is holding a modifier while clicking the power button to solo and release to hear the original.
How to Know Your EQ on Vocals Is Better
Check these in order after every major move. If a line fails, go back rather than pushing the EQ further.
Clarity: can you follow every word at a low volume, without straining?
Balance: does the voice still have weight in the chest, or has it gone thin?
Natural tone: does it still sound like the singer, or has it turned boxy, nasal, lispy or over-bright?
Consistent level: is every line the same distance from the listener, or are the quiet ones still sitting back?
Unchanged emotion: the vocal should still feel like the performance you recorded. EQ that flattens a delivery has gone too far.
No new artifacts: no pumping, no lisp, no hollow gaps, no abrupt filter sweeps at the start of words.
Mix compatibility: play it against drums, bass and instruments. The real test is not the solo vocal, it is whether the words sit on top of the beat without turning the whole track harsh.
And the last check. Pull up a reference track you like, match its level, and alternate a few times. The goal is not to match its exact settings. It is to confirm your vocal is in the same neighbourhood.
Frequently Asked Questions
Should I use EQ before or after compression on vocals?
Most people put a gentle corrective EQ first, then compression, then a de-esser and a final EQ pass. Filtering first gives the compressor a cleaner signal to work with. That second EQ catches what compression reveals, since squeezing a vocal often brings sibilance and a sharp resonant edge forward.
What is the best EQ setting for vocals?
There is no single best setting, but a solid starting point is a high-pass at 80 to 120 Hz, one or two narrow bell cuts in the 200 to 800 Hz range, and a presence boost of 1 to 2 dB around 2 to 4 kHz. Start there, then adjust by ear against your mix rather than trusting the numbers.
How do I fix a muddy vocal with EQ?
Muddiness sits mostly between 200 and 400 Hz, sometimes bleeding up toward 800 Hz when the recording is boxy. Find it with the boost and sweep method, then cut 2 to 4 dB with a narrow to medium Q. Only make one cut at a time, and confirm it in the full mix, because cutting several low-mid bands together leaves a thin vocal.
Should I use a de-esser or EQ for sibilance?
Use a de-esser or a dynamic EQ. Sibilance lives around 5 to 8 kHz and a static cut dulls every note you sing, not just the S and T sounds. A de-esser only pulls that band down when it crosses a threshold you set, and if you set it too aggressively the vocal will start to lisp.
Are vocal EQ presets safe to use?
Presets are fine as a reference point and terrible as a destination. They were set on someone else’s voice, mic and room, so they can add problems that were not there. Use a preset to see how a filter behaves, then set every band by ear on your own recording.
How much EQ is too much on a vocal?
If you can hear the EQ, it is probably too much. Keep cuts in the low-mids to roughly 2 to 4 dB and presence boosts to 1 to 2 dB, and treat air as a small shelf rather than a jump. If the voice starts sounding thin, nasal, lispy or tiring, you have already passed the point of useful change.
Conclusion
Start with a level-matched solo vocal and a four-second loop of the worst line. High-pass around 80 to 120 Hz, remove one low-mid problem you can actually name, and then confirm the change in the full mix before you touch anything else.
That is how to use EQ on vocals without wrecking them. One move, one audition, one decision. The vocals that sit best in a mix are rarely the most heavily processed ones. They are the ones where a producer removed the right problems and then stopped.