Choosing a microphone for rap vocals comes down to two things: how hard you deliver and how noisy the room is around you. A quiet, treated space rewards a large-diaphragm condenser for its detail and air. A bedroom with a street outside it punishes that same mic and quietly ruins the take. Get those two answers first and the type of microphone basically picks itself.
The rest is process. In 2026 most of the roundups on this topic are product lists, and product lists do not help much, because they assume you already know what you need. Below is a seven-step method that ends with you knowing that, plus a repeatable way to compare two or three candidates before you spend anything.
What You Need
Before you look at a single model, get five things straight. None of them require a microphone.
- Your delivery. Melodic and breathy, or hard and aggressive with loud ad-libs? Aggressive delivery generates far more sound pressure per syllable, which changes what the capsule has to survive.
- Your room. Treated, untreated bedroom, dorm, or rented studio booth. This is the decision that ends most debates about dynamic versus condenser.
- Your setup. Laptop only, laptop plus an interface, a mixer, or recording straight into a DAW on a desktop. Your connection type limits your microphone options.
- Your budget. A realistic number you can spend once, including the interface and accessories, not just the microphone.
- Whether anyone else records. Solo verses or frequent collaborations, because dual tracking changes what pickup pattern you want.
Four terms show up constantly in microphone discussions, so define them now. A condenser mic uses a thin electrically charged diaphragm; it is extremely sensitive, detailed and expensive, and it captures room noise along with your voice. A dynamic mic uses a coil and a magnet; it is less sensitive, tougher, and far better at ignoring the room. USB mics plug straight into a computer with a built-in preamp, which is the fastest path to a usable recording. XLR mics are balanced professional mics that need a separate interface to supply gain and 48V phantom power. Many artists own one of each type before they own anything else, and that is not wasted money if you know why each one exists.
Step-by-Step
1. Decide How You Record
Work out your recording situation before anything else, because it sets every other constraint. Knowing how to choose a microphone for rap vocals starts with this question, not with a brand list.
A paid studio booth with an engineer changes the calculus entirely. The engineer handles the chain, so your decision narrows to whether you prefer a bright, detailed capture or a smoother one. Home studio is the most common case: you own the room, you own the interface, and you are recording at whatever hour your neighbours allow. Mobile recording means a handheld or a small-diaphragm condenser you can pack, with much less control over noise than you would like. Live performance is a completely separate purchase, since a handheld dynamic built for a stage will never be your best studio mic.
Test for this step: write down your location, your schedule, and whether you record alone. If you cannot state those three things, any recommendation you get is guesswork.
2. Choose a Microphone Type
Now pick a category. Four types cover almost every rap recording situation.
| Type | Room sensitivity | Gain needed | Best fit |
|---|---|---|---|
| Condenser, XLR | Very high — captures room tone, traffic and reflections | Low to moderate | Treated room, soft or melodic delivery, heavy vocal detail |
| Dynamic, XLR | Low — rejects much of the room | Moderate to high | Untreated rooms, loud aggressive delivery, stage use |
| Condenser, USB | High — same sensitivity problem as an XLR condenser | Fixed, built in | First recording setup, immediate results, streaming |
| Dynamic, USB | Low | Fixed, built in | Bedroom studios and practice spaces on a tight budget |
| Multipattern condenser | High unless aimed well | Low to moderate | Dual tracking, streamers who also record |
The trap is picking a sensitive condenser because every review says detail and clarity, then discovering your room has a ticking radiator. Test for this step: record thirty seconds of your verse in your actual room and listen back with headphones. If you can hear the fridge, the street or a long echo tail, you have your answer before spending money.
3. Match the Microphone to Your Voice
Two artists can use the same microphone and get opposite results, because voices differ in register, brightness and sibilance. A deep, bassy voice usually wants a mic that does not pile on low-mid weight, or the vocal turns to mud. A bright or sibilant voice gets worse results on the same mic that flatters a deeper one, and bright condenser capsules are usually the cause of harsh S and T sounds.
Rap is also unusually demanding on transients. Fast sixteenth-note flows and sharp consonants need a capsule that responds quickly rather than smearing. Delivery distance matters too: a mic with strong proximity effect rewards close rapping with extra low-end weight, and penalises you the moment you drift an inch further back for a loud line.
Test for this step: record the same eight bars twice on the same mic, once at a fist’s distance from the pop filter and once at arm’s length. Listen on both headphones and phone speakers. The version that stays clear at both distances is the one that matches your performance habits.
4. Set a Realistic Budget
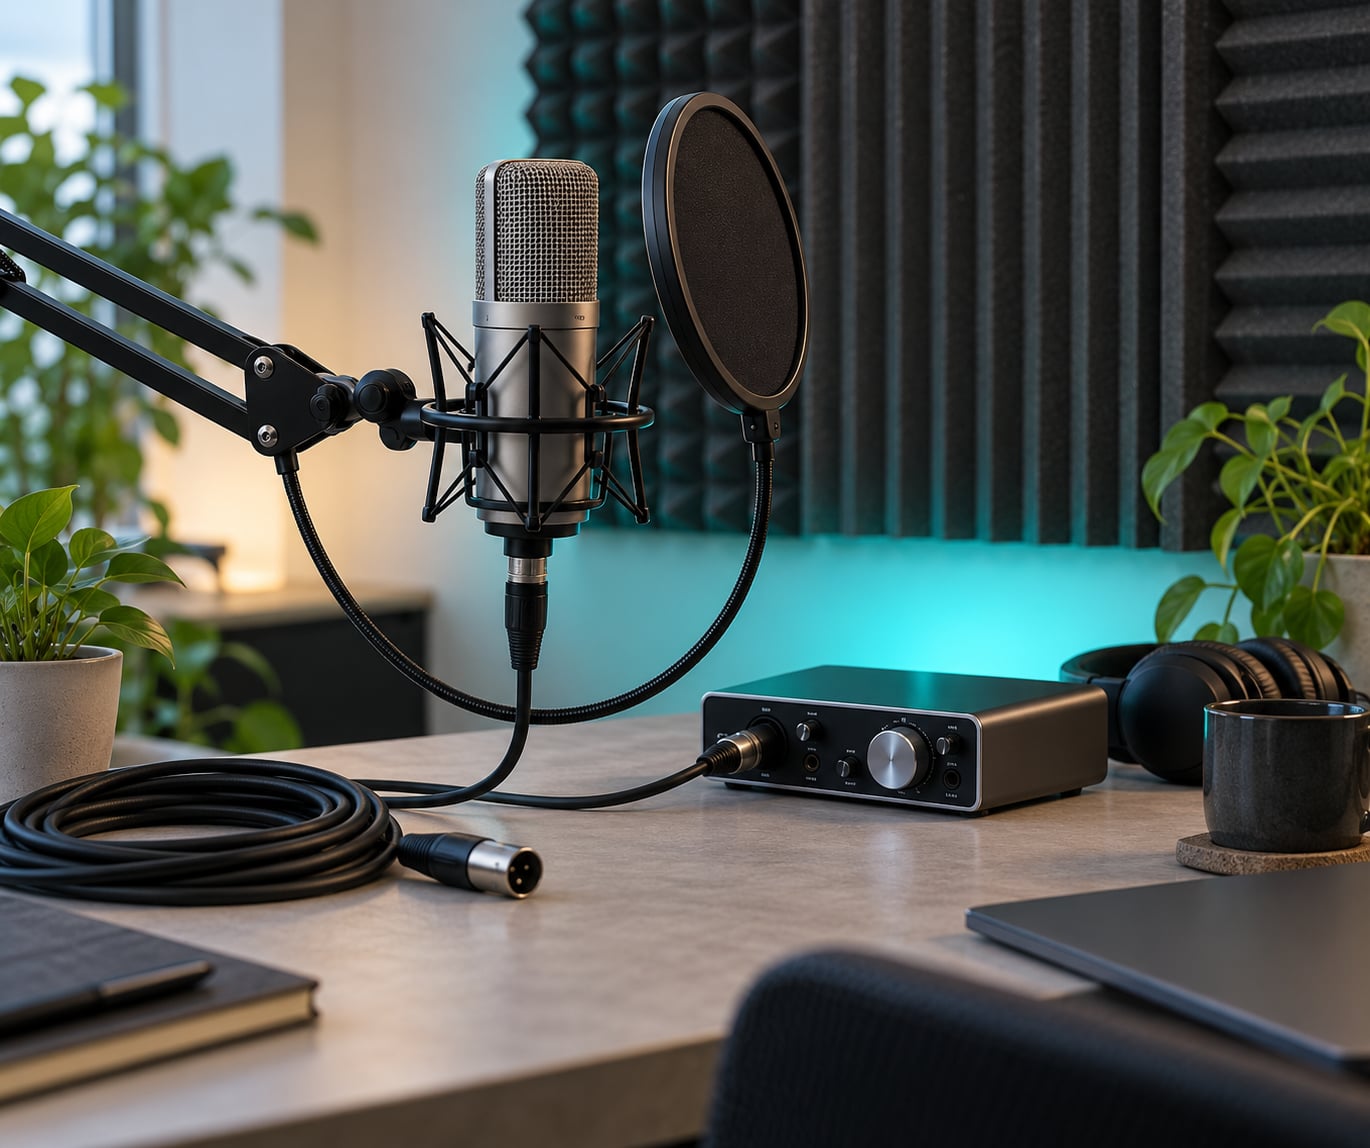
Spend your money on a complete chain, not a single box. Your total setup needs a microphone, an interface with enough clean gain, an XLR cable if you go that route, a sturdy stand or boom arm, a pop filter, and ideally a shock mount. Buying only the microphone and improvising the rest is the most common reason new vocal chains sound disappointing.
More expensive models add real value in specific situations. A higher-tier condenser adds presence and detail you can genuinely hear on melodic or heavily layered performances. A quality interface adds cleaner gain, which matters enormously if you chose a low-output dynamic. A cheap dynamic never fixes a bad interface; the noise comes from the preamp, not the mic.
Sometimes more money adds nothing. If your room is untreated, a mid-tier condenser will record the same reflections as an expensive one, just more politely. Test for this step: list every item in your chain with a rough cost, then ask which single purchase removes the biggest problem you heard in your test recording. Buy that one first.
5. Check Your Recording Environment
Rooms outrank microphones, and the rap production communities agree on this more than anything else. Treat the room before you upgrade the mic.
Untreated bedrooms have hard flat surfaces that send reflections straight back to the capsule, so your vocal sits inside a small reverb. Traffic, computer fans, air conditioning and a fridge humming through the night all land in the same place, right where your quietest syllables live.
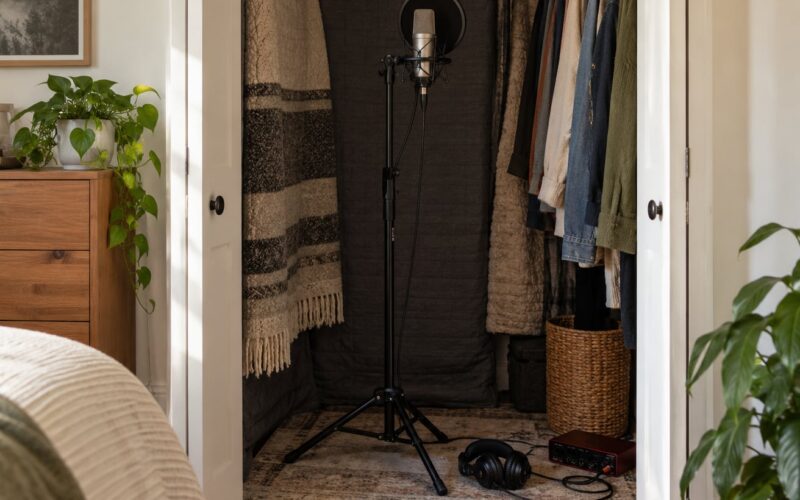
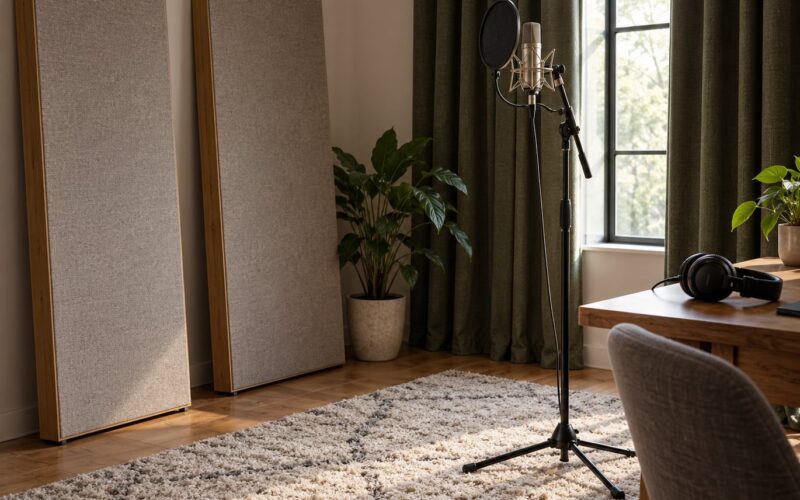
Plenty can be fixed for almost nothing before you shop. Hang moving blankets or heavy curtains on the wall behind and beside the microphone, since the wall directly behind it is the one that matters most. Put a rug or thick fabric down where sound bounces off the floor. Close the door, kill the air conditioner during takes, and move the microphone away from a wall shared with a busy hallway. Put the mic in a corner if you can reach one, since corners have the least reflective surfaces.
Test for this step: clap once, wait for the decay, and time it in your head. Anything longer than about half a second at your recording distance needs fixing before you evaluate microphones.
6. Compare Connection and Control Features
USB microphones give you zero-latency headphone monitoring, a mute button, and sometimes direct monitoring and gain control on the body. That convenience is real, and it is why many artists record a full project on one. The trade-off is a fixed preamp you cannot improve, no upgrade path, and usually no balanced connection.
XLR puts the gain where it belongs, in an interface you can choose and later replace. Watch for enough clean gain, since low-output broadcast dynamics need a lot of it before the signal reaches a usable level. Confirm the interface supplies 48V phantom power for condenser mics. Headphone monitoring with direct monitor matters too, because you cannot perform properly if you cannot hear yourself with no latency.
The accessories matter more than people expect. A pop filter is effectively mandatory for rap, because P and B bursts land straight on the diaphragm. A shock mount, or an elastic suspension hung from the boom arm, stops floor vibration and footfalls from smearing the low end. Test for this step: with headphones on, speak into the mic and tap the stand lightly. If you hear the tap clearly, your suspension needs work.
7. Test Before You Commit
Auditioning beats reading. Most sellers let you return a microphone, so use that window rather than guessing.
Record the same verse on each candidate. Keep four variables fixed: distance, gain, pop filter position and the exact same take of your flow. Change only the microphone. Set your peaks so the loudest line lands below minus six dBFS, since clipping during an aggressive bar is unrecoverable and you cannot judge a mic that already distorted.
Listen for four things. Presence in the two-to-five kilohertz region decides whether your consonants cut through a beat. Sibilance above eight kilohertz decides whether S and T make listeners wince. Low rumble below about ninety hertz should be gone, and any room reflection should sound smaller than it did on the previous take. Headroom shows up in whether your loudest line clipped or sat comfortably under the ceiling.
Judge on headphones, on your speakers, and on a phone speaker. A mic that sounds thin and fizzy on a phone will sound worse in a car, and most people hear your music that way. Test for this step: if two microphones make you say the same thing about the recording, keep the one you can afford and stop shopping.
Common Mistakes
Buying by celebrity association. Chasing the microphone a specific artist used assumes their room, chain and engineer. Engineers choose mics to suit a voice and a space, so the useful question is what that mic does, not who holds it. Fix: ignore the name and test the behaviour.
Buying a sensitive condenser for a noisy room. This is the classic beginner error, and it is why people end up blaming the microphone for a recording problem the room caused. Fix: treat the space first, or move to a dynamic category that rejects more of what is around you.
Ignoring the interface. A low-output dynamic paired with a quiet preamp produces hiss you will hear forever. Fix: match interface gain to the mic, and confirm clean gain before you judge the microphone.
Getting too close. Rapping with your mouth nearly touching the pop filter boosts low end and raises plosive risk. Fix: start at ten to fifteen centimetres and tilt the mic ten to twenty degrees off-axis. You will cut plosives before you ever touch an EQ.
Skipping gain and distance tests. Clipping while tracking because gain was never checked wastes the take. Fix: do one loud pass first, watch the meter, and set the ceiling so the loudest line stays below minus six dBFS. Record at 24-bit and 48 kilohertz so you have headroom to edit later.
Trusting reviews that do not match your room. A glowing review of a bright condenser says nothing about your bedroom. Fix: audition in your own space, on your own voice, at your own delivery intensity.
One more habit pays off immediately. After capture, apply a high-pass filter between 70 and 90 hertz to clear rumble, then light compression around two-to-one or three-to-one with three to five decibels of reduction. Keep the rest light; the microphone should have done most of the work before the chain touches the signal.
Frequently Asked Questions
Is a dynamic or condenser microphone better for rap vocals?
A condenser captures more detail and air and suits a treated room with melodic or layered delivery. A dynamic rejects more room noise and handles loud, aggressive delivery better, which makes it the safer choice in an untreated space. Pick based on your room first, then your delivery, not on a universal winner.
Can I record rap vocals with a USB microphone?
Yes, and many artists finish records that way. A USB condenser gives you the detail of a studio mic with no interface, which makes it the fastest route to a usable track. Its limits are a fixed preamp and no upgrade path, so treat the USB mic as a learning step if you plan to move to XLR later.
Do I need an audio interface for an XLR microphone?
Yes. An XLR microphone outputs a balanced low-level signal and needs a preamp to give it gain, plus 48V phantom power for condenser models. Without an interface you cannot record it. Choose one with enough clean gain for low-output dynamics and headphone monitoring so you can perform while tracking.
What microphone is best for rap vocals on a budget?
Spend your first money on a USB condenser if you need results now, or a mid-range dynamic with an interface if your room is loud. Budget on the whole chain, not the mic: cable, stand, pop filter and preamp all affect the recording. Refusing to buy a cheap microphone for a noisy room saves you the false start.
Do I need a pop filter for rap recording?
Practically, yes. Rap relies on hard P and B bursts that hit a diaphragm directly and produce plosives a compressor will then pump. A pop filter fixes most of that at ten to fifteen centimetres. Tilting the mic ten to twenty degrees off-axis and staying off the axis line handles the rest.
How should I test a microphone before buying it?
Record the same verse on every candidate at a fixed distance, gain and pop filter position, so you change only one variable. Keep loud peaks below minus six dBFS and judge each take on headphones, monitors and a phone speaker. Listen for presence, sibilance, rumble and room reflection, then pick the recording you would actually keep.
Conclusion
There is no best microphone for rap vocals, only the one that fits your delivery, your room and your chain. Work the order: define the recording situation, set a budget for the whole chain, assess the room honestly, then test one or two realistic types before you commit. Record the same verse at a fixed distance and gain, listen for presence and sibilance, and buy the microphone that made you keep that take. If the room sounds bad, fix the room first. In 2026, that sequence still beats any brand ranking.