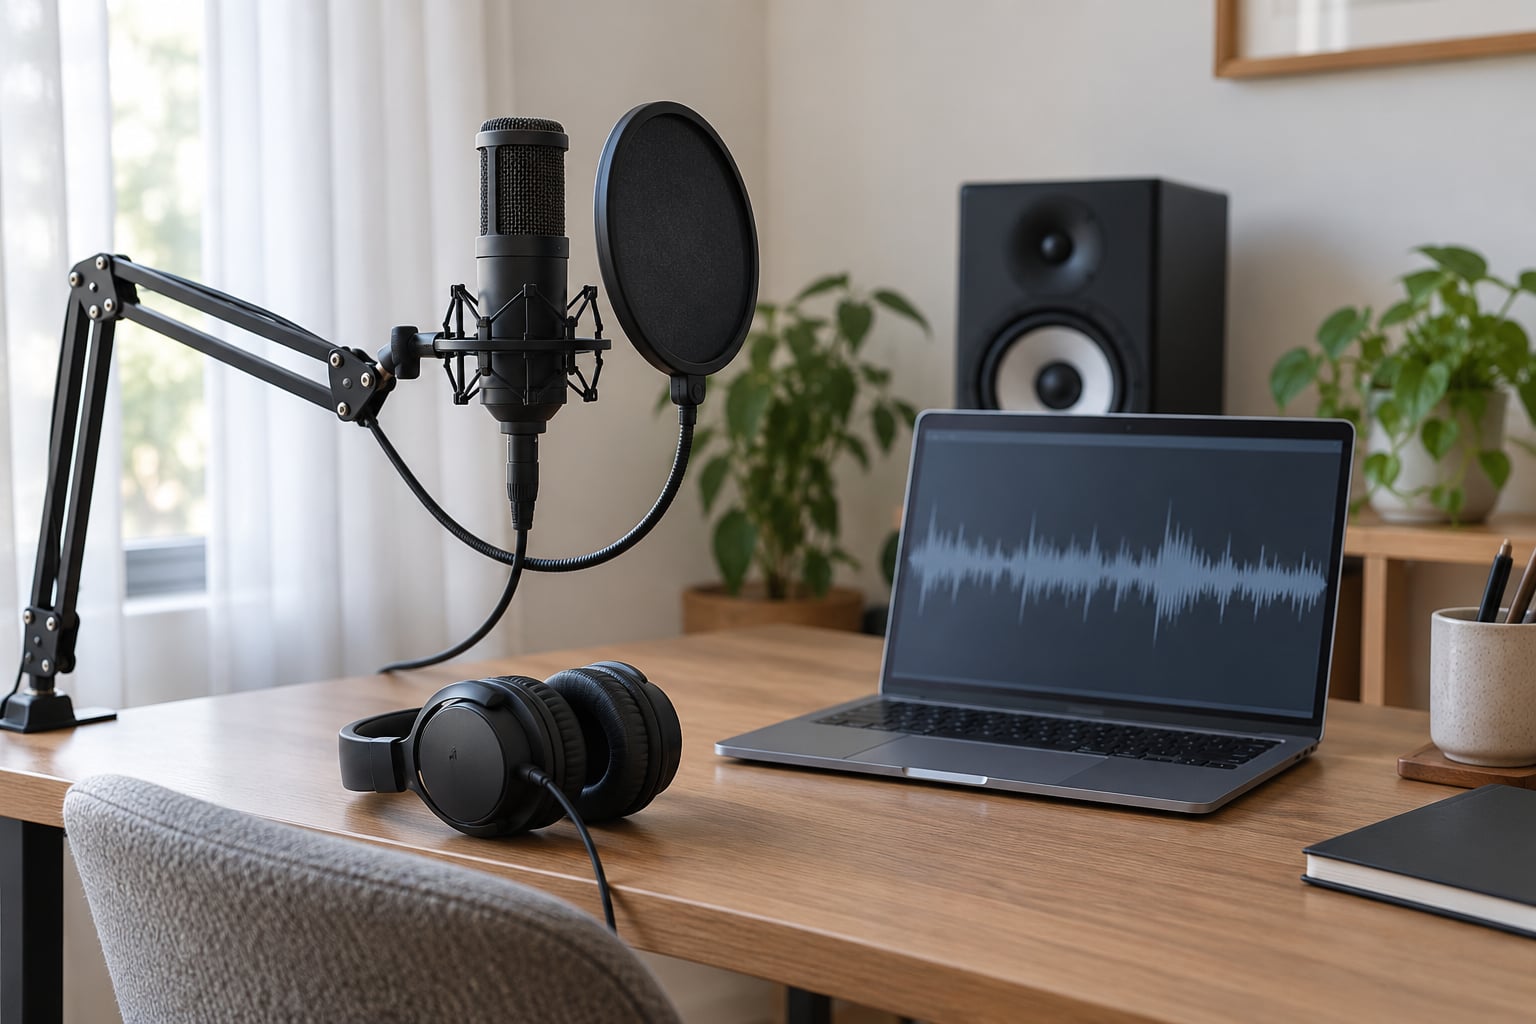
To remove background noise from a vocal, capture a few seconds of the room with nobody singing, build a noise profile from it, then subtract that profile across the whole take. Audacity does this for free, Adobe Audition and iZotope RX give you more control, and browser tools like Adobe Podcast Enhance do a fast approximation. The whole job takes about ten minutes on a recording dominated by steady noise.
Steady is the important word. Hum from an amp, air conditioning, fridge compressor, room reflections and a constant hiss all subtract cleanly. Sudden events like a door slam or a keyboard click need a different tool, and two people talking over each other cannot be separated at all.
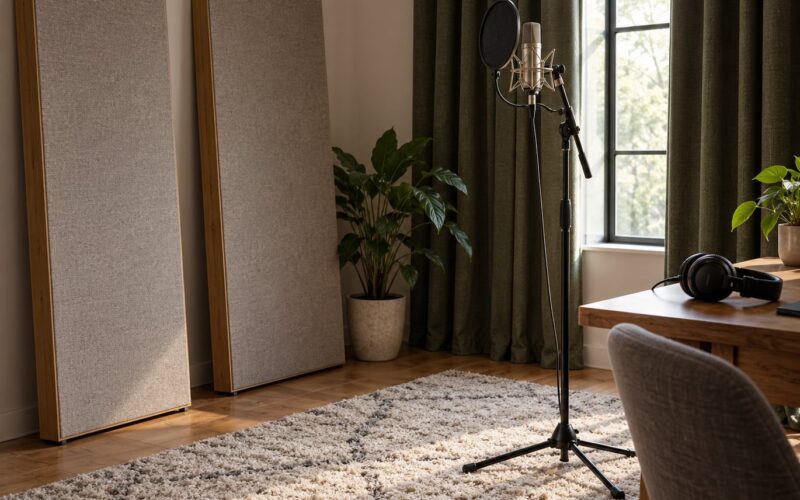
Prevention still beats processing. On the Muse Songwriters forum the blunt consensus is that full room treatment is the only real answer, with moving the microphone around while wearing headphones as the practical substitute. A clean take gives you far more headroom than any plugin.
Table of Contents
- What You Need
- Step-by-Step
- Frequently Asked Questions
- Can I remove background noise from a vocal for free?
- What is the best way to remove background noise in Audacity?
- Why does noise reduction make my vocals sound robotic?
- How can I remove background noise from a voice recording on iPhone?
- Is there a microphone that cancels background noise?
- What is the difference between noise reduction and a noise gate?
- Conclusion
What You Need
Noise reduction cannot invent a performance that was never captured. Before you open an editor, get these five things in place.
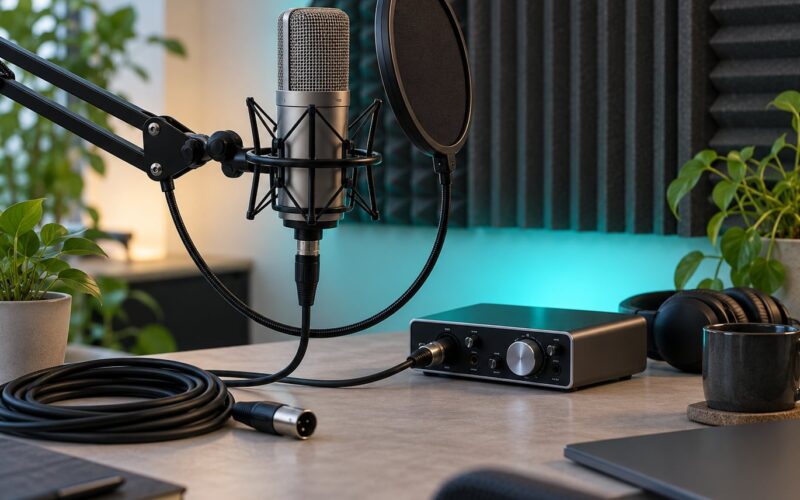
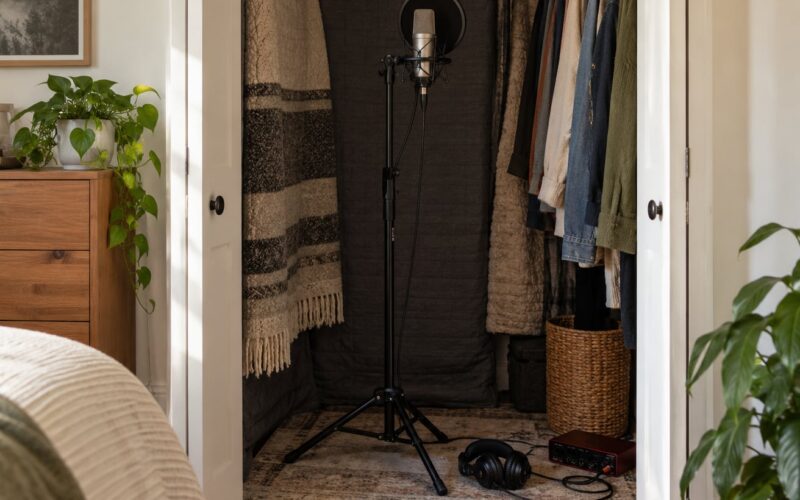
- A quiet room or the quietest time you have. Shut off fans, air conditioning, fridge compressors and phone chargers. Close curtains and windows. Record near a closet full of clothes or inside a walk-in wardrobe if you own one.
- A microphone placed close to your mouth. Distance is the single biggest lever. A large-diaphragm condenser a foot away picks up far more room than the same mic two inches from your mouth, and a directional dynamic mic pointed at your mouth rejects more of the room than most plugins can remove afterwards.
- Closed-back headphones. They reveal hiss and rumble while you record, and they are what you need later to catch reduction artifacts that speakers hide.
- An audio editor. Audacity is free on Windows, macOS and Linux. Adobe Audition, Reaper and Logic Pro use the same capture-a-sample-then-subtract logic with different menu names.
- A duplicate of the original vocal. Never process the only take you have. Duplicating costs a megabyte; regretting an overwritten file costs the song.
Step-by-Step
Step 1: Prepare and Back Up the Vocal
Duplicate the original take, rename the copy with a clear label such as vocal-clean-01, and leave the untouched file alone for the rest of the session. You will bounce to the original more often than you expect.
Now listen to the noise before you touch anything. Solo the track at a moderate level and name what you actually hear: a 50 or 60 Hz hum, broadband hiss, low rumble under 80 Hz, a fridge-like tonal drone, keyboard clicks, or street noise that swells and fades. A noise profile built from steady noise works well. A profile built from traffic that rises and falls will follow the moving noise around and sound worse than doing nothing.
Step 2: Select a Representative Noise Sample
Find a short stretch of the recording with background noise but no singing, and select it. Two to five seconds is plenty. The beginning of a take, the gap before you started, or the pause at the end of a phrase all work.
Match the sample to the conditions of the take. If the first ten seconds were recorded before your air conditioning kicked in, that section is a poor profile for a take recorded with it running. Sample the quietest, most constant part you have, and keep it long enough to cover normal variation without including a breath or a consonant.
Step 3: Apply Noise Reduction
Every major editor follows the same two-part shape: learn from the noise-only selection, then apply that learned profile across the whole file.
Audacity (free)
- Select the noise-only section from Step 2.
- Choose Effect > Noise Reduction > Get Noise Profile, then click OK.
- Select your entire recording with Ctrl+A (Cmd+A on Mac).
- Open Effect > Noise Reduction again. This time the profile is already loaded.
- Set Noise Reduction to about 12 dB, Sensitivity to 6, and Frequency Smoothing to 3.
- Toggle Preview on and off to hear the change, then Apply.
Audacity’s defaults tend to do almost nothing, which is why most people conclude the tool is broken. Raise the reduction and check again.
Adobe Audition
- With the noise section selected, go to Effects > Noise Reduction > Learn Noise Profile.
- Select the full track.
- Open Effects > Noise Reduction, set the amount to 12 to 18 dB, and leave Auto Snapshot enabled so Audition re-checks the profile.
- Click Preview, listen through quiet passages, then Apply and Close.
GarageBand
GarageBand has no noise-profile tool. On iOS and iPadOS, open the compressor on the vocal track and enable the Reduce Hum option to tame electrical hum. Its Channel EQ includes a high-pass filter, which handles rumble on its own. For anything beyond that, export the track and finish the job in Audacity or Audition, where the noise profile workflow exists.
Plugins
In Pro Tools, insert iZotope RX Voice De-noise or RX Mouth De-click and set it to Adaptive or Dialogue mode with Learn set to capture your sample. Logic Pro, Ableton Live and FL Studio all use iZotope or Waves NS1 Noise Suppressor in the same way: capture or learn from a noise-only section, then start with a reduction in the 12 to 18 dB range. Reaper users commonly reach for ReaFir or an RNNoise-based VST instead.
Step 4: Check for Artifacts and Residual Noise
This is the step people skip, and it is where the complaints come from. Over-reduction produces a signature set of problems, and each one points to a specific setting.
- Watery or underwater sound means the reduction is too high or the profile is too aggressive. Drop reduction by 3 dB at a time until the voice sits forward again.
- Metallic or hollow tone comes from too little frequency smoothing. Raise Frequency Smoothing from 3 toward 6 and listen again.
- Muffled or gated-sounding phrases mean sensitivity is too high and quiet syllables are being treated as noise. Lower Sensitivity before you lower reduction.
- Robotic, latching quality usually means the noise was never steady, so the profile is chasing moving sources like traffic or a passing voice.
Judge the result in context, not in isolation. Soloing the noise floor after reduction tells you it is gone; playing the vocal over music tells you whether it is actually clean, which is the only test that matters. If you hear a change between sections of your own take, stop and re-cut the noise sample.
Users on r/audioengineering and r/NewTubers keep landing on the same conclusion: gentle beats aggressive every time, because a slightly noisy natural vocal is far easier to live with than a clean one that sounds processed.
Step 5: Apply Additional Cleanup
Once the steady noise is handled, deal with the leftovers one at a time.
- High-pass filter. A steep filter set between 70 and 100 Hz removes handling noise, plinth rumble and HVAC thump without touching the voice. In GarageBand use Channel EQ’s high-pass; in Pro Tools use an EQ3 or Channel Strip filter set to the same range.
- Gentle EQ. Cut 2 to 4 dB around 200 to 400 Hz if the vocal sounds boxy in a small untreated room, and a wide bell for harshness if it bites.
- De-hum. Electrical interference sits on narrow harmonics of 50 or 60 Hz. A dedicated de-hum plugin is more surgical than a broad high-pass and worth running before anything else touches the low end.
- Clicks and pops. Use a click-removal effect on a duplicated track, check the result at zoom, then flatten. Audacity and Audition both have one built in.
Keep the order in this sequence: denoise first, EQ second, compression last. The r/NewTubers thread summed it up well, and it is the standard order for a reason. Noise reduction learns better on an untreated signal, and compression after EQ reacts to the finished sound rather than the mess.
Step 6: Export the Cleaned Vocal
Save a 24-bit WAV master of the cleaned take. Bit depth matters more than sample rate here: processing lossy files stacks quantization noise on top of the noise you just removed. Most of the work happens in the session file, so the export is for handing the vocal to someone else.
For a mix-ready copy, render the vocal with a few dB of headroom and normalise only if the target needs a specific loudness. For transcription or archiving, an MP3 or M4A is fine and considerably smaller.
Before you finish, play the cleaned version against the original at matched levels. If the cleaned vocal sounds thinner, duller or more forward, the reduction went too far. Re-run at a lower number rather than trying to repair it afterwards.
Common Mistakes
- Selecting a section of singing as the noise profile. The editor treats your voice as noise and removes it. Use only silence or room tone.
- Pushing reduction past 20 dB. Nothing good happens there. If the noise is still audible at 18 dB, the problem is the recording, not the setting.
- Processing a heavily compressed or low-bitrate source. A phone memo recorded at low bitrate cannot be rescued. Work from the highest-quality file you have.
- Exporting over the original file. Keep the untouched take permanently. You will want it when a mix revision needs the raw noise floor back.
- Reducing before gating and then gating anyway, hard. Gates choke on vocal tails and desynchronise across comped takes. Use a slower release and a gentle threshold, or skip the gate entirely.
- Expecting silence where noise used to be. Some engineers prefer to keep a faint noise floor by laying a short clip of mic-only room tone under the vocal. On r/audioengineering it was described as the most natural sounding option, because a totally dead gap between takes draws more attention than light noise.
Frequently Asked Questions
Can I remove background noise from a vocal for free?
Yes. Audacity’s built-in noise reduction is free, and the workflow takes five clicks: select a noise-only section, choose Effect u0026gt; Noise Reduction u0026gt; Get Noise Profile, select the whole track, reopen the effect, and set roughly 12 dB of reduction with sensitivity at 6. Free AI tools such as Adobe Podcast Enhance and ElevenLabs Voice Isolator also work in a browser for podcasts and voiceover. For music production, Audacity is the practical starting point.
What is the best way to remove background noise in Audacity?
Use the noise profile workflow rather than the defaults. Select two to five seconds of room tone with no singing, apply Effect u0026gt; Noise Reduction u0026gt; Get Noise Profile, then select the entire recording and reopen the effect. Start at 12 dB reduction, 6 sensitivity and 3 frequency smoothing, use the Preview button to audition, then Apply. If the vocal sounds watery, drop the reduction. If it sounds metallic, raise the frequency smoothing.
Why does noise reduction make my vocals sound robotic?
Almost always because too much was removed. A reduction above about 20 dB treats parts of your voice as noise and leaves a hollow, latched quality. Another cause is a noise profile captured while something else was running, such as traffic or a second person, so the profile chases moving sound. Re-cut the sample from the quietest constant section and start again at 12 dB. A faint natural noise floor is easier to live with than an over-processed voice.
How can I remove background noise from a voice recording on iPhone?
Record close to your mouth with the phone’s Voice Memos app and avoid fans and air conditioning, since gain is a real constraint on mobile. For cleanup, use Isolation mode if your iOS version offers it, otherwise transfer the file to a desktop and run it through Audacity or an AI browser tool. Small exports are the weak point on phone apps: they often compress everything, so keep the original file and process a copy.
Is there a microphone that cancels background noise?
No microphone cancels background noise. What a microphone can do is reject sound from directions other than where you point it. A directional dynamic microphone held close to your mouth, with its rear aimed at the noisiest part of the room, gets closer to a clean signal than any plugin manages. Add a pop filter for plosives and set a high-pass filter at 80 to 100 Hz, and the noise floor left to remove is small from the start.
What is the difference between noise reduction and a noise gate?
Noise reduction subtracts a learned noise profile from every frame of audio, lowering frequencies that match the profile while speech continues. A noise gate simply mutes the signal when it drops below a threshold. Gates are harsher because they cut vocal tails and breath onsets, and across comped takes those cuts land at different points and sound wrong. Use gentle reduction as the main tool and treat the gate as a minor clean-up pass with a slow release time.
Conclusion
Start with one action: find two seconds of your recording where the room is audible but nobody is singing, and build a noise profile from it. Keep the reduction conservative at around 12 dB, listen on headphones for watery or metallic artifacts, and adjust before you move on.
From there the order is straightforward: denoise, high-pass and EQ, then compress. Compare the cleaned vocal against the original at matched levels before you export, and keep the untouched take for the next revision. If the noise is not steady, no setting will rescue it, and the better fix is a closer microphone in a quieter room.