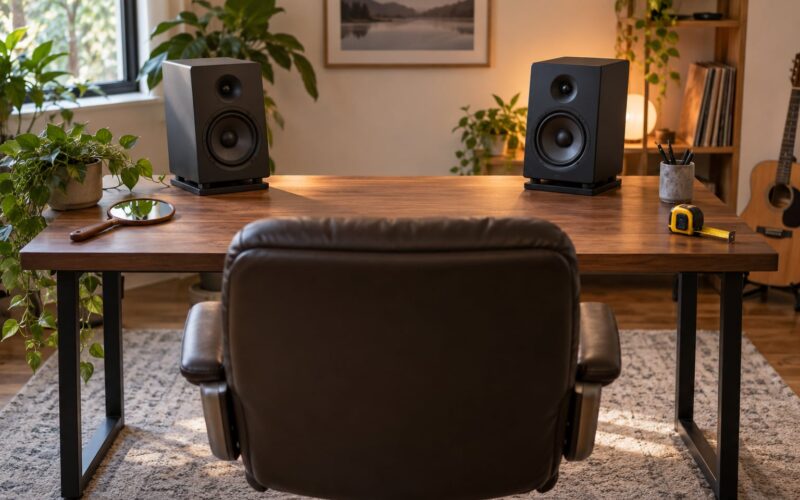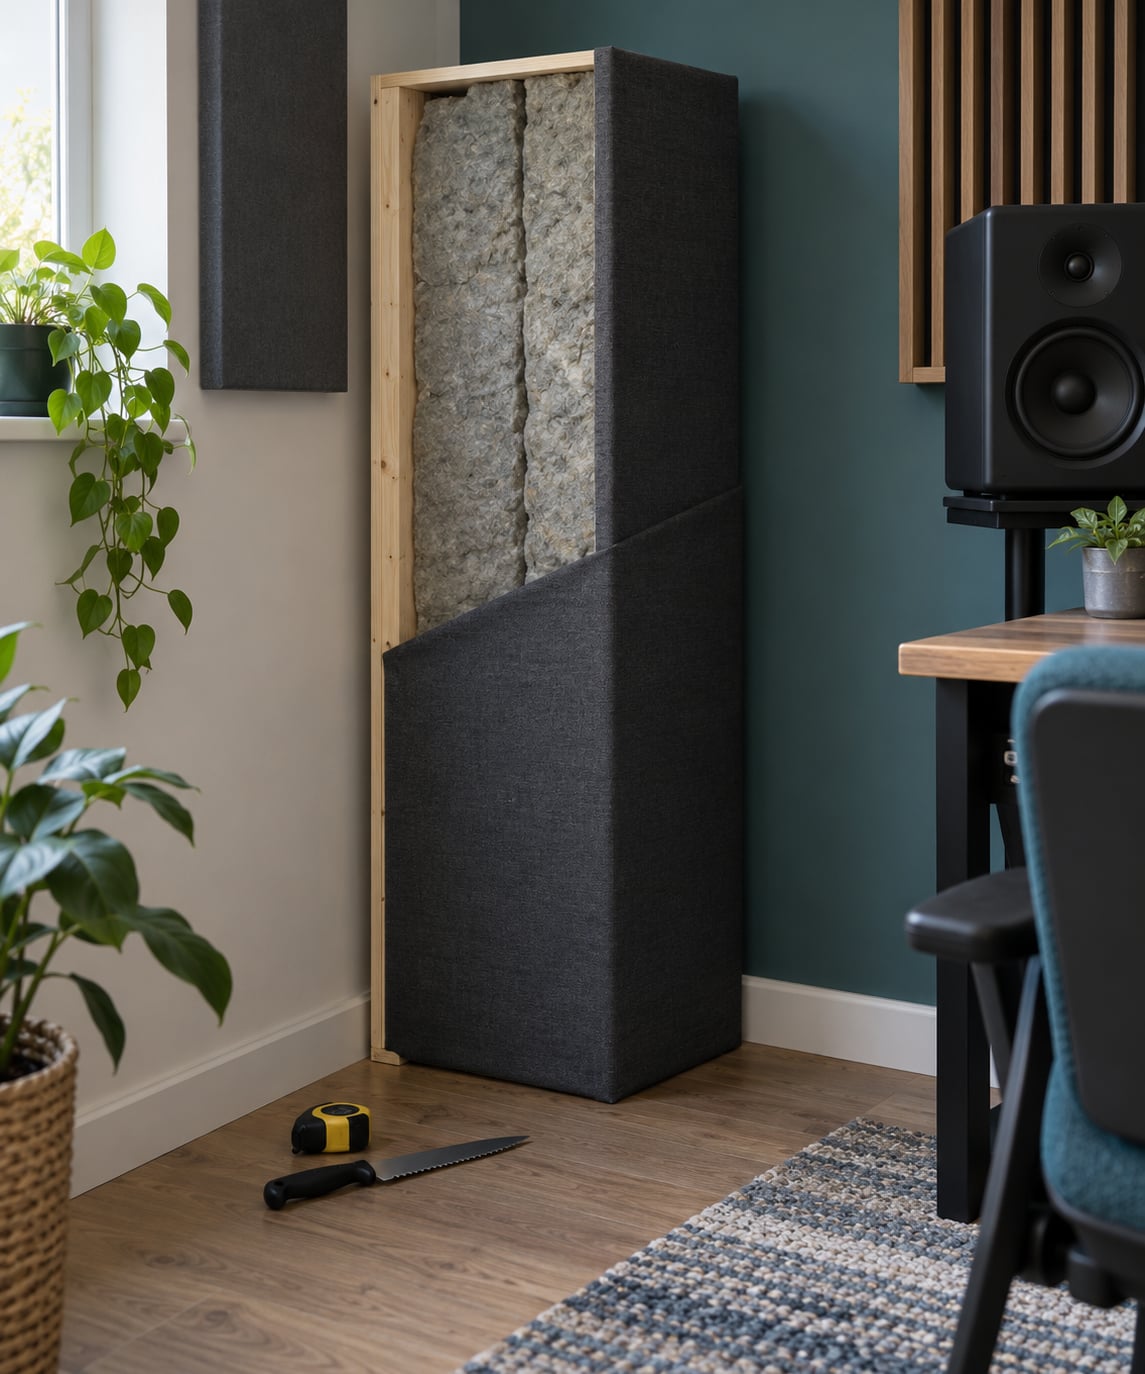
How to build bass traps comes down to four parts: a rigid wooden frame, 4 to 6 inches of rigid mineral wool, one air-permeable fabric face, and a corner to stand in. Build two of them, mount them floor to ceiling, and the boomy, uneven low end in most bedrooms and spare offices starts to settle down.
The catch is thickness. A 4-inch foam wedge sold as a bass trap does very little below roughly 250 Hz, which is exactly where a small room struggles. A framed panel packed properly with rigid mineral wool reaches lower for less effort than anything you can pull off a shelf.
Before you cut a board, spend ten minutes measuring the room. Room dimensions decide which frequencies stack up, and that tells you how deep each trap needs to be and where it will do the most work.
What You Need
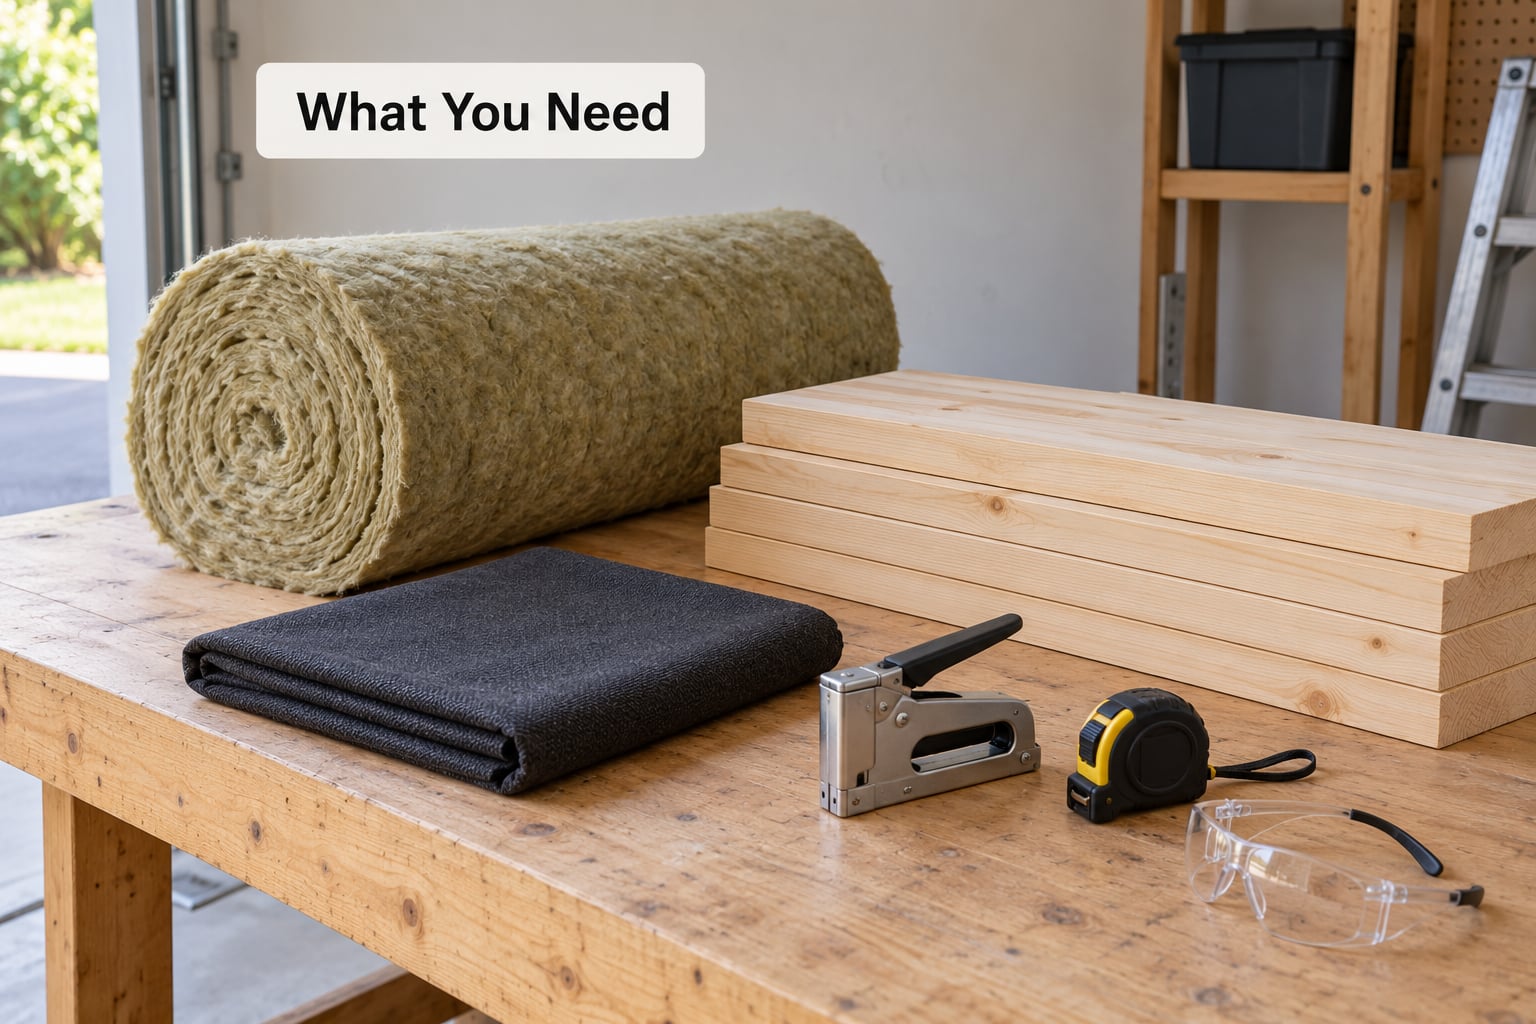
Everything below comes from a hardware store or a building supply yard. Nothing on this list is exotic, and the tool list is short enough that you can borrow most of it.
Materials
- Insulation: rigid mineral wool in slab or batt form. Owens Corning 703 rigid glass fiber at 6 lb/ft3 is the most common recommendation for low frequencies. Rockwool Safe ‘n’ Sound and Rockwool Rockboard 40, 60 and 80 are stone wool alternatives. Standard fiberglass bat insulation works too, but it settles over the years.
- Frame lumber: 1×3 or 1×4 pine, roughly 6 linear feet per 2 x 4 foot panel. Poplar or fir is fine and takes nails better.
- Backing: one sheet of 1/2 inch plywood or MDF, cut to size, gives the trap a sealed back and a clean mounting surface.
- Fabric: one breathable, acoustically transparent cloth for the face. Guilford of Maine acoustical fabric is the standard reference, FRK is the heavier fire-rated option, and unbleached muslin is the budget route.
- Hardware: a French cleat rated for the weight, L-brackets, furring strips for an air gap, 1.25 inch screws, and staples short enough to stay inside the frame cavity.
Tools
- cordless drill or impact driver
- miter saw or hand saw with a fine-tooth blade
- serrated bread knife for cutting mineral wool
- serrated shears or long scissors for fabric
- staple gun, tape measure, and a carpenter’s square
Safety gear
- N95 or P2 respirator, cut-resistant gloves, and safety glasses
- a long-sleeve shirt you do not mind ruining
- cutting outdoors, in a garage, or with a fan pointed away from your face
How the insulation options compare
| Material | Typical density | Handling notes | Best use |
|---|---|---|---|
| Owens Corning 703 | 6 lb/ft3 rigid glass fiber | Falls apart into shards if handled rough, so bag or face it | Depth-limited builds where every inch counts |
| Rockwool Rockboard 40 / 60 / 80 | 40 to 80 lb/ft3 stone wool | Holds its shape, cuts cleanly, less forgiving to compress | Thick fills and long-term dimensional stability |
| Rockwool Safe ‘n’ Sound | Batts, sold by the roll | Forgiving, easy to cut, easy to find | First build with standard tools |
| Fiberglass bat insulation | Light, R-13 or R-19 | Slumps and loses loft over time | Cheapest route when the budget is tight |
There is a genuine disagreement in the audio engineering community about density, and it is worth resolving before you buy. One camp argues for the lowest-density wool available because it moves more air and absorbs more deeply per inch. The other, following the EthAN Winer consensus that 703 at 6 lb/ft3 is the reference standard, points to how little the low-density choice actually gains once the fill is thick.
The practical rule is simple. If your build is thick and roomy, go lighter, around 40 lb/ft3. If you are limited to 4 inches of depth, go denser, because a denser fill resists the air pushing through it at low frequencies.
Step-by-Step: How to Build Bass Traps
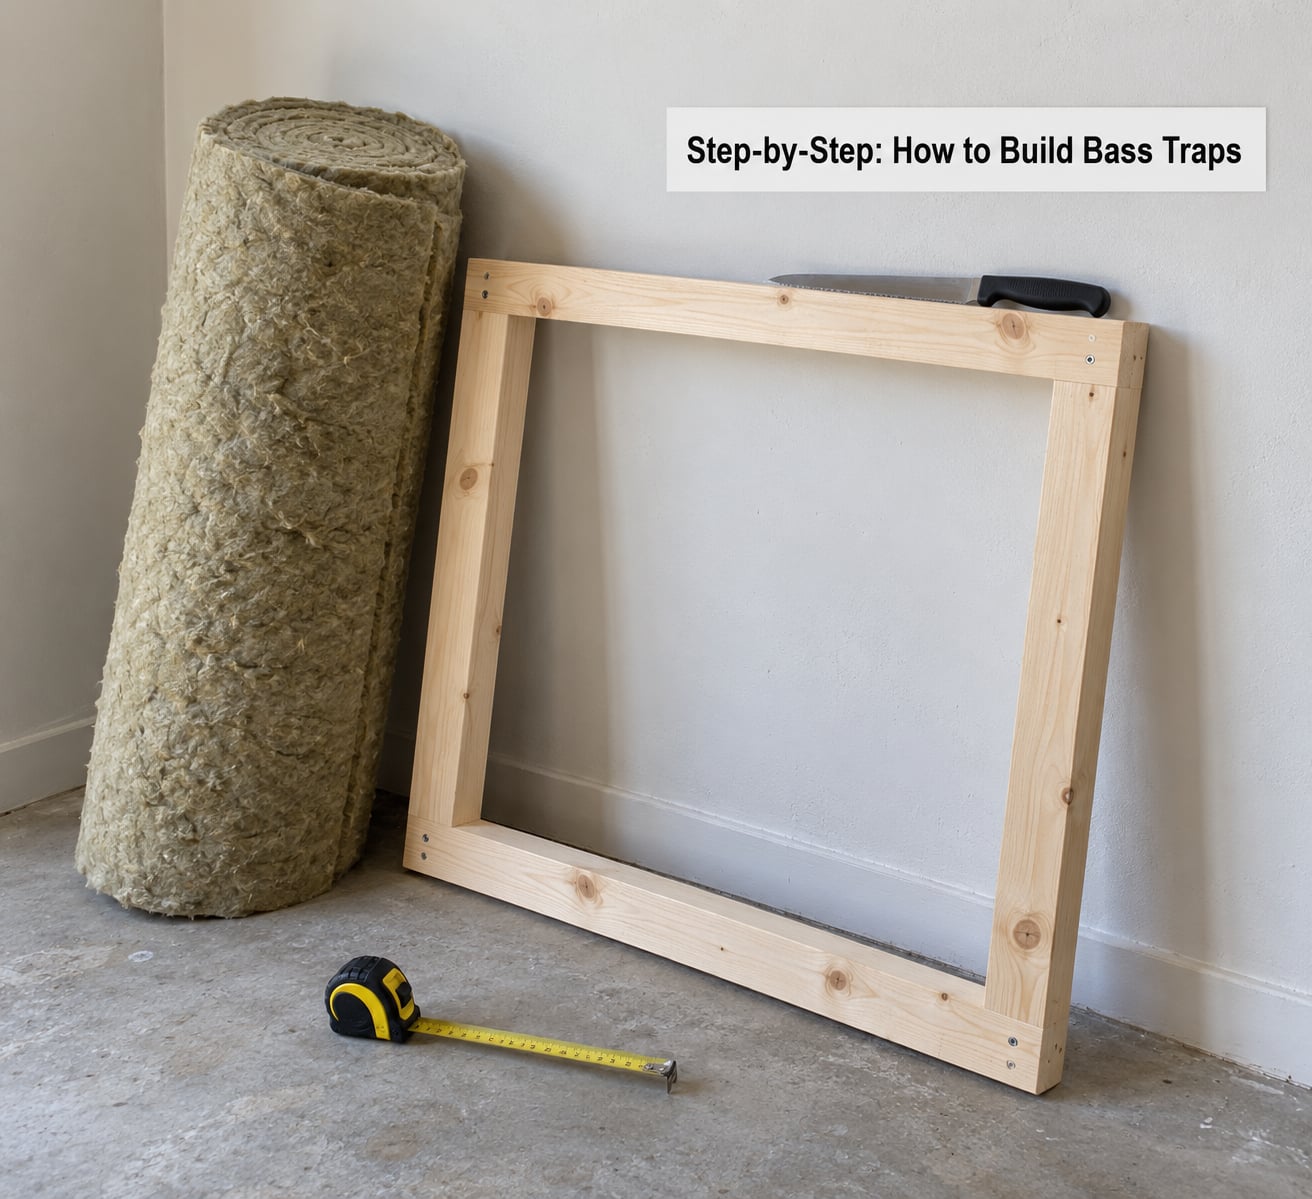
A single panel takes an afternoon once you have the parts. Difficulty is moderate: basic woodworking, plus patience with fabric. Budget a weekend for four traps and a second round of mounting.
How to Plan the Size, Depth and Placement
Measure the room in feet and write the numbers down. Length and width set your lowest axial modes, and a room whose dimensions are close to even ratios will pile energy onto fewer, stronger problems. A 10 by 12 by 8 foot room has a first width mode around 14 Hz and a first length mode around 14 Hz, so the trouble shows up in the low 100s rather than in the very bottom octaves.
Thickness decides how low the trap reaches. The working rule is roughly a quarter wavelength of absorber depth for the target frequency, and speed of sound is about 1,130 feet per second. Divide that by four times your target frequency to get the depth in inches.
| Target frequency | Quarter wavelength depth | Realistic build |
|---|---|---|
| 250 Hz | about 11 inches | One 4 to 6 inch panel, more than enough |
| 125 Hz | about 23 inches | Two stacked panels in a corner |
| 100 Hz | about 28 inches | Superchunk, three panels with air gaps |
| 63 Hz | about 45 inches | Rarely practical in a home room |
That math is why builders on r/audioengineering and Gearspace keep saying the same thing: a thin panel mostly works down to about 80 to 100 Hz, and no clever frame design changes that. If your problem sits lower, you need depth, not a better material.
For placement, start with two traps in two opposite vertical corners, running floor to ceiling. Position them so they straddle the corner rather than sitting flat against one wall, which puts the porous fill into the pressure peak where the energy is highest. Measure the room first and treat all four vertical corners before you spend anything on first reflections.
How to Cut and Assemble the Frame
Cut your lumber oversize, then trim each piece against a square so the joints close cleanly. Assemble with screws rather than nails alone, and check for square twice before the frame is closed up. A frame that sits slightly out of square is the reason fabric will not tension evenly later.
Decide now whether the trap is a filled cavity or a stacked-panel superchunk. If you are stacking panels, build each one as a separate shallow box and leave a small gap between boxes. If it is a single cavity, keep the internal volume free of anything that can slump and leave a void.
Screw the plywood back on flush and let it sit overnight to settle. That flat back is what gets mounted to the wall, so treat it as your structural surface rather than the frame edges.
How to Build Bass Traps That Reach Below 100 Hz
Wear the respirator, gloves and glasses before you open the packaging, not after. Cut the mineral wool outdoors or in a garage with a fan moving air away from you, and cut fiberglass with a serrated knife rather than a saw. Fiberglass dust is the part that actually irritates, and the rest is mostly an itch you can avoid with sleeves.
Cut the fill slightly oversize and press it into the cavity so it sits at the same density across the whole face. Loose gaps are the number one reason a trap underperforms, because the air pocket inside does nothing. Staple the fill to the inside of the frame at intervals so it cannot creep out over a few years of humidity swings.
If you use rigid board, bag it in a mesh scrim or wrap the face in a thin breathable cloth. Loose glass fiber with no facing will shed, and you do not want that dust settling on your monitors.
Let the fill dry completely before you close it up. Mineral wool arrives damp in a sealed bag more often than people expect, and enclosing moisture invites mold. Spread the panels out in a dry space for a day or two, then seal.
How to Cover and Mount the Bass Trap
Cover only the face. The back is sealed with plywood and the sides are solid timber, so the air-permeable cloth on the front is what lets sound energy into the fibers. Vinyl, canvas, or any coated cloth blocks the mechanism entirely, and the trap becomes a heavy rectangle that absorbs very little.
Staple the fabric every 3 to 4 inches, working from the center outward and pulling firmly as you go, so tension stays even across the panel. Trim the excess on the back and leave the corners neat rather than folded into a bulky bundle. A simple test: knock on the face and listen. A thin, papery sound usually means the fabric is too dense or the fill was packed too tight into its pores.
For mounting, a French cleat is the cleanest option and the most rental-friendly. Screw one cleat into the top of the trap back and the matching one into wall studs, lift the trap onto the lower cleat and let it settle, then fix the top cleat through both. Test the hold by pushing hard before you walk away from it.
If the design calls for an air gap, mount the cleats on furring strips rather than directly to the wall. In corners, the wall itself provides plenty of depth and you can skip the gap entirely.
How to Test and Fine-Tune the Results
Record a sweep from 20 to 200 Hz from your normal listening position before you install anything, then repeat it after. Room EQ Wizard with a measurement mic gives you numbers you can trust; without hardware, play the same reference track through the same speakers and note what changed.
The mirror trick fills in the gaps. Hold a flat mirror along the wall beside your speaker and look at its reflection to find your first reflection points. That tells you where flat panels of thinner construction will earn their keep once the corners are handled.
Move your listening position a foot or two and play again. If the low end changes dramatically between seats, standing waves are still winning, and you need more treatment rather than different treatment. Add one trap at a time and re-measure.
Watch the top end too. Low frequency treatment does not dull a room, but over-absorbing the midrange and high frequencies will, and a carpeted bedroom hits that ceiling quickly. If the room starts sounding dull after installation, pull one absorber off the first reflection wall.
Common Mistakes
Sealing the entire cavity
The trap behaves as one solid block of filler with dead pockets inside. Fix it by cutting every piece to fit tightly, overlapping seams, and keeping the fill at an even density across the face.
Using an airtight or non-breathable cover
Sound cannot enter the fibers, so the trap absorbs close to nothing while taking up valuable corner space. Fix it with acoustically transparent cloth on the face only, and keep the sealed back sealed.
Leaving out the mounting air gap
A 4 inch panel flat on the wall behaves like a 4 inch panel. Fix it by mounting on furring strips or a cleat standoff so the design depth survives installation.
Building too little
Two thin panels will not change a room with four boomy corners. Fix it by treating all four vertical corners floor to ceiling first, then reassessing.
Placing traps where they look nice
Decoration is not a treatment strategy. Fix it by putting the deepest traps in the corners where pressure peaks are highest, even if that means the room looks less symmetrical.
Blocking ventilation or creating a fire risk
Traps pushed into a ceiling soffit can cover a return or sit near wiring and light fittings. Keep clearances open, keep the material away from heat sources, and check local guidance before closing a cavity.
One more caution: if you are drilling into a stud wall and you are not certain what is inside it, stop and bring in a qualified contractor. Sizing the trap is the easy half of this job.
Frequently Asked Questions
How do I set up bass traps in a small room?
Start with two traps in opposite vertical corners, running floor to ceiling and straddling the corner rather than sitting flat on one wall. Corner placement puts the fill where sound pressure peaks highest. Measure your room first and note which frequencies build up, then treat all four vertical corners before adding anything at the first reflection points.
How do you design a bass trap?
Design around depth. Divide 1,130 feet per second by four times your target frequency to get the quarter-wavelength depth, then build to at least that depth. A 100 Hz target needs roughly 28 inches, which means stacked panels rather than a single flat frame. Add an air gap on flat walls, keep the back sealed, and let the face breathe.
What is the best material to use for a bass trap?
Rigid mineral wool is the standard answer, with Owens Corning 703 at 6 lb/ft3 the most widely recommended. Rockwool Rockboard 40, 60 and 80 hold their shape better in thick builds, and Rockwool Safe ‘n’ Sound is easier to cut for a first attempt. Standard fiberglass bat insulation works at a lower budget but settles over time.
Do I really need bass traps?
If your low end booms on one track, vanishes on another, or changes dramatically when you move your chair, yes. Take a measurement sweep from 20 to 200 Hz at your listening position and compare. Large spikes in the low end that do not move when you change tracks are room modes, and no amount of mixing fixes them.
Do foam bass traps actually work?
Only at the top of their range. Open-cell foam wedges a few inches thick lose most of their effectiveness below roughly 250 Hz, and wedge shapes are built for midrange and high frequencies, not bass. Dense foam panels do better but still cost more and go less deep than the same money spent on framed mineral wool.
How do I hang corner acoustic panels?
Build them shallow at the corner and deep toward the room so they straddle the junction, then use a French cleat screwed into studs. In a rental, adhesive-mounted cleats on baseboard or a removable tension rod both work. Skip the air gap in a corner since the walls provide depth, but keep one anywhere you mount on a flat wall.
Conclusion
Measure the room, find where the low end stacks up, and build one correctly sized trap with a real air gap and a breathable face before you buy anything else. Two traps in opposite corners will tell you more in an afternoon than a month of guessing. Add depth and quantity only after you hear what the first two actually changed.