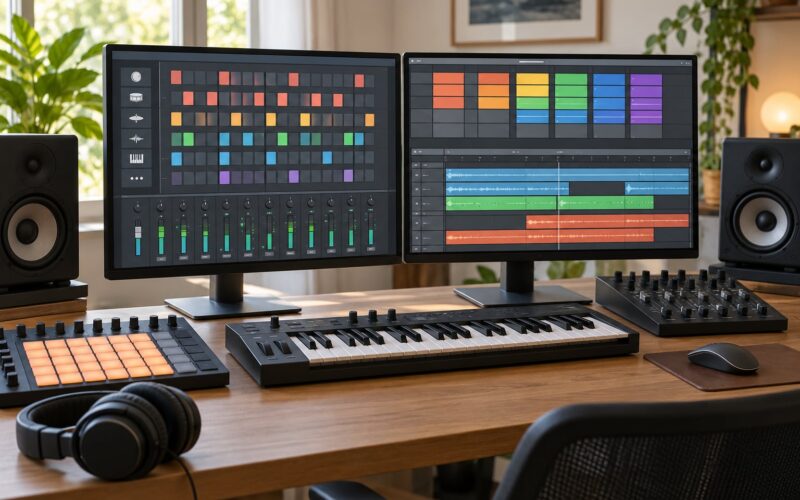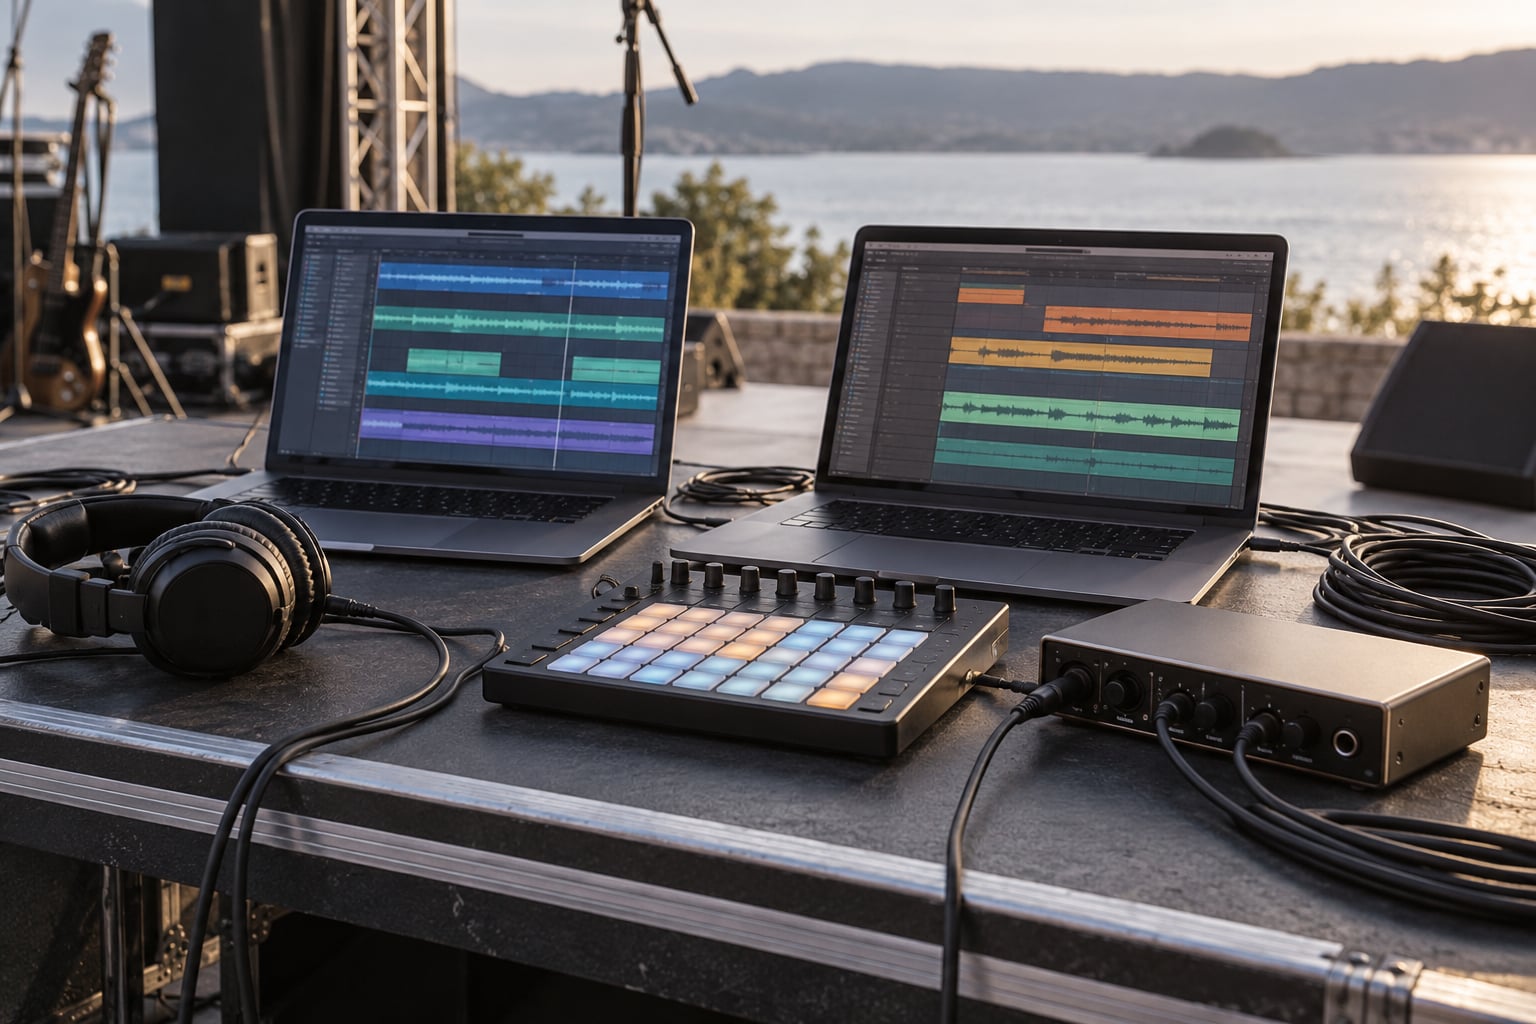
Ableton Live is the better DAW for live performance, and the reason is workflow speed rather than sound quality. Session View keeps every loop and transition one keystroke away, and Push speaks to it natively. Logic Pro wins at recording, comping and mixing, and its Live Loops grid now handles a lot of launching work, but it asks you to take one extra step while people are watching you.
That is the short version of ableton vs logic for live performance. Most performers settle it faster with the gear already in their hands and the kind of set they actually play than with any feature chart.
Table of Contents
- Ableton vs Logic for Live Performance at a Glance
- Live Setup and Startup Time
- Ableton vs Logic for Clip Launching and Song Control
- Audio Routing, Effects, and Hardware Control
- Stability, CPU Load, and Failure Recovery
- Recording and Overdubbing During a Show
- Ableton vs Logic for Live Performance: Which Should You Choose?
- Frequently Asked Questions
Ableton vs Logic for Live Performance at a Glance
Here is how each program behaves once a monitor wedge, a crowd and a running clock are part of the setup.
| Criterion | Ableton Live 12 | Logic Pro 11 |
|---|---|---|
| Setup and startup | Template opens straight into Session View; audio device and control surfaces set in Preferences | Project template plus Audio and MIDI Setup; the Live Loops grid gets built by hand |
| Stability during a set | Freeze, Optimize Mode and a flat clip grid keep CPU load predictable | Freeze and Adapt work well, though heavy plug-ins can spike on a large project |
| Clip launching | Grid of clip slots with Launch mode, Follow Actions and one-step shortcuts | Live Loops rows launch cleanly, but you trigger them row by row |
| Cueing a whole section | A Scene fires an entire column of clips at once | Markers or Live Loops, with a separate trigger for each row you want together |
| Live routing | Per-track input and output choice, Track Stacks, return and send tracks | Channel strip mixer, buses and Screen Sets with targeted processing |
| MIDI and hardware control | Independent MIDI maps per control surface; Push and Push 3 integrate fully | General MIDI map plus Screen Sets; no bundled Push equivalent |
| Stage effects | Racks for parallel processing, short device chains, fast bypass | Insert and aux effects with a very deep bundled instrument and effect library |
| Recording during a show | Takes land in clip slots, so overdub and punch stay quick | Cycle Record, Punch and the cleanest take comping of the two |
| Platforms | macOS and Windows | macOS only |
| Strongest performer profile | Electronic producers, DJs, live loopers, stem launchers | Singer-songwriters, bands recording live, producers printing stems |
Live Setup and Startup Time
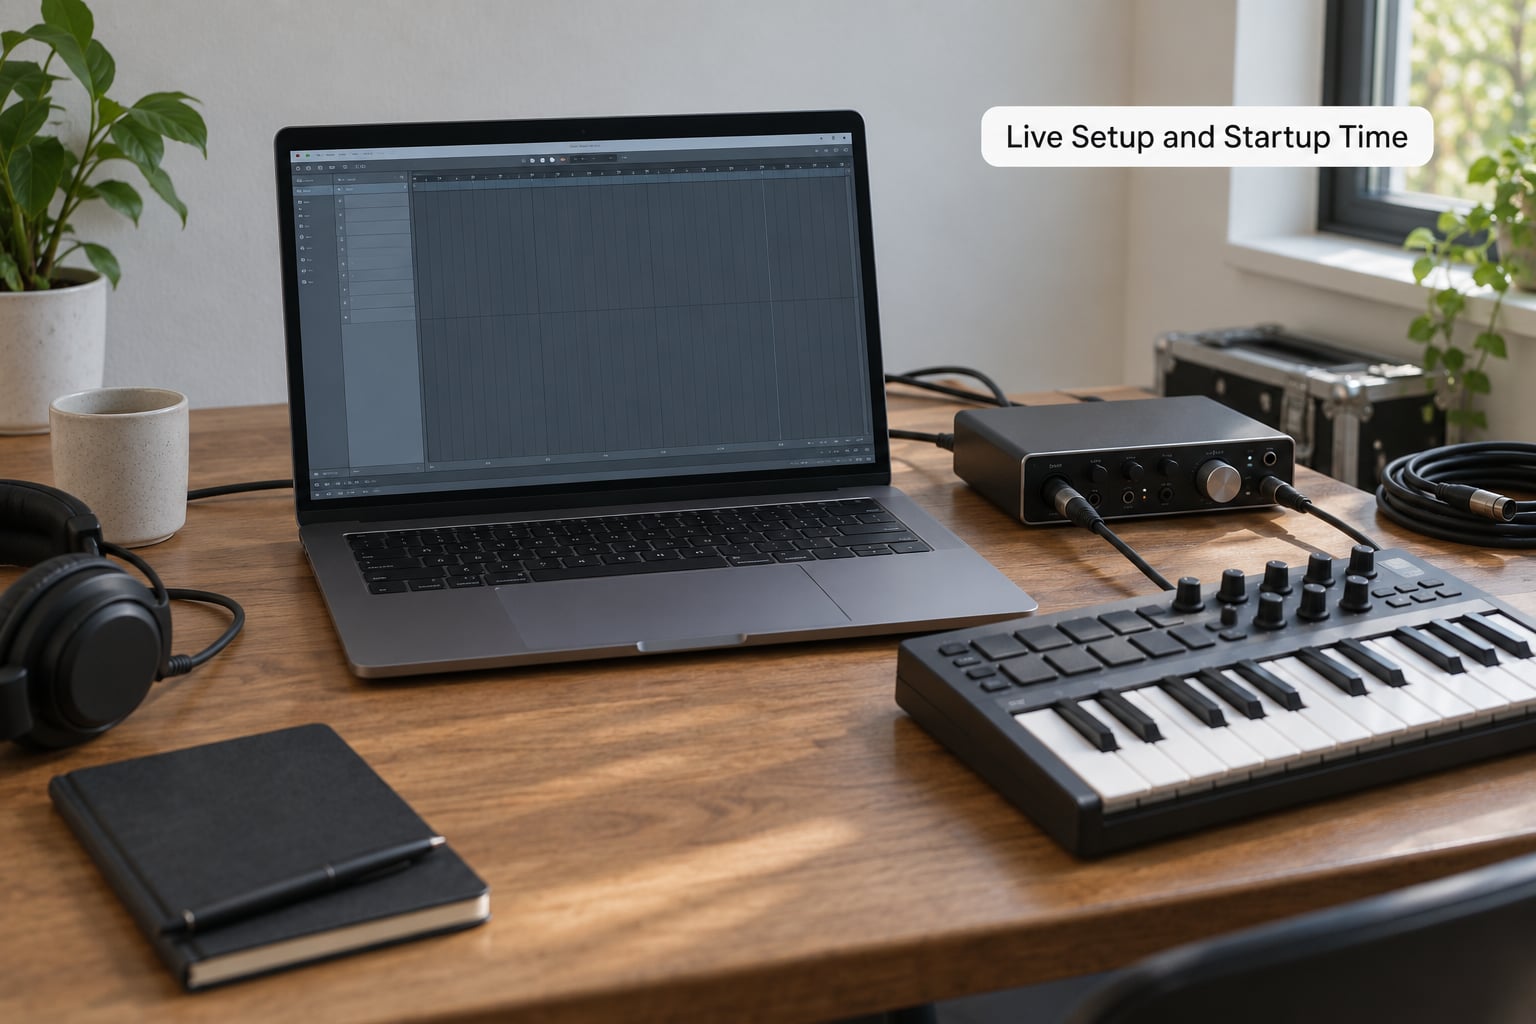
Loading time matters more than most buyers expect. Soundcheck is not the moment to discover a wrong sample rate.
Ableton Live gets you there faster because a Set template saves the entire session state. Audio device, sample rate, buffer size, control surface assignments and the Session grid all come back with the file. Open it, hit play, soundcheck.
Logic Pro gets there too, just through a longer path. You pick a project template, confirm Audio and MIDI Setup, then build or recall the Live Loops grid, assign your controller, and check that Screen Sets are pointing where you think. None of that is hard. It is just more steps repeated at every show, and it is exactly the kind of friction that makes a performer feel behind before the first bar.
What to check before every show
Sample rate and buffer size first. Match the interface sample rate in both programs, then set a buffer size that your machine can hold without dropping out.
On a modern laptop, 128 to 256 samples is usually a workable live range at a 44.1 or 48 kHz project rate. Push into smaller buffers and you trade stability for latency you cannot afford when playing by hand.
Save a second copy of the set to a drive that is not the one you are playing from. Plug a set file from somewhere else and you have bought yourself a fallback that costs nothing.
Ableton vs Logic for Clip Launching and Song Control
This is the whole argument, and it comes down to how a grid of loops becomes a set.
Ableton Live is built around Session View. Tracks run vertically, clip slots fill the grid, and every slot has its own Launch mode. Global launch mode ignores timing so you can trigger on the beat whenever you feel it, or trigger on the next division for something tighter. Launch, stop, retrig and legato are one keystroke each with no modifier, which is why users describe it as faster hands down.
A Scene changes the stakes. One Scene fires every clip in a column at once, so your verse arrangement, your chorus layer and your breakdown trigger as single moves. That is what makes ableton vs logic for live performance a real decision for anybody building a set rather than a single song.
Follow Actions close the loop on automation. Attach them to a clip and it can start another one, stop itself, or wait a bar before doing either. Loops that chain, fill themselves and tear themselves down without your hands is the part of Live that no Logic equivalent matches.
Logic Pro’s answer is Live Loops, introduced years ago and much more capable now than its first version. The grid is real, rows launch on a click, Follow Actions exist, and the set can build itself. What you give up is the column concept. Launching a chorus means hitting every row in that section individually, or routing it through markers in the main timeline, which moves you back to an arrangement-style workflow.
On the forum side of this argument the pattern repeats. A GearSpace thread on Maschine, Logic and Ableton lands on Ableton for loops and DJ work, with the writer pointing to how quickly one-step actions get done. In r/musicproduction, a user explains switching from Logic to Live and staying with Live purely for the workflow, while conceding Logic has handled more processing for years.
Audio Routing, Effects, and Hardware Control
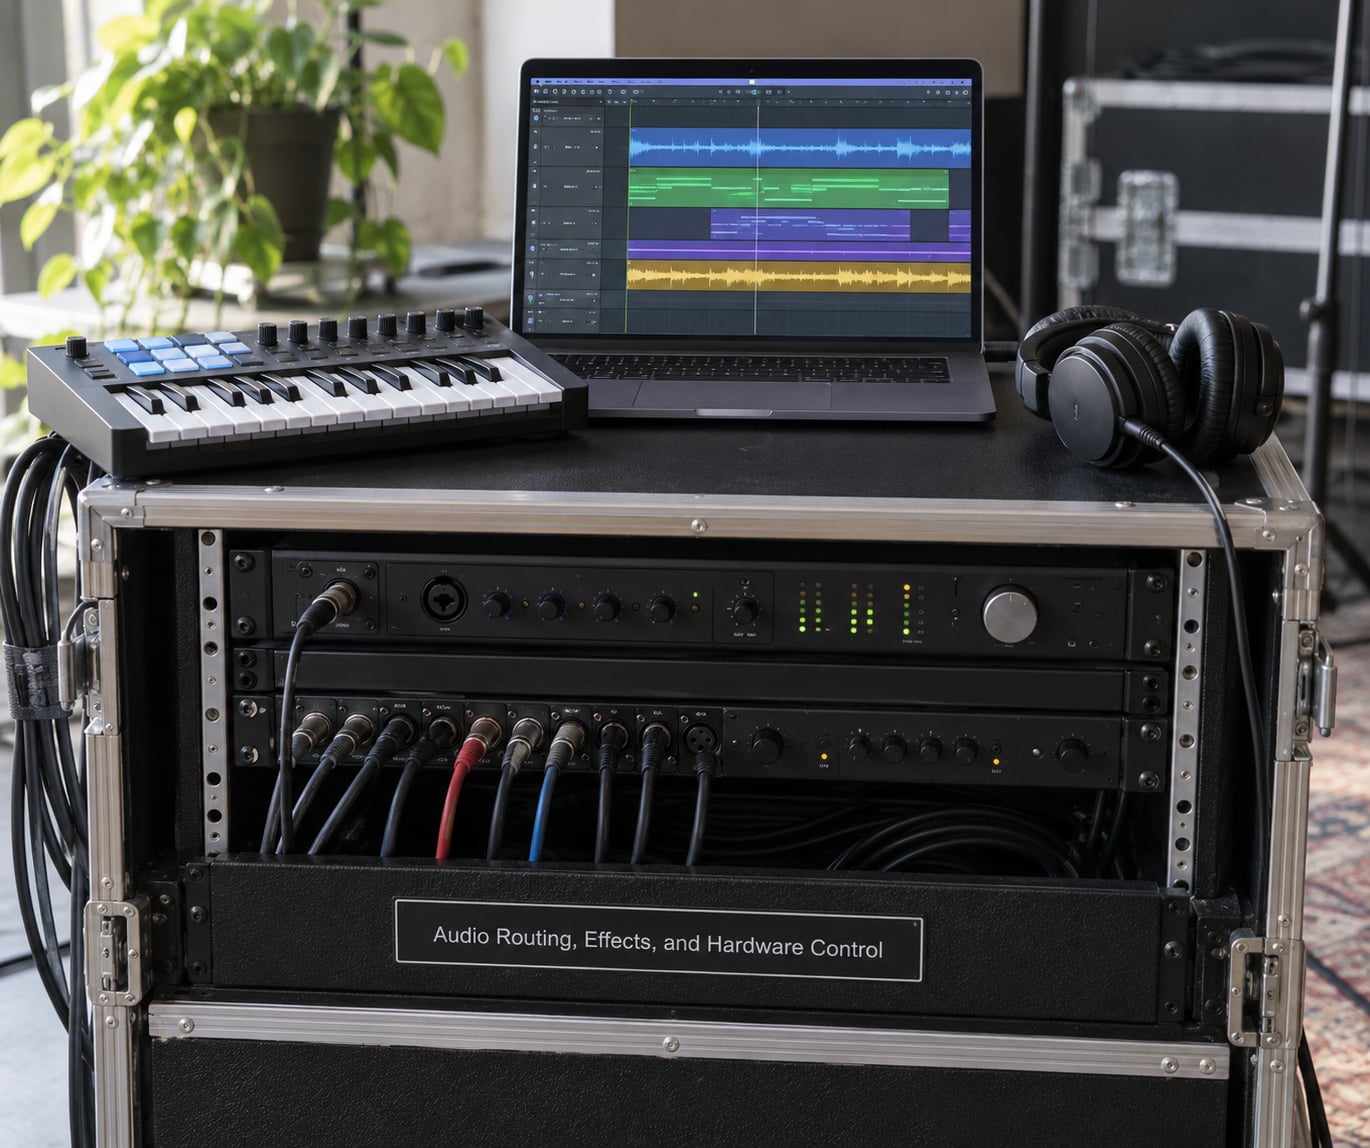
Routing decides how much setup you do in advance and how much you do by ear mid-set.
Ableton Live lets you pick input and output routing per track, so one interface serves a mic channel, a DI, a playback stem and a separate monitor feed without a virtual patch bay. Track Stacks collapse layered instruments into one slot, and return tracks with short device chains are quick to set up for a delay or reverb send. Crossfader assignment for DJ-style mixing is a couple of clicks.
Logic Pro’s mixer is the deeper instrument. Every channel strip carries insert slots, sends, bus faders and output assignment, and Screen Sets let you swap the whole view to whatever processing a song needs. It also ships a far larger bundled library, which matters if you want a stage-ready sound without hunting for plug-ins.
Third-party plug-in format is the practical split. Logic Pro works with Audio Units on macOS, its only platform. Live uses its own plug-in format on both macOS and Windows, so a Windows performer has one path to a single plug-in library. Where you play decides this one before features ever come into it.
For MIDI control, Live keeps a separate map per control surface, so a Push on channels one and two does not fight a generic controller on three and four. Logic offers a General MIDI map plus Screen Sets, which works, but it is less granular when a set uses two different controllers.
Stability, CPU Load, and Failure Recovery
The honest answer on stability is that both programs can carry a full set, and both will fail you if you let them.
What decides a bad night is the whole signal chain rather than the logo on the laptop. A driver glitch in the interface, a single misbehaving plug-in, or a laptop running hot in a booth will stop audio in either program. Users on r/audioengineering make the related point from the other side: Logic tends to handle heavy incoming audio better, yet the crash fear still pushes people toward Live, because confidence in the software is its own kind of reliability.
Freeze is the single most useful tool you have. In Live, right-clicking a clip and freezing renders it to one audio file, which removes every device from the chain. In Logic, Freeze does the same job for tracks and regions. Do it to every heavy instrument and effect return before the show, and the CPU load picture changes completely.
Optimize Mode in Live reduces drawing on a large grid, which frees processor headroom and can stop a screen stutter from turning into an audio dropout. Logic’s Adapt mode makes similar small adjustments to limit load on a dense project. Neither substitutes for testing.
Load test the actual set on the actual machine a few days before the gig. Play it start to finish at your live buffer size, with the master fader where it will be. Glitches show up in the third verse, not in the first thirty seconds.
Have a bypass plan. Know which fader mutes the master output, keep a printed or on-paper note of the set order somewhere your phone can reach it, and treat the emergency stop as a rehearsed move rather than a panic. Performers who survive bad shows are usually the ones who practised failing.
Recording and Overdubbing During a Show
If the set includes playing instruments live, Logic Pro takes this section.
Cycle Record with a punch range, comping that lets you audition takes by clicking the waveform, and pitch correction built into the stock bundle are all reasons Logic shows up on stage for a lot of session players. r/audioengineering makes the same call, describing Logic as much better at handling lots of incoming audio, comp takes and the arrangement view.
Ableton Live records into clip slots instead, which suits a different moment. Overdubs stack onto a playing clip, punch-in on a single track is quick, and the finished take ends up somewhere you can launch it again two songs later without hunting through a timeline.
For a solo artist, either works. For a band playing live with backing tracks, the deciding factor is usually monitor mixing: how many outputs you need, how quickly you can change the mix, and how many separate control surfaces you can address at once. For a streamer, Logic’s recording discipline tends to win because the arrangement view documents the session properly, while Live’s Session grid leaves you to name your own folders.
Ableton vs Logic for Live Performance: Which Should You Choose?
Choose Ableton Live if your set is built from loops, stems and layered arrangements, if you DJ, if you play Push, or if you simply want the fewest possible actions between a decision and a sound.
Choose Logic Pro if you play an instrument and vocal live, if you record and comp every show, if your Mac already runs your whole studio, or if you need to print stems that mix properly later.
For hybrid live acts, the most common answer from experienced performers is to keep both rather than migrate. Logic stays the studio tool, Live becomes the show tool, and you bounce stems from one to the other. A djtechtools thread makes that exact point, describing the move from Logic to Ableton for live work as essentially a stems job. The cost is that stems lose the benefit of the studio instruments and effects, so the live version stops sounding like the record unless you rebuild parts of it.
On switching: Logic users usually find Ableton learnable in a few evenings for basic launching, with the automation and routing concepts taking longer. The reverse move stings more, because the arrangement habits are deeper. If you are mid-tour, finish the tour in the DAW you know. Rebuilding a working set in a new program is the worst possible time to discover a new one.
One last hardware point. If your rig is already built around Push, that decision is effectively made, since Push is designed for Session View. If you use a Novation Launchkey or a generic controller, Logic’s MIDI map covers it fine and the choice comes back to workflow.
Frequently Asked Questions
Is Logic Pro or Ableton Live better?
For live performance, Ableton Live is better because its Session View launches clips and scenes in a single action, while Logic Pro is better for recording, comping and mixing. Neither is better at audio quality. If your set is loop-based or you play Push, choose Ableton. If you play instruments and vocals live, choose Logic Pro.
What DAW should I use for live performance?
Pick Ableton Live for electronic sets, DJing, stem launching and live looping, because clip and scene launching stay one keystroke away. Pick Logic Pro for singer-songwriters and bands recording live, because Cycle Record, Punch and take comping are harder to beat. If you already own one, keep it for the studio and add the other for shows.
Is Logic Pro stable enough for live performance?
It can be, if you freeze heavy tracks before the show, set a buffer size your machine holds at the project sample rate, and load test the full set on the laptop you will actually use. Stability usually comes down to the audio interface, driver and room temperature rather than the DAW itself.
Is Ableton Push good for live performance?
Yes. Push is built around Session View, so launching, stopping and layering clips happens on the hardware without looking at the laptop. It suits performers who want an instrument feel rather than a mouse and keyboard workflow. If your rig already runs a Novation Launchkey or a generic controller, Logic Pro handles that mapping well too.
Which DAW is best for live looping?
Ableton Live is the stronger choice. Loops record into clip slots, Launch mode controls timing, and Follow Actions let clips start, stop or chain each other without your hands. Logic Pro Live Loops does the basic job cleanly and now supports Follow Actions, but triggering a full section means hitting each row separately.
Do I need a Mac for Logic Pro, and does Ableton Live run on Windows?
Logic Pro runs on macOS only, so the Mac requirement decides the question for plenty of live performers. Ableton Live 12 runs on macOS and Windows, which matters if your touring machine is a Windows laptop or a shared rehearsal studio computer. Plug-in formats differ between the two as well.
Start with the DAW you already know if you have shows coming up. When the calendar is clear, move toward whichever workflow matches the set you want to build, not whichever one has the longer feature list. That choice shapes every rehearsal hour from here.