To record vocals at home, you need three things: a microphone, something to route its signal into your computer, and a room that does not add a lot of echo. Pick the smallest room you have, soften the hard surfaces, sing a test at 6 to 12 inches, set your peaks between -12 and -6 dBFS, and you can capture a take that sits properly in a mix. Most of the work takes an afternoon, and the whole process is learnable in a weekend.
The part that surprises beginners is how little of the result comes from the microphone. A closet lined with clothes and a modest mic will beat an expensive capsule hung in a bare bedroom every time. So treat the room first, the gear second.
This guide walks through the full process: what to buy, how to set levels, how to get a take worth keeping, and what to fix afterward. It is written for someone starting from a laptop and a normal room, not a treated studio.
Table of Contents
- What You Need to Record Vocals at Home
- Step-by-Step: How to Record Vocals at Home
- Common Mistakes and How to Fix Them
- Frequently Asked Questions
- Do I need an audio interface to record vocals at home?
- Should I use a condenser or a dynamic microphone in an untreated room?
- How far should I stand from the microphone when recording vocals at home?
- What sample rate and bit depth should I record vocals at?
- When is it time to replace my microphone instead of fixing my setup?
- Conclusion
What You Need to Record Vocals at Home
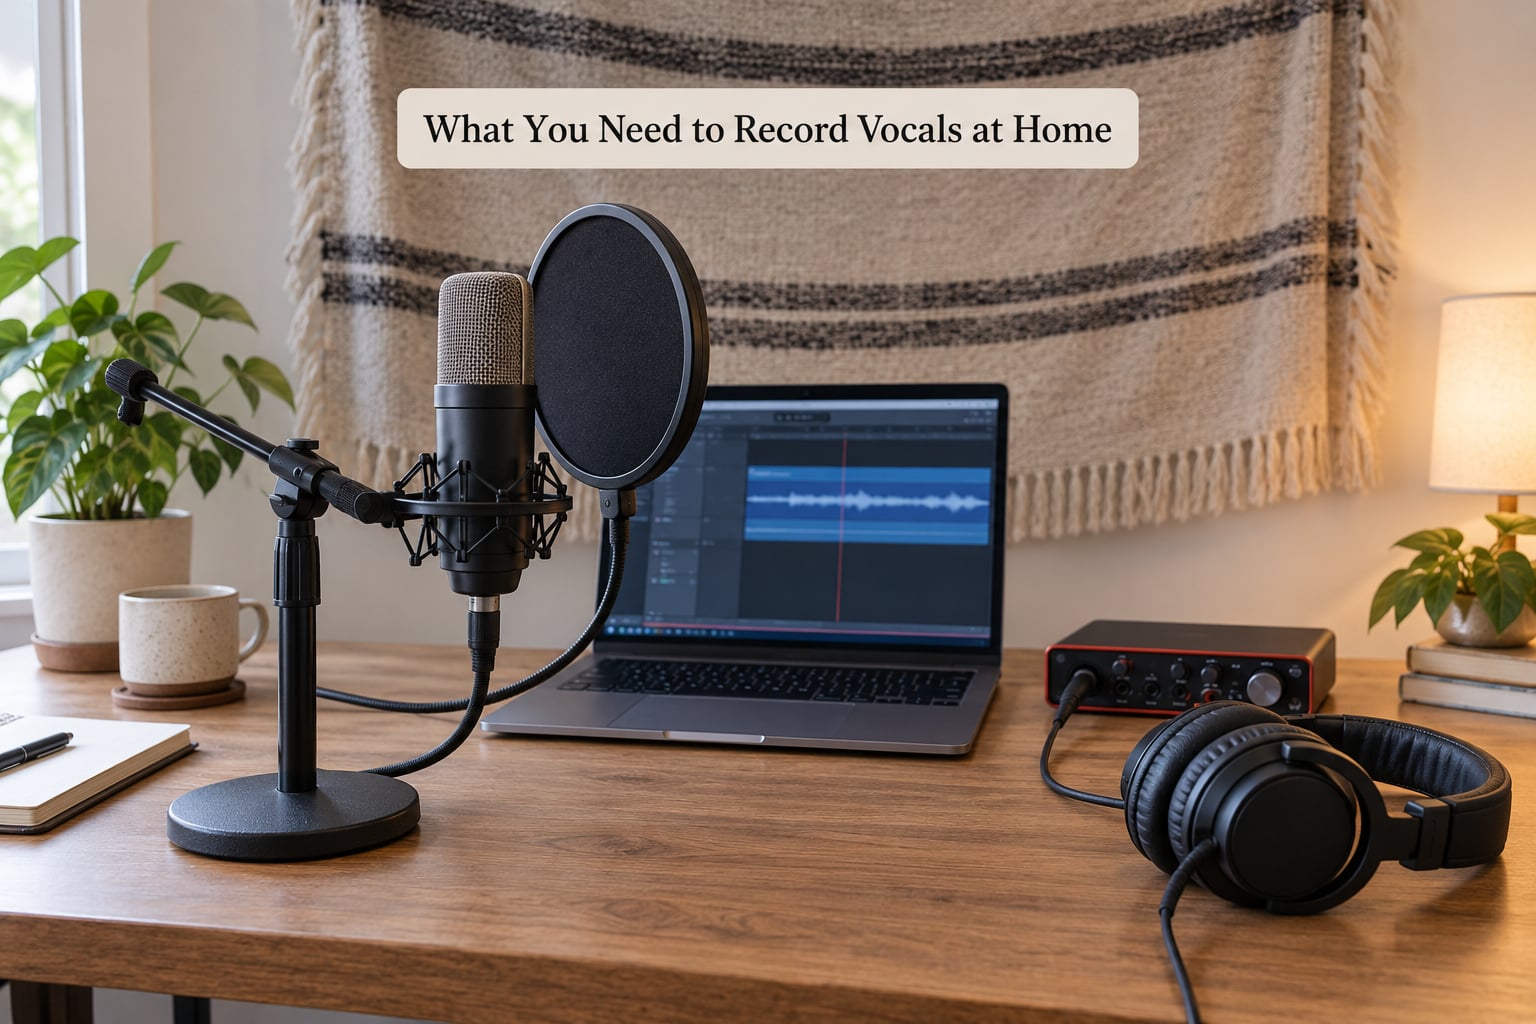
Five items make up a workable home vocal rig. Anything beyond that is a later purchase.
The microphone
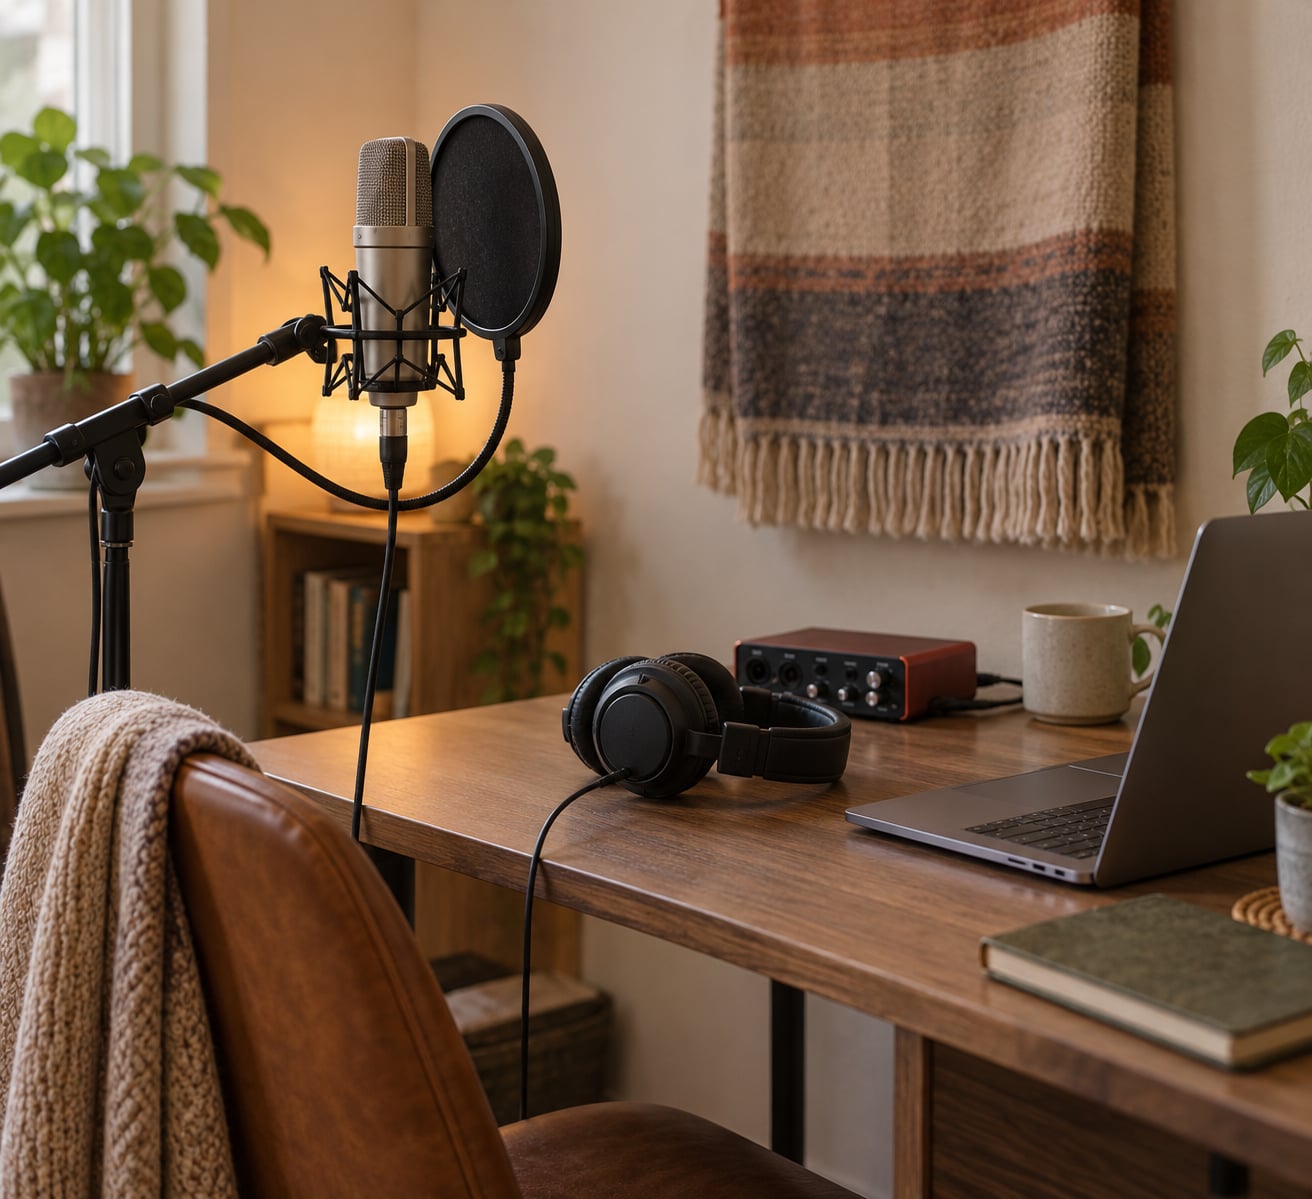
A large-diaphragm condenser microphone has the detail and air that most singers want, but it also hears the room, including reflections, traffic and a humming fridge. A dynamic microphone such as an SM58-style vocal mic is far less sensitive to those problems and still sounds perfectly good on a lead vocal. Use a condenser in a room you have softened, a dynamic in a room you have not.
A USB condenser microphone plugs straight into the computer and needs no separate box. It is a legitimate starting path, not a compromise, though you cannot change its preamp or get balanced XLR cabling.
The audio interface
An audio interface is a small box that converts the analog signal from an XLR microphone into digital, adds a preamp with adjustable gain, and usually provides phantom power. Most condenser microphones need 48V phantom power switched on before they work. A single-input Focusrite-style interface with one mic preamp covers solo singing; two inputs let you capture a harmony at the same time.
Headphones
Use closed-back headphones for tracking. They keep the backing track out of the microphone, so you hear only your own voice while singing. That is what stops the vocal bleed that ruins a take.
Pop filter and mic stand
A pop filter sits roughly an inch in front of the capsule and stops the burst of air on P, B and T sounds from hitting the microphone as a thump. It is one of the cheapest pieces of gear you can buy and one of the few I would call essential. You also want a stand, so the microphone height does not depend on your spine.
Recording software
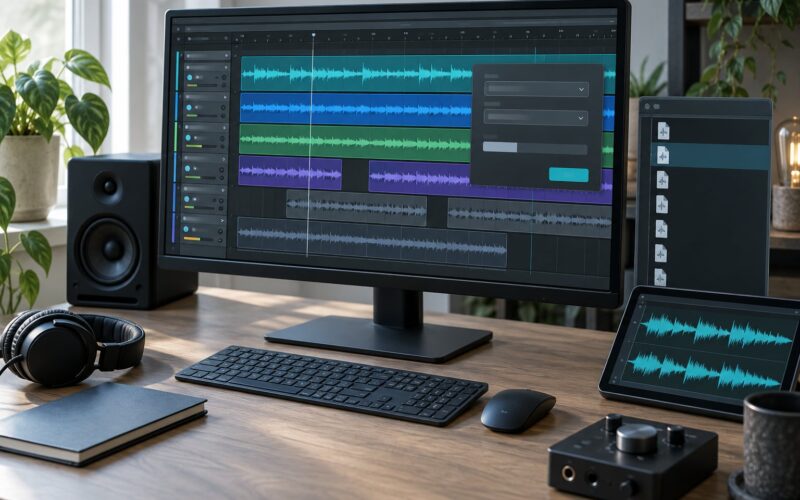
Any DAW will do. GarageBand on a Mac is free and handles a full vocal session. Logic Pro, Ableton Live, Cubase and Pro Tools are the usual names you will hear mentioned, and all of them record a track the same way. Pick whichever your budget and your tutorials point to, and stay in it long enough to learn the edit tools.
What can wait
Skip external preamps, monitor speakers and outboard gear until your room and your takes are solid. Spend on treatment or on the microphone, not both in the same month, because a treated room improves every mic you will ever own, while an expensive mic in a bad room just records the bad room more accurately.
Step-by-Step: How to Record Vocals at Home
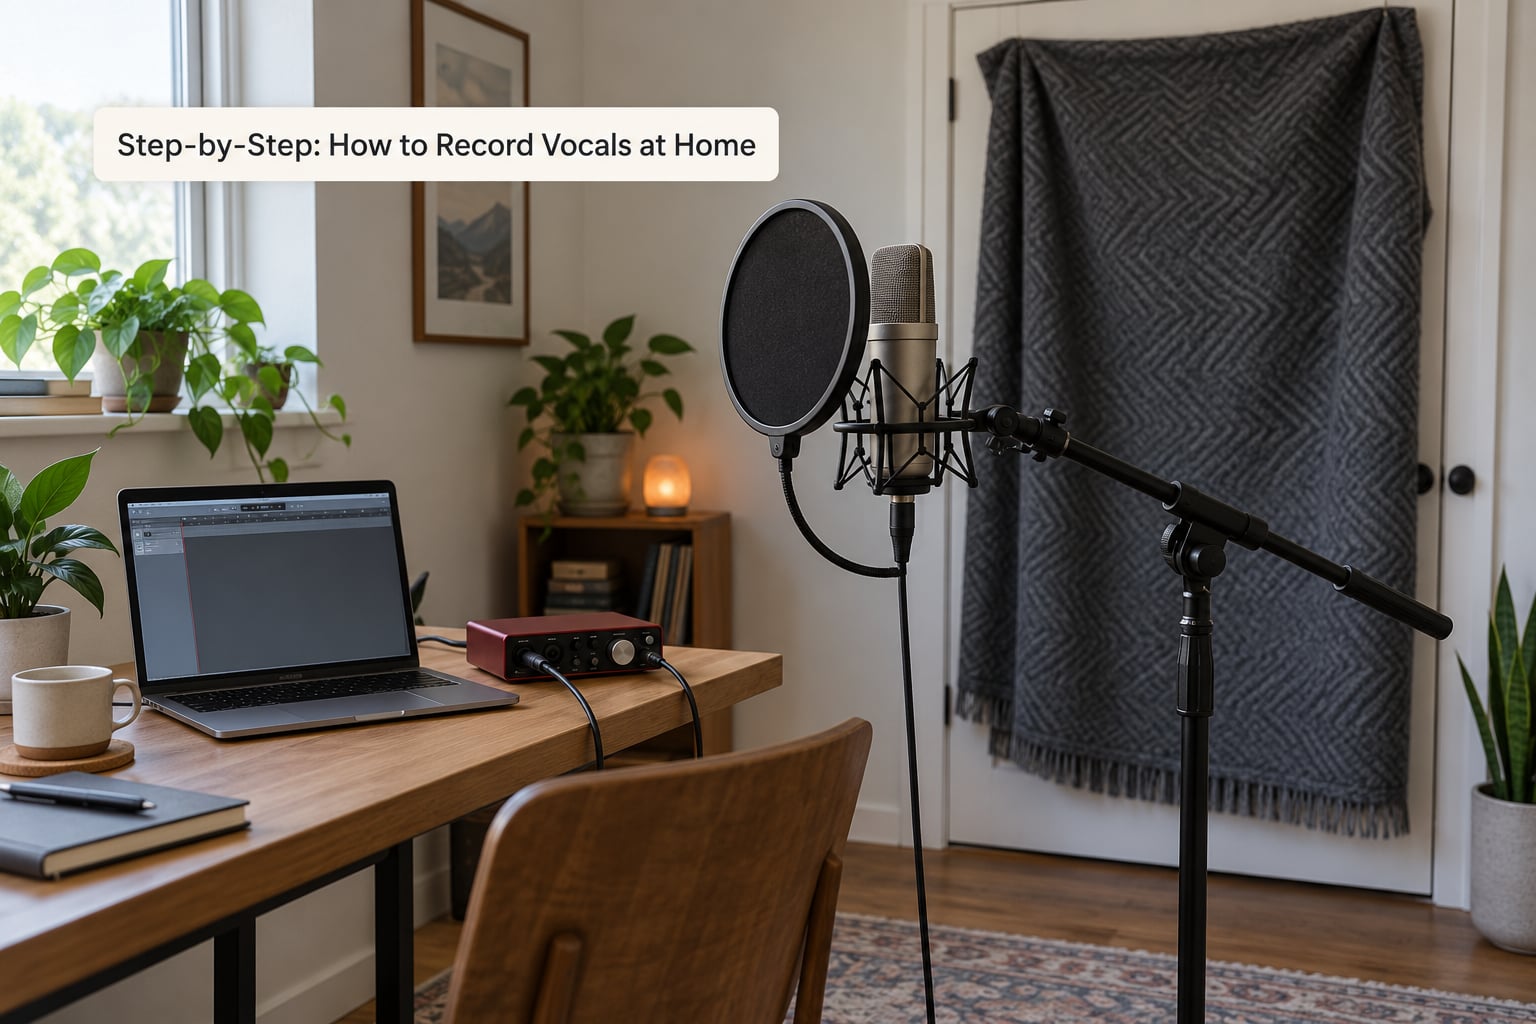
Step 1: Prepare the Room
Room: use the smallest room you have. A bathroom with a hard mirror and tile is the worst option; a walk-in closet full of clothes is one of the best, because the fabric absorbs reflections and the tight walls kill the echo tail.
Close windows and doors, including the ones you did not know were open. Hang a heavy duvet or a thick blanket on the wall directly behind the microphone, and put a rug or folded towel on the floor if the surface is bare. Soft furnishings in the room do more than acoustic panels you would have to buy.
Turn off anything that cycles on its own: air conditioning, refrigerators where possible, a desktop fan, a phone on the counter. Then record thirty seconds of silence and listen back with headphones. What you hear in that silence is your noise floor, and it tells you whether the room is workable before you sing a single note.
Pick a time of day when the house is quiet and keep using that window. Forum regulars who record regularly all land on the same habit: check the local noise schedule and avoid the trash truck run, the dog walk hour and school pickup. Knowing when the street is loud is worth more than any plugin.
Step 2: Set Up the Microphone and Interface
Connection: run an XLR cable from the microphone to the interface input, connect the interface to the computer over USB, and in your DAW’s audio settings select the interface as both the input and the output device. Set the sample rate to 48 kHz and the bit depth to 24-bit, and record in WAV. Those are the defaults for video work and they cost you nothing to adopt.
Phantom power: if you use a condenser, switch on the 48V button on the interface before powering the microphone down, and turn it off a moment before you power the mic back up. Do it in that order and the capsule is protected.
Buffer size: start with a buffer size around 64 to 128 samples for tracking. Lower numbers mean less delay between your voice and what you hear in the headphones, which is what makes it possible to sing in time with the track. A noticeable lag while you sing is latency, and it comes from the round trip through your interface and software, not from your performance.
Monitoring: put the closed-back headphones on and confirm you hear the backing track and nothing else. If you can hear the track leaking back from the speakers, mute them. Any of that track that reaches the microphone ends up in the vocal file and is very hard to remove cleanly.
Step 3: Set the Recording Level
Gain: this is the step beginners rush, and getting it wrong is the reason so many home vocals sound thin and noisy. If you record too quietly, you have to turn everything up later in the DAW, and raising a quiet recording also raises the noise underneath it.
- Have the singer stand at their normal distance and sing the loudest line in the song, the one they would not want to shout in a small room.
- Raise the preamp gain until that loudest moment pushes the meter to roughly -12 to -6 dBFS, which is the top of the green on most meters.
- Stop there. Do not push the fader into the red to get a bigger number, because a clipped recording is destroyed permanently.
Those peaks leave headroom, which is simply spare room below 0 dBFS so a surprise loud note does not wrap around. Watch the meter through a full verse and a full chorus, not just the first line. If the peaks sit at the top of the meter on your loudest line and nowhere higher, your gain is right.
Here is the reference set of numbers to keep:
| Setting | Value to use |
|---|---|
| Sample rate | 48 kHz (44.1 kHz is fine too) |
| Bit depth | 24-bit |
| Buffer size | 64 to 128 samples while tracking |
| File format | WAV |
| Target peak level | -12 to -6 dBFS on the loudest line |
| Mic distance | 6 to 12 inches, about one fist-width |
| Track format | Mono for a single lead vocal |
Step 4: Record a Strong Test Vocal
Test: before committing to a full song, record one verse and one hook. Sing them at the distance and volume you plan to use for the whole session.
Play the test back and judge three things. Is the vocal clear, or is there a room sound behind it that does not belong? Is it loud enough that you would not have to push the fader up? Is it clean, with no crunching or flatness on the loud words?
If the test is distorted, you are too close or the gain is too high, so back off one of them. If it is too quiet, the room is likely the cause: move the microphone away from bare surfaces, add soft material behind you, or switch to a dynamic microphone. If you hear hum, check that the microphone and interface are not sitting against each other and that a laptop power supply is not directly beside the cable.
Redo the test until it sounds like the take you want. Fixing the setup after forty minutes of takes means redoing all forty minutes.
Step 5: Perform and Record the Vocal
Warm-up: singers show up and sing cold, then blame the microphone. Five minutes of humming, some gentle lip trills and a few scales on a comfortable range do more for a take than any setting you can change. Drink room-temperature water, not dairy or coffee, and avoid clearing your throat repeatedly, which tightens the vocal folds.
Distance and angle: stand 6 to 12 inches from the pop filter and sing across the front of the capsule rather than straight into it. Angle the pop filter slightly off-axis and move a few inches to one side of the pop filter, which tames plosives without needing to sing around it awkwardly. Getting this wrong is easy to miss while you are concentrating on pitch, so set it once and check it with a test.
Consistency: keep roughly the same distance and the same loudness for the whole take. Do not sing the soft verse at a whisper and the chorus at full volume, because the mix will have to fight the level jump. A vocalist who can sing quietly and still be heard is not singing too quietly, they are using their voice differently, and close-miking makes that nuance easier to capture.
Leave a couple of seconds of silence at the start and end, and a second or two between phrases. Room tone between lines makes comping painless, and the silence at the head of the file gives you room to trim.
Record more takes than you think you need. Sing it again rather than repairing a bad line, and keep going until you have three or four versions of the whole thing. If you are not sure whether a take is good enough, the useful test is whether you would want to hear it again in a mix in six months.
Step 6: Edit and Export the Vocal
Start with the technical cleanup, then decide what to keep.
- Trim: cut the silence at the head and tail, and use the quiet room tone between phrases to hide the joins. Never cut two takes directly together with no overlap; add a short crossfade of a few tens of milliseconds.
- Comp: lay three or four takes in a row on the timeline, listen with headphones, and move the best version of each phrase into one new track. Boring is the goal here, not showy.
- Noise reduction: apply a gentle noise reduction, cutting a few decibels with a short fade, and no more. Heavy settings pull the consonants off the ends of words and the vocal stops sounding human.
- High-pass filter: set a low-cut filter at around 80 to 100 Hz to clear rumble from traffic, HVAC and desk bumps.
- Breaths: leave breaths that support the phrase. Cut only the ones that land mid-word, and shorten them from the tail rather than chopping the front.
- Fades: add a short fade at the start and end of the final clip so nothing clicks.
File management: name files as you go, with the song, the singer and the take number. Save the raw comped vocal as your master, then duplicate it for processing, and bounce a separate instrumental or backing track so you always have a version with no vocal to re-record against.
Export the master as a 24-bit WAV. Add a light EQ cut around 200 to 300 Hz if the vocal sounds muddy, a de-esser if the S sounds spike, a compressor with a 3:1 ratio set by ear, and a short plate or room reverb. Small moves, and stop as soon as it sounds right.
Common Mistakes and How to Fix Them
Nearly every bad home vocal comes from one of the things in this table. Find your symptom, apply the fix, and record a fresh test before you commit to a full song again.
| Problem | What is causing it | Fix |
|---|---|---|
| Echo or a hollow, boxy vocal | Hard surfaces reflecting sound back at the microphone | Move to a smaller room, hang a heavy duvet behind the mic, add a rug, fill a closet with clothes |
| Vocal sounds thin and noisy | Recorded too quietly and boosted later | Raise the preamp gain until peaks hit -12 to -6 dBFS and re-record |
| Distorted, crackly loud phrases | Clipping from too much gain or a mic that is too close | Back the mic off to a fist-width, lower the gain, leave headroom below 0 dBFS |
| Thumps on P, B and T | Plosives hitting the capsule | Add a pop filter an inch from the mic and sing slightly off-axis |
| Harsh S and T sounds | Sibilance | Sing the sibilants slightly to the side of the mic, add a de-esser in the mix |
| Boomy, muffled low end | Too close to the microphone | Stand 6 to 12 inches away and angle across the capsule |
| Backing track faintly in the vocal | Headphone or speaker bleed picked up by the mic | Use closed-back headphones, mute your speakers, keep them off-axis from the mic |
| Singing drifts behind the beat | Latency from the buffer size and the monitoring round trip | Drop the buffer size to 64 or 128, close other apps, record several passes to warm up |
| Levels jump between verse and chorus | Inconsistent distance and volume while singing | Mark your spot on the floor, keep distance fixed, practise quiet control |
| Vocal sounds artificial after editing | Aggressive noise reduction and crossfades | Use a few decibels of reduction with a long fade, crossfade by a few tens of milliseconds, do less than you want to |
| Lost takes, duplicated vocals | No file naming or version control | Name every file with song, singer and take number, and commit to one comp track before you start processing |
One more honest note. A home recording will not sound identical to a commercial studio recording, and chasing that ceiling with gear is how people end up with an expensive microphone and the same echo. Fix the capture, get a clean take, and know when the rest of the work belongs to a mixing engineer rather than to you.
Frequently Asked Questions
Do I need an audio interface to record vocals at home?
Not if you use a USB condenser microphone, which plugs straight into the computer and includes its own preamp. If your microphone has an XLR connection, you do need an interface, because the computer has no way to power or read that signal. A one-input interface is enough for solo singing; two inputs let you record a harmony at the same time. Check that it provides 48V phantom power if you plan to use a condenser microphone.
Should I use a condenser or a dynamic microphone in an untreated room?
Use a dynamic microphone. Condenser microphones are more sensitive and will pick up the reflections, traffic and household noise that you are trying to avoid, which is why beginners often end up with an echoey vocal they blame on their gear. A dynamic microphone such as an SM58-style vocal mic is far less sensitive to room sound and still records a strong lead vocal. If you have already softened a small room with blankets and clothing, a large-diaphragm condenser becomes the better choice.
How far should I stand from the microphone when recording vocals at home?
Between 6 and 12 inches, roughly one fist-width from the pop filter, and sing across the front of the capsule rather than straight into it. Closer gives you more detail and more low end, which is why singers who get too close often sound boomy. Farther gives a brighter tone and more room sound. Pick one distance, mark it on the floor with a piece of tape, and stay on it for the whole take so the level does not shift.
What sample rate and bit depth should I record vocals at?
Record at 24-bit and 48 kHz, saved as a WAV file. Those settings leave plenty of headroom for editing and match the format most video and streaming work expects, so you will not have to convert anything later. Record mono for a single lead vocal. The one setting you will change while working is the buffer size: 64 to 128 samples keeps the monitoring delay short enough to sing comfortably in time.
When is it time to replace my microphone instead of fixing my setup?
Replace the microphone when a test recording is clean, clear and free of room sound, and it still sounds thin or lifeless. That means the microphone is doing its job and the problem is your performance or your mix. Change it sooner if the recording is distorted at normal gain, if the self-noise hiss is louder than your voice, or if your room is already treated and a dynamic is now holding you back. An untreated room will ruin a better microphone, so treat the space first.
Conclusion
Start with the room, not the shopping cart. Pick the smallest space you have, soften it with a duvet and a rug, close the doors, and record thirty seconds of silence to hear the noise floor. Then set the microphone a fist-width away, turn the gain until your loudest line peaks between -12 and -6 dBFS, and run a verse-and-hook test before you track anything full length.
A routine that works: warm up for five minutes, record three takes at the same distance, comp the best line by line, and export a 24-bit WAV named properly. Do that once a week for a month and you will know exactly what your room sounds like, which is the only way to make fast decisions later. As 2026 goes on, the equipment gets cheaper and better, but the habits above are what separate a usable home vocal from a rough one.