Buffer size is the number of audio samples your DAW processes in one block before handing that audio to your interface and out to your monitors. A small buffer means less delay between playing and hearing a note, but more CPU work per second. A large buffer is steadier and lighter on your computer, and adds delay you can hear while tracking.
That is the whole idea, but it is the setting behind an enormous number of puzzling problems. If your session crackles, clicks, or drops out during a take, the buffer is the first place to look. If a singer complains they feel like they are singing late, that is the buffer too. And if a producer asks whether a small buffer will ruin the sound quality of the finished file, the answer is no.
Table of Contents
- What Does Buffer Size Mean in a DAW?
- How Buffer Size Affects Recording Latency
- Why Sample Rate and Bit Depth Are Different From Buffer Size
- What Buffer Size Should You Use?
- How to Change Buffer Size in Ableton Live, Logic Pro, and FL Studio
- How to Choose a Buffer Size for Recording and Mixing
- Why Does a Small Buffer Size Cause Dropouts or Glitches?
- Buffer Size and Audio Quality: Does It Change the Sound?
- Frequently Asked Questions
- Start With the Lowest Buffer Size That Stays Stable
What Does Buffer Size Mean in a DAW?
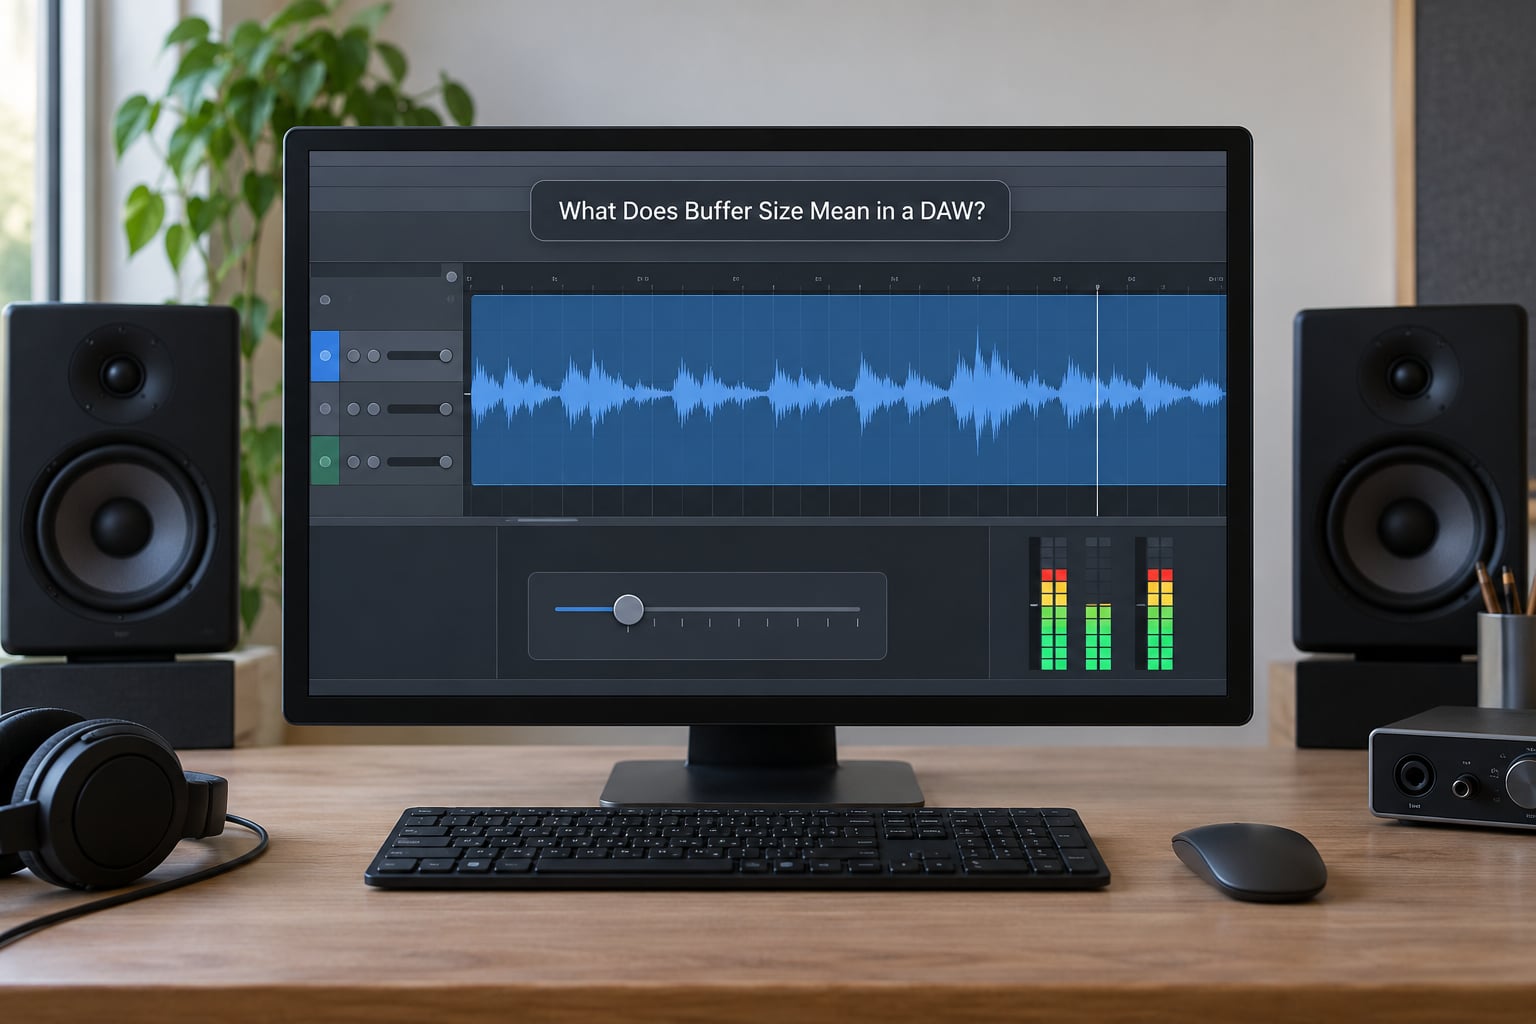
Audio does not travel from your interface to your speakers as a smooth, continuous river. It arrives in chunks, and each chunk is a buffer. Your audio driver (ASIO on Windows, Core Audio on macOS) fills that buffer with samples, the DAW runs every plugin and automation pass over the whole thing, and only then does the finished audio leave the machine.
Because a buffer must be completely filled and completely processed before the next one starts, the block becomes a unit of time and a unit of risk. Bigger blocks give the operating system breathing room to schedule everything else on the machine. Smaller blocks mean more frequent wake-ups and far less slack when something needs CPU.
Buffer size is therefore two numbers in disguise: a latency figure and a workload figure. The latency you care about is usually round-trip latency, which is the time from sound entering the input to sound leaving the output. Convert samples to milliseconds with one line of math:
Latency (ms) = buffer size ÷ sample rate × 1000
At 48 kHz, a 128-sample buffer is about 2.7 ms. At 44.1 kHz it is about 2.9 ms. Double the buffer, double the delay, every time.
How Buffer Size Affects Recording Latency
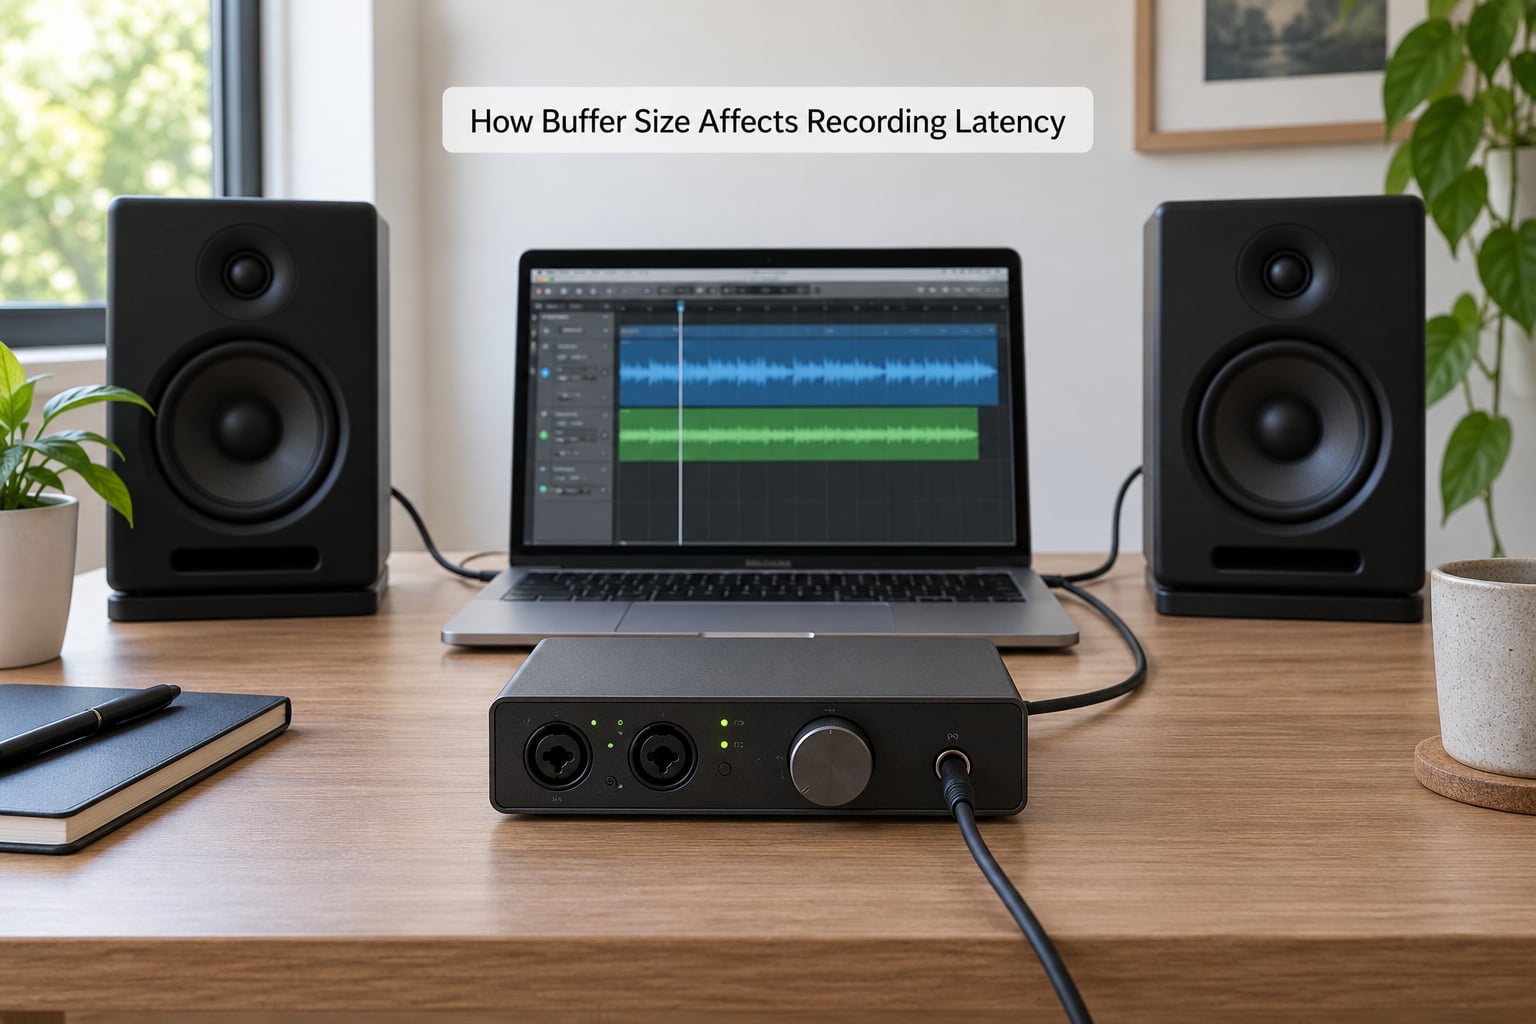
Three separate delays stack up between your fingers and your ears, and players mix them up constantly.
- Input latency is the wait between the hardware converter capturing a sample and the DAW handing it to your plugins and back out for monitoring.
- Output latency is the wait between the DAW finishing a block and your interface converting it back to an analog signal for your speakers or headphones.
- Round-trip latency is input plus output plus any plugin delay, which is the number a musician actually feels when they play or sing.
Round-trip is why a keyboard player can tolerate a laggy mix but not a laggy keyboard, and why a vocalist is usually the first person in the room to notice. The buffer number is only part of it, though. Every plugin insert in the signal chain adds its own delay, and convolution reverb or a big pitch-shift plugin can add more milliseconds than the buffer does.
Sound travels roughly 1,100 feet per second, so 6 ms of latency is about 6.5 feet of distance between you and your own playing. Orchestras live with 5 to 30 feet of acoustic spread and nobody complains, which is why mild delay on an overdub rarely ruins a session while delay on a live keyboard rig ruins it every time.
Why Sample Rate and Bit Depth Are Different From Buffer Size
Sample rate and bit depth get bundled into the same conversation, but they are answering different questions. Sample rate decides how many snapshots of the sound are captured per second. Bit depth decides how much numerical detail each snapshot holds. Buffer size decides how many of those snapshots your computer handles at once, in real time.
| Setting | What it controls | What it does not change |
|---|---|---|
| Sample rate (44.1 or 48 kHz) | How many audio snapshots are captured per second | How responsive your monitoring feels |
| Bit depth (24-bit) | Numerical precision and headroom per snapshot | CPU load during playback |
| Buffer size (samples) | How many samples are processed per block | The content of your saved audio file |
Doubling your sample rate does not automatically halve your latency; it halves the milliseconds only if you double the buffer size alongside it, which doubles your workload. That is why people chasing lower delay with a 96 kHz session often end up more frustrated than when they started.
What Buffer Size Should You Use?
There is no single correct value, only a starting point that suits the task and your machine. Use the lowest number your system runs cleanly at, then stop lowering.
| Task | Buffer size | Buffer delay at 48 kHz |
|---|---|---|
| Tracking vocals or acoustic instruments | 64 to 128 | 1.3 to 2.7 ms |
| Tracking on an older or busier system | 256 | 5.3 ms |
| Live playing with VST instruments | 128 to 256 | 2.7 to 5.3 ms |
| Mixing with a moderate plugin load | 512 | 10.7 ms |
| Large sessions, dense plugins, sample libraries | 1024 | 21.3 ms |
The same buffer size lands in a different perceptual range depending on the sample rate. At 44.1 kHz, 256 samples is 5.8 ms; at 48 kHz it is 5.3 ms. Small difference, but it is why a value that felt fine last week at 48 kHz can feel slightly sloppier after you switch sessions.
Perceptually, delays under about 5 ms are hard to notice, 10 to 15 ms is where most performers start drifting, and anything above 20 ms gets called out during a take. Those figures are round trip, which is why a 512-sample buffer gives a practical round trip closer to 20 to 30 ms rather than the 10.7 ms in the table.
On the subject of podcasting: a spoken-word setup needs less than a band does, because nobody is chasing timing precision. 128 or 256 handles two or three mics with room to spare.
How to Change Buffer Size in Ableton Live, Logic Pro, and FL Studio
Every DAW hides this in its audio or playback engine preferences, and most require playback to be stopped before the value sticks. Paths change between major versions, so confirm the name in your own build.
Ableton Live 12
Go to Options > Preferences > Audio. Set Buffer Size under the Latency section, and make sure the correct Input and Output Device are selected. Stop the transport first, then confirm the new value in the status bar at the bottom right.
Logic Pro on macOS
Open Logic Pro Settings > Audio (called Preferences in earlier versions). The control is I/O Buffer Size, sitting next to the sample rate and the optimization setting. Quit and reopen Logic after changing it in some builds, because the Core Audio driver reloads with the new value.
FL Studio
Go to Options > Settings > Audio and look for Buffering length. Older builds label it Buffer size in the same panel. Stop playback, change the number, and watch the CPU meter in the channel rack to confirm you have headroom left.
Pro Tools calls it Hardware Buffer Size in Playback Engine, Reaper calls it Block Size, and Cubase calls it ASIO Buffer Size. Same idea, different vocabulary.
How to Choose a Buffer Size for Recording and Mixing
Treat the setting as a two-mode workflow rather than a permanent choice. Most people I know keep one template for tracking and a second for mixing, and switch in a few seconds.
- Open an empty project and set your candidate buffer. An empty project tells you about your machine, not about the session you are about to open.
- Add a plugin-heavy track and play it for a few minutes. Listen for clicks rather than judging by the CPU number alone.
- Drop the buffer one step and repeat. The lowest value that survives that test is your tracking value.
- Raise it for mixing in steps of 256 or 512 until every plugin reports green. Latency is irrelevant when nobody is performing.
- Save both settings in templates so the numbers travel with the workflow instead of living in your memory.
If you use direct monitoring on your interface, the hardware carries the signal instead of the software, and you can track with plugins loaded and a large buffer without feeling any of the delay. That is the cleanest solution there is, and it is worth learning your interface’s monitoring buttons for that reason alone.
Why Does a Small Buffer Size Cause Dropouts or Glitches?
A dropout happens when the CPU cannot finish a buffer before the deadline passes. The audio engine reaches for the next block and finds nothing there, so it repeats or skips silence. That click, pop, or brief mute is a buffer underrun.
In my experience the usual suspects, in order, are these:
- A CPU that is already near its limit, often from virtual instruments, convolution reverb, or a large sample library loaded and playing.
- Background applications doing work during the take: a browser with dozens of tabs, a video call, a cloud sync client, a backup utility.
- Track count and plugin count growing past what the machine handles, particularly on laptops that throttle under load.
- Driver or USB problems that masquerade as buffer problems. If a session crackles at 1024 samples, the buffer is not the cause.
- Storage speed and system disk activity, particularly on machines where the session sits on an external drive.
That fourth point is the most useful test in this whole article. Raise the buffer to the largest value your DAW offers and play the session. Still crackling means the problem is your interface, its driver, or the USB bus, not your buffer. A busy USB hub or a bus-powered port is a classic culprit, and moving to a port on the motherboard or switching to Thunderbolt usually settles it.
Sound is affected differently depending on when it happens. Crackles during recording point at inputs, drivers, and power delivery. Crackles during playback of a finished session point at CPU load and plugins. Monitoring that feels sluggish with no audible glitch simply means the buffer is too large for the performance.
Buffer Size and Audio Quality: Does It Change the Sound?
No. Buffer size does not change the audio in your file, the character of your plugins, or the resolution of the recording. A take recorded at 64 samples and one recorded at 1024 are the same recording, sample for sample.
What buffer size changes is timing, responsiveness, and system load. During real-time monitoring, a small buffer leaves less room for errors, and errors show up as clicks and dropouts rather than as a change in tone. That is why the common rule holds up: if you hear clicks or pops, the buffer is affecting reliability, not quality.
Plugins are the part worth understanding. A reverb or compressor introduces its own delay, and when plugins report delay, the DAW compensates so your recorded tracks still line up. The compensation happens at render time, so it works at any buffer size. Changing the buffer changes the raw latency you hear while monitoring, not the placement of anything on the timeline.
MIDI timing is not affected either. A virtual instrument triggered by MIDI plays into the same audio engine, so it follows the same monitoring delay your ears do. Once recorded and rendered, the result is exact.
Frequently Asked Questions
What is a good buffer size for audio recording?
Start at 128 samples for tracking vocals, acoustic instruments, or a two-person podcast. That gives roughly 2.7 ms of buffer delay at 48 kHz, which most performers never notice. If clicks or dropouts show up, step up to 256 rather than hunting for a faster computer. For live playing with VST instruments, 128 to 256 is the usual range.
Does a lower buffer size improve audio quality?
No. Buffer size affects timing, responsiveness, and CPU load, not the recorded sound. A track captured at 64 samples is identical to the same track captured at 1024. What you hear changing with a small buffer is reliability: when the CPU cannot keep up, the engine underruns and you hear clicks, pops, or dropouts instead of a cleaner signal.
Why is there a delay when I monitor vocals in my DAW?
Because your signal travels in and back out of the software. Input latency covers the wait from converter to DAW, output latency covers the wait from DAW back to your interface, and together they make the round-trip delay a singer feels. Software monitoring also passes through any insert plugins, and convolution reverb or pitch shifting can add more delay than the buffer does. Direct monitoring bypasses that path entirely.
Should I change buffer size between recording and mixing?
Yes, and most engineers do. Track at the lowest stable value, often 128, then raise it to 512 or 1024 for mixing where CPU headroom matters more than latency. Keeping both in saved templates makes the switch nearly instant. If your session stays clean at a single setting, there is no real harm in leaving it there all day.
What buffer size should I use for podcasting?
128 to 256 samples is plenty for spoken-word work. Nobody on a podcast is chasing timing precision, and the task usually involves two or three microphone inputs with a handful of effects. 512 works fine too if your machine prefers it. The value matters far more for music tracking, where a musician is genuinely playing against what they hear.
Start With the Lowest Buffer Size That Stays Stable
Find the number, then stop. Open an empty session, start at 128, and step down only if tracking latency is actually bothering the performer. Once it is clean, raise it to 512 or 1024 for mixing and keep both settings in templates.
If something still crackles at the largest buffer your DAW allows, you have answered the real question: the buffer was never the problem. Look at drivers, USB ports, and whatever else your computer was doing during the take.